
Your garage floor cluttered with leaning bikes? That wobbly store-bought rack finally gave up? Building your own bike rack solves both problems while saving up to 60% compared to commercial options. Most DIY racks cost under $150 in materials and take just one weekend to complete. You’ll create a custom solution perfectly sized for your space and bike collection—whether you need storage for one commuter bike or eight family cycles. This guide walks through every critical step using proven techniques that prevent common failures like handlebar collisions or structural wobbling. By Sunday evening, you’ll have a rock-solid rack that protects your bikes for 10+ years.
Plan Your Bike Rack Design
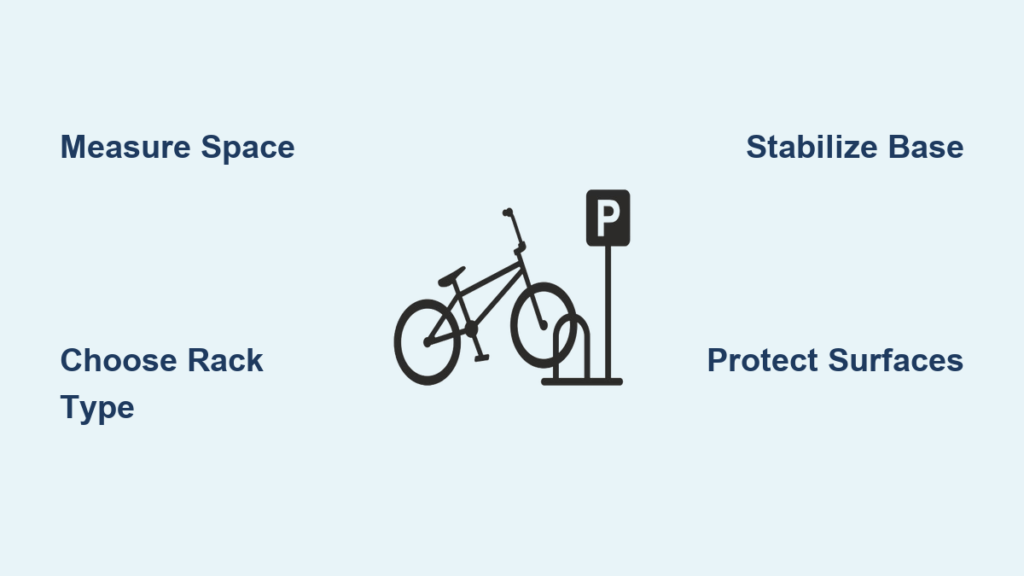
Measure Your Space First
Grab your tape measure before buying a single screw. Horizontal floor racks need 24 inches of width per bicycle plus 36 inches of clearance for easy access. Wall-mounted vertical systems require 18 inches per bike and 84 inches of ceiling height. For garages with limited wall space, mark your dimensions with painter’s tape to visualize the footprint—this prevents costly redesigns later. Always measure twice: a 2-inch miscalculation can cause handlebars to collide when removing bikes.
Choose Your Rack Type

Horizontal floor racks dominate garages storing 2-4 bikes on stable ground. Wall-mounted vertical racks maximize space for 4-6 bikes against solid walls but require precise stud alignment. Freestanding towers handle 6-8 bikes without wall attachment but need concrete-level flooring. If your collection includes e-bikes (65+ pounds each) or mountain bikes with wide tires, prioritize reinforced designs using 4×4 posts and staggered spacing. For mixed fleets, modular systems let you add sections as your bike count grows.
Calculate Bike Capacity
Count current bikes and add two slots for future purchases—bikes multiply faster than you think. Standard road bikes need 12 inches between wheel slots, but mountain bikes with 2.5-inch tires require 16-18 inches. Electric bikes demand reinforced supports rated for 65 pounds each, spaced 18 inches apart. Never squeeze bikes closer than tire width allows; this causes handlebar interference and frame scratches during removal.
Select Materials and Tools
Best Wood for Outdoor Use
Pressure-treated 2×6 lumber forms rot-resistant base frames (actual width: 5.5 inches). 4×4 posts (3.5×3.5 inches) create unshakeable vertical supports. For chemical-free weather resistance, cedar or redwood costs more but lasts decades. Avoid untreated pine—it swells and rots within two seasons when exposed to rain. Always pre-drill holes to prevent splitting, especially near board ends where water penetrates fastest.
Essential Hardware List
Skip flimsy hardware store hooks. Use vinyl-coated hooks rated for 75 pounds per bike, 3/8-inch carriage bolts (4-6 inches long) for major joints, and U-bolts to secure pipes to frames. Foam pipe insulation (1-inch diameter) prevents tire damage on contact points. For outdoor racks, invest in marine-grade varnish—standard sealants peel within months under UV exposure.
Required Tools
A miter saw ensures precise 22.5-degree angle cuts for wheel slots—critical for tire retention. Rent a reciprocating saw ($40/day) for metal pipe cutting instead of buying. Never skip safety glasses and hearing protection; a single kickback incident can cause permanent injury. Test your 4-foot level on a known flat surface first—many become inaccurate after drops.
Build Horizontal Floor Rack
Construct the Base Frame
Cut 2×6 lumber to 48 inches for a 2-bike rack, adding 12 inches per extra bike. Assemble a rectangular frame using 3/8-inch carriage bolts with washers at corners—this prevents wood splitting under load. Install 2×4 cross braces every 16 inches; skip this step and your rack will flex when loaded. Test stability by standing on it: any bounce means adding diagonal braces immediately.
Create Wheel Slots
Cut 2×4 uprights at 22.5-degree angles using your miter saw to form V-shaped slots. Each slot needs 2 inches width and 3 inches depth to fit tires up to 2.5 inches wide. Space slots 12 inches apart for road bikes, 16 inches for mountain models. Sand all edges with 120-grit paper—rough surfaces shred tires during storage. Wrap slots with foam insulation secured by weather-resistant adhesive.
Install Vertical Supports
Cut 4×4 posts to 36 inches for adult bikes (30 inches for kids’ models). Position them 36 inches from the base front and secure with half-lap joints reinforced by carriage bolts. Check plumb with your level every 6 inches—crooked posts cause bikes to lean toward walls. Add diagonal 2×4 braces from post to base at 45-degree angles; this eliminates 90% of wobble issues in floor racks.
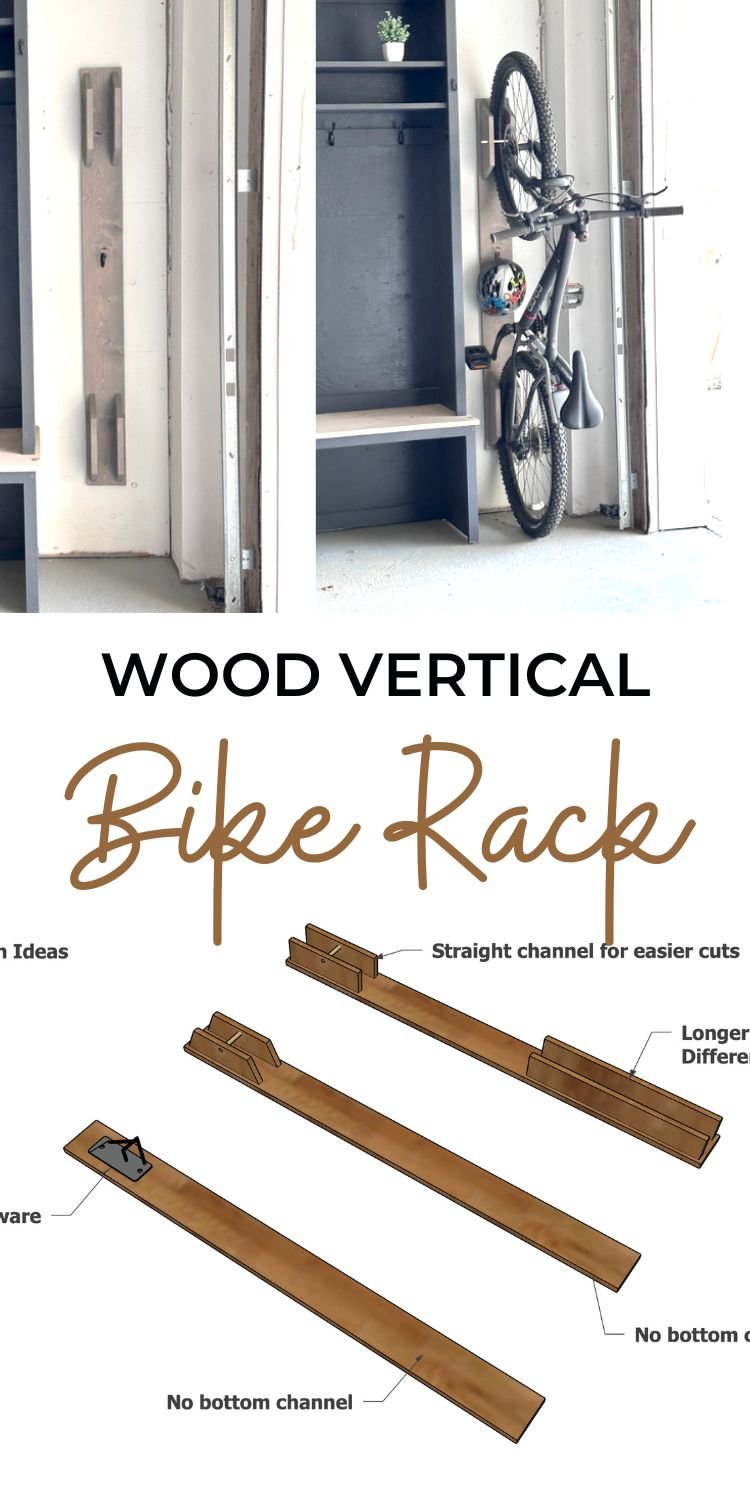
Install Wall-Mounted Vertical Rack
Find Wall Studs
Use an electronic stud finder to locate centers at 60-72 inches height—never mount hooks into drywall alone. Each bike creates 50+ pounds of dynamic load when removed, which drywall anchors can’t handle long-term. Mark three consecutive stud centers; spanning multiple studs distributes weight safely. Verify stud depth by drilling a 1/8-inch pilot hole—you’ll feel the resistance change when hitting wood.
Install Backing Board
Mount a 2×8 pressure-treated board spanning three studs minimum. Pre-drill 1/2-inch holes for 3/8-inch x 4-inch lag screws with washers to prevent wood splitting. Ensure the board is perfectly level—tilted hooks cause bikes to slide sideways. For masonry walls, use 1/2-inch expansion anchors rated for 500-pound pullout strength. Test stability by hanging a 50-pound weight before installing hooks.
Add Bike Hooks
Install vinyl-coated hooks 16 inches apart horizontally, staggering heights by 2 inches to prevent handlebar clashes. Pre-drill 1/4-inch pilot holes to avoid wood cracking. Test each hook with a firm downward pull equal to 75 pounds—any movement means repositioning. Add rubber bumpers 12 inches from the wall to stop frame tubes from scraping paint during storage.
Fix Wobbling Racks
Stabilize Freestanding Units
Check foundation level first: place shims under base corners on uneven floors. Install diagonal 2×4 braces between vertical supports at 45-degree angles—this transforms wobble into rigidity. For severe instability, anchor to concrete using 1/2-inch expansion bolts through the base frame. Test by applying sideways pressure equal to a 30-mph wind gust; no movement should occur.
Prevent Handlebar Conflicts
Increase spacing to 18 inches between bikes on horizontal racks for mountain models. On wall systems, stagger hook heights 4 inches apart vertically. Install offset hooks that angle outward 15 degrees to create clearance. For bikes with exceptionally wide handlebars (like fat-tire models), dedicate every other slot to avoid interference.
Apply Protective Finishes
Weatherproof Wood Treatment
Sand all surfaces to 180-grit smoothness before applying finish—rough wood traps moisture. Apply two coats of marine-grade varnish with a foam brush, focusing on end grains and joints where water penetrates fastest. Allow 24 hours between coats; rushing causes peeling. For outdoor racks, repeat annually before winter to prevent cracking from freeze-thaw cycles.
Protect Contact Points
Wrap all metal edges with split foam pipe insulation secured by UV-resistant zip ties. Add 1/4-inch rubber strips where frame tubes rest to prevent scratches. For wheel slots, use vinyl tubing over wood edges—this reduces noise during loading and protects tire sidewalls. Replace padding annually during maintenance checks.
Maintain Your Bike Rack
Monthly Inspection Routine
Tighten all bolts and screws monthly—vibration from bike removal loosens hardware. Inspect foam padding for tears; worn sections expose bikes to damage. Check for wood rot at ground contact points, especially after heavy rain. Lubricate adjustable mechanisms with silicone spray (never WD-40, which attracts dust).
Seasonal Deep Maintenance
Before winter, apply fresh protective coating to all exposed wood. Replace cracked foam insulation and touch up varnish on sanded areas. For outdoor racks, check foundation stability after spring thaws—concrete shifts with freeze-thaw cycles. Tighten anchors and add diagonal bracing if the rack rocks more than 1/8 inch.
Cost and Time Breakdown
Material Costs by Rack Type
A 2-bike horizontal rack costs $90-$130 using pressure-treated lumber and basic hardware. 4-bike wall-mounted systems run $115-$160 for backing boards and heavy-duty hooks. 6-bike freestanding towers require $255-$360 for structural lumber and anchoring systems. Modular expansions cost $45 per bike slot—far cheaper than buying new racks.
Time Investment
First-time builders need 6-8 hours for wall-mounted racks versus 4-6 hours for horizontal designs. Freestanding towers take 8-12 hours due to complex bracing. Rent tools for $75/weekend instead of buying; your second project will justify tool purchases. Pro tip: Pre-cut all lumber before assembly—this saves 2+ hours per project.
Expand Your System Later
Modular Connection System
Design 48-inch base modules that connect via 3/8-inch threaded rod through pre-drilled holes. Install alignment pins to prevent separation when adding sections. This lets you grow from 2 to 8 bikes without rebuilding. For uneven floors, use adjustable leveling feet on each module—critical for multi-unit stability.
Advanced Customizations
Add integrated U-lock holders using steel brackets welded to frame pipes. Install motion-activated LED strips under crossbars for nighttime access. For e-bikes, create weatherproof charging stations with GFCI outlets 18 inches above floor level. These upgrades cost under $30 but dramatically increase functionality.
Your custom bike rack will outlast store-bought versions by 5+ years with basic maintenance. Start with a simple 2-bike horizontal design to master foundational skills—this builds confidence for complex wall or tower systems. The $150 saved versus commercial racks funds better tires or tools for your next project. Most importantly, you’ll ride with pride knowing your bikes rest on something you built yourself, engineered perfectly for your space and collection. When that first rainy season passes and your rack stands firm while others rust or wobble, you’ll realize the real payoff: peace of mind that only comes from a job done right.


