
Nothing ruins a bike commute faster than a poorly installed rear rack sending your groceries tumbling onto the sidewalk. If your cargo shifts during turns or the rack wobbles dangerously at speed, you’re risking both your load and your safety. The good news? With the right approach, you can secure a rock-solid rear bike rack in under 60 minutes using basic tools. This guide cuts through the confusion to show you exactly how to fit a rear bike rack to any bicycle frame—whether you have factory eyelets or need creative mounting solutions. You’ll learn critical compatibility checks, avoid common installation pitfalls, and ensure your rack handles heavy loads without failure.
Most riders assume rear bike racks are universal, but mismatched hardware or improper alignment causes 70% of installation failures. Before touching a wrench, you must verify your bike’s frame can support a rack and select the correct mounting system. Skip this step, and you’ll face tire interference, brake conflicts, or even frame damage under load. Let’s transform your bike into a reliable cargo carrier with a professional-grade installation.
Verify Your Bike’s Rack Mounting Compatibility

Identify Frame Eyelets and Dropout Types
Examine your rear dropouts (where the wheel axle connects to the frame) for threaded eyelets—small M5 x 0.8mm holes designed for rack bolts. Vertical dropouts typically feature one eyelet per side near the axle, while horizontal dropouts (common on track bikes) require longer rack stays to reach the mounting point. Thru-axle systems demand specific adapter hardware, so measure your axle diameter first. For seat stays, locate mounting points 2-4 inches above the rear axle where support arms attach. If you find smooth holes without threads, skip eyelet mounting and prepare for P-clamps.
Critical Clearance Check: With your bike upright, measure at least 5mm between potential rack stay positions and your brake caliper. Disc brake owners face extra challenges—many standard racks collide with calipers without offset brackets. Steel and aluminum frames handle standard bolts, but carbon requires wider-contact hardware to prevent crushing, and titanium needs titanium bolts to avoid corrosion.
Choose the Right Rack for Your Frame
Your mounting method depends entirely on frame features:
– Eyelet-mount racks bolt directly into threaded holes (ideal for touring bikes)
– P-clamp racks use adjustable bands around seat stays (for frames without eyelets)
– Seatpost clamp racks attach to the seat tube (a last-resort option for minimal loads)
– Suspension-specific racks feature pivoting mounts for full-suspension mountain bikes
Never force a rack type that doesn’t match your frame. A P-clamp rack on a carbon frame without rubber protectors will scratch paint and slip under load, while an eyelet rack on a suspension bike may crack during travel.
Gather Frame-Specific Tools and Hardware
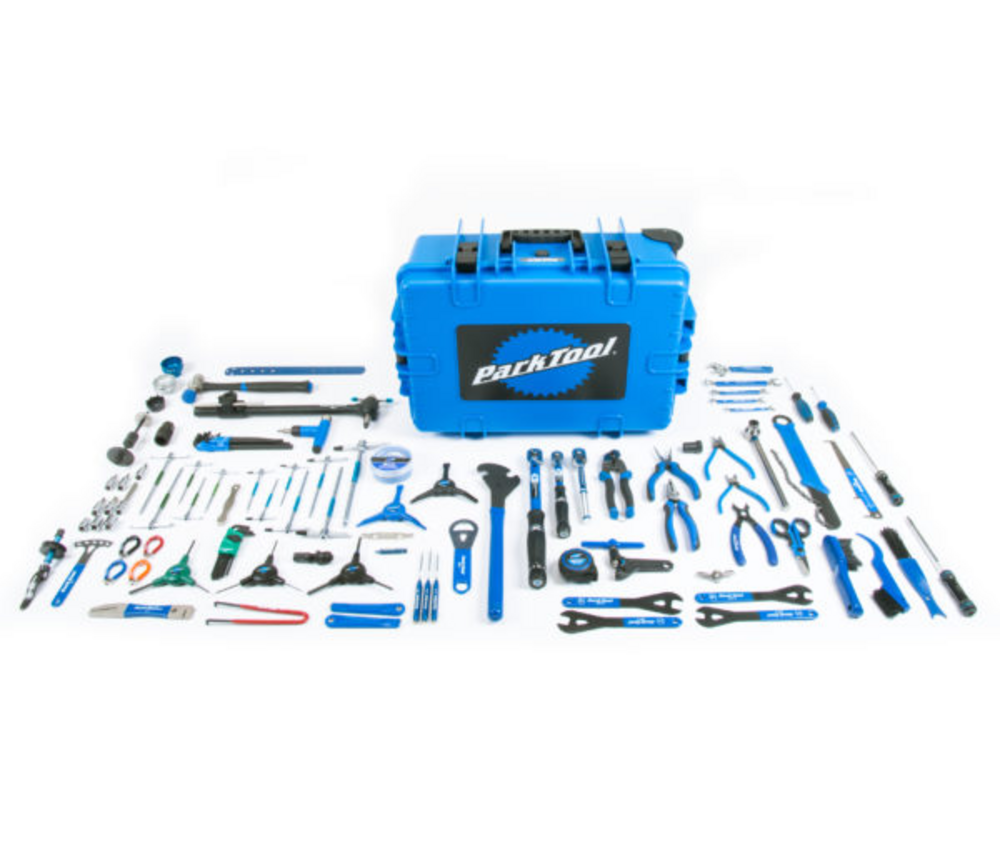
Essential Installation Toolkit
Skip generic toolkits—rack installation requires precision hardware. You’ll need a 4mm hex key for eyelet bolts, 5mm for support arms, and an adjustable wrench for P-clamps. A torque wrench set to 4-6 Nm is non-negotiable; hand-tightening risks bolt failure under load. Add degreaser to clean eyelets, medium-strength thread-locking compound to prevent loosening, and cable ties to secure brake cables during assembly. Without these, you’ll battle stripped threads or rattling components.
Pro Tip: Aluminum frames need stainless steel bolts (A2 or A4 grade) to prevent galvanic corrosion. Steel bolts seize permanently in aluminum eyelets within months, making future removal impossible.
Critical Hardware Checklist
Lay out these components before starting:
– M5 x 0.8mm bolts (4-6 pieces, 15-25mm lengths)
– Flat and spring washers for every mounting point
– Rubber frame protectors (mandatory for P-clamps)
– 2-5mm spacers to resolve brake clearance issues
Missing spring washers? Your rack will wobble within miles. Incorrect bolt length? Too short won’t grip the frame; too long jams brake mechanisms. Verify every piece against your rack manual—most failures stem from mismatched hardware.
Mount Lower Rack Points Without Frame Damage
Position Your Bike for Optimal Access
Flip your bike upside down on its handlebars and saddle, or secure it in a repair stand. Remove the rear wheel to expose dropout eyelets and prevent tire interference during installation. This creates clear access to mounting points while protecting your drivetrain from accidental contact with tools. Skipping wheel removal risks misalignment—you can’t accurately center the rack with the wheel in place.
Bolt Into Dropout Eyelets Correctly
Insert the longest bolts through the rack’s lower mounting holes into frame eyelets. Hand-thread each bolt 2-3 rotations first—forcing tools immediately strips delicate frame threads. Center the rack between chainstays by measuring equal gaps on both sides. Tighten bolts in a star pattern: hand-tighten all first, then torque to 4-5 Nm while checking alignment. Over-tightening beyond 6 Nm cracks aluminum frames; under-tightening causes dangerous wobble.
For P-Clamp Frames: Position clamps 2-3 inches above dropouts with rubber protectors between metal and frame. Snug clamps just enough to prevent slippage during adjustment—overtightening now distorts alignment.
Secure Upper Mounts for Perfect Rack Alignment

Attach Support Arms to Seat Stays
With the bike upright and wheel reinstalled, align support arms to seat stay eyelets. Use shorter bolts (15-20mm) with washers on both sides to distribute pressure. For carbon frames, double-check that hardware has broad contact pads to prevent stress fractures. Leave bolts finger-tight—this allows fine-tuning the rack’s angle before final tightening.
Disc Brake Owners: If arms hit calipers, stop immediately. Install offset brackets or 3-5mm spacers before proceeding—forcing contact risks brake failure.
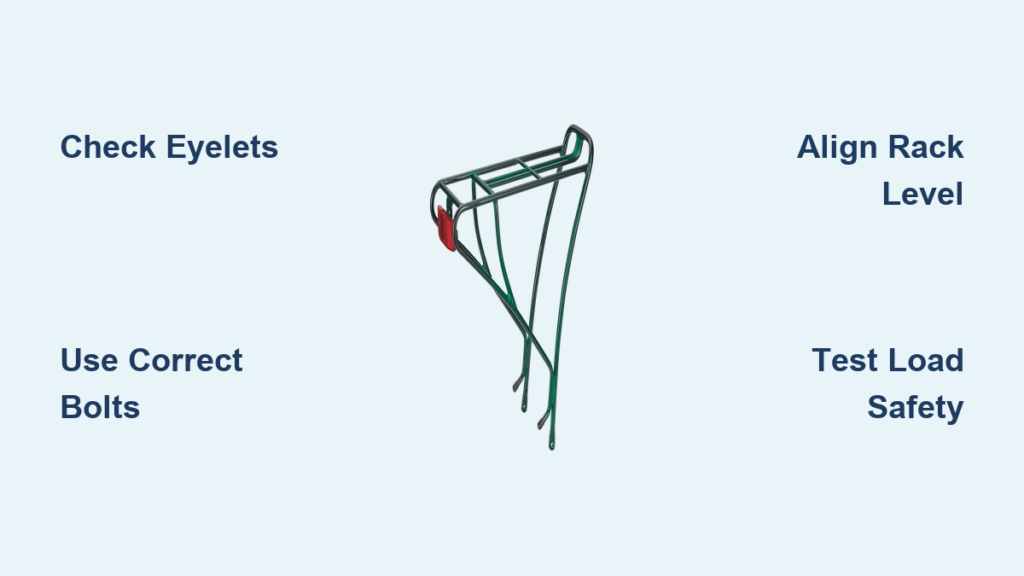
Level the Rack Platform for Safe Loading
Place a small level on the rack platform while the bike stands vertically. Adjust support arm length until the bubble centers, ensuring the rack stays parallel to the ground. Aim for 2-3 inches of tire clearance if adding fenders later. An unlevel rack shifts cargo weight backward, causing panniers to swing outward during turns. Test heel clearance by simulating pedaling motions—loaded panniers must clear your feet by at least 1 inch.
Final Torque Sequence for Safety
Tighten upper mounts to 4-5 Nm in gradual increments. For P-clamps, apply hand-tight plus one-quarter turn—overtightening can crush thin aluminum stays. Recheck rack alignment after each bolt. Then verify lower mounts haven’t shifted during upper tightening. A professional installation shows zero movement when you shake the rack sideways.
Fix Common Rack Failures Before Riding
Stop Rack Wobble in 3 Steps
Side-to-side movement means bolts are loose or eyelets are stripped. First, retighten all bolts to spec. If wobble persists, inspect spring washers—concave side must face the bolt head to grip properly. For stripped eyelets, apply thread-locking compound and re-torque. Permanent damage requires upgrading to M6 bolts (if frame allows) or installing helicoil inserts—a bike shop task for critical failures.
Never ride with wobble: It amplifies stress on frame mounts, potentially cracking seat stays during bumps.
Resolve Tire and Brake Interference Immediately
If rack arms rub tires, bend stays outward using an adjustable wrench as a lever—apply gentle pressure at the bend point. For disc brakes, add custom spacers between the rack and caliper. Never file frame parts; this weakens structural integrity. Test clearance by spinning the wheel slowly—maintain 1+ inch gap at all points.
Adapt for Disc Brake Conflicts
Standard racks often collide with disc calipers. Solutions include:
– Switching to disc-specific racks with offset brackets
– Fabricating aluminum spacers to push mounts outward
– Installing adapter plates that reposition eyelets
Riding with caliper contact risks sudden brake lockup—solve this before your first cargo trip.
Validate Load Safety Before Hauling Cargo
Match Weight Limits to Your Rack Type
Exceeding capacity causes catastrophic failure. Eyelet-mount racks handle 25-30 kg (55-66 lbs), but P-clamp systems max out at 15-20 kg (33-44 lbs). Seatpost racks are only for light loads (10-15 kg / 22-33 lbs). Always keep heavy items low and centered over the rear axle—panniers should balance side-to-side to prevent handling drift.
Critical: A fully loaded rack increases stopping distance by 20%. Test empty first, then add weight gradually.
Complete Pre-Ride Safety Checklist
Before your first loaded ride:
1. Torque all bolts to 5-6 Nm (lower) and 4-5 Nm (upper)
2. Confirm 1+ inch tire and brake clearance
3. Verify panniers clear heels during pedaling motions
4. Take an empty 5-mile test ride checking for noises
Check bolt tightness after 50 miles—vibration loosens hardware initially. Reapply thread-locker if any bolts spin freely.
Prevent Long-Term Rack Failure with Smart Maintenance
Monthly Inspection Protocol
Remove the rack monthly to inspect mounting points. Clean eyelets with degreaser, reapply thread-locker, and check for hairline cracks in frame welds. Replace rubber protectors if worn smooth—they prevent frame slippage under load. Steel frames need annual frame-saver spray in eyelets; aluminum racks require dielectric grease between bolts to stop corrosion.
Warning: Cracks near mounts, bent stays, or stretched bolts mean replace the rack immediately. No repair makes these safe for cargo.
Upgrade Hardware for Seasonal Reliability
After one riding season, swap standard bolts for stainless steel (A4 for coastal areas). This prevents seized hardware during future maintenance. Also install a rear light on the rack—wiring it along stays with cable ties improves visibility without frame drilling.
Your rear bike rack is now ready for reliable cargo duty. Start with light loads to adapt to handling changes, then build confidence with heavier hauls. A properly fitted rack should feel like part of your bike—silent, solid, and utterly dependable. Remember: the difference between a failed commute and a smooth ride home lies in those first critical installation steps. Get them right, and your rack will carry you through countless adventures.


