
Your dirt bike engine sputters violently the moment you twist the throttle hard. Power vanishes as if someone hit the kill switch. This frustrating bogging out symptom ruins trail rides and costs valuable track time. When your dirt bike bogs out during acceleration, it’s almost always a fuel-air mixture problem preventing proper combustion. The good news? You can diagnose and fix most bogging issues yourself with basic tools and this step-by-step guide. Let’s solve your dirt bike bogging out problem so you can get back to riding with confidence.
Why Your Dirt Bike Bogs Out During Acceleration
Dirt bike bogging out manifests in two distinct ways that require opposite solutions. A lean bog happens when too much air and not enough fuel reach the combustion chamber. You’ll hear a drowning, sputtering sound with popping from the exhaust, and your spark plug shows white corrosion on the electrode. A rich bog occurs with excess fuel relative to air, creating sluggish throttle response, strong gasoline smell, and black carbon deposits on the spark plug. Both conditions starve your engine of power exactly when you need it most—during acceleration.
The critical difference? Lean bogging gets worse as you open the throttle wider, while rich bogging often improves at full throttle. This distinction immediately narrows your troubleshooting path. Before grabbing tools, perform this quick test: accelerate hard from idle. If the engine dies completely with no recovery, you’re likely facing a lean condition. If it sputters but eventually pulls at higher RPMs, you probably have a rich mixture problem. This simple diagnostic saves hours of unnecessary work.
Identifying Bogging Through Spark Plug Inspection
Your spark plug tells the whole story of your fuel mixture. Pull and inspect it immediately after experiencing bogging for these critical clues:
- White, corroded electrode with minimal deposits = Lean condition (not enough fuel)
- Wet, black carbon buildup coating the electrode = Rich condition (too much fuel)
- Oil residue on the plug = Possible ring, gasket, or valve seal issues
- Melted or damaged electrode = Severe overheating from extreme lean condition
Warning: Never ride with a severely lean condition—it can melt pistons within minutes. If your plug shows extreme whitening or melting, stop riding immediately and address the issue before further damage occurs.
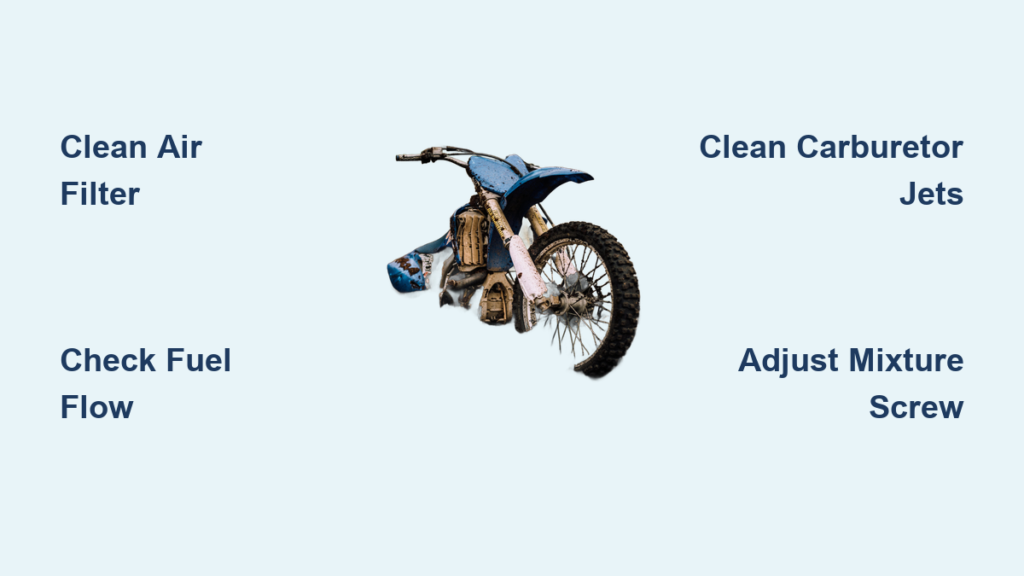
Unclog Your Air Filter to Restore Proper Throttle Response

A dirty air filter causes over 60% of dirt bike bogging out cases but takes just five minutes to fix. Riding in dusty conditions packs the filter media with debris, restricting airflow and disrupting the precise air-fuel ratio your engine needs. When airflow drops, your carburetor delivers too much fuel relative to available air, creating a rich bog that worsens with throttle position.
Here’s how to clean your air filter properly:
- Remove the air filter and hold it up to bright light
- If you can’t see light passing through the media, it needs cleaning
- Wash with warm water and mild detergent (never gasoline)
- Squeeze out excess water—never wring the filter
- Apply fresh filter oil evenly, then squeeze out excess
- Let dry completely before reinstalling (30+ minutes)
Pro Tip: Carry a spare clean filter on long rides. Many riders report immediate restoration of full power after simply replacing a clogged filter mid-ride. Check and clean your air filter before every ride in dusty conditions—this single maintenance task prevents most bogging issues.
Fix Carburetor Jet Clogs Causing Acceleration Stumble
When your dirt bike bogs out specifically during acceleration but runs fine at steady throttle, clogged carburetor jets are almost certainly the culprit. Tiny passages in the pilot jet (controls low-to-mid throttle) and main jet (controls wide-open throttle) easily clog with varnish from old fuel or debris from contaminated gasoline.
Follow these steps to clean carburetor jets:
- Remove both jets using appropriate screwdrivers
- Hold each jet up to a bright light—light should pass through the hole
- Spray carb cleaner through both ends of each jet
- Use compressed air (never wire!) to clear passages
- Soak heavily varnished jets overnight in carb cleaner
- Reinstall jets, counting exact turns for the air-fuel mixture screw
Critical Warning: Never use wire or sharp objects to clear jets—this enlarges the metering holes permanently, requiring jet replacement. One rider ruined his carburetor by enlarging the pilot jet with a paperclip, creating a permanent lean condition that required complete carburetor replacement.
Verify Fuel Flow Before Rebuilding Your Carburetor
Before disassembling your carburetor, confirm adequate fuel delivery with this simple test that takes less than two minutes:
- Remove fuel hose from carburetor inlet
- Place hose end in clear container
- Open petcock and observe flow
- Strong, consistent flow = healthy system
- Weak or intermittent flow = restriction somewhere
What proper fuel flow looks like: A steady stream filling a small container within 3-5 seconds. If flow seems weak, check these common restriction points in order:
- Fuel filter (replace annually)
- Petcock screen (clean with carb cleaner)
- Tank vent (ensure not blocked)
- Fuel line (check for kinks or cracks)
If fuel flow tests good but bogging persists, the problem lies within the carburetor itself. This simple test prevents unnecessary carburetor disassembly when the real issue is upstream fuel delivery.
Adjust Your Air-Fuel Mixture Screw for Smooth Acceleration
The air-fuel mixture screw (typically on the carburetor’s front side) fine-tunes your fuel mixture at idle and low throttle. When your dirt bike bogs out during initial acceleration from idle, this screw often needs adjustment.
Proper adjustment procedure:
- Locate the air-fuel mixture screw (may require carburetor rotation for access)
- Turn screw clockwise until lightly seated (do not force)
- Count exact turns as you remove it
- Reinstall and turn out to manufacturer specification (usually 1.5-2.5 turns)
- Start engine and let warm up
- Adjust in 1/4 turn increments until idle sounds smoothest
Warning: Exceeding 3 turns out usually indicates a jetting problem rather than mixture screw issue. If you need more than 3 turns, your pilot jet is likely the wrong size for your riding conditions.
Prevent Future Bogging With These Maintenance Habits
Stop playing whack-a-mole with bogging issues by implementing these preventive maintenance practices:
- Clean air filter before every dusty ride, with thorough cleaning weekly
- Replace spark plugs every 100-200 hours or annually (whichever comes first)
- Use fuel stabilizer if bike sits longer than 30 days
- Flush fuel system every 3 months to prevent varnish buildup
- Carry a spare fuel filter for trail-side replacement
Pro Tip: When riding at different altitudes, adjust jetting accordingly. Higher elevations require richer jetting (larger main jet) while sea level needs leaner settings. One rider solved persistent bogging by switching to a #155 main jet for mountain riding instead of his sea-level #148.
When to Consider Replacing Instead of Repairing
Some bikes become more trouble than they’re worth. If you’ve spent more than 30% of the bike’s value on repairs for persistent bogging issues, particularly with Chinese-made models, replacement might be smarter. One rider with a bogging Chinese pitbike spent $200 on carburetors, filters, and tune-ups before selling it for break-even and buying a reliable Japanese model.
Ask yourself these questions before investing more time and money:
– Have you replaced major components (carburetor, fuel pump, CDI)?
– Does the bike still bog after professional tuning?
– Are repair costs approaching the bike’s value?
– Would your time be better spent riding a reliable bike?
Final Fixes for Immediate Bogging Relief
When your dirt bike bogs out, follow this priority checklist before heading to the trail:
- Inspect spark plug—replace if fouled or showing extreme deposits
- Clean air filter—ensure proper airflow to combustion chamber
- Verify fuel flow—confirm no restrictions from tank to carburetor
- Check jet condition—ensure no clogs in pilot or main jets
- Adjust mixture screw—set to proper turns from seated position
Most bogging issues resolve with these five steps. If problems persist after addressing all these areas, consider professional help or component replacement. Remember that consistent maintenance prevents 90% of bogging issues—clean filters, fresh fuel, and regular spark plug checks keep your dirt bike running strong through every ride. Get back on the trail with confidence knowing exactly how to stop your dirt bike bogging out for good.


