
Your dirt bike won’t start after repeated kick attempts, you smell gasoline near the exhaust, and the engine just cranks without firing. You’ve got a classic flooded engine situation—the frustrating scenario every rider dreads when excess fuel drowns the combustion chamber. Learning how to unflood a dirt bike properly means the difference between a quick trailside fix and having to carry your bike home. Whether you’re dealing with a two-stroke or four-stroke, these proven techniques work for both cold starts gone wrong and bikes tipped over during riding. The key is understanding why flooding happens and applying the right clearing method without making the problem worse.
Flooding occurs when too much fuel enters the combustion chamber, creating a mixture so rich that even a healthy spark plug can’t ignite it. This happens most often when riders over-choke the engine during cold starts or repeatedly kick with excessive throttle. When the bike tips over, gravity feeds fuel directly into the engine. The telltale signs? A strong gasoline smell, wet spark plugs when removed, and that endless cranking with no firing. Recognizing these symptoms immediately saves you from wasting time troubleshooting electrical or compression issues when the real problem is simply too much fuel.
Why Your Dirt Bike Won’t Start Due to Flooding
Identify Flooding vs. Other Starting Problems
Before attempting any fixes, confirm you’re dealing with flooding rather than electrical or mechanical failure. A flooded engine cranks normally but refuses to catch, unlike a dead battery that causes slow cranking or no cranking at all. The unmistakable gasoline odor near the exhaust and wet, fuel-soaked spark plugs upon removal provide definitive proof. When you remove the plug and see fresh fuel dripping or coating the electrode, you’ve got a flooding situation—not a bad coil or dead battery.
The science behind the problem is straightforward: spark plugs need the right fuel-air ratio to create ignition. When liquid fuel saturates the combustion chamber, it essentially drowns out the spark. Even with perfect compression and a strong spark, an overly rich mixture prevents the explosive combustion needed to start your engine. This distinction matters because throwing parts at the problem won’t help—you need specific unflooding techniques, not new spark plugs or electrical components.
Immediate Fixes for Two-Stroke Dirt Bikes
Wide-Open Throttle Kick Start Technique
The fastest solution for most flooded two-strokes requires turning off the fuel valve first, then holding the throttle completely wide open while kicking the engine over. This works because maximum throttle opening allows the greatest possible air intake, which leans out the rich mixture while pushing excess fuel out through the exhaust port. Most riders find their bike fires up on the first or second kick using this method. Critical tip: Remember to turn your fuel back on after starting—the wide-open throttle is only for clearing the flood, not for normal operation.
Side-Tip Drain Method for Ridden-Over Bikes
When your two-stroke floods from being tipped over during riding, lay the bike on its left side—the side with the breather hose exhaust—and wait until fuel stops dripping. This allows fuel to drain from the carburetor through breather hoses. Once the dripping stops, lift the bike upright, turn the fuel back on, and attempt to start. The engine runs initially on fuel remaining in the crankcase and typically starts immediately. Never leave your bike on its side longer than necessary—this could allow fuel to pool near hot engine components.
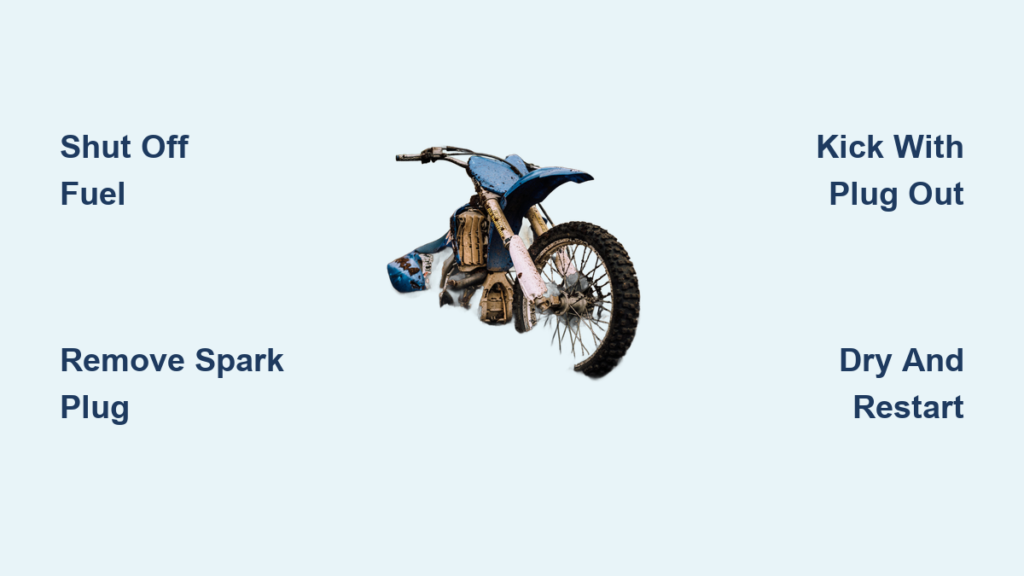
Step-by-Step Unflooding Procedure That Works

Shut Off Fuel Supply Immediately
Before doing anything else, locate and close your dirt bike’s fuel valve. This stops additional fuel from entering the carburetor and worsening the flooding. If your bike lacks a fuel valve (common on older models), disconnect the fuel line at the carburetor. Skipping this step means you’re fighting against continuous fuel input while trying to clear existing excess—a losing battle that only deepens the flooding problem.
Remove and Inspect Spark Plugs
Use a spark plug wrench to remove the plug while noting its condition. A wet, fuel-saturated plug confirms flooding, while a dry plug suggests other issues like no spark or compression problems. Critical visual cue: Fresh gasoline on the plug indicates recent flooding, while dark carbon deposits suggest chronic rich-running conditions needing further diagnosis. If the plug is heavily fouled, wipe it thoroughly with a clean cloth; for severe cases, replace it with a spare dry plug you should always carry on trail rides.
Clear Fuel from Combustion Chamber
With the spark plug removed, kick the engine over 5-10 times with the fuel valve still closed. This expels liquid fuel through the spark plug hole while drawing fresh air into the cylinder. Important safety note: Keep the bike upright during this process—rolling it without the plug installed could allow fuel vapor to accumulate near hot components. You’ll often see and smell fuel spraying out, confirming you’re clearing the flood.
Dry Plugs and Attempt Restart
After clearing the cylinder, dry your spark plug completely or install a fresh one. Hand-tighten it first before final tightening with your wrench. Turn the fuel valve back on and attempt starting with only ¼ throttle—contrary to popular belief, wide-open throttle during restart can actually worsen severe flooding. Most bikes fire up within two kicks using this method. If not, repeat the clearing process before trying again.
Four-Stroke-Specific Unflooding Techniques
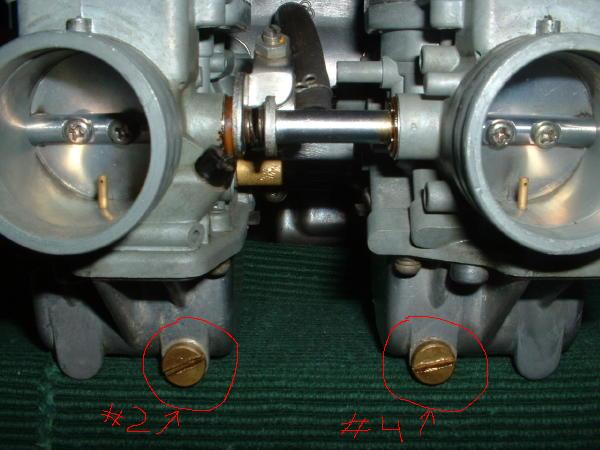
Float Bowl Drain Screw Method
Four-stroke dirt bikes typically feature a drain screw on the carburetor float bowl bottom—your secret weapon for trailside unflooding. With the fuel valve turned off, loosen this screw and drain all fuel into a container. This removes both excess fuel and any debris preventing the float valve from seating properly. After draining, close the screw, turn fuel back on briefly, then repeat the process. This double-drain technique dislodges stubborn debris causing continuous flooding.
Check Valve Clearance Issues
Persistent flooding on four-strokes sometimes indicates valve problems rather than carburetor issues. Improper valve clearance affects compression and starting, leading riders to over-choke and flood the engine repeatedly. If unflooding works temporarily but flooding returns quickly, check your valve specifications—especially if you’ve recently performed valve work. Incorrect valve timing creates hard-starting conditions that inevitably lead to flooding during repeated start attempts.
Prevent Future Flooding Problems
Master Proper Cold-Start Technique
Avoid excessive throttle during cold starts—this is the #1 cause of preventable flooding. Engage the choke fully when the engine is cold, but resist twisting the throttle. Once the engine fires, gradually reduce choke while allowing the engine to warm up. Pro tip: Most modern dirt bikes need less choke than riders assume—half-choke often suffices even in cold conditions. Never leave the choke engaged once the engine reaches operating temperature.
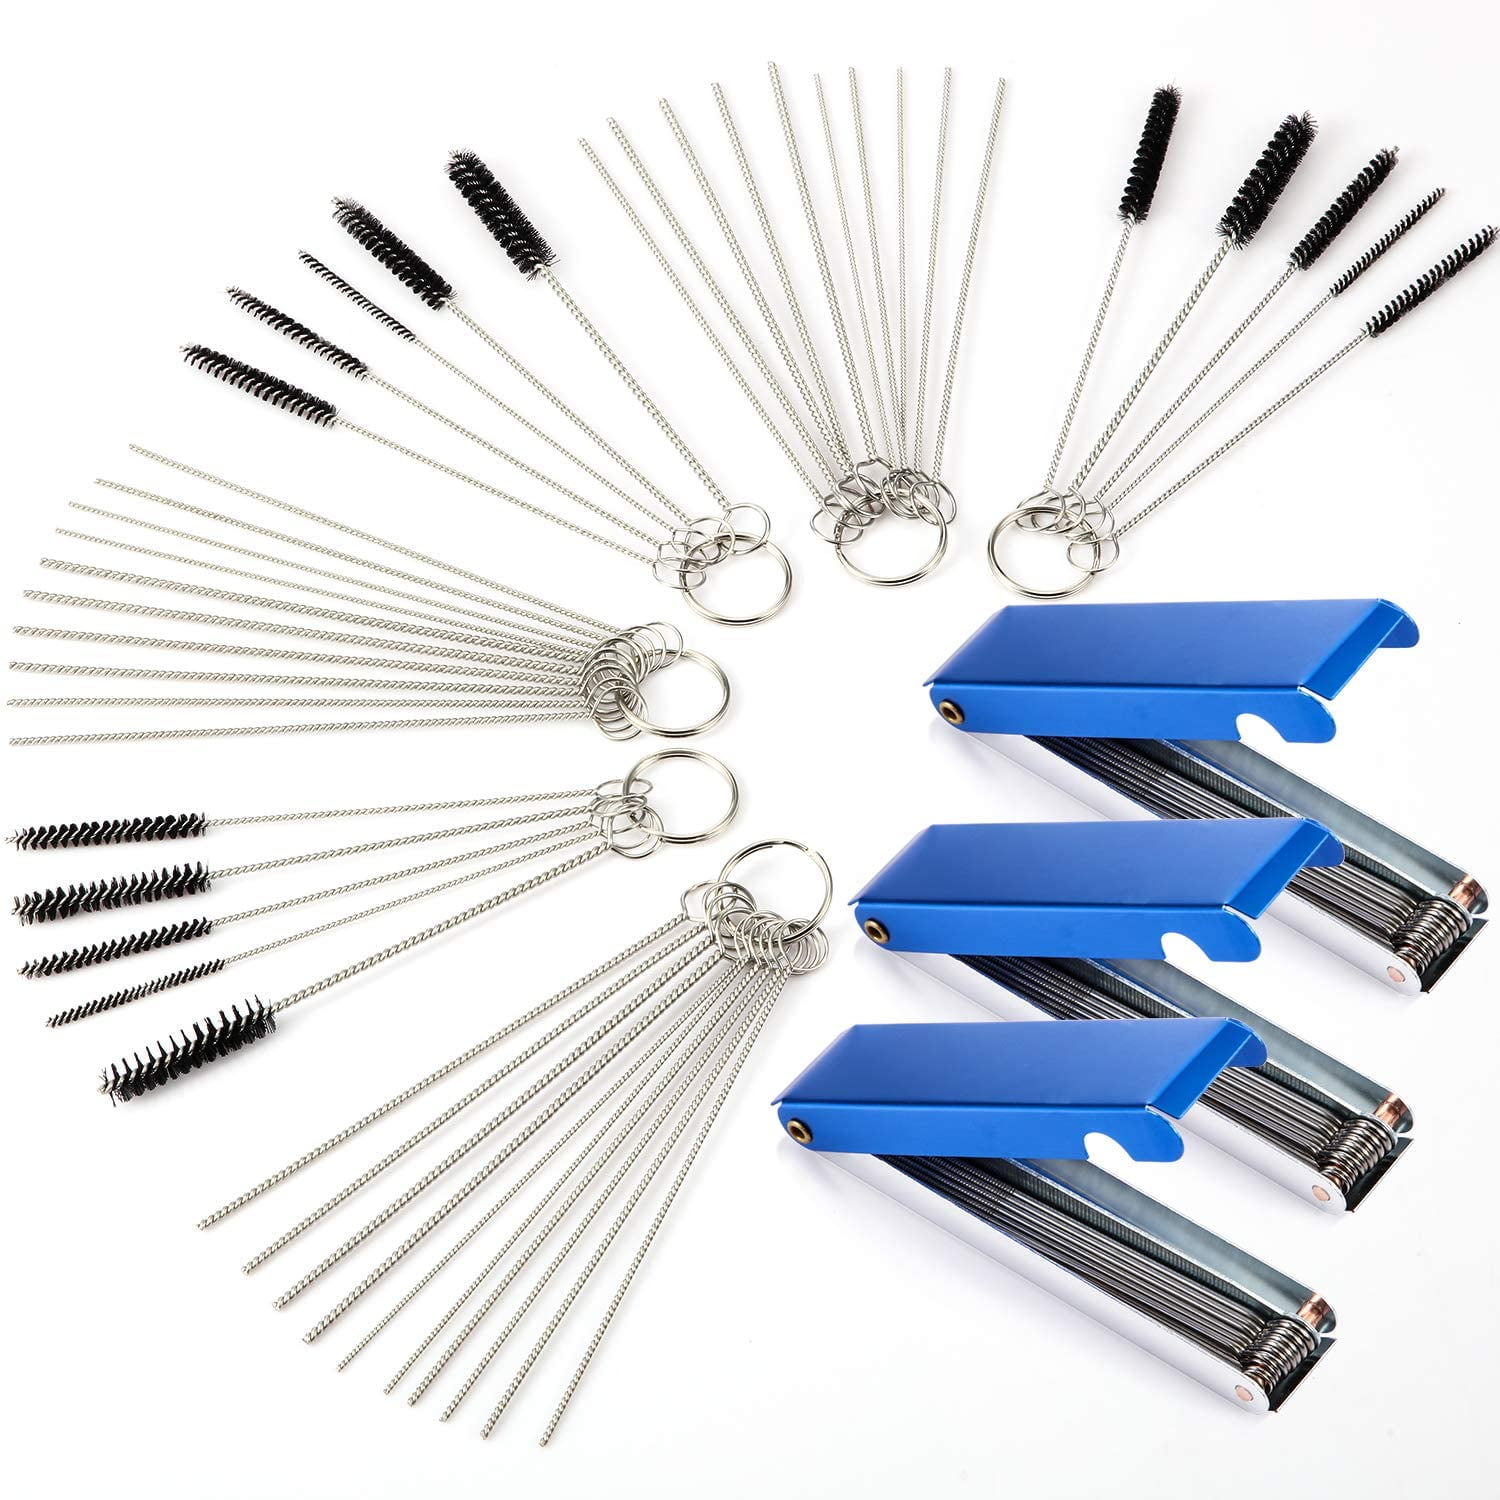
Regular Carburetor Maintenance Schedule
Prevent stuck floats—the most common mechanical cause of recurring flooding—with seasonal carburetor cleaning. Every 3-6 months, remove the carburetor, disassemble it completely, and clean all passages with proper carburetor cleaner. Pay special attention to the float needle and seat where debris causes flooding. Check float height against manufacturer specs and replace the bowl gasket if compressed or cracked. This 30-minute maintenance task prevents hours of trailside frustration.
Emergency Trail Solutions When Flooding Strikes
Limited Tool Fix for Remote Locations
When stranded miles from home with a flooded bike, follow this streamlined process: Turn off fuel immediately, remove the spark plug, kick 5 times with plug out, dry or replace the plug, then attempt starting with minimal throttle. If possible, tip the bike to drain fuel from the carburetor (catching it for disposal), but prioritize clearing the combustion chamber first. Critical reminder: If the bike still won’t start after two proper unflooding attempts, the problem likely extends beyond simple flooding—consider water in fuel or electrical issues rather than continuing to flood the engine further.
Essential Trail Repair Kit Must-Haves
Carry these three items specifically for flooding emergencies: spare spark plug (correct heat range for your bike), small lint-free cloth for drying plugs, and zip-top bag for storing wet plugs. A compact set of hex keys helps access drain screws on some models. These lightweight items weigh almost nothing but transform flooding from a ride-ender into a five-minute fix. Pro tip: Store your spare plug in a small airtight container to keep it clean and dry.
The most effective approach to unflooding combines immediate fuel cutoff with thorough cylinder clearing. Turn off fuel, remove and dry plugs, kick with plugs out, then restart with minimal throttle. For recurring flooding, inspect your float mechanism—clean, adjust, or replace components as needed. Carry spare plugs religiously and master your carburetor’s drain screw location for trail-side repairs. With regular maintenance and proper starting techniques, most flooding issues become preventable, keeping your dirt bike ready to ride whenever adventure calls.


