
Your dirt bike’s thunderous exhaust might thrill you on the trail, but that same roar can get you banned from riding areas with strict noise limits. Learning how to make a dirt bike silencer solves this dilemma by reducing decibel levels to trail-legal limits while maintaining the power delivery you rely on. Many popular riding areas enforce 95-decibel restrictions, and exceeding these limits can result in fines or lost trail access. This guide reveals practical, field-tested methods to quiet your exhaust without sacrificing performance—using materials you likely already have in your workshop. You’ll discover how to balance sound reduction with engine breathing for a solution that keeps both land managers and your throttle hand happy.
The key to successful silencer modification lies in understanding how exhaust noise propagates. Sound waves from combustion travel through your exhaust system and exit as noise we hear. Effective silencers interrupt these waves through absorption, reflection, and diffusion—not by choking your engine. When you learn how to make a dirt bike silencer properly, you’ll create multiple opportunities for sound energy to dissipate before exiting the muffler. This approach reduces volume while preserving the distinctive exhaust note that provides crucial engine feedback during rides.
How Sound Suppression Actually Works in Dirt Bike Exhausts
Exhaust noise reduction depends on three fundamental mechanisms working together to disrupt sound waves. Absorption converts sound energy to heat within porous materials like fiberglass insulation. Reflection redirects sound waves through longer, more complex paths using internal baffles. Diffusion scatters sound in multiple directions, reducing the intensity reaching the listener. The most effective DIY silencers incorporate all three principles to maximize noise reduction without excessive flow restriction.
Surface area exposure determines your modification’s effectiveness—more contact between exhaust gases and sound-absorbing material means better noise suppression. This explains why packed mufflers outperform bare-walled systems. Your goal when making a dirt bike silencer should be maximizing this contact while maintaining sufficient exhaust flow. Overly restrictive modifications create backpressure that robs top-end power and risks engine overheating, while insufficient packing fails to meet noise targets. The sweet spot lies in dense packing that allows gases to penetrate throughout the silencer’s length.
Essential Materials for Effective DIY Silencers

Choosing the right packing material makes or breaks your silencer modification. Fiberglass insulation from home improvement stores offers the best balance of sound absorption and heat resistance for most riders. Its dense fibers create extensive surface area for sound dissipation while withstanding exhaust temperatures above 400°F. Always wear gloves and eye protection when handling fiberglass—those microscopic particles will irritate your skin and respiratory system if you’re not careful.
Steel wool and stainless steel mesh provide durable alternatives that withstand extreme temperatures but require more frequent cleaning. These metallic materials maintain structural integrity longer than fiberglass but lose effectiveness as carbon deposits accumulate. Avoid residential foams despite their superior sound absorption—they lack fire resistance and will disintegrate or potentially ignite in high-temperature exhaust environments. For end plugs and baffle tubes, aircraft-grade aluminum provides the ideal combination of machinability and heat resistance.
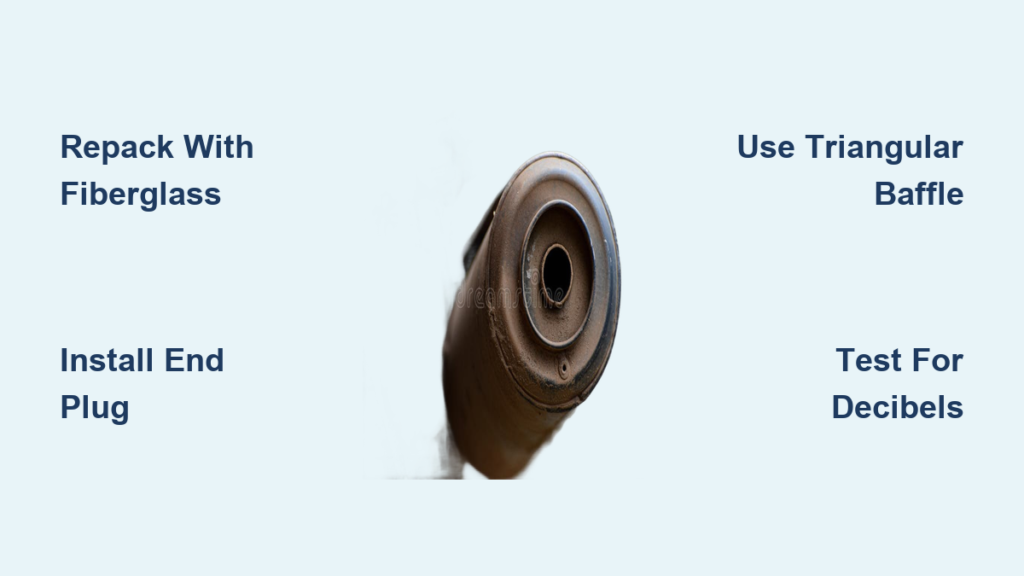
Repacking Your Existing Silencer (Simplest Method)
Start with this accessible approach if you’re new to exhaust modifications. Remove your silencer end cap and extract the worn packing material, which likely suffers from “spooge”—oil and carbon buildup that blocks perforations and reduces effectiveness. Clean the internal core thoroughly using a nail inserted into vice grips to clear blocked holes. Stuff new fiberglass insulation into the silencer body, ensuring contact with all internal surfaces while maintaining 20-30% void space for exhaust flow.
Critical mistake to avoid: Over-packing creates excessive backpressure that chokes your engine. Proper density allows exhaust gases to penetrate the material without restriction—think firm but yielding when compressed. Most riders achieve optimal results with 1.5-2 inches of compressed fiberglass surrounding the perforated core. This method typically reduces noise by 3-5 decibels with zero power loss when executed correctly.
End Plug Fabrication (Removable Solution)
Create a custom plug that forces exhaust through your existing packing rather than exiting directly. Measure your silencer’s internal diameter and machine an aluminum plug with an O-ring groove and set screw provisions. The plug should press-fit into the silencer body with the O-ring creating a seal against exhaust bypass. Install it by sliding into position until it contacts the internal baffle, then secure with set screws tightened against the outer wall.
This approach shines for riders who need competition-legal capability—simply remove the plug for racing events. Most builders complete fabrication in under twenty minutes with basic workshop tools. The end plug method typically delivers 4-6 decibel reduction while preserving your bike’s original sound character. Test fit before final installation to ensure the plug won’t be expelled by exhaust pressure during operation.
Triangular Baffle Insert Technique (Advanced Performance)

Boost suppression without power loss by installing a triangular prism of perforated metal inside your existing core. Measure your core length and cut perforated sheet metal to match, bending it into a triangular shape that fits within the circular cross-section. This geometry creates additional sound wave interruption paths while maintaining straight exhaust flow. Install the insert ensuring proper fit—slightly flare the ends if needed for secure engagement.
Testing shows this method delivers approximately 5 decibel reduction at 4500 RPM with zero measurable power loss. The triangular shape increases surface area exposure while the geometry disrupts sound waves more effectively than straight tubes. This technique works best in larger displacement bikes but adapts well to common 250-450cc models with proper scaling. Expect to spend 1-2 hours on fabrication and installation for optimal results.
Testing and Safety Verification Before Riding
Never hit the trails with an untested modification—establish a systematic evaluation protocol first. Perform sound measurements on the same day under consistent weather conditions using a calibrated meter positioned 5 and 20 feet from the exhaust. Record readings at idle and wide-open throttle from multiple angles. Compare results against your pre-modification baseline to verify actual decibel reduction.
Critical safety check: Monitor exhaust temperatures during initial testing—excessive heat discoloration indicates dangerous backpressure. Any blueing of exhaust components or unusual odors means immediate modification. Ensure all components remain securely fastened after thermal cycling—loose end plugs can become dangerous projectiles. Verify spark arrestor functionality if riding in fire-prone areas, as many trails require this feature for legal access.
Trail-Legal Modifications That Preserve Riding Experience
The ultimate test of your DIY silencer is trail acceptance without performance compromise. Most riding areas require noise levels below 95 decibels, but some enforce stricter limits in noise-sensitive zones. Your modified exhaust should maintain the distinctive sound character that provides engine feedback—complete silence indicates over-modification that likely impacts performance. The best modifications reduce volume while preserving the exhaust note’s tonal quality.
Start with repacking your existing silencer before attempting complex fabrication. This simplest method often delivers sufficient noise reduction for trail legality while requiring minimal tools and expertise. If additional suppression is needed, progress to end plug fabrication before attempting baffle tube installations. Document your modification process and test results—this documentation proves invaluable if trail managers question your compliance.
Pro tip: Carry your original end cap or plug hardware when riding in areas with strict enforcement. This allows quick reversion to competition specification if needed, maintaining your access to diverse riding locations. Regular maintenance ensures continued effectiveness—repack every 10-15 riding days or when you notice increased noise levels indicating packing breakdown.
Learning how to make a dirt bike silencer properly transforms your trail experience from potential nuisance to welcome presence. By applying these field-tested methods, you’ll maintain trail access while preserving the performance that makes dirt biking exhilarating. Start simple with repacking, verify results through systematic testing, and progress to more advanced techniques only as needed—your throttle hand and local land managers will thank you.


