
You’re flying down the track, adrenaline pumping, when suddenly you hit a field of whoops—those consecutive, closely spaced bumps that can turn a smooth ride into a teeth-rattling disaster in seconds. Your bike starts bucking, your arms lock up, and before you know it, you’re eating dirt. If you’ve ever struggled to maintain speed or control through whoop sections, you’re not alone. Mastering whoops separates novice riders from confident track performers, and it’s the #1 skill riders ask professional coaches about. This guide cuts through the guesswork with actionable techniques used by experienced riders to blast through whoops smoothly, safely, and with control. You’ll learn exactly how to position your body, control your throttle, and read the terrain to transform whoops from a nightmare into your secret weapon on the track.
Why Your Dirt Bike Loses Control in Whoop Sections
Whoops destabilize riders because they force rapid, repetitive suspension compression and rebound. When your front wheel hits the first bump, poor body positioning transfers all that energy straight up your arms, causing death-gripping and loss of bike control. Most riders instinctively stand rigidly on the pegs or sit too far back, making the bike pitch forward violently as it hits subsequent bumps. The critical mistake? Fighting the bike’s natural motion instead of flowing with it. You’ll notice your vision locks on the next bump instead of scanning ahead, creating a cycle of reactive corrections that amplifies instability. When your elbows and knees stay locked, the suspension can’t do its job, turning minor bumps into jarring impacts that knock you off balance.
How Suspension Behavior Affects Whoop Navigation
Your dirt bike’s suspension compresses and rebounds 3-5 times per second in whoops. If you’re rigidly planted on the pegs, you’re essentially bypassing the suspension’s damping effect. Watch for these visual cues: the front end diving sharply after the first bump (indicating too much weight forward) or the rear wheel losing traction and skipping sideways (signaling incorrect throttle application). Proper technique uses the suspension as a shock absorber by staying loose through your joints, allowing the bike to move beneath you while your upper body maintains a stable line. This requires deliberate knee and elbow flexion—not just once, but continuously as you traverse each bump.
Common Rider Errors That Cause Wipes Outs
- Death-gripping the handlebars: Transfers every bump vibration directly to your arms, causing fatigue and loss of steering control within seconds
- Looking down at immediate bumps: Creates tunnel vision, preventing you to anticipate changes in whoop height or spacing
- Chopping the throttle: Stabs of throttle mid-whoop make the rear wheel break loose, while coasting causes the bike to stall in the section
- Riding in too high a gear: Forces you to rev excessively, reducing your ability to modulate power smoothly
Pro Tip: Film yourself riding whoops. Most riders discover they’re looking down 80% of the time—a fixable habit that transforms control instantly.
Position Your Body for Whoop Impact Success

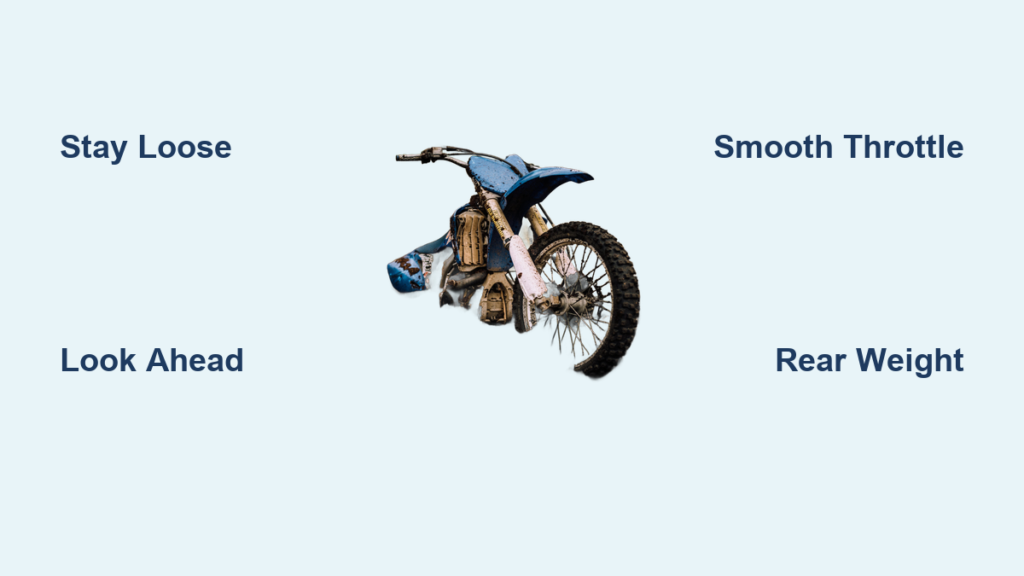
Your body position is the foundation for clean whoop navigation. Stand tall on the footpegs with your knees bent at 45 degrees and elbows out wide like airplane wings. Keep your head up, eyes focused 10-15 feet ahead of your front wheel—not at the bumps directly in front of you. Shift your weight slightly rearward so your butt hovers just behind the seat, with 60% of your weight on the rear peg. This rearward bias prevents the bike from pitching forward as the front wheel drops into whoop troughs. Crucially, maintain “active suspension” by continuously pumping your knees and elbows like shock absorbers—they should compress and extend rhythmically with each bump.
Three-Second Body Reset Technique for Whoop Recovery
If you start losing control mid-section, execute this emergency reset:
1. Roll on steady throttle (don’t chop it) to maintain rear traction
2. Exhale sharply to release tension in your core and arms
3. Drop your heels and press down through your legs while lifting slightly with your arms
4. Scan ahead to the exit point, not the current bump
This sequence takes approximately three seconds to stabilize the bike. Practice it at slow speeds on small whoops until it becomes instinctive. You’ll feel the bike settle beneath you as your joints absorb the impacts instead of transmitting them to your skeleton.
Gear Adjustments That Make Whoop Navigation Easier
Before hitting whoops, verify these critical settings:
* Suspension Preload: Increase rear preload by 1 click if you’re bottoming out frequently
* Throttle Response: Ensure smooth roll-on (no jerky engagement)
* Tire Pressure: Run 12-14 PSI for better bump compliance
* Footpeg Grip: Replace worn pegs—you need maximum foot traction
Warning: Never attempt whoops with stiff or damaged suspension. Bottoming out repeatedly can bend rims or damage forks.
Throttle Control Secrets for Smooth Whoop Flow
Maintaining consistent throttle input is non-negotiable for whoop success. Roll on enough throttle to keep the engine in the powerband (typically 60-70% throttle for most 250-450cc bikes), but avoid full acceleration that breaks the rear wheel loose. The goal is a steady, humming power delivery that carries momentum through each bump. You should hear a consistent engine note—not surging or lugging. If the rear wheel skips sideways, you’re applying too much throttle too quickly; if the bike stalls mid-section, you’re not applying enough. The sweet spot feels like the bike is “floating” over the bumps rather than crashing through them.
How to Time Your Throttle Through Variable Whoops
Whoop sections rarely have uniform bumps. When you encounter taller or closer bumps:
* For taller bumps: Increase throttle slightly before hitting them to prevent stalling
* For closer bumps: Maintain steady throttle but focus on quicker knee/elbow compression
* For washed-out whoops: Reduce speed before entering, then use smooth, progressive throttle
Pro Tip: Practice “throttle mapping” on easy whoops—consciously note how much input keeps the bike stable at different speeds. This builds muscle memory for trickier sections.
Reading Whoop Terrain Before You Commit
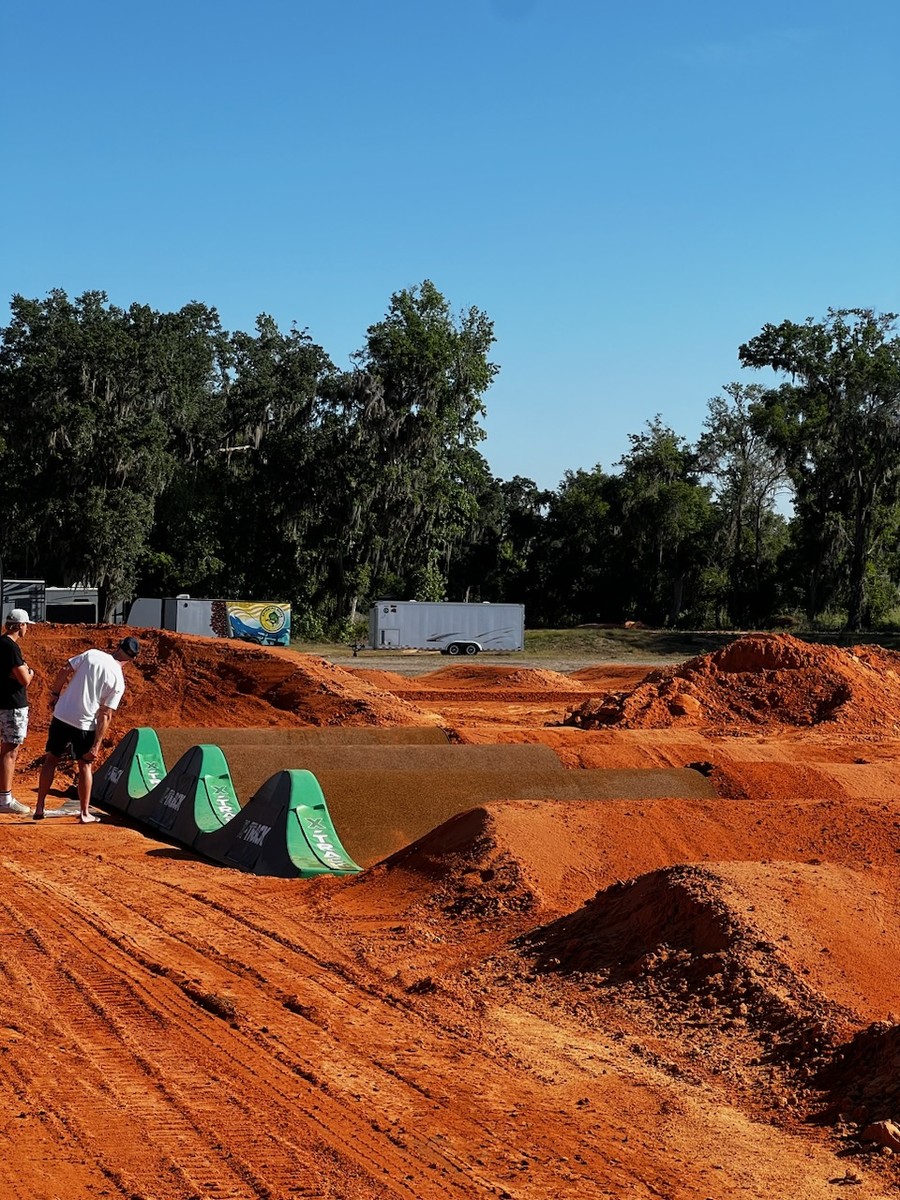
Never enter a whoop section blind. Walk the track first to assess critical variables:
* Bump height: Look for shadows indicating deeper troughs
* Spacing: Count your strides between crests (consistent = easier)
* Surface: Wet or loose dirt requires earlier throttle roll-on
* Entry angle: Approach perpendicular to whoops—never at an angle
During your walk-through, identify your “commit point”—the spot where you must decide your line and speed. If you hesitate past this point, you’ll instinctively brake mid-section, guaranteeing a crash. Visualize your entire run from entry to exit while walking, noting where you’ll shift your weight or adjust throttle.
When to Slow Down Versus Power Through Whoops
| Situation | Recommended Action | Why |
|---|---|---|
| Whoops wider than bike | Power through at speed | Slowing causes bike to “sit down” in bumps |
| Deep, washed-out whoops | Reduce speed before entry | Prevents high-siding on loose edges |
| Variable spacing | Match speed to tightest section | Avoids getting out of rhythm mid-run |
| First lap of race | Take conservative line | Lets you assess changing conditions |
Maintenance Checks That Prevent Whoop Failures

Whoop sections expose mechanical weaknesses instantly. Before track days, prioritize:
1. Steering stem bearings: Check for play (loose bearings cause headshake)
2. Chain tension: Proper slack (1.5-2 inches) prevents binding under load
3. Footpeg bolts: Tighten to spec (vibration loosens them quickly)
4. Suspension seals: Wipe clean and inspect for oil streaks
Critical Failure Point: Loose spoke nipples cause wheels to go out of true in whoops, making the bike handle unpredictably. True your wheels weekly if you ride whoops regularly.
Practice Drills to Build Whoop Confidence
Start small—never jump into massive whoops. Find a section with 6-8 gentle bumps no higher than 6 inches. Ride through at walking pace, focusing solely on keeping your head up and elbows bent. Once comfortable, increase speed gradually while maintaining smooth throttle. Record each run to spot technique breakdowns. The “one-bump drill” builds crucial muscle memory: ride over a single bump repeatedly, focusing on landing with knees compressed and weight slightly rearward. Only add a second bump when you’re consistent on the first.
How Long It Takes to Master Whoops
Expect 8-12 dedicated practice sessions (20-30 minutes each) to achieve basic competence. Progress looks like this:
* Session 1-3: Surviving the section without crashing
* Session 4-6: Maintaining consistent speed through whoops
* Session 7-9: Adjusting to minor terrain variations
* Session 10+: Using whoops to gain track position
Don’t rush progression—skipping stages causes ingrained bad habits that take months to fix.
Prevent Whoop Fatigue From Ruining Your Ride
Arm pump and core fatigue destroy technique after 2-3 laps in whoops. Combat this with:
* Pre-ride stretching: Focus on triceps, shoulders, and lower back
* Grip pressure check: Relax hands every 30 seconds (white-knuckling wastes energy)
* Core engagement: Tighten abs slightly to reduce arm load
* Breath control: Inhale for 2 bumps, exhale for 2 bumps
Pro Tip: Install oversized handlebars—they reduce steering effort by 20% in whoops, delaying fatigue.
Mastering whoops transforms your dirt bike from a bucking bronco into a precision instrument that flows through terrain most riders avoid. The key isn’t brute force—it’s synchronizing your body, throttle, and vision to work with the bumps rather than against them. Start small, prioritize smooth inputs over speed, and film your progress to spot subtle improvements. Remember that even pros wipe out in whoops; what matters is analyzing why and adjusting. Before your next ride, walk the whoop section with a clear plan, verify your suspension settings, and commit to looking ahead—not down. With consistent practice using these techniques, you’ll soon find yourself grinning through whoops while others are picking themselves up. For advanced training, seek out a certified motocross coach who can provide real-time feedback on your form—this single investment often accelerates progress by months. Now get out there, respect the bumps, and own that track.


