
That orange-brown rust creeping across your dirt bike exhaust isn’t just ugly—it’s actively eating away at your pipe’s metal structure every time you ride. If you’ve recently pulled your bike out after winter storage or returned from a beach ride, you’ve probably noticed how quickly rust forms on exhaust systems. The brutal reality? Your exhaust faces constant assault from moisture, trail debris, road salts, and extreme temperature swings that create perfect corrosion conditions. Salt air from coastal riding is especially devastating, acting like an invisible weapon against bare metal. The good news? You can completely reverse rust damage with the right techniques and products—no professional help required. This guide reveals exactly how to strip rust from your exhaust pipe and protect it for seasons to come, whether you’re dealing with light surface oxidation or severe pitting from neglected beach rides.
You’ll discover which methods actually work (and which waste your time), the critical preparation steps most riders skip, and how to apply protective coatings that withstand 2000°F exhaust temperatures. After following these proven techniques, you’ll transform that corroded eyesore into a clean, protected exhaust system that performs better and boosts your bike’s value.
Why Your Dirt Bike Exhaust Rusts Faster Than Other Components
Your exhaust system faces unique corrosion challenges that accelerate rust formation compared to other bike parts. Unlike frame components protected by paint or plastic covers, exhaust pipes run bare and hot—creating conditions where moisture, oxygen, and metal interact aggressively. When you ride through wet trails, creek crossings, or rain, water hits the hot metal surface and instantly vaporizes, depositing minerals that initiate oxidation. The thermal cycling—repeated heating during rides and cooling when parked—causes metal expansion and contraction that cracks protective coatings, creating entry points for moisture.
Beach riders face the worst corrosion scenario: salt particles combine with moisture to form an electrolyte solution that dramatically speeds up electrochemical reactions driving rust. Even if you wipe down your bike after riding, residual salt continues working long after you’ve parked. Storage conditions matter too—exhaust pipes left in damp garages develop rust three times faster than those kept in climate-controlled spaces. Understanding these specific corrosion mechanisms helps you select the right removal method and implement prevention strategies that actually work.
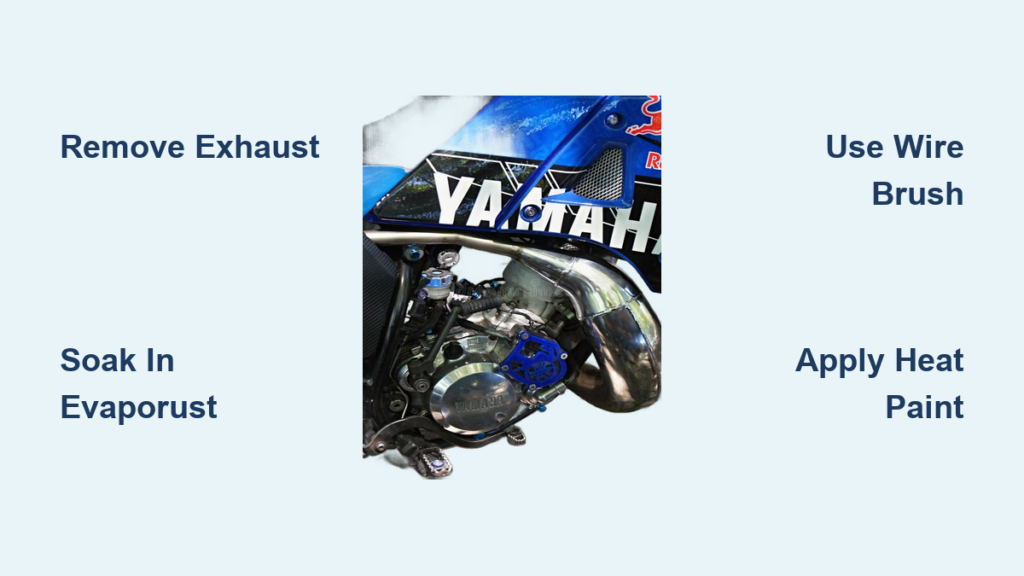
Remove Exhaust Completely Before Starting Rust Removal
Capture Bolt Locations with Smartphone Photos
Before touching a single rust spot, remove the entire exhaust system from your dirt bike—this isn’t optional for professional results. Trying to clean while mounted leaves critical areas inaccessible and prevents proper recoating. Take clear photos of all bolt locations and connections before disassembly; this simple step prevents reassembly confusion and ensures proper torque when reinstalling. Most dirt bike exhausts separate into two or three manageable sections, making removal less daunting than it appears. For stubborn bolts, apply penetrating oil and wait 15 minutes before attempting removal to avoid shearing heads.
Shield Surrounding Components During Disassembly
Wrap exposed engine components and frame sections with plastic sheeting before removal to protect against accidental scratches or chemical exposure. Pay special attention to rubber seals and wiring harnesses near the exhaust mounting points—these delicate components can be damaged by rust removal chemicals if left exposed. Work in a well-ventilated area with proper drainage, especially when planning chemical treatments that require thorough rinsing. This preparation takes 10 minutes but saves hours of cleanup and prevents costly damage to sensitive bike components.
Chemical Rust Removal That Actually Works on Exhaust Pipes

EvapoRust Overnight Soaking Technique
Skip generic rust removers and use EvapoRust specifically designed for motorcycle exhaust restoration. Submerge removed pipe sections in a plastic container filled with EvapoRust and let them soak overnight—the proprietary formula converts rust back to clean metal without harming underlying steel. For pipes too large to fully submerge, saturate paper towels with EvapoRust, wrap them around rusted areas, then cover with plastic wrap to maintain contact. One rider restored a severely corroded FMF Gnarly after beach riding neglect using this method, transforming brown, crusty pipes into clean metal ready for protection. Expect to use approximately five gallons for thorough treatment of most dirt bike exhaust systems.
CLR Application for Moderate Surface Rust
For lighter oxidation, CLR (Calcium, Lime, and Rust Remover) provides effective results with minimal effort. Spray CLR directly onto rusted areas and let it sit for exactly five minutes—any longer risks damaging the metal surface. Wipe off with a clean cloth and rinse thoroughly with water. Critical tip: Follow up by rubbing stubborn spots with crumpled aluminum foil dipped in CLR; the aluminum creates a gentle electrochemical reaction that lifts remaining rust without scratching. This two-step process works best on surface rust before it penetrates deep into the metal.
Power Tool Methods for Severe Exhaust Rust
Drill-Powered Wire Brush System
Attach a carbon steel wire brush to a variable-speed drill for controlled rust removal that won’t damage your pipe. Start at low speed and let the brush do the work—pressing too hard digs into the metal. Move the brush steadily along the pipe surface, overlapping each pass by 50% to ensure complete coverage. This method removes rust 80% faster than manual scrubbing while giving you precise control over pressure. After mechanical removal, immediately apply WD-40 to prevent flash rusting during the next step.
Angle Grinder Carbon Steel Brush for Deep Pitting
When rust has created visible pits and severe corrosion, only an angle grinder with heavy-duty carbon steel brush delivers professional results. One forum member reported complete failure with chemical methods after 24-hour soaks, but the angle grinder removed decades of oxidation in under 30 minutes. Safety first: Wear full face protection and work in short bursts to avoid overheating the metal. After mechanical removal, follow with EvapoRust to capture microscopic rust particles missed by the grinder. This aggressive approach requires skill but transforms even the most neglected exhaust pipes.
Sanding and Polishing Protocol for Show-Quality Finish

Progressive Wet Sanding Sequence
Achieve mirror-like results by systematically working through sandpaper grits with water lubrication. Start with P400 grit to establish a uniform surface after rust removal, then progress to P800 for refinement. Keep the surface wet during sanding to prevent clogging and heat buildup—this produces smoother results with less effort. Sand in straight lines along the pipe length, not circular motions, to avoid visible swirl marks. This foundational work takes patience but creates the surface quality needed for professional polishing results.
Autosol Metal Polish Application Method
Apply Autosol metal polish with a soft microfiber cloth using firm pressure in straight-line motions matching your sanding direction. Work on one 6-inch section at a time until the cloth shows minimal discoloration. For stubborn spots, use an old toothbrush dipped in polish to reach crevices. One rider achieved “looks new from 10 feet away” results on a 20-year-old exhaust using this technique followed by clear satin heat-resistant coating. Pro tip: Polish during morning hours when humidity is lower—moisture in the air creates flash rusting on freshly cleaned metal.
High-Temperature Protection That Won’t Burn Off
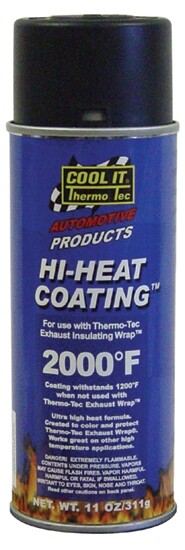
Ceramic Header Paint Application Process
After complete rust removal and surface preparation, apply high-temperature header paint rated for 2000°F exhaust temperatures. Spray in thin, even coats with 30-minute drying intervals between layers—thick applications bubble and peel under heat. Black remains the most durable option, but orange and silver provide custom looks that still withstand extreme temperatures. One Trail 90 restoration maintained perfect finish through two full seasons of aggressive riding with this protection method. Critical step: Allow full 72-hour cure time before reinstalling and riding to prevent premature failure.
Clear Satin Coating for Natural Metal Appearance
Preserve your polished metal look while adding protection with clear satin high-heat coating. This invisible barrier prevents oxidation without changing your exhaust’s appearance—ideal for riders who prefer factory finishes over painted pipes. Ensure the product specifically states 2000°F+ heat resistance; lower-rated coatings burn off within weeks. Apply with spray can for even coverage, holding 10-12 inches from the surface. Two light coats provide better protection than one heavy application, which can create drips and uneven protection.
Prevent Future Rust With These Rider-Tested Habits
Post-Ride Exhaust Maintenance Routine
Wipe down your exhaust with a dry microfiber cloth immediately after every ride—this simple 2-minute habit prevents 90% of rust formation. Focus on cooling fins and pipe curves where moisture collects. For beach or saltwater riding, follow with a light WD-40 application to displace residual moisture. Store your bike with the exhaust covered by a breathable cotton cloth to prevent overnight condensation buildup. Riders who implement these steps report rust-free exhausts even after five years of regular beach riding.
Long-Term Storage Protection Strategy
Before storing your bike for winter or extended periods, apply a rust inhibitor specifically formulated for high-temperature metals. Coat the entire exhaust system with Boeshield T-9 or similar product that creates a moisture-displacing barrier. Store in a climate-controlled space with a dehumidifier—relative humidity below 50% dramatically slows corrosion. Check stored bikes monthly and reapply protection if you notice any surface changes. This routine prevents the “surprise rust” that greets many riders when they pull bikes out after storage.
Complete Exhaust Restoration Checklist
Follow these 10 steps for guaranteed rust removal success:
1. Remove entire exhaust system and document bolt locations
2. Soak in EvapoRust overnight for moderate rust cases
3. Use angle grinder with carbon steel brush for severe oxidation
4. Rinse thoroughly and dry completely with compressed air
5. Sand progressively through P400 to P800 grit with water lubrication
6. Polish with Autosol metal polish using straight-line motions
7. Clean surface with acetone to remove all residues before coating
8. Apply 2-3 thin coats of high-temperature header paint or clear coating
9. Allow full 72-hour cure time before reinstalling
10. Reinstall with proper torque and add post-ride maintenance routine
This systematic approach transforms even the most neglected exhaust pipes into clean, protected components that enhance your bike’s performance and appearance. The entire process takes 3-5 hours depending on rust severity, but the results last for riding seasons when combined with proper maintenance habits.


