
That frustrating moment when your throttle sticks open or feels unresponsive can turn an exciting ride into a dangerous situation. Properly installing your throttle cable into the carburetor is one of the most critical maintenance tasks for any dirt bike owner, yet it’s often done incorrectly. The throttle system on your dirt bike relies on two precisely coordinated cables—a pull cable that opens the throttle when you twist the grip and a push cable with a spring that ensures it snaps shut when released. Getting this installation wrong means unpredictable throttle response, potential safety hazards, and unnecessary wear on your carburetor components. When you understand exactly how these cables interface with the carburetor’s internal mechanism, you’ll avoid the common pitfalls that cause throttle problems after installation.
Most riders struggle with throttle cable installation because they don’t recognize the specific relationship between the cable ends and the throttle wheel inside the carburetor. This wheel connects directly to the butterfly valve controlling your air-fuel mixture, and each cable end features a ball that must seat perfectly into designated holes with side slots. The difference between a crisp, responsive throttle and one that binds or fails to return properly comes down to correctly identifying which hole serves which cable and ensuring both cables are properly tensioned. This comprehensive guide walks you through every critical step of connecting your throttle cable to the carburetor so you can enjoy reliable, predictable throttle performance on every ride.
Why Two Throttle Cables Are Essential for Dirt Bike Safety
Your dirt bike’s throttle system requires both a pull and push cable working in perfect harmony for safe operation—this isn’t just design complexity but a critical safety feature. The pull cable actively opens the carburetor’s butterfly valve when you twist the grip, while the push cable with its integrated spring provides the necessary force to return the throttle to closed position the moment you release the grip. Without this dual-cable system, your throttle could stick open during bumps or jumps, creating a dangerous runaway situation.
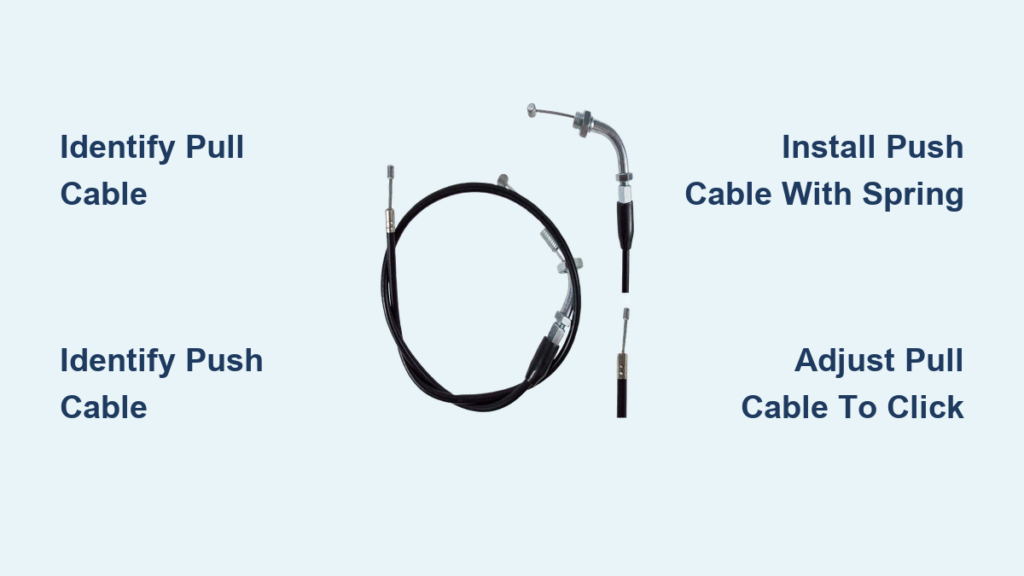
Identifying Your Pull and Push Cables Correctly
Before you touch any tools, properly identify which cable serves which function to avoid installation errors. The push cable is easily distinguishable by the spring attached near its carburetor end—this spring provides the return force. To confirm cable functions:
- Set both cable adjusters to maximum free play (loosest position)
- Rotate the throttle wheel through its full range of motion
- Observe which hole moves closer to the cable bracket (pull cable position)
- Note which hole moves away from the bracket (push cable position)
Critical Mistake: Swapping Cable Positions
Installing the cables in the wrong positions creates immediate throttle problems. If you connect the spring-equipped push cable to the pull position, your throttle won’t open properly. Conversely, putting the pull cable in the push position means your throttle won’t return reliably. This single error causes most post-installation throttle issues riders experience. Always verify cable positions by watching wheel movement before connecting either cable.
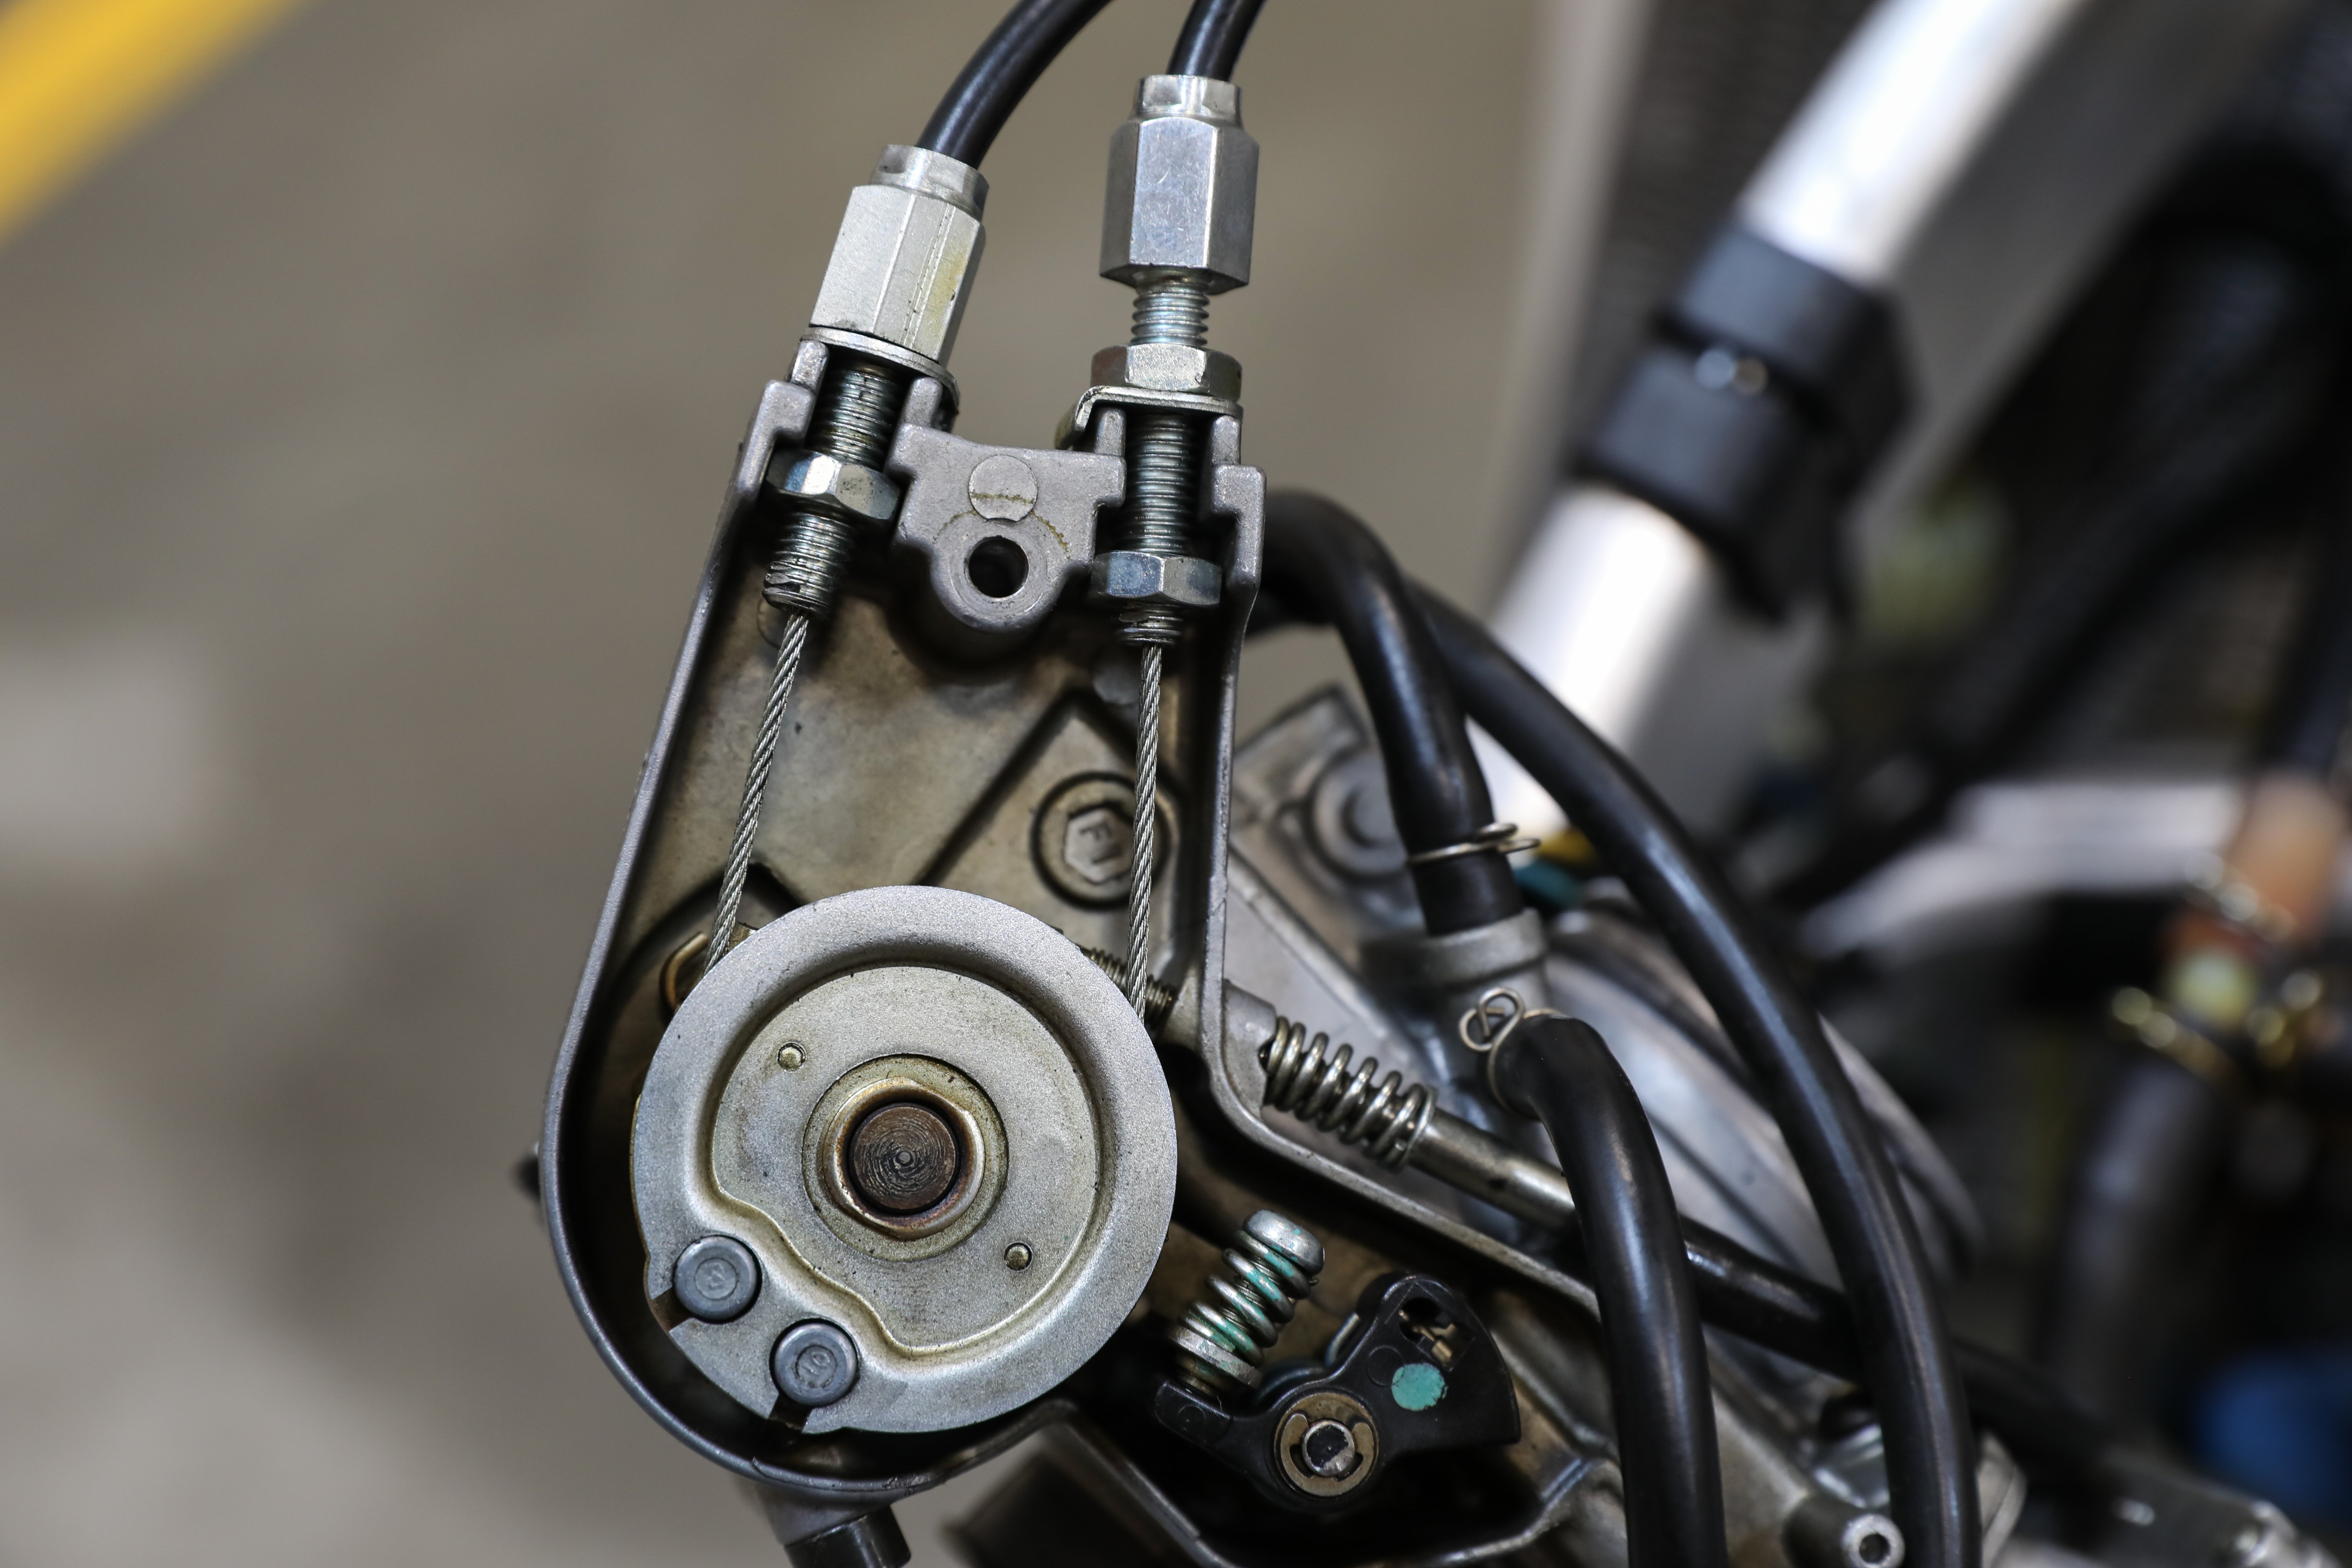
Locating the Throttle Wheel and Cable Connection Points

The heart of your throttle system sits inside the carburetor barrel—a small circular wheel directly connected to the butterfly valve shaft. This wheel features two precisely positioned holes, each with a distinctive slot on one side that allows the cable ball ends to seat properly during installation. Finding this wheel requires removing the carburetor air boot, but once exposed, you’ll see the cable bracket holding both cable ends in place.
How to Determine Correct Cable Hole Positions
With cable adjusters set to maximum free play, rotate the throttle wheel through its complete range:
- The hole that rotates closer to the cable bracket connects the pull cable
- The hole that rotates farther from the bracket connects the push cable
This positioning ensures the pull cable has maximum mechanical advantage when opening the throttle, while the push cable maintains consistent tension to return the throttle. Trying to install cables without verifying these positions leads to improper cable routing and tension issues.
Installing the Push Cable with Return Spring
The push cable installation requires special attention because of its critical safety function. Begin by pulling the push cable out of its protective sleeve until sufficient inner wire is exposed to reach the carburetor bracket. The push cable bracket contains two slotted cylinders of different lengths—you must insert the cable into the longer cylinder.
Proper Spring Positioning for Reliable Throttle Return
The spring at the push cable end must fit completely inside the longer cylinder with the cable sleeve fully seated at the bottom of the slot. Improper spring placement causes many throttle return problems that are difficult to diagnose later. Verify proper installation by:
- Ensuring the spring sits entirely within the cylinder
- Confirming the cable sleeve is pushed all the way to the bottom
- Checking for any visible gaps between sleeve and cylinder
Connecting the Pull Cable at Closed Throttle Position
Unlike the push cable, the pull cable requires specific throttle grip positioning before installation. Twist your throttle grip to its fully closed position before connecting the pull cable—this ensures proper alignment and initial tension. With the grip closed, insert the ball at the pull cable end into the designated pull hole on the throttle wheel, positioning the cable in the slot alongside the hole.
Achieving Perfect Cable Seating in the Bracket
After inserting the pull cable ball into the wheel hole, fit the protective sleeve into the slotted pull cylinder on the cable bracket. This cylinder is noticeably shorter than the push cable cylinder. Critical verification steps include:
- Ensuring both cable sleeves are completely seated in their holders
- Confirming no visible gap exists between sleeve and cylinder bottom
- Verifying cables don’t bind when rotating the throttle wheel
Improperly seated cables cause throttle binding or inconsistent operation that worsens with riding time.
Adjusting Pull Cable for Full Throttle Opening
With both cables connected, begin adjustment with the pull cable. Slowly adjust the pull cable until the throttle wheel reaches its fully open position—you’ll know you’ve reached this point when you hear a distinct mechanical click. This click indicates the wheel has contacted its internal stop and cannot open further.
Locking Pull Cable Adjustment Properly
The moment you hear the click, immediately lock the pull cable adjuster at that exact length. This lock prevents adjuster creep during operation, which would gradually affect throttle performance. Failing to lock the adjuster properly is a common mistake that leads to developing throttle problems weeks after installation. Use a locknut or set screw as specified in your bike’s service manual to secure the adjustment.
Setting Precise Push Cable Tension for Reliable Return
The push cable adjustment requires removing all slack while maintaining smooth operation. Adjust the push cable until no free play exists in the system, but test rotation by hand to ensure the throttle moves freely without binding.
Testing Proper Throttle Return Action
After initial adjustment, test the throttle operation by twisting to wide open position and releasing:
- Throttle should snap shut firmly when released from wide open
- No hesitation or bouncing should occur during return
- Throttle grip should return to closed position within 1 second
If the throttle doesn’t snap shut, tighten the push cable slightly. If the throttle is difficult to open, loosen the push cable incrementally. Make adjustments in quarter-turn increments for precision.
Troubleshooting Common Throttle Cable Installation Problems
Even with careful installation, problems can occur. Understanding these common issues helps you verify your work:
Throttle Doesn’t Return Completely
- Cause: Push cable too loose or spring improperly positioned
- Fix: Increase push cable tension until throttle snaps shut reliably
Throttle Feels Stiff or Binding
- Cause: Cables not properly seated in bracket cylinders
- Fix: Recheck both cable sleeves are fully inserted to cylinder bottoms
Throttle Has Excessive Free Play
- Cause: Pull cable not adjusted to full open position
- Fix: Readjust pull cable until you hear the mechanical click at full open
Maintaining Your Dirt Bike Throttle System Long-Term
Proper installation provides the foundation, but regular maintenance ensures lasting performance. Check throttle play every 5-10 rides by twisting the grip slightly without opening the throttle—if you feel more than 2-3mm of free play, adjustment is needed.
Essential Throttle Maintenance Practices
- Apply cable-specific lubricant to inner wires where they enter housing
- Inspect cable housing for cracks or fraying during each maintenance session
- Clean throttle tube area regularly to prevent dirt buildup that causes binding
- Replace cables showing signs of fraying or excessive stiffness
With correct installation and consistent maintenance, your dirt bike throttle will deliver years of responsive, reliable performance that lets you focus on riding rather than mechanical concerns. Properly connecting your throttle cable to the carburetor isn’t just about functionality—it’s a critical safety measure that ensures your dirt bike responds exactly as you intend when every twist of the throttle matters.


