
Nothing ruins a perfect riding day faster than a breakdown in the middle of nowhere. When your dirt bike sputters to a stop because of neglected maintenance, you’re not just stranded—you’re facing expensive repairs that could have been prevented. Regular dirt bike maintenance keeps your engine running smoothly, ensures your brakes respond when needed most, and prevents catastrophic failures during intense rides. This guide gives you the practical, step-by-step knowledge to keep your dirt bike in peak condition without needing a professional mechanic. Whether you’re a beginner or seasoned rider, these actionable maintenance techniques will save you time, money, and frustration on the trail.
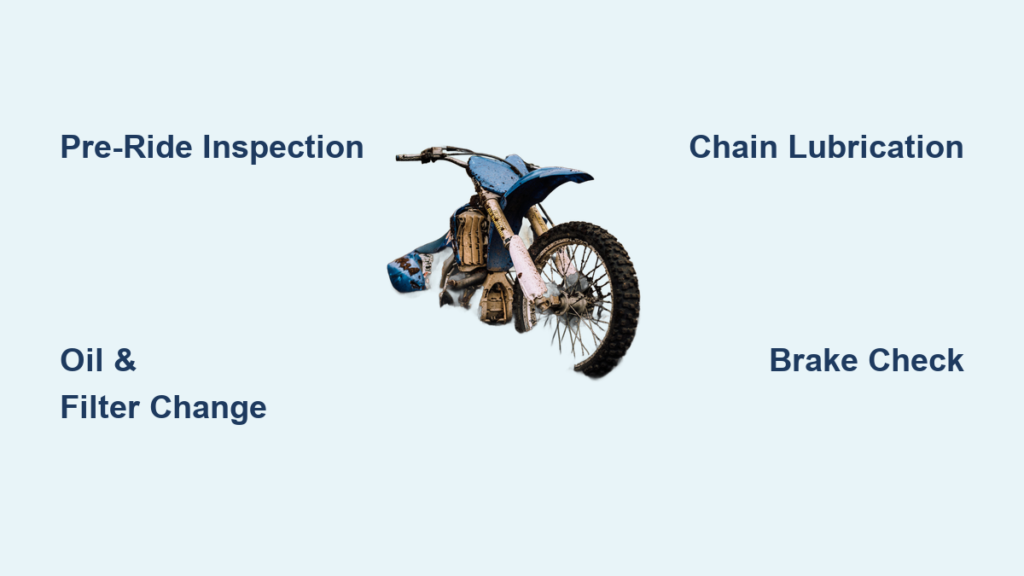
Pre-Ride Inspection Checklist That Prevents Trailside Breakdowns
Skipping a pre-ride inspection is like rolling dice with your safety and bike’s reliability. Start with your tires—check pressure with a quality gauge and look for embedded rocks or thorns that could cause slow leaks. Most trail riders need 12-15 PSI, but verify your specific model’s requirements as improper inflation leads to poor handling and increased puncture risk. Run your hands along the tire tread to feel for cuts or embedded debris you might miss visually.
Your chain demands immediate attention before every ride. Measure vertical play at the chain’s longest run between sprockets—it should move 1-1.5 inches. Too loose and it could jump off; too tight and it accelerates bearing wear. Inspect each link for stiffness, rust, or damaged rollers that indicate chain replacement is needed. Apply chain lube after cleaning off old grime, but wipe away excess to prevent attracting dust. A well-lubricated chain operates quieter and lasts significantly longer.
Fluid checks take less than two minutes but prevent major issues. Verify engine oil level on the dipstick—low oil causes rapid engine wear. For liquid-cooled bikes, check coolant level in the overflow reservoir. Examine brake fluid reservoirs for proper levels and signs of contamination like cloudiness. Squeeze brake levers firmly; they should feel solid, not spongy. Test both front and rear brakes at low speed before heading into technical terrain.
How to Spot Early Warning Signs During Inspection
Listen for unusual sounds when kicking over the engine—metallic pings suggest detonation issues while knocking could indicate bearing problems. Watch for smoke color when starting: blue smoke means oil burning, white suggests coolant intrusion, and black indicates rich fuel mixture. Check for oil leaks around the cylinder base, crankcase, and valve covers—small seeps become major problems quickly.
Feel the clutch lever action as you shift through gears. A sticky or heavy clutch could signal cable issues or worn plates. Inspect the clutch perch for cracks, a common failure point on many models. Test steering movement—excessive play in the head bearings affects handling dramatically on rough terrain.
Engine Oil and Filter Change Procedures That Extend Engine Life
Your dirt bike’s engine oil does triple duty: lubricating moving parts, cooling critical components, and carrying contaminants to the filter. Most riders should change oil every 10-15 hours of riding time, but double that frequency if you frequently ride in dusty conditions. Synthetic oil provides better protection during high-heat sessions but costs more—consider it essential for competitive riders.
Warm the engine for 2-3 minutes before draining to thin the oil and suspend contaminants. Position your drain pan carefully—dirt bike drain plugs often sit close to the frame. Remove the plug and replace the crush washer if it’s flattened or damaged. While draining, wipe the magnetic drain plug to check for metal shavings—a few tiny particles are normal, but visible flakes suggest internal damage needing professional inspection.
Install a new filter with a thin coat of fresh oil on the gasket to prevent dry starts. Pour in the manufacturer-specified oil amount—overfilling causes hard starts and oil leaks. Start the engine and let it run for 30 seconds, then recheck the level on the dipstick. Wipe everything clean before your next ride to spot future leaks immediately.
When to Check Oil Between Changes
During dusty rides, check oil condition every 2-3 hours. Healthy oil appears golden to light amber when held to light; dark, gritty, or milky oil requires immediate attention. If oil level drops significantly between changes without visible leaks, your bike might be burning oil—common in high-mileage two-strokes or worn four-strokes. Address this before it leads to piston seizure or bearing failure.
Air Filter Maintenance That Prevents Costly Engine Damage
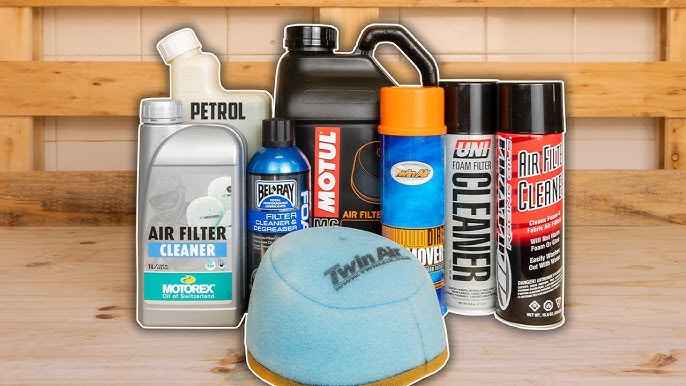
A single dirt bike ride in sandy conditions without proper air filter care can destroy your engine in minutes. Foam filters need cleaning every 3-5 rides in dusty environments, while paper filters require replacement after heavy use. Never ride with a dry or improperly oiled filter—this bypasses your engine’s primary defense against abrasive particles.
Clean foam filters with dedicated filter cleaner or mild soap solution, squeezing gently to avoid tearing. Rinse thoroughly until water runs clear, then air-dry completely before oiling. Apply filter oil evenly across the entire surface, working it into the foam until no dry spots remain. A properly oiled filter feels slightly tacky but doesn’t drip oil when squeezed.
Critical Air Filter Mistakes That Cause Engine Failure
Many riders make these critical errors: over-oiling (causes oil ingestion and fouled spark plugs), under-oiling (reduces filtration efficiency), or improper seating (allows unfiltered air entry). Always ensure your filter seals completely against the airbox—any gap lets dirt bypass the filter directly into your engine. After reinstallation, start the engine and listen for unusual sucking sounds that indicate air leaks.
Chain and Sprocket Maintenance Schedule for Maximum Durability
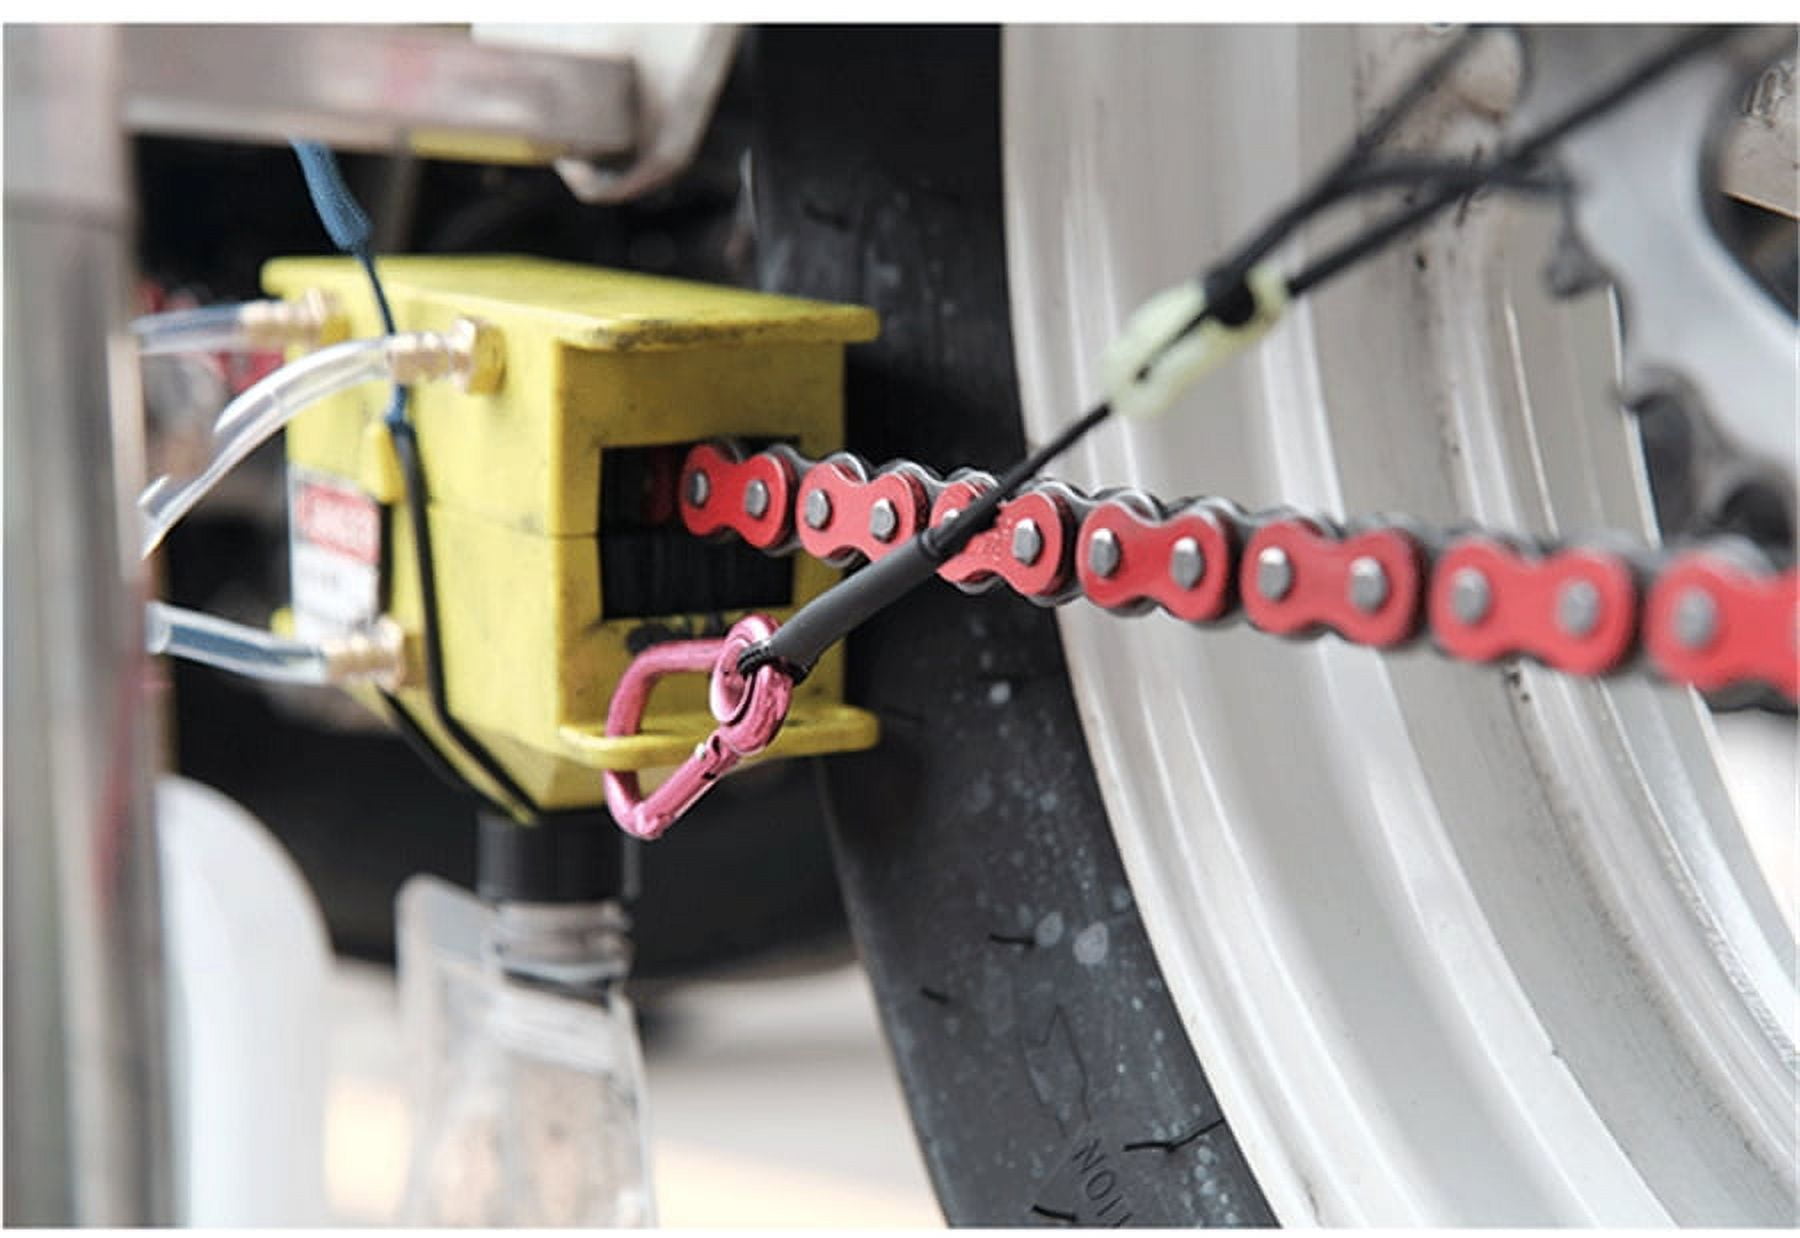
Your chain and sprockets work as a system—replace them together to prevent premature wear. A well-maintained chain lasts 1,500-2,000 miles, but neglect cuts this in half. Lubricate every 3-5 riding hours using chain-specific lube, not WD-40 or motor oil that attracts dirt. Apply lube while rotating the rear wheel slowly, focusing on the rollers and inner surfaces where the chain contacts sprockets.
Check chain wear monthly using a chain wear tool—replace when elongated beyond manufacturer specifications. Measure at multiple points along the chain as wear isn’t always uniform. When adjusting tension, follow your service manual’s procedure precisely; improper adjustment causes handling issues and accelerates wear on swingarm bearings.
How to Identify Dangerous Chain Wear Patterns
Look for these warning signs: tight spots (indicates stiff links), rust (sign of inadequate lubrication), or kinked links (from impact damage). Examine sprocket teeth—they should have a symmetrical U-shape. Hooked or pointed teeth mean replacement time. A chain that “climbs” sprocket teeth during acceleration creates dangerous vibration that can damage transmission components.
Brake System Maintenance That Ensures Reliable Stopping Power
Your brakes deserve attention every 10-15 riding hours. Check pad thickness through the caliper inspection port—replace when friction material reaches 1-2mm. Inspect brake rotors for deep scoring, cracks, or warping that causes pulsation during braking. Clean rotors with isopropyl alcohol to remove contaminants that reduce stopping power.
Brake fluid absorbs moisture over time, lowering its boiling point. Replace fluid annually using the exact type specified in your manual—DOT 4 and DOT 5.1 aren’t interchangeable. Bleed brakes properly by starting at the caliper farthest from the master cylinder, working toward the closest. A firm lever feel indicates successful bleeding; sponginess means air remains in the system.
Emergency Brake Checks Before Technical Descents
Before tackling steep terrain, perform this quick test: ride slowly and apply both brakes firmly. The bike should stop in a straight line without pulling to one side. Check for fluid leaks around calipers and master cylinders. If brakes feel weak after heavy use, you might be experiencing brake fade—allow cooling time before continuing. Never ignore unusual noises like grinding or squealing during braking.
Suspension Maintenance That Improves Handling and Comfort

Fork oil changes every 20-50 hours maintain consistent damping performance. Signs you need fresh oil include harsh bottoming on small bumps, oil streaks on fork tubes, or inconsistent response. When changing oil, measure precisely—too little causes cavitation, too much creates hydraulic lock. Record your oil height and weight for future reference as these affect handling characteristics.
Lubricate shock linkage bearings every 10-20 hours. These small pivots significantly impact rear suspension action—dry bearings cause binding that makes the bike feel unpredictable. Check for play by grasping the swingarm and moving it side-to-side; any looseness indicates worn bearings needing replacement.
How to Adjust Suspension for Your Weight and Terrain
Start with manufacturer baseline settings, then make incremental changes. Increase compression damping for high-speed stability on rough terrain; decrease for better small-bump compliance. Adjust rebound slower for heavy landings, faster for quick direction changes. Preload adjustments affect ride height—more preload for heavier riders or aggressive cornering. Test one adjustment at a time and record changes to find your optimal setup.
Long-Term Storage Steps That Prevent Off-Season Damage
Prepare your bike for storage in under 30 minutes with these critical steps. Clean thoroughly first—dirt holds moisture that causes corrosion. Fill the fuel tank completely with fresh gas and add fuel stabilizer (1 oz per gallon), then run the engine for 5 minutes to circulate treated fuel through the system. For carbureted bikes, drain the float bowl after shutdown.
Remove the battery and store it on a maintenance charger in a climate-controlled space. Inflate tires to maximum pressure and store the bike with wheels off the ground if possible. Apply corrosion inhibitor to all metal surfaces including chain, rims, and fasteners. Cover with a breathable fabric cover—plastic traps moisture and promotes rust.
Storage Mistakes That Ruin Bikes Over Winter
Never store with low fuel—empty tanks develop condensation that causes rust. Avoid concrete floors without protection as they draw moisture into tires. Don’t skip chain lubrication before storage—dry chains develop rust between links. Check tire pressure monthly during storage to prevent flat spots, and spin wheels occasionally to maintain tire shape.
Proper dirt bike maintenance isn’t about having every tool or mechanical genius—it’s about consistency and attention to detail. By integrating these practical steps into your routine, you’ll spend more time riding and less time repairing. Start with the pre-ride checklist and build from there—each maintenance task you master gives you greater confidence and control on the trail. Your bike will reward you with reliable performance season after season, turning maintenance from a chore into an essential part of the riding experience.


