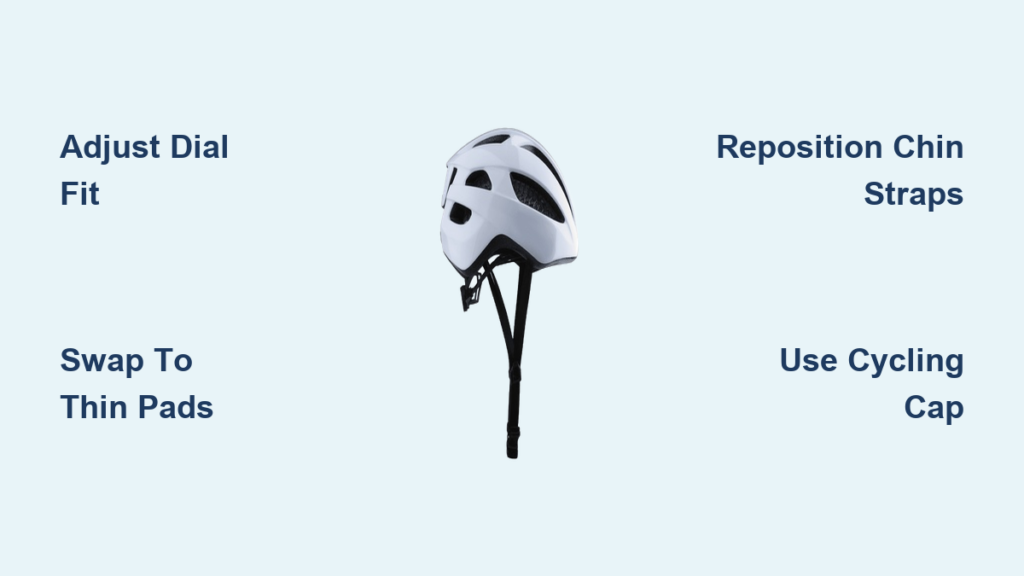
That sinking feeling when your new helmet wobbles like a loose tooth during every ride? You’re not alone—nearly 40% of cyclists wear improperly sized helmets because they don’t know how to make a bike helmet smaller safely. Before you return your expensive gear or risk dangerous slippage, understand this: most helmets can shrink 2-4cm using hidden adjustment systems manufacturers rarely explain. From dial tweaks to strategic pad swaps, we’ll show exactly how to transform that swimming sensation into a secure, race-ready fit without compromising safety. You’ll learn which modifications are certified safe, which could get you killed, and when it’s truly time to replace rather than resize.
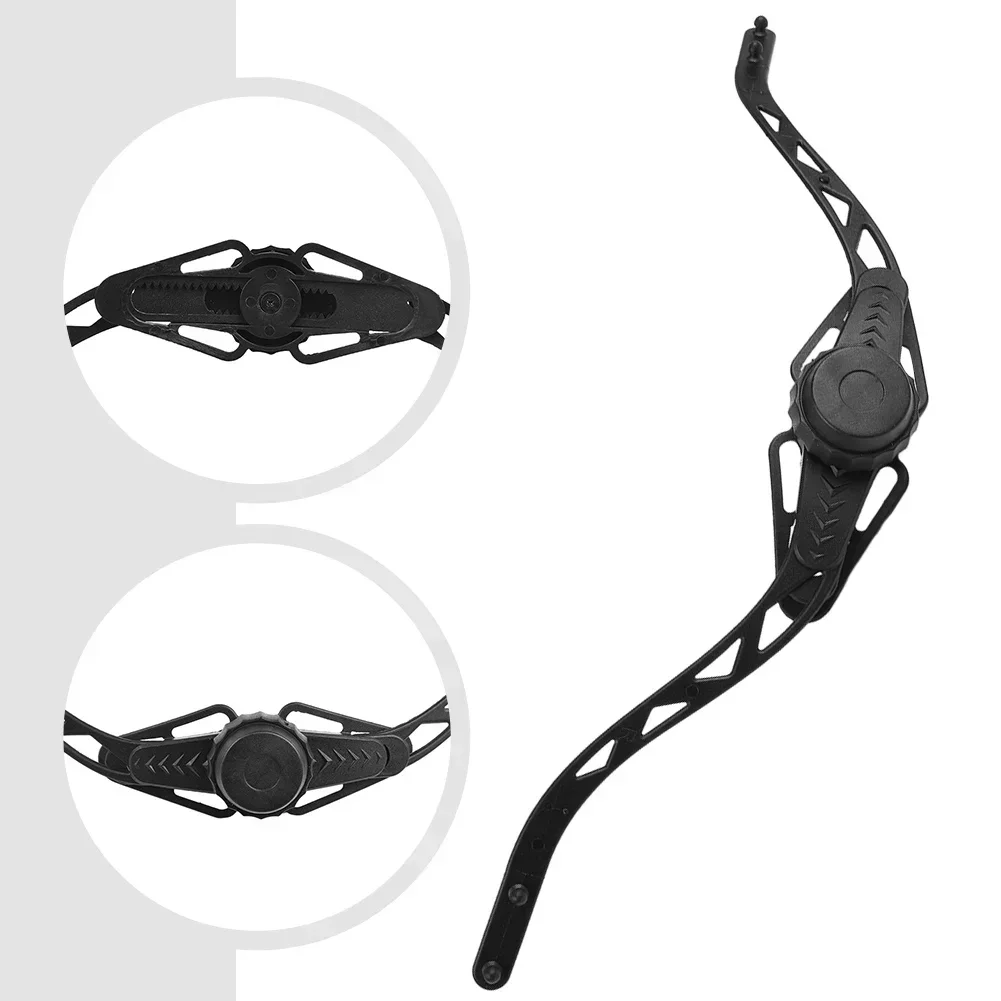
Maximize Your Dial-Fit System First
That plastic knob at the back of your helmet isn’t just for show—it’s your most powerful resizing tool. Modern helmets hide sophisticated dial mechanisms (BOA, Acu Dial, or Micro-Fit) capable of shrinking the fit circumference by 2-4cm. Skip this step and you’re wasting 80% of your adjustment potential before even touching other solutions.
Immediate action steps:
– Rotate the dial clockwise in 2-click increments while wearing the helmet
– Stop when you feel firm, even pressure around your skull
– Most systems deliver maximum adjustment at 10-15 clockwise turns
– If resistance suddenly disappears, you’ve hit the mechanical limit
Critical check: After dialing tight, shake your head vigorously side-to-side. If the helmet moves more than an inch, proceed to pad replacement—but never force the dial beyond its stopping point.
When Your Dial Hits Maximum Tightness
Reached the dial’s physical limit but still need more reduction? Your next move targets the hidden sizing secret most riders ignore: the removable comfort padding. Factory-installed pads are deliberately thick (6-8mm) to accommodate wider size ranges, creating unnecessary gaps that make helmets feel oversized.
Pad assessment checklist:
– Peel back forehead and crown pads to measure thickness
– Identify pressure points where pads contact your skull
– Note which areas have visible gaps between head and helmet
– Check for “hot spots” causing discomfort during test fits
Swap Thick Pads for Thinner Options

Replacing bulky factory pads with thinner alternatives is the single most effective way to make a bike helmet smaller—potentially reducing interior space by 6-8mm. This isn’t just comfort tuning; it’s precision sizing that maintains critical impact protection zones.
Pad thickness progression guide:
– Factory pads: 6-8mm (creates excess space)
– Medium pads: 4mm (ideal for minor adjustments)
– Thin pads: 2mm (primary downsizing tool)
– Ultra-thin: 1mm (for final millimeter adjustments)
Professional pad replacement sequence:
1. Remove all existing pads using gentle peeling motion
2. Clean velcro surfaces with alcohol wipe to restore grip
3. Install 2mm pads at forehead and occipital (back) areas first
4. Add temple pads only if side-to-side movement persists
5. Test fit after each pad change—never skip this step
Warning: Gaps larger than 6mm between your head and helmet compromise crash protection. If thin pads still leave gaps, stop—your shell size is wrong.
Target Pressure Points With Strategic Padding

Where you place thinner pads matters more than thickness alone. This technique solves oval vs. round head shape mismatches that cause front-to-back rocking or side slippage.
Pressure point mapping for perfect fit:
– Forehead: Install thinnest pads here to stop backward sliding
– Crown: Use medium pads to prevent top-of-head pressure
– Occipital: Critical for stopping upward movement during impacts
– Temples: Thickest acceptable pads here stabilize side motion
Pro technique: After installing 2mm pads everywhere, add a second 2mm pad ONLY at the occipital point if the helmet still lifts during head shakes. Never stack more than two pads in one location.
Perfect Chin Strap Geometry
Most riders overlook how strap positioning affects perceived helmet size. Properly adjusted straps pull the helmet down onto your skull, eliminating that “floating” sensation.
Precision strap adjustment:
– Position side strap junctions directly under earlobes
– Tighten side straps until they lightly touch jawline
– Under-chin strap should allow exactly one finger width of space
– Perform the “yawn test”: Helmet must stay level when mouth opens wide
Critical mistake: Over-tightening the chin strap forces the helmet upward, creating dangerous gaps at the forehead. If your helmet tilts back when strapped tight, your shell size is too large.
Integrate a Cycling Cap for Micro-Adjustment
When pad swaps max out, a thin cycling cap adds 1-2mm of compression without compromising safety—perfect for bridging that final fit gap.
Cap selection essentials:
– Choose wrinkle-free merino wool or synthetic fabrics
– Avoid cotton (compresses unevenly when sweaty)
– Ensure cap lies perfectly smooth against your skull
– Test cap alone first—no bunching at temples or crown
Installation protocol: Smooth cap over dry hair → Pull helmet on without disturbing cap → Re-adjust retention system → Remove immediately if any wrinkles form. Never wear under wet conditions.
Upgrade to Professional Retention Systems
For high-end helmets ($150+), professional retention system swaps can salvage a slightly oversized fit. This $15-40 service replaces internal harnesses with smaller-range versions.
When to pursue this fix:
– Helmet is one shell size too large (e.g., M/L instead of S)
– All user adjustments exhausted
– Original helmet has significant investment value
Bike shop services: Certified technicians can install manufacturer-specific retention kits that reduce the effective size range by up to 1.5cm. Never attempt cable/harness modifications yourself—this voids safety certifications.
Verify Safety After Every Adjustment
Any modification requires passing the 1-inch movement test to ensure crash protection remains intact. This isn’t optional—it’s your safety checkpoint.
Post-adjustment verification:
– Shake head vigorously in all directions
– Measure helmet movement with ruler—must not exceed 1 inch
– Check positioning: 2 finger widths above eyebrows
– Wear for 30+ minutes to identify developing pressure points
Immediate red flags: Helmet tilts backward, gaps larger than 6mm visible, or pressure points that intensify over time. If present, stop using the helmet.
Avoid These Dangerous “Fixes”
Never attempt these life-threatening modifications:
– Drilling extra ventilation holes (shatters structural integrity)
– Trimming EPS foam liner (destroys impact absorption)
– Adding external padding (creates dangerous slip planes)
– Using duct tape or rubber bands (compromises shell adhesion)
Subtle errors that ruin safety: Replacing only some pads (causes uneven force distribution), ignoring hair thickness under helmet, or forcing straps beyond natural tension points.
Cost Analysis: Modify vs. Replace
Modification costs:
– Pad replacement set: $10-25
– Professional retention swap: $15-40
– Total max investment: $65
Replacement reality: New certified helmet costs $50-300+. Modifications make financial sense if:
– Your helmet costs >$75
– It’s only ½ size too large
– You’ve exhausted all safe adjustment methods
Decision rule: If the helmet moves >1 inch after dial + pad adjustments, replace immediately—no exceptions.
Troubleshoot Persistent Fit Issues
Front-to-back rocking?
Check dial engagement → Add thin pad at occipital point → Verify chin strap isn’t over-tightened
Side-to-side movement?
Focus pad reduction at temples → Try different helmet shape (oval vs. round) → Seek professional assessment
Forehead pressure?
Indicates wrong shell size—stop adjusting and replace helmet
Maintain Your Custom Fit
Monthly maintenance routine:
– Hand-wash pads with mild soap (prevents compression)
– Inspect velcro for hair/debris (reduces grip by 30% when dirty)
– Store helmet with retention system fully loosened
– Keep in cool, dry place away from direct sunlight
Replacement triggers: Cracked shell, compressed pads that won’t rebound, or any impact event—even minor falls require replacement.
You’ve now transformed that wobbly helmet into a secure, personalized fit using certified-safe methods. Remember: if your helmet still moves more than an inch after dialing tight, replacing all pads, and adding a cap, stop modifying and replace it—no adjustment is worth sacrificing crash protection. A properly fitted helmet should feel like a firm handshake, not a loose hug. When in doubt, visit a bike shop for their free professional fitting service; most technicians can diagnose fit issues in under 10 minutes. Your safety isn’t measured in millimeters—it’s measured in lives saved when that perfect, secure fit keeps your helmet in place during impact.