Your helmet shouldn’t live on the floor or buried in a closet. Proper wall storage protects your helmet’s EPS foam from crushing, prevents straps from tangling, and keeps your gear instantly accessible after every ride. With adult helmets weighing just 250-400 grams—less than a can of soda—you can securely mount them almost anywhere using methods tailored to your wall type and living situation. This guide cuts through the guesswork with exact measurements, damage-free techniques, and pro-tested solutions that work whether you own your home or rent an apartment. You’ll learn why 90% of adhesive hook failures happen during installation (and how to prevent them), where to position hooks for effortless grabbing, and which $3 solutions outperform expensive racks.
Most cyclists make one critical mistake: mounting hooks too high or too close to doors. The sweet spot is 54-60 inches from the floor—where your hand naturally falls when walking past. This height prevents accidental bumps while ensuring children can reach their helmets at 36-42 inches. Whether you’re installing a single hook for commuter rides or a multi-helmet system for family adventures, these methods work for all helmet types, including heavier full-face mountain models weighing up to 1,200 grams.
Damage-Free Mounting for Renters and Apartments
Heavy-Duty Adhesive Hooks That Won’t Fail
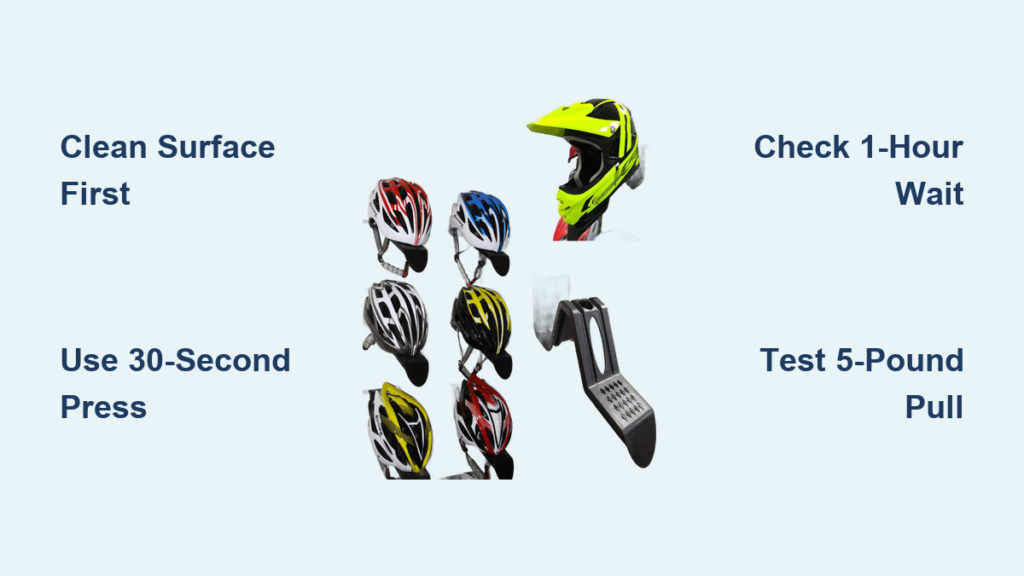
Command strips handle adult helmets with room to spare—most support 3-5 pounds versus a helmet’s 0.8-1.4 pound weight. But skip the rookie error of sticking them on dusty walls. Always clean surfaces with isopropyl alcohol first; this removes invisible oils that cause 90% of adhesive failures. Wait 10 minutes for the wall to dry completely before applying.
Installation checklist:
– Press strips firmly for 30 seconds (don’t just stick and walk away)
– Wait exactly 1 hour before hanging your helmet
– Test stability by pulling downward with 5 pounds of force
– For full-face helmets: Use two strips side-by-side for extra security
Avoid foam-backed hooks—they compress under weight. Opt for rigid plastic or metal hooks with foam adhesive bases rated for 7.5+ pounds. Brands like 3M Command Utility Hooks work best on smooth drywall, tile, or glass. In humid garages, skip adhesives entirely; moisture degrades bonds over time.
Tension Rod Systems for Doorways
When walls are off-limits, repurpose vertical space between floor and ceiling. A $8 tension rod installed in a closet or mudroom corner holds 2-3 helmets via S-hooks. Choose rods with rubber end caps to prevent wall scratches. Position the rod 6 inches below the ceiling to avoid head bumps.
Pro tip: Wrap the rod with rubber shelf liner first—this stops helmets from sliding sideways during removal. Works best for standard 8-foot ceilings; for taller spaces, add a second rod midway down.
Permanent Mounting for Drywall and Studs

Drywall Anchor Installation Without Studs
Most walls lack studs exactly where you need them. Self-drilling anchors solve this cleanly:
- Mark your spot at 54-60 inches from the floor (use a tape measure, not eyeballing)
- Drill a 1/4-inch pilot hole straight into drywall
- Hammer in a toggle bolt or self-drilling anchor until flush
- Thread your hook in until a 1/4-inch gap remains between hook base and wall
- Test with 10 pounds of downward pressure before hanging
Critical warning: Skipping the 1/4-inch gap causes anchor pull-out. The gap allows the anchor to expand fully inside the drywall cavity. For heavy full-face helmets, use two anchors spaced 2 inches apart.
Rock-Solid Stud Mounting

When you hit a stud, you’ve won the wall-mounting lottery. A single #8 screw driven 1.5 inches into wood holds 75+ pounds—over 60 times a helmet’s weight. Locate studs by measuring 16 inches from corners or using a $10 electronic stud finder.
Pro technique: Pre-drill a 1/8-inch pilot hole first to prevent wood splitting. Drive a 2-inch wood screw until only 1/4 inch of thread shows. Hang your helmet, then gently tug sideways—if the hook moves, you missed the stud’s center.
Concrete, Brick, and Problem Walls
Masonry Mounting That Won’t Crack
Brick and concrete require specialized hardware but deliver bulletproof results. Use a hammer drill with a 1/4-inch masonry bit to create a clean hole—regular drills will overheat and fail. Insert a plastic sleeve anchor flush with the wall surface, then thread in a stainless steel hook.
For permanent installations: Apply epoxy adhesive inside the hole before inserting the anchor. This creates a bond stronger than the concrete itself. Ideal for garages where humidity warps drywall anchors over time.
Space-Saving Layouts for Multiple Helmets

Vertical Stacking Without Interference
Families need smart spacing to prevent helmets from knocking together. Mount hooks in a zigzag pattern:
- Space vertically 12-15 inches apart (measured from hook center to center)
- Stagger left and right by 3 inches to avoid strap tangles
- Limit stacks to 4 helmets high (96 inches total) to prevent top helmets from blocking access
Visual cue: When hung correctly, helmets should sit like books on a shelf—no overlapping shells. If you see the back of one helmet touching another, increase vertical spacing.
Gallery-Style Horizontal Rows
For display-worthy storage, mount hooks in a laser-straight line. Use a 4-foot level and pencil marks at 8-inch intervals. This works best for 2-4 helmets across 24-48 inches of wall space. Pro tip: Hang your helmet first, then mark where the strap sits—this ensures hooks align with your natural grab point.
Rental-Friendly Damage Prevention
Move-Out Proof Installation
Landlords hate patch jobs. Protect your deposit with these tactics:
- Felt pad shields: Glue 1-inch felt circles behind adhesive hooks to distribute pressure
- Photo documentation: Snap timestamped pics of walls before installing and after removal
- Anchor alternatives: Use over-door hooks on closet doors (no holes needed)
- Patch kit: Keep matching spackle and paint for touch-ups—most landlords accept this
Critical: Never use nails—they create larger holes than anchors. If you must drill, use 3/16-inch bits (the smallest for drywall anchors) to minimize repair work.
Monthly Maintenance to Prevent Failures
The 60-Second Helmet Hook Check
Skip this, and you’ll face wall damage or helmet falls. Every month:
- Pull down gently on each hook with 5 pounds of force
- Check for wall cracks or paint peeling around mounts
- Tighten loose screws immediately (waiting worsens damage)
- Wipe hooks with a damp cloth to remove dust buildup
Pro tip: Clean your helmet and hooks simultaneously during monthly helmet washes. Dust on hooks scratches helmet shells over time.
Slipping Helmet Fixes
If your helmet slides off:
- Upgrade to rubber-coated hooks: Adds grip without scratching
- Wrap hook tips with rubber tubing: Cut from an old bike inner tube
- Install a secondary strap: Use a velcro tie from the helmet’s chin strap
Avoid deep-curve hooks—they look sleek but often trap moisture against the helmet shell.
Budget Solutions That Outperform Expensive Racks
Under $5 Per Helmet
- PVC pipe holders: Cut 4-inch diameter PVC pipe into 6-inch sections. Drill two holes through the back, mount with screws. Costs $3 at hardware stores.
- S-hooks on ladder rungs: Repurpose old wooden ladder rungs as minimalist shelves ($2 at thrift stores).
- Command strips with rubber hooks: $4 total, removable in seconds.
Skip magnetic mounts—they only work on helmets with metal liners (rare on road helmets) and cost $20+. Retractable hangers look cool but fail under 5 pounds of weight.
Child Helmet Safety Upgrades
Mount kids’ hooks at 36-42 inches so they can reach independently. Never use sharp-edged hooks—opt for rounded, rubber-coated designs in bright colors. Add glow-in-the-dark paint dots so children can find helmets in dark garages. Test stability weekly; kids often yank helmets off forcefully.
Troubleshooting Common Failures
Hook spins freely: You missed the stud and used an undersized anchor. Remove and install a toggle bolt rated for 25+ pounds.
Helmet falls repeatedly: Hook curve is too shallow. Replace with a “ladder hook” style (1.5-inch depth minimum).
Wall cracks spreading: Weight isn’t distributed. Install a 6×6-inch backing board across two studs, then mount hooks to the board.
Final Pro Tips for Long-Term Success
Position your helmet storage within 3 feet of your bike parking spot—convenience ensures you’ll actually use it. For multi-bike households, mount helmet hooks directly on bike wall racks; this creates a one-stop grab zone. Always leave 1 inch of clearance behind helmets for airflow—trapped moisture degrades EPS foam faster than impacts.
When moving out, remove adhesive hooks by stretching strips parallel to the wall (never pull straight out). For screw holes, fill with toothpaste-thick spackle, sand smooth, and dab on matching paint. The best helmet storage system evolves with your needs: start with adhesive hooks, then upgrade to stud-mounted racks as your cycling passion grows. With these methods, your helmet stays protected, accessible, and ready for adventure—no more frantic floor searches before your ride.