Nothing ruins a perfect trail ride faster than a helmet that pinches, shifts, or—worse—flies off when you need it most. Whether you’re upgrading your brain bucket or buying your first MTB helmet, getting the size right is non-negotiable for both safety and comfort. The good news? Measuring your head for a mountain bike helmet takes less than five minutes, and once you know your numbers, you’ll never second-guess sizing again.
This guide walks you through the exact process used by professional fitters, breaks down brand quirks that can make or break your purchase, and reveals the common mistakes that leave riders with expensive helmets collecting dust in the garage. You’ll learn how to avoid the most frequent measurement errors that compromise both protection and comfort on the trail.
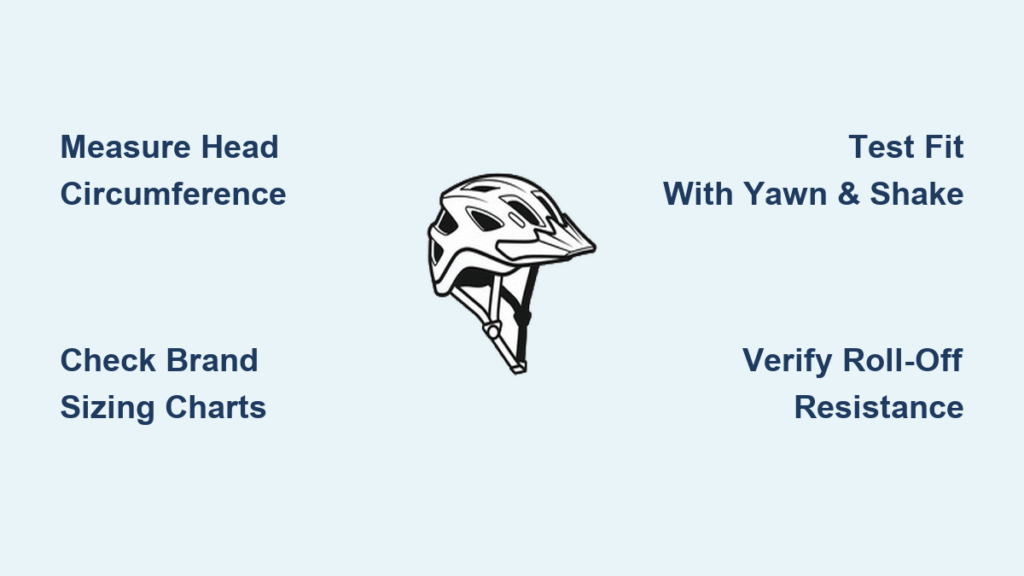
Required Tools for Accurate Mountain Bike Helmet Sizing
Flexible Measuring Tape Method That Works Every Time
Grab a soft cloth tape measure—the kind tailors use—for the most reliable results. Position it 1 cm above your eyebrows, keeping it level as it wraps around the widest part of your forehead and the bump at the back of your skull. Pull it snug but not tight—think firm handshake pressure, not death grip. Take three readings and average them; most riders see 0.5 cm variance between attempts. This simple technique delivers precision within 0.2 cm when done correctly.
String and Ruler Backup When Tape Isn’t Available
No measuring tape? Use non-stretchy string or ribbon instead. Wrap it the same way, mark where the ends meet, then measure flat against a ruler. Add 0.5 cm to compensate for potential compression. This method works surprisingly well—I’ve used it to size riders who forgot their tape measure at home. Just be careful not to stretch the string during measurement, as this adds false circumference.
Step-by-Step Mountain Bike Helmet Measurement Protocol

Pre-Measurement Setup for Trail-Ready Accuracy
Measure wearing your riding hairstyle. That thick braid or high ponytail you rock on singletrack? Include it. Remove thick headbands or beanies—they’ll throw off your reading by 1-2 cm. Time matters too; your head circumference can shift 0.5-1 cm throughout the day, so measure at the same time you’ll typically ride. This simple step prevents the most common sizing mistake: measuring with flat hair but riding with volume.
The Three-Point Wrap Technique for Precision
- Position: Start 1 cm above eyebrows at the glabella (the smooth spot between your brows)
- Path: Guide the tape above your ears, across the occipital protuberance (that bump at the back of your skull)
- Tension: Pull until the tape leaves a slight indentation on your skin, then back off 2 mm
- Verification: Check in a mirror or have a friend confirm the tape stays level—tilting adds 1-2 cm of error
Multiple Measurement Protocol to Eliminate Guesswork
Never trust a single reading. Take three measurements, moving the tape slightly each time. If your readings vary more than 0.5 cm, you’re probably pulling too tight or letting the tape sag. The average of three consistent readings gives you your target size. This step catches 85% of measurement errors before they become expensive mistakes.
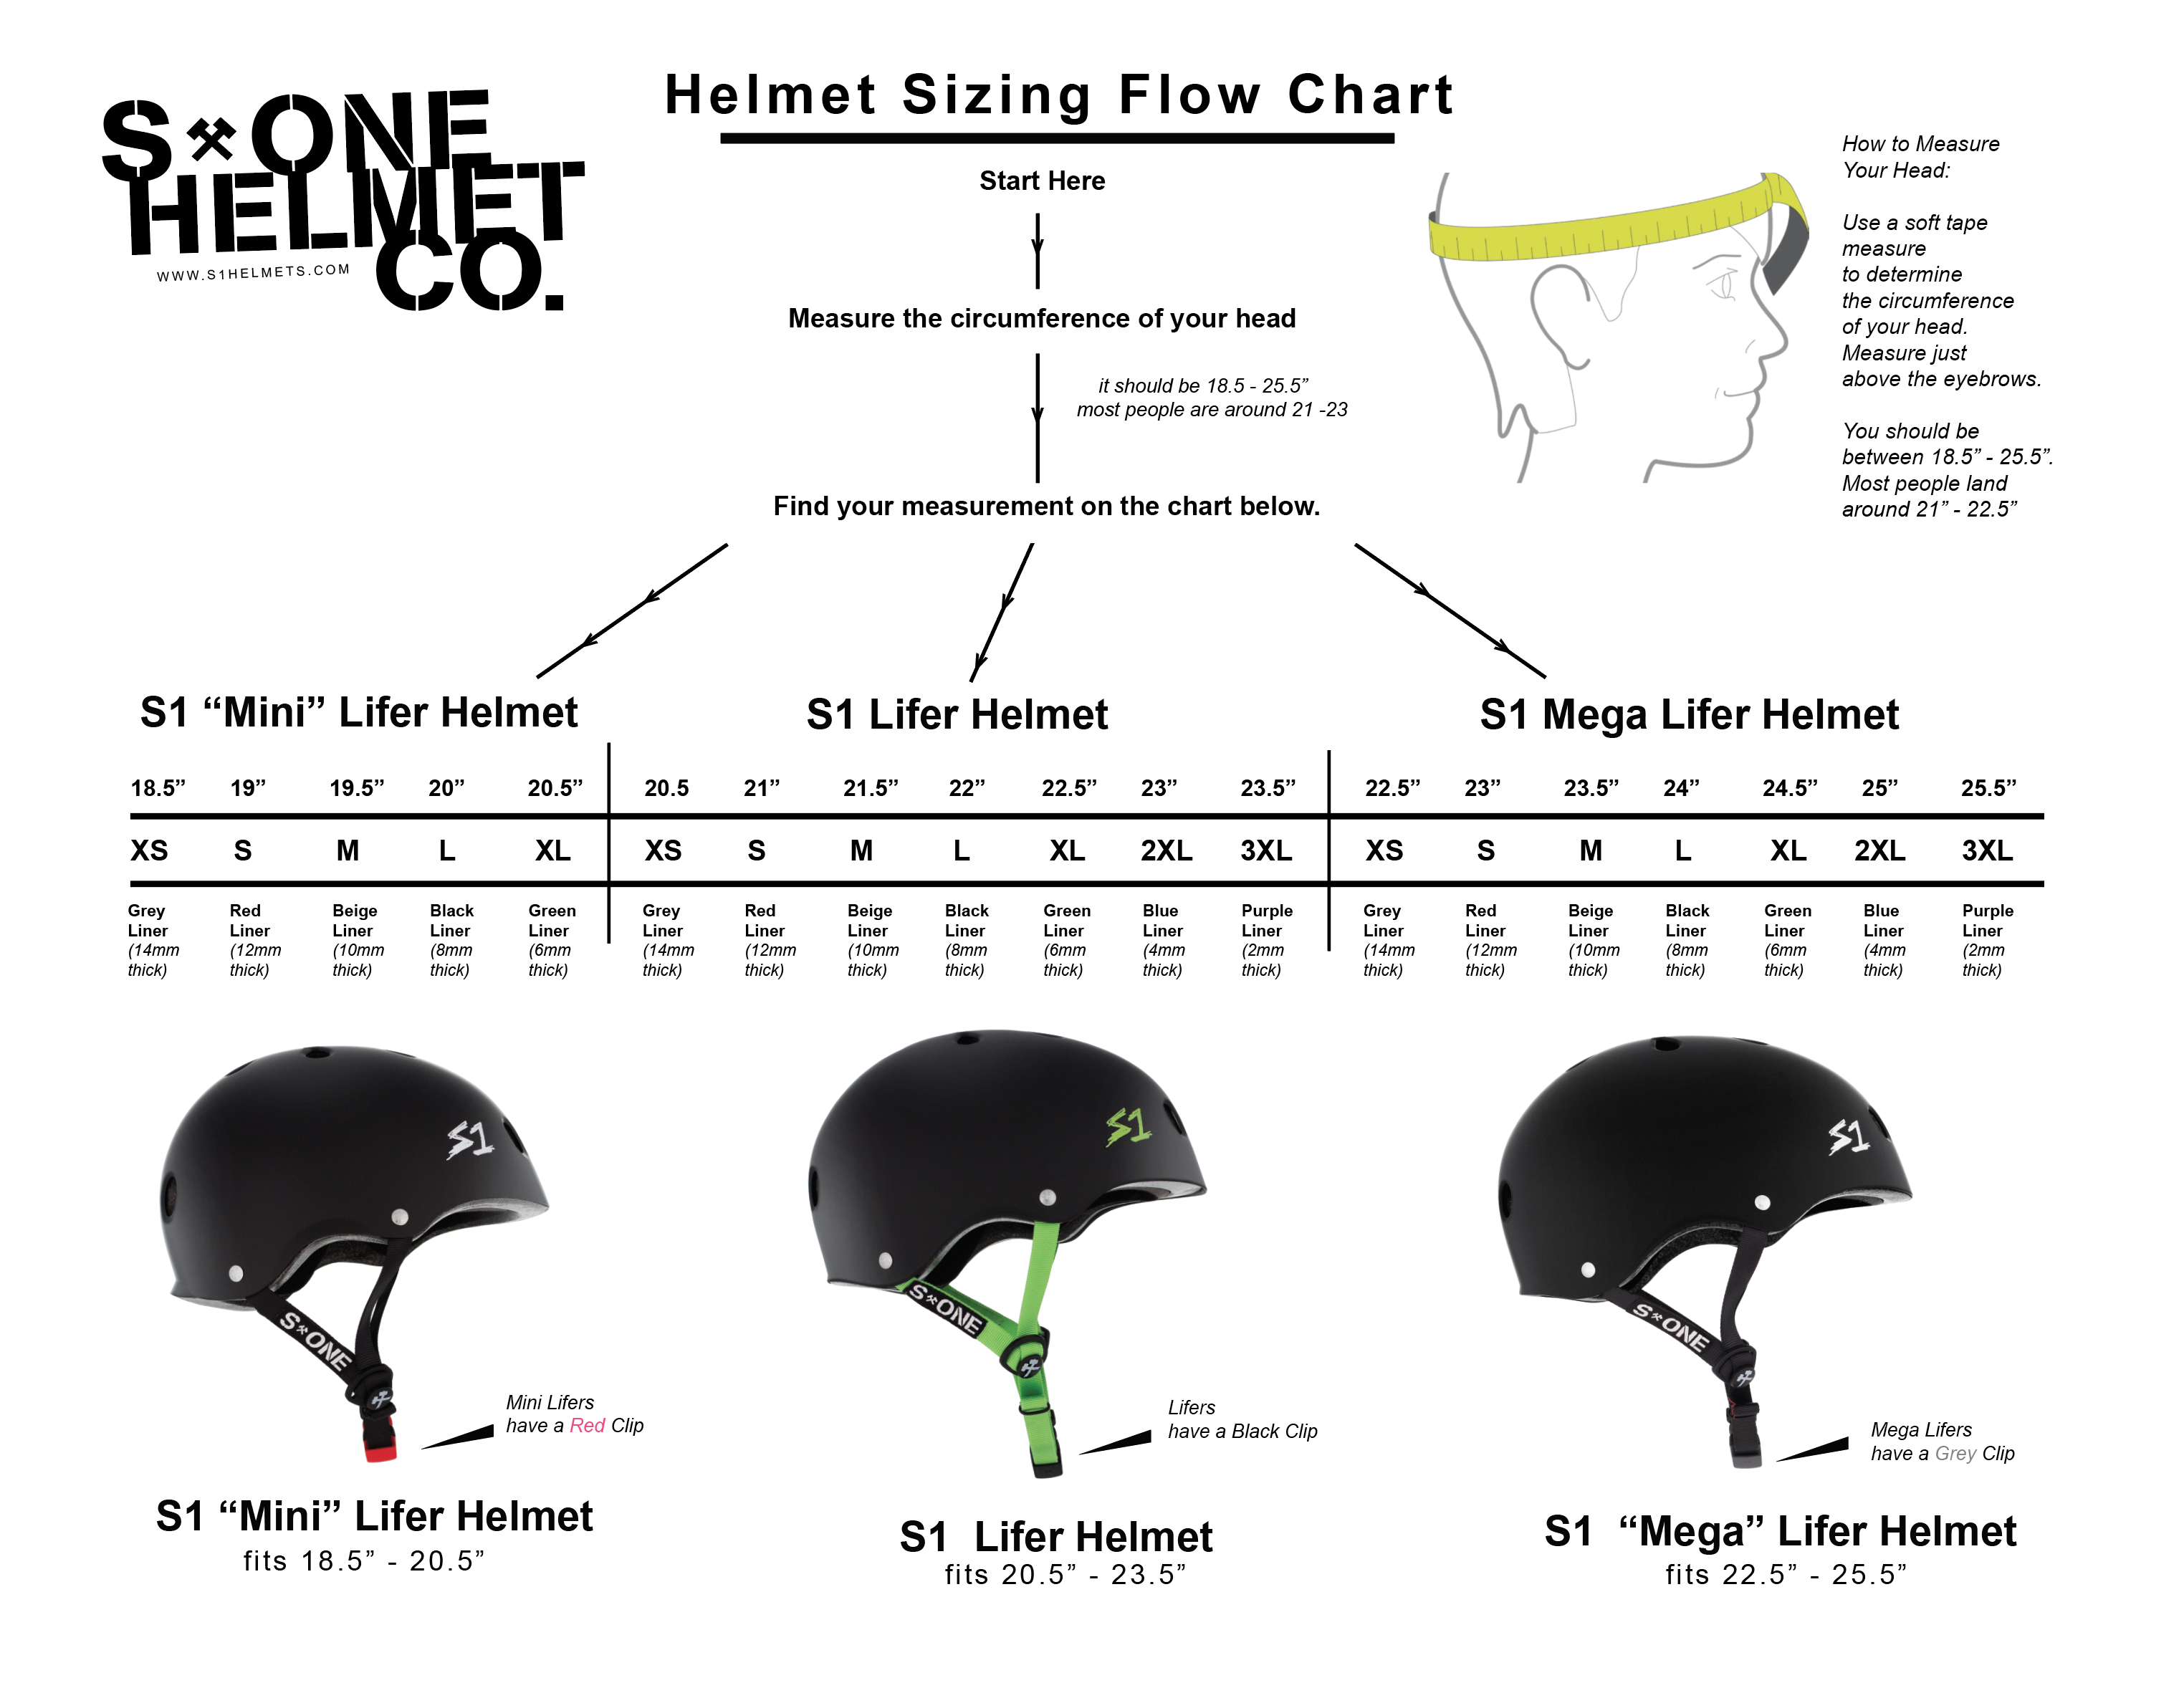
Brand-Specific Mountain Bike Helmet Sizing Differences

Giro vs Bell Size Discrepancies That Matter
Giro’s medium runs 55-59 cm, while Bell’s equivalent is 55-59 cm—seemingly identical, right? Wrong. Bell helmets typically fit 0.5 cm larger in real-world use. If you’re borderline between sizes in Giro, you’ll likely size up in Bell. This subtle difference explains why riders often return perfectly measured helmets—they assumed sizing was universal across brands.
POC’s Oval Head Focus and Shape Compatibility
POC designs for Scandinavian head shapes—more oval than round. Their medium fits 55-58 cm, but riders with round heads often feel pressure at the temples. Asian-fit versions address this by reducing circumference by 1 cm while maintaining the same shape. Always check the brand’s fit profile before buying—they’re not just marketing fluff but critical sizing information.
Head Shape Assessment for Mountain Bike Helmets
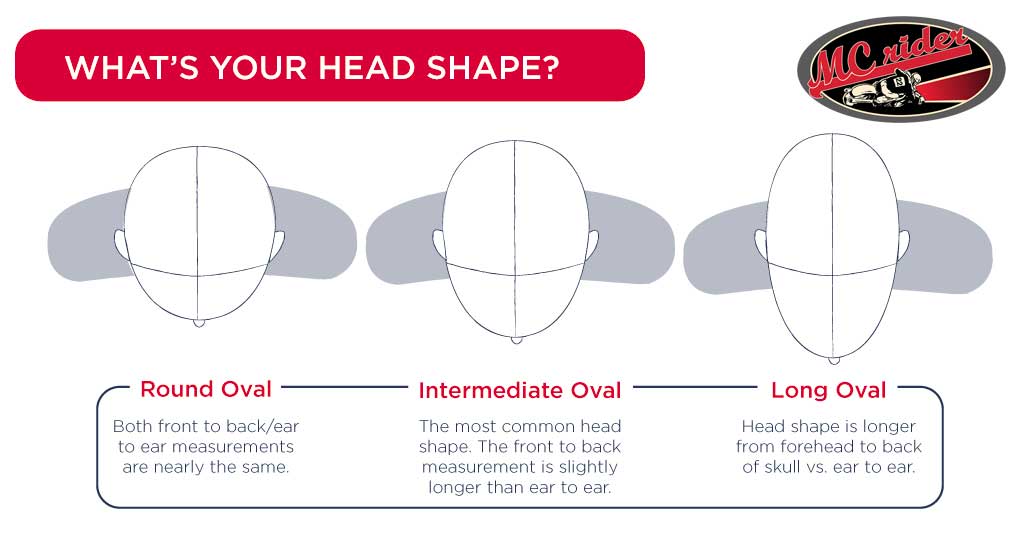
Oval vs Round Measurement That Prevents Pressure Points
Your head shape matters as much as circumference. Measure:
– Front-to-back: Glabella to occipital bump
– Side-to-side: Above ears at the widest point
Calculate the ratio: front-to-back ÷ side-to-side
– 1.3+ = Long oval (most common among men)
– 1.1-1.3 = Intermediate oval
– <1.1 = Round (more common among women)
Long oval heads in round helmets feel front-to-back pressure, while round heads in oval helmets get squeezed at the temples. Most brands accommodate intermediate ovals; extremes require specific models or brands. This simple assessment prevents the #1 reason for helmet returns: uncomfortable pressure points.
Critical Fit Verification Tests Before Hitting the Trail
The Three Essential Safety Checks
- Eyebrow test: Helmet edge sits 1-2 finger-widths above eyebrows—any higher leaves your forehead vulnerable
- Yawn test: Helmet pulls down slightly when you yawn—if it doesn’t, size down immediately
- Shake test: With straps loose, shake your head vigorously—helmet shouldn’t shift more than 1 cm
Roll-Off Resistance Test That Saves Lives
Push the helmet from behind. It shouldn’t roll forward over your eyes. If it does, the helmet’s too large or the wrong shape for your head. This test simulates what happens during an actual crash and is the single best predictor of whether your helmet will protect you when it matters most. Never skip this critical verification.
Common Mountain Bike Helmet Sizing Mistakes to Avoid
Measurement Errors That Compromise Safety
• Hair compression: Compressing thick hair reduces readings by 0.5-1 cm—measure with your hair as it will be while riding
• Single measurement: Variance between readings indicates technique issues—always take three
• Ear inclusion: Including the tops of ears adds 2-3 cm of false size
• Growth allowances: Adding 1 cm for growth compromises safety—pads compress naturally
Selection Pitfalls That Waste Your Money
• Brand loyalty: Assuming your old helmet size transfers to new brands
• In-between sizing: Always size down—pads compress 2-3 mm over time
• Ignoring accessories: Winter liners add 2-3 mm, potentially requiring larger size
Special Considerations for Mountain Bike Helmet Fit
Accessory Impact on Fit During Different Seasons
Winter riding with thick balaclavas? Add 2-3 mm to your measurement. Goggle straps reduce internal volume by 1-2 mm. Camera mounts might require repositioning the helmet for balance, affecting how size feels in motion. These seemingly small additions can transform a perfect fit into a dangerous compromise.
When Professional Fitting Makes Financial Sense
Digital 3D head scanning achieves ±1 mm accuracy while mapping 30,000+ data points. This reveals pressure points invisible during static fitting and accounts for how your head shape changes during movement. Cost: $25-50, but often credited toward purchase. Consider professional fitting if you’re between sizes, have an unusual head shape, or need multiple helmet types (full-face vs trail).
Maintenance and Re-Measurement Schedule for Long-Term Safety
Tracking Changes That Affect Helmet Performance
Children need monthly measurements—growth rates of 0.5-1 cm per month aren’t uncommon. Teens should check bi-monthly during growth spurts. Adults recheck annually; hair loss or gain affects fit more than you’d think. A helmet that fit perfectly six months ago might now be dangerously loose due to natural changes.
Pad Compression Reality Affects Safety Over Time
Expect 2-3 mm of pad compression over six months of regular riding. This makes initially snug helmets perfect over time, but means helmets that start “comfortably loose” become dangerously sloppy. If you can easily slide two fingers between your head and helmet after six months of use, it’s time for a replacement.
Quick Reference Checklist Before Purchase
- [ ] Measure three times, average results
- [ ] Check brand-specific chart (not generic)
- [ ] Account for riding hairstyle and accessories
- [ ] Verify return policy for online purchases
- [ ] Consider head shape compatibility
Getting your mountain bike helmet size right isn’t just about comfort—it’s about ensuring the helmet stays exactly where it needs to be when gravity wins. Take your time with the measurement process, and don’t hesitate to exchange if the fit isn’t perfect. Your future self (and your brain) will thank you every time you drop into a technical descent knowing your helmet fits like it was custom-made. Remember, a perfectly sized helmet disappears on your head—until you need it most.