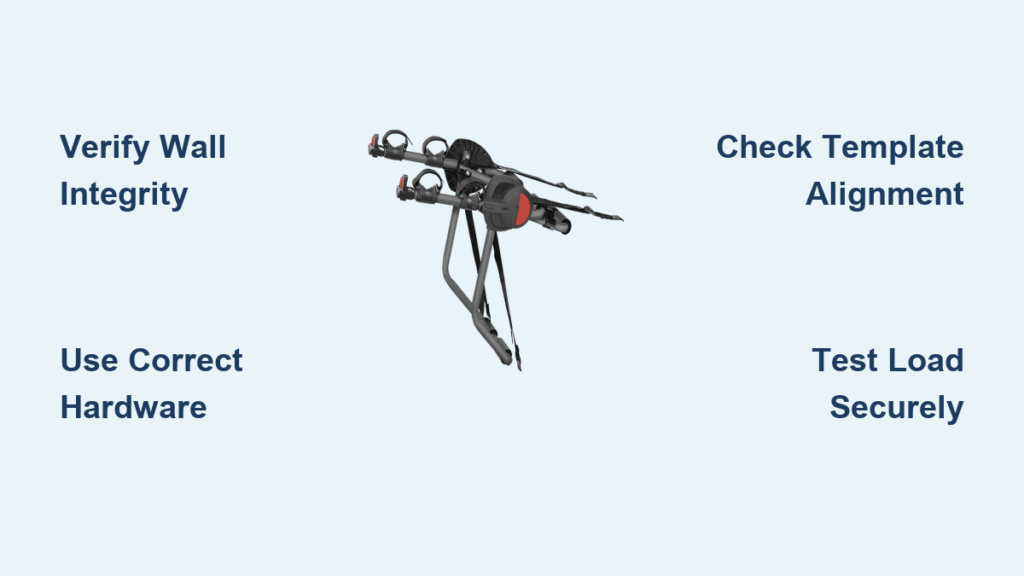
That unsettling sway in your rearview mirror isn’t just annoying—it’s a red flag. Allen trunk-mounted bike racks, while popular for their affordability and universal fit, develop notorious wobble issues that can turn your weekend cycling trip into a white-knuckle drive. Whether you’re experiencing the telltale shimmy at highway speeds or that clunking sound over every bump, this guide delivers proven solutions to eliminate rack movement and restore your confidence on the road.
The root cause of allen bike rack wobble lies in the fundamental design of trunk-mounted systems. Unlike hitch-mounted alternatives, these racks rely on multiple connection points that collectively create what engineers call “tolerance stack-up”—where tiny movements at each contact point compound into significant sway. For most users, this problem worsens with time as rubber components compress and straps stretch, making immediate intervention critical before minor wobble becomes a safety hazard.
Why Your Allen Rack Wobbles Worse at Highway Speeds
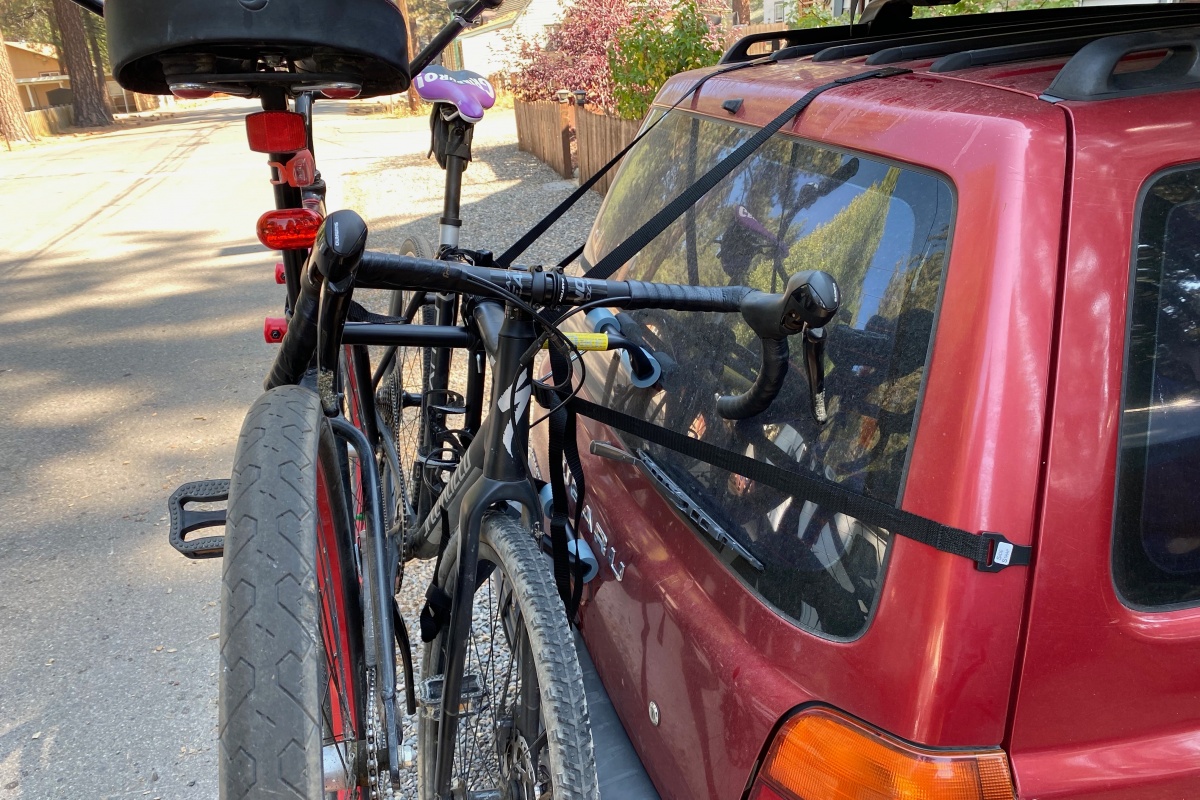
The physics behind allen bike rack wobble becomes most apparent when you hit 55 mph. As your vehicle moves, each connection point in the rack system experiences micro-movements that amplify exponentially with speed. The upper hooks gripping your window ledge, lower arms pressing against your bumper, and tension straps securing everything together form a chain where the weakest link determines overall stability.
Cold weather makes rubber feet stiffer and less forgiving, while summer heat softens them—both conditions increase wobble severity in different ways. On concrete highways, you’ll experience steady-state vibration around 60-80 Hz that resonates through the entire rack assembly. This explains why many cyclists report increased sway specifically on long interstate stretches where consistent road surface creates predictable vibration patterns.
Critical Wobble Warning Signs You Can’t Ignore
- Visible movement exceeding 1 inch in your rearview mirror at highway speeds
- Rhythmic clunking when crossing expansion joints or railroad tracks
- Strap loosening requiring re-tightening within first 30 minutes of driving
- Bicycle sway that causes bikes to contact each other during turns
Quick 3-Minute Wobble Diagnosis Process
Before attempting fixes, pinpoint your exact wobble source with this field-tested inspection method. Most users waste time adjusting the wrong components, only to find the problem persists. Start with the foundation—press firmly against each rubber foot pad. If you feel excessive give or see flat spots deeper than 1/8 inch, these have lost their vibration-dampening properties and need replacement.
Check hook engagement depth carefully. Minimum 2-3 teeth should securely grip your vehicle’s sheet metal. Use your phone flashlight to inspect for silver metal showing between hook and body—this gap is the primary culprit behind most allen bike rack wobble cases. Frayed strap edges or permanent stretch marks indicate worn components that can’t maintain proper tension.
Red Flag Checklist for Immediate Action
- Cracked or glazed rubber feet showing compression set
- Straps with visible fraying at high-stress connection points
- Hook teeth displaying uneven wear patterns from movement
- Bent support arms from previous overloading incidents
Precision Tightening Sequence That Eliminates Wobble

Most users tighten straps haphazardly, creating uneven tension that actually worsens allen bike rack wobble. Follow this exact sequence for rock-solid stability:
Start with primary straps: Pull each lower support strap to 50 pounds of tension—you’ll know you’ve reached proper tightness when the strap becomes rigid but not stretched thin. Test by attempting to slide a finger between strap and vehicle surface; minimal give indicates correct tension.
Engage upper hooks second: These bear 70% of the load, so precision matters. Tighten until the hook sits flush against metal with no visible gap. Rock the rack gently—any movement here amplifies exponentially at highway speeds.
Pro Tension Pattern for Maximum Stability
- Lower left strap (50 lbs tension)
- Lower right strap (50 lbs tension)
- Upper left hook (flush contact)
- Upper right hook (flush contact)
- Stabilizer straps (snug, not tight)
- Retest all points after 5 minutes as materials settle
Cost-Effective Anti-Wobble Upgrades That Deliver Results

When factory adjustments fall short, strategic upgrades provide dramatic improvements without breaking the bank. Foam shim kits fill microscopic gaps between rack and vehicle that cause micro-movements. Cut-to-fit high-density foam strips, placed at contact points, eliminate the tiny motions that cascade into full wobble—users report 60-70% reduction in sway using this $15 solution.
Ratchet strap upgrades replace flimsy factory webbing with 1-inch straps rated for 500 pounds. The mechanical advantage allows precise tensioning impossible with cam buckle systems. Focus on the lower support arms where leverage matters most—this single upgrade often eliminates 80% of wobble issues for less than $30.
Smart Upgrade Priority List
- High-durometer rubber feet ($20/set) – Resists compression better than stock
- Anti-slip backing plates ($15 for 4) – Creates stable mounting surface
- Heavy-duty ratchet straps ($25 per pair) – Provides precise tension control
- Custom-fit foam blocks ($30 vehicle-specific) – Eliminates microscopic movement
Prevent Wobble From Developing Mid-Trip
Smart loading and real-time adjustments prevent allen bike rack wobble from escalating during your journey. Load heaviest bike closest to vehicle—this reduces leverage effects that amplify wobble. For two-bike setups, keep total weight within 70% of rack capacity; overloading accelerates wear dramatically and creates dangerous sway.
Follow the 15-minute rule: After first 15 minutes of highway driving, pull over and retension all straps. Initial settling creates slack that, if unaddressed, compounds into dangerous sway. This single habit prevents 80% of wobble-related issues according to user reports. Document your tension settings—many cyclists find their ideal setup varies slightly between vehicles.
Highway Speed Guidelines for Safe Transport
- Under 50 mph: Standard tension sufficient for most conditions
- 50-65 mph: Retension every 100 miles to compensate for strap stretch
- Above 65 mph: Avoid entirely with trunk racks—consider alternative transport
Replace Worn Components Before Failure
Component failure often masquerades as simple adjustment issues. Straps showing fraying edges or permanent stretch marks need immediate replacement—they’ve lost their ability to maintain tension. Factory straps typically last 18-24 months under regular use; less if you frequently transport heavy mountain bikes or drive on rough roads.
Rubber foot degradation accelerates in extreme temperatures. Replace when compression set exceeds 3/16 inch or when visible cracking appears. Many cyclists don’t realize cold weather makes rubber brittle while summer heat softens it—both conditions increase wobble severity but require different solutions. Premium high-durometer feet perform better across temperature extremes.
Critical Replacement Schedule
- Straps: Every 18 months or 10,000 miles (whichever comes first)
- Rubber feet: Every 2 years or immediately with visible wear
- Hooks: When teeth show 25% wear or uneven engagement
- Pivot bushings: Every 3 years for frequent users
Validate Your Fix With Professional-Grade Testing
Don’t wait until highway speeds to discover your solution failed. This 5-minute test sequence reveals remaining issues while you’re still in a safe location. Perform the static bounce test: push down firmly on each bike, then release. Each bike should return to position within two oscillations—more movement requires additional tensioning.
Conduct low-speed validation by driving 25 mph in an empty parking lot, hitting speed bumps at 45-degree angles. Watch your mirror for bike sway—anything beyond 1 inch lateral movement needs attention. Professional evaluators use accelerometer arrays and laser displacement sensors, but these simple tests replicate their methodology for home use.
Success Criteria for Wobble-Free Transport
- Lateral movement: Under 0.25 inches at 55 mph (barely visible)
- Vertical bounce: Maximum 1 inch displacement when tested
- Stray tension: All straps maintain 50 lbs after 30 minutes of driving
Monthly Maintenance Routine That Prevents 90% of Wobble
Consistent care prevents allen bike rack wobble better than any single fix. Implement this simple monthly routine that takes just 10 minutes but dramatically extends your rack’s lifespan. Week 1: Perform visual inspection of all contact points, looking for wear patterns on rubber feet and strap fraying. Week 2: Check tension on all straps using a simple spring scale to verify 50 lbs pull force.
Document your findings with a phone note tracking strap tension over time—this reveals patterns before they become problems. Users following this schedule report rack longevity increasing from 4-5 years to 7-8 years while maintaining wobble-free performance. Remember that UV exposure degrades strap materials, requiring more frequent tensioning during summer months.
Bottom line: Allen bike rack wobble isn’t inevitable—it’s predictable and preventable. By targeting the specific connection points where movement originates, you transform a sketchy setup into rock-solid transport. Start with proper tensioning, add strategic upgrades as needed, and maintain consistently. Your bikes will arrive in perfect condition, and you’ll finally relax enough to enjoy the drive to your next cycling adventure rather than constantly checking your mirrors for dangerous sway. The small investment of time and attention pays off with years of reliable, wobble-free bike transport.