
You’re tearing down the trail when suddenly your dirt bike’s braking power vanishes—despite a firm lever feel, your wheel keeps rolling. Or worse, your rear brake drags like an anchor, turning your free-spinning wheel into a grinding, heat-generating liability. A stuck dirt bike brake caliper transforms your reliable machine into a dangerous hazard within minutes. The good news? Most stuck caliper issues can be diagnosed and fixed in your garage with basic tools and methodical troubleshooting. This guide reveals exactly how to identify, free, and prevent stuck brake calipers—so you can return to trail riding with confidence in your stopping power.
Diagnose Stuck Caliper Symptoms Before Repairing
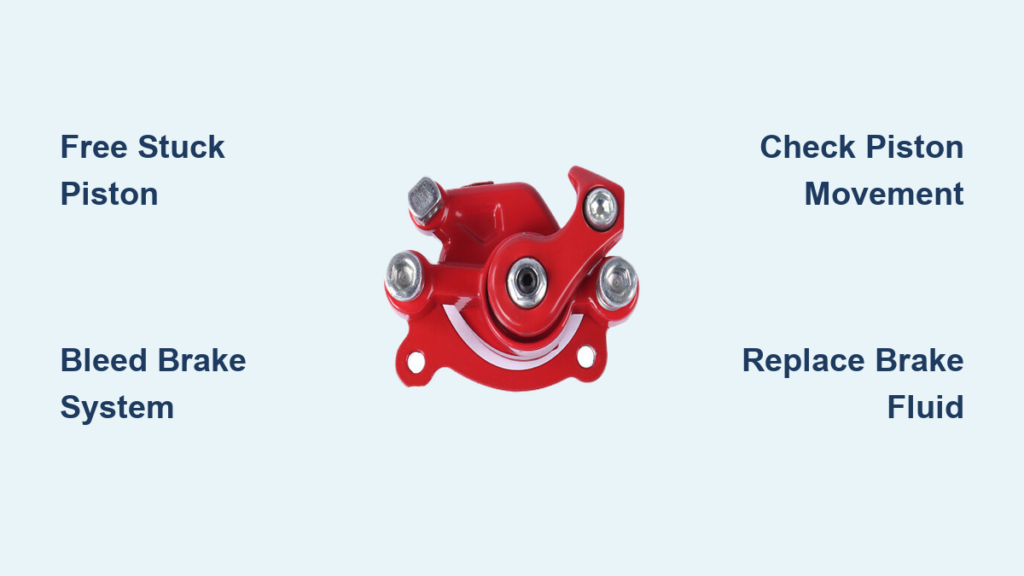
Don’t assume your brake problem is a stuck caliper—confirm it first to avoid wasted effort. A stuck dirt bike brake caliper presents specific symptoms that differ from other brake issues. When both pistons refuse to move outward, you’ll experience a firm brake lever with zero stopping power. Spin your wheel by hand and notice no resistance, yet the lever feels solid when squeezed. Conversely, if pistons won’t retract, you’ll feel constant drag while riding, with the rotor becoming dangerously hot after just a few minutes.
Check for uneven piston movement by removing your brake pads and watching piston action when you squeeze the lever. One piston extending while the other remains frozen indicates partial binding—a common scenario on four-piston rear calipers. Also inspect for:
– Brake fluid leakage around the caliper body
– Visible corrosion on piston surfaces
– Levers that don’t return to their resting position
– Uneven pad wear patterns showing only one side contacting the rotor
Why Misdiagnosis Wastes Your Time
Many riders mistakenly attack the caliper when the real problem lies elsewhere. A clogged master cylinder feed hole creates identical symptoms to a stuck caliper—firm lever with no braking action. Before removing calipers, verify master cylinder function by watching the piston movement when you pull and release the lever. If it hangs up or returns sluggishly, clean the reservoir feed hole first using a stripped grocery bag tie to dislodge debris.
Free Your Stuck Piston Using Proven Techniques
When pistons bind in their bores, forceful approaches often cause more damage. Start with the gentlest method and escalate only if necessary.
Wooden Twisting Technique for Off-Center Pistons
Most stuck caliper issues stem from pistons that tilted during improper compression. Grab a dry 1×2 wood block and insert it between pistons on dual-piston calipers. Apply gentle twisting pressure while simultaneously working the brake lever. The wood distributes pressure evenly across the piston face, correcting alignment issues that C-clamps create. This technique works miraculously well for pistons that refused to budge with conventional tools—many riders report frozen pistons sliding freely within minutes using this method.
Sequential Compression Method for Severe Binding
For stubborn cases, reinstall your old brake pads (they’ll be sacrificed in this process) and use a large C-clamp to fully compress the pistons. Then pump your brake lever to partially extend them before compressing again. Repeat this cycle 5-7 times while monitoring your master cylinder reservoir—fluid displaced during compression fills the reservoir, so release excess through the bleeder if needed. The repeated cycling works corrosion and debris loose through the piston’s full travel range.
Controlled Air Pressure for Extreme Cases
When all else fails, use compressed air with extreme caution. Create a sealed connection between your air source and the caliper’s fluid inlet, then gradually introduce pressure while pointing the caliper away from people and objects. Critical safety note: Pistons can eject at dangerous velocities—always wear eye protection and ensure no one stands in the trajectory path. Incorporate a tire tube valve stem to control pressure release and reduce ejection speed.
Bleed Your Brake System Properly After Repair
Air trapped in the hydraulic system mimics stuck caliper symptoms, so complete bleeding is non-negotiable after any caliper work.
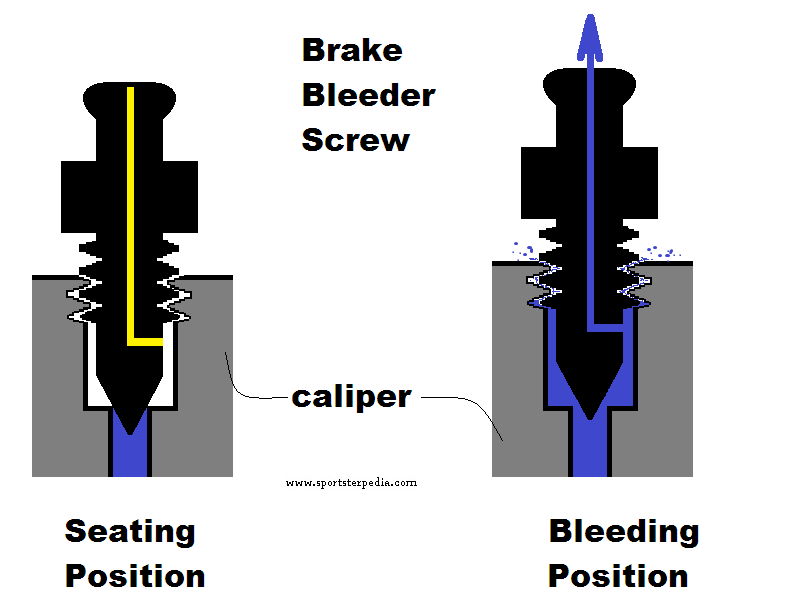
Pressure Bleeding with Caliper Elevated
Remove the caliper with brake line attached and hold it above the master cylinder with the bleeder screw positioned at 12 o’clock. Pump the lever while maintaining this elevated position—this prevents air bubbles from traveling back to the master cylinder. Keep the reservoir topped with fresh DOT fluid and contain drips with a container. This method works effectively but requires patience as you methodically purge air bubbles.
Vacuum Bleeding Using Engine Manifold
Connect a vacuum line between your car’s engine vacuum nipple and the caliper bleeder. With the master cylinder reservoir lid removed and kept full, start the engine to create suction that draws fluid through the system. Monitor fluid level constantly and close the bleeder when clear, bubble-free fluid appears. This technique automates the bleeding process but demands vigilance to prevent the reservoir from running dry.
Prevent Future Caliper Sticking With These Proven Methods
.jpg)
Master Fluid Maintenance Schedule
Replace brake fluid annually on trail bikes and every six months on competition machines. Moisture-absorbing brake fluid breaks down internal seals over time, accelerating corrosion. During routine maintenance, check piston movement by manually compressing pistons with pads removed—address any binding immediately before it progresses to complete seizure.
Proper Pad Replacement Technique
Never compress caliper pistons without first verifying free movement. If resistance exists, investigate before proceeding. When compressing pistons:
– Use old pads to protect piston surfaces
– Apply pressure perpendicular to the piston face
– Avoid over-compressing pistons with visible rust rings
– Work pistons through full range before final installation
Storage Preparation for Off-Season
If storing your dirt bike for months, operate the brake system several times to distribute fresh fluid throughout the system. Better yet, remove calipers and store with pistons partially extended inside plastic bags containing brake fluid-soaked cloths. This prevents seal drying and corrosion buildup during storage.
Essential Tools for Caliper Repair Success
Skip these specialized tools and you’ll waste hours fighting your brake system:
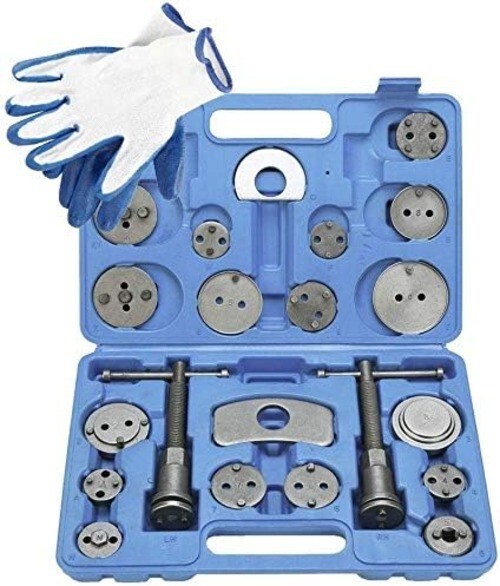
- Brake caliper piston tool set: Distributes pressure evenly across piston faces
- Small snap-ring pliers: For removing internal retaining clips
- Vacuum brake bleeder kit: Makes bleeding significantly faster
- 1200-grit sandpaper: For carefully removing minor rust rings (use with caution)
- Clear plastic tubing: For contained fluid transfer during bleeding
Critical safety gear: Always wear chemical-resistant gloves and safety glasses when working with brake fluid and compressed air. Brake fluid damages paint and irritates skin, while ejected pistons can cause serious injury.
When to Repair Versus Replace Your Caliper
Evaluate these factors before committing to a rebuild:
- Rebuild kits cost $15-$40 and include all necessary seals—ideal when caliper body shows no pitting
- Used calipers run $40-$75 but verify piston movement before purchase
- New calipers exceed $150 for premium aftermarket units
- Labor investment: 2-4 hours for experienced mechanics
On competition bikes where brake reliability is critical, replace any caliper that has experienced severe binding. For trail bikes, slight binding that responds to cleaning may be acceptable—but never compromise on safety.
Critical Safety Mistakes That Cause Brake Failure
Avoid these dangerous errors that turn minor repairs into catastrophic failures:
- Skipping system bleeding after opening hydraulic circuits—air in the system reduces braking efficiency by up to 70%
- Reusing damaged pistons with rust rings or scoring—they’ll bind again within weeks
- Mixing brake fluid types—DOT 4 and mineral oil systems are incompatible
- Forcing stuck pistons beyond reasonable hand pressure—this damages bore surfaces
Always test repaired brakes in a controlled environment before returning to trails. Verify both pistons extend and retract evenly, and confirm full braking power develops at the lever.
Common Repair Mistakes That Cause Recurring Problems
Most stuck caliper issues stem from previous improper service. Break these bad habits:
- Compressing pistons without checking movement first—this guarantees binding
- Using C-clamps without alignment verification—causes pistons to tilt in bores
- Neglecting master cylinder feed hole cleaning—creates identical symptoms
- Reusing contaminated brake fluid—accelerates seal deterioration
A properly maintained dirt bike brake system should provide years of reliable service. By addressing stuck caliper issues methodically and implementing these prevention techniques, you’ll eliminate dangerous brake failures and keep your focus where it belongs—on the trail ahead.


