
That steady drip of gasoline beneath your dirt bike isn’t just messy—it’s a critical warning sign that your carburetor’s internal balance has been disrupted. When your dirt bike carburetor leaking fuel creates puddles on your garage floor or saturates your air filter, your engine’s air-fuel mixture becomes dangerously rich, causing hard starts, erratic idling, and potential fire hazards. Whether you’re prepping for weekend trails or troubleshooting after a frustrating ride, understanding why fuel escapes from your carburetor helps you apply the right fix before your next adventure.
Ignoring a leaking carburetor leads to more than just wasted fuel—you’re risking engine damage, compromised performance, and serious safety concerns. This comprehensive guide reveals the exact mechanisms causing your dirt bike carburetor leaking fuel problem, along with step-by-step procedures to diagnose and repair each potential issue. You’ll discover how to identify whether your problem stems from float height misadjustment, needle valve wear, or fuel system contamination, and learn which tools and parts you need for a permanent solution.
Identify Your Carburetor Fuel Leak Pattern

Knowing exactly where fuel escapes from your dirt bike carburetor provides crucial diagnostic information that directs your repair approach. Different leak patterns correspond to specific internal failures, helping you avoid unnecessary disassembly and wasted effort.
Overflow Hose Dripping While Bike Sits Upright
When fuel steadily drips from the overflow hose while your dirt bike rests on its stand, you’re dealing with a classic float bowl overflow condition. This constant discharge indicates your float isn’t shutting off fuel supply at the proper level. Unlike intermittent leaks caused by debris, this persistent drip continues as long as the fuel petcock remains open and typically worsens after the engine shuts off.
Check this symptom by placing a small container beneath the overflow hose after turning on your fuel supply. If you collect more than a few drops within one minute while the bike sits level, your float height requires adjustment or your needle valve needs replacement. This overflow condition floods your engine with excess fuel, explaining why your bike might start briefly then die immediately when you release the throttle.
Fuel Contamination at the Air Filter Housing
Finding gasoline pooled in your air filter box signals a severe overflow condition that requires immediate attention. When the float bowl overfills dramatically, fuel rises through the carburetor bores and exits via the air intake tract. This symptom often accompanies hot starting difficulties—your engine runs fine when cold but refuses to restart after warming up because the combustion chamber floods with raw gasoline.
Inspect your air filter thoroughly when you notice this symptom. Replace any fuel-saturated filters immediately, as compromised filtration leads to engine damage from dirt ingestion. The presence of fuel here indicates either significantly misadjusted float height, a severely worn needle valve, or debris preventing proper needle seating.
Pinpoint Your Dirt Bike Carburetor Leaking Fuel Cause
Three primary mechanisms cause fuel to escape from your carburetor, each requiring distinct diagnostic approaches and repair strategies. Identifying which cause affects your bike saves hours of unnecessary work and ensures you address the root problem rather than symptoms.
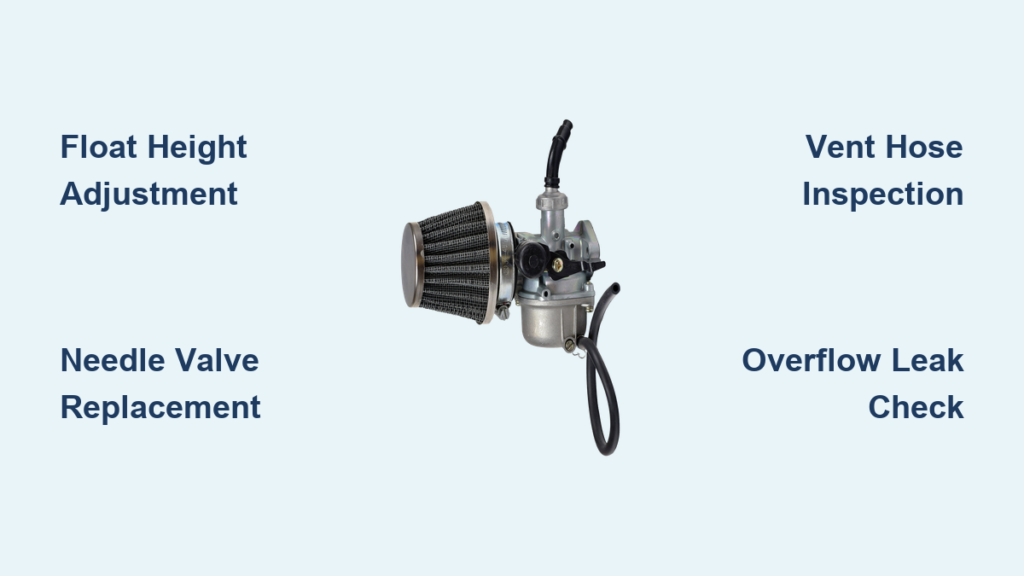
Float Height Misadjustment: The Most Common Culprit
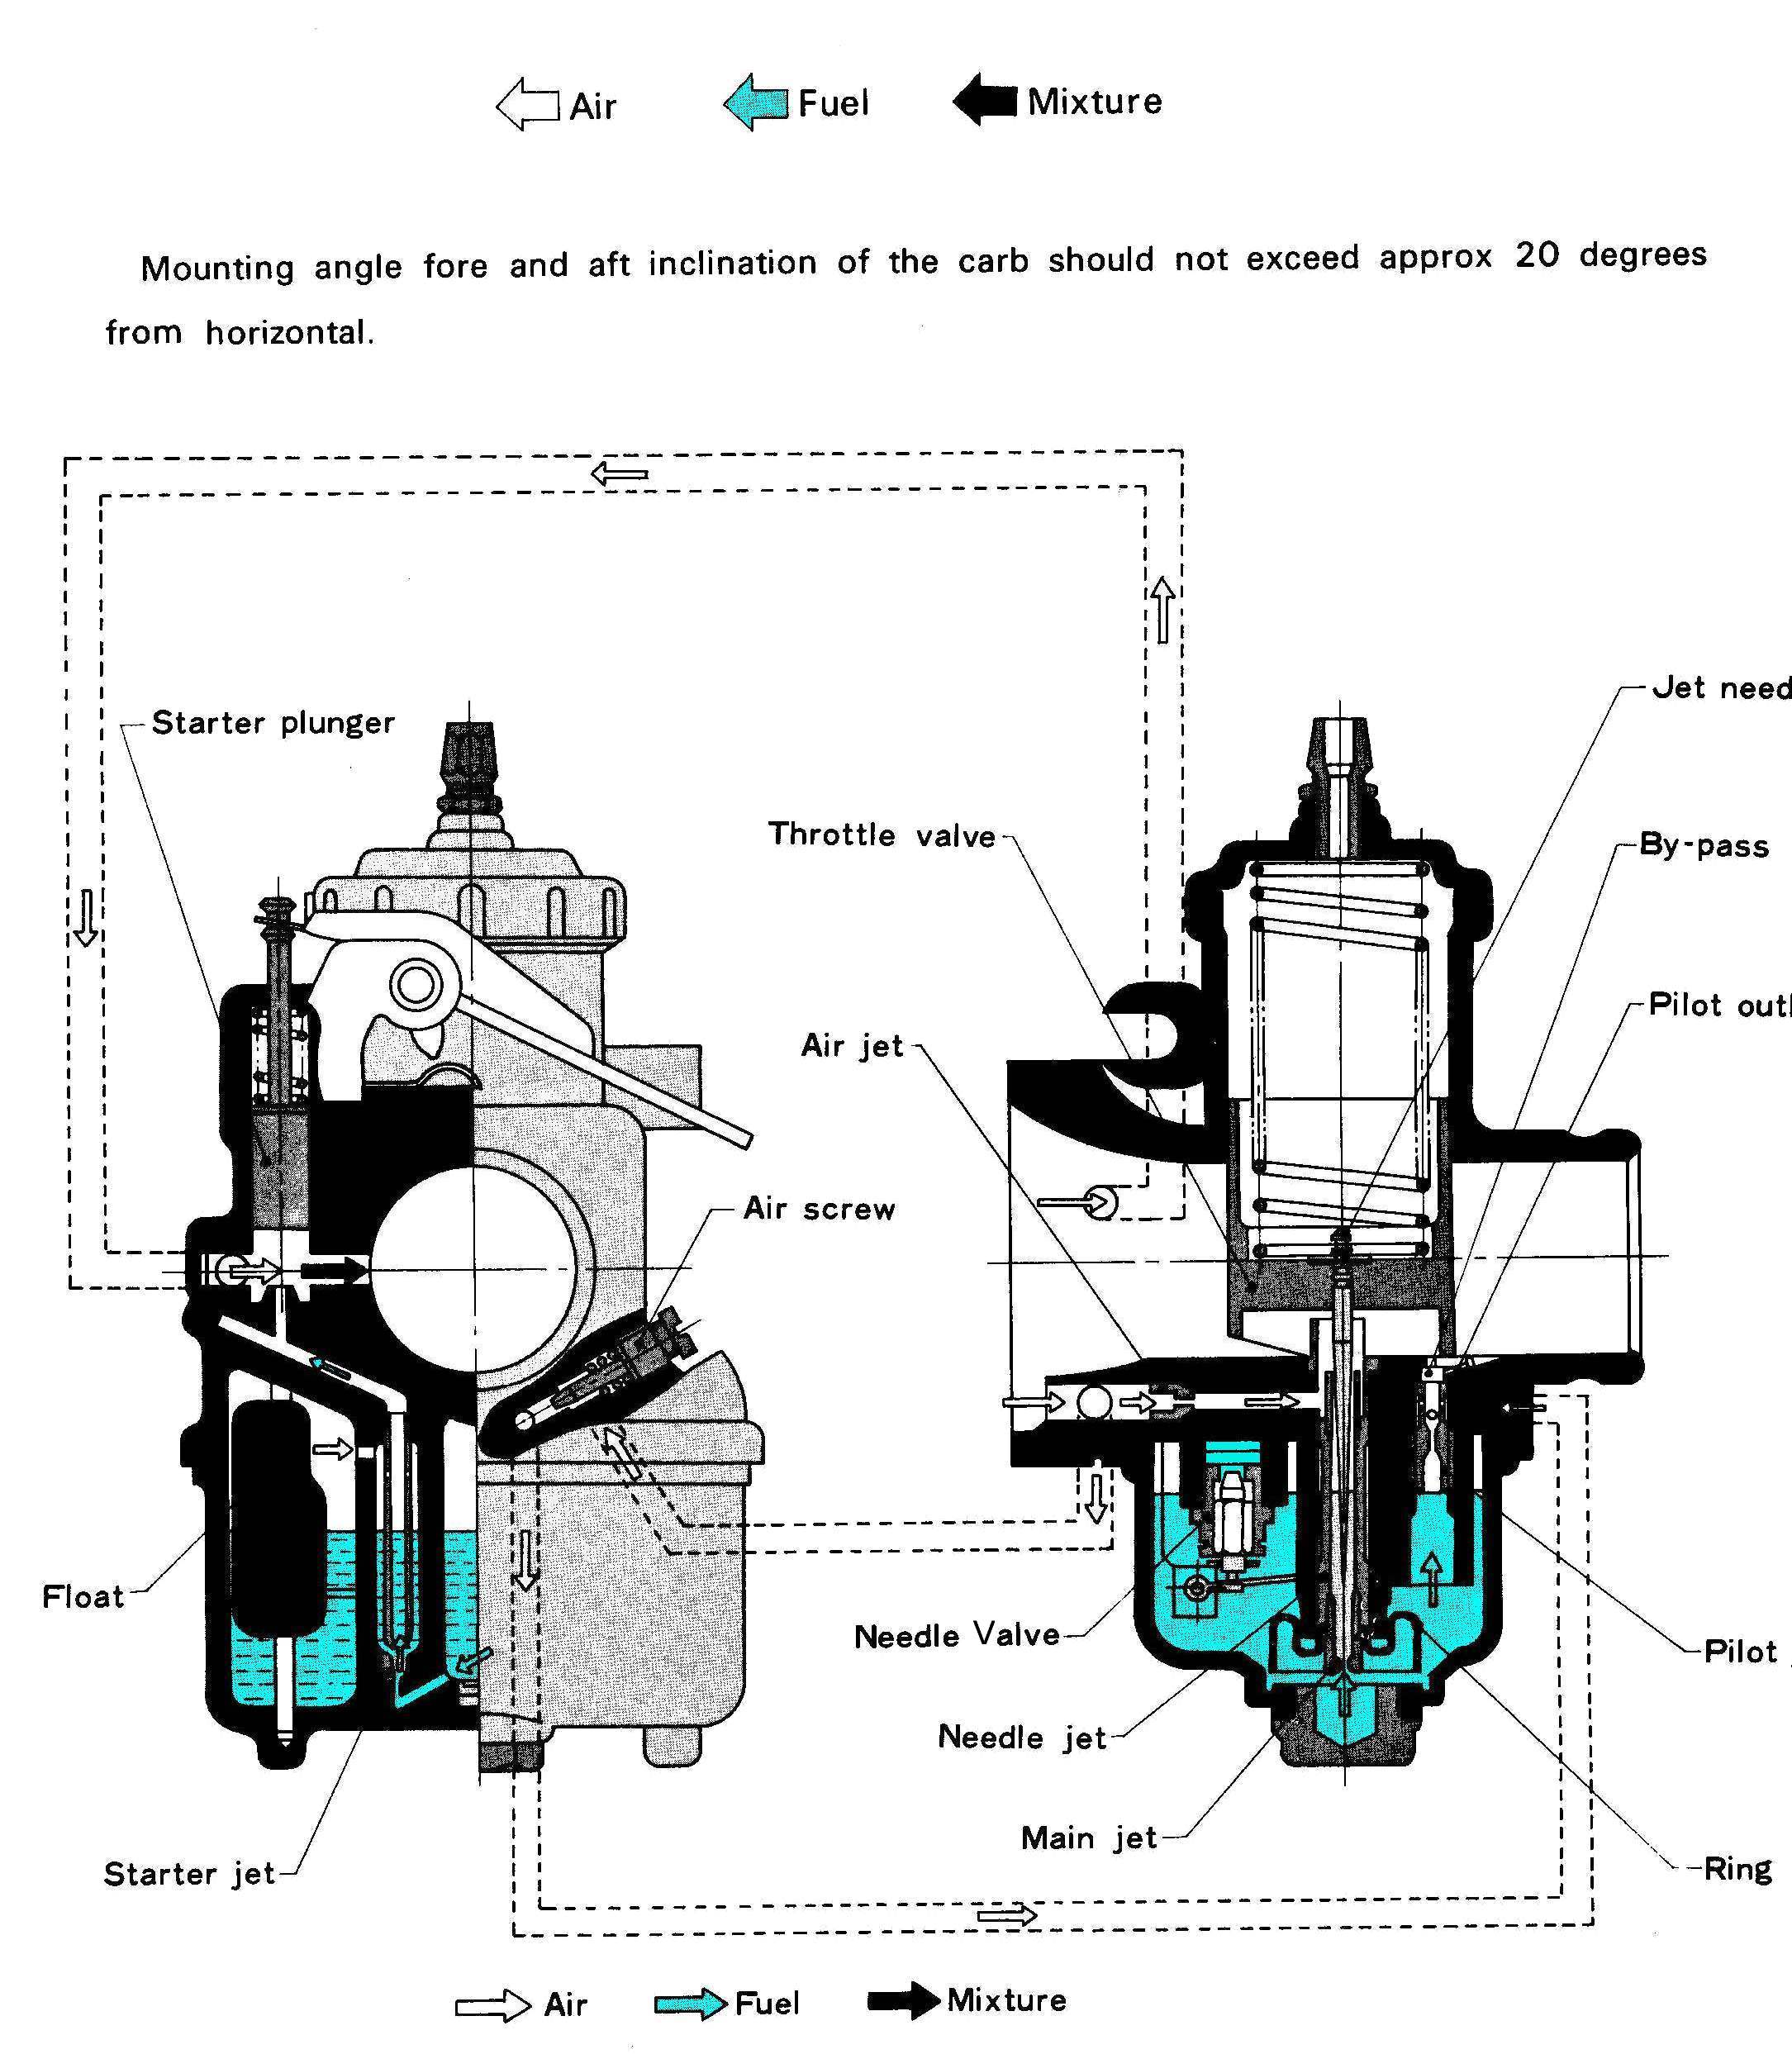
Over 70% of dirt bike carburetor leaking fuel issues stem from incorrect float height settings. The float assembly inside your float bowl rises as fuel enters, pushing the needle valve upward to seal the fuel inlet when the correct level is reached. When this level sits too high, the bowl continuously overfills, forcing fuel out through the overflow tube.
Yamaha specifications for models like the YZ125 require holding the carburetor at approximately 60 degrees during adjustment, with the float seam parallel to the carburetor body mating surface when fully raised. If you recently cleaned your carburetor without checking this measurement, improper reassembly likely caused your leak. The constant drip pattern—unaffected by engine temperature—confirms this is your issue rather than intermittent contamination problems.
Worn Needle Valve Assembly: The Silent Failure
Rubber-tipped needle valves develop wear rings over time from repeated contact with the valve seat, creating microscopic gaps that allow continuous fuel flow. Inspect your needle tip carefully—any visible indentation indicates the material has lost its ability to form a proper seal. Unlike float height issues, this problem often develops gradually, with leaks becoming more pronounced as engine hours accumulate.
Debris contamination causes similar symptoms but with different patterns. Particles like rust flakes or fuel varnish prevent the needle from seating completely, creating intermittent leaks that pulse or stop temporarily. If your fuel leak appears and disappears randomly, especially after riding through dusty conditions, debris is likely your culprit rather than wear.
Critical Vent Hose Failures
Missing or damaged vent hoses create unexpected fuel escape paths that mimic internal carburetor failures. Your carburetor has five critical hose attachment points—two on each side and one on the bottom—each maintaining proper atmospheric pressure within the float bowl. When these hoses deteriorate or detach, fuel finds alternative routes to escape.
Check all hose connections thoroughly before disassembling your carburetor. A missing vent hose allows dirt to enter internal passages while creating paths for fuel to seep toward your air filter housing. Replacement tubing (typically 1/8-inch diameter) from dealers like Partzilla or Rocky Mountain ATV solves this issue quickly when combined with proper hose clamps—never use zip ties as permanent solutions on overflow connections.
Diagnose Your Carburetor Without Full Disassembly
Perform these quick checks before removing your carburetor to confirm whether float adjustment or needle replacement will solve your dirt bike carburetor leaking fuel problem.
Needle Valve Seat Inspection Protocol
Shine a bright flashlight directly into the needle valve seat bore while the carburetor remains installed. Look for visible debris, corrosion, or wear patterns that would prevent proper sealing. Remove the float bowl cover and inspect the needle tip for deformation or the characteristic wear ring that indicates replacement is necessary.
If you spot particles in the seat, try gently tapping the carburetor body with a plastic screwdriver handle to dislodge debris. This temporary fix might stop the leak long enough to complete your ride, but schedule a complete needle and seat replacement immediately afterward—temporary solutions risk sudden failure during operation.
Float Function Verification Steps
With the carburetor still mounted, carefully lift the float arm while watching the needle movement. You should hear a distinct click as the needle seats against the valve. Any resistance or binding indicates a stuck float assembly requiring cleaning or replacement.
Blow gently through the fuel inlet while holding the float in the closed position. Properly functioning components prevent air passage—if you feel airflow, either debris prevents sealing, the needle is worn, or the seat requires attention. This simple test confirms whether disassembly is necessary before you begin removing components.
Execute Precise Float Height Adjustment
Correct float height adjustment resolves most dirt bike carburetor leaking fuel issues when performed accurately. Follow these model-specific procedures to restore proper fuel levels in your float bowl.
Yamaha YZ125 Float Adjustment Method
For Yamaha models like the YZ125, hold the carburetor at a 60-degree angle during adjustment. The float seam should align parallel with the carburetor body mating surface when fully raised but not compressing the needle. Use a sight level tool (either purchased or fabricated per manual specifications) for precise measurement.
Bending the adjustment tab downward lowers the float level, decreasing the fill point to prevent overflow. Make small adjustments—one millimeter at a time—and retest after each change. Allow approximately 40 minutes for your first adjustment, with subsequent attempts requiring less time as familiarity develops.
Universal Float Adjustment Principles
Regardless of your dirt bike model, remember these critical principles:
– Bending the tab upward raises the float level, increasing fill point and potentially causing overflow
– Bending the tab downward lowers the float level, decreasing fill point and potentially causing lean conditions
– Always verify float movement is free from binding before final adjustment
– Test fuel flow after adjustment with the carburetor removed from the bike
Complete Needle and Seat Replacement Procedure
When inspection reveals wear on your needle tip or roughness in the seat, replacement provides a comprehensive solution that addresses the root cause of your fuel leak.
Critical Installation Steps
- Remove the old seat by turning the threaded retaining screw counterclockwise
- Inspect the carburetor body where the seat contacts it, cleaning any residue
- Install the new O-ring, then thread the new seat into place
- Tighten the retaining screw to proper torque specifications—overtightening cracks many carburetor bodies
For Yamaha YZ125 owners, part number 4PE-14107-38-00 provides the complete float needle valve set at approximately $16.50. This kit includes everything needed for comprehensive needle and seat service.
Post-Installation Verification
After installing your new components, verify proper function before reassembly:
– Hold the carburetor at the specified angle
– Blow gently through the fuel inlet while holding the float closed
– Confirm no air passes through when the needle seals the new seat
– If air passes freely, double-check installation before proceeding
Prevent Future Carburetor Fuel Leaks
Implement these maintenance practices to avoid recurring dirt bike carburetor leaking fuel problems:
- Always shut off the fuel petcock when storing your dirt bike to prevent overflow during shutdown
- Inspect overflow outlet before each ride—any discharge while upright requires investigation
- Use fresh fuel with stabilizer for storage periods to prevent gum and varnish deposits
- Strain fuel through fine mesh before adding to the tank to remove contaminants
- Replace vent hoses at the first sign of deterioration to maintain proper pressure balance
Critical Safety Warnings for Fuel Leaks
Never operate your dirt bike with known fuel leaks—the discharge near hot engine components, electrical connections, or exhaust systems poses significant fire risk. If fuel has saturated nearby components, inspect and replace:
– Spark plug wires (degraded by fuel exposure)
– Control cables (internal corrosion from fuel)
– Electrical connections (corrosion from fuel exposure)
The overflow hose must route away from hot components and in a direction that prevents fuel from contacting the rider. Proper routing during reassembly prevents future issues—waiting for correct hose clamps rather than using zip ties ensures safe operation. Your patience during repair ensures you return to riding on a bike that operates safely and reliably.


