
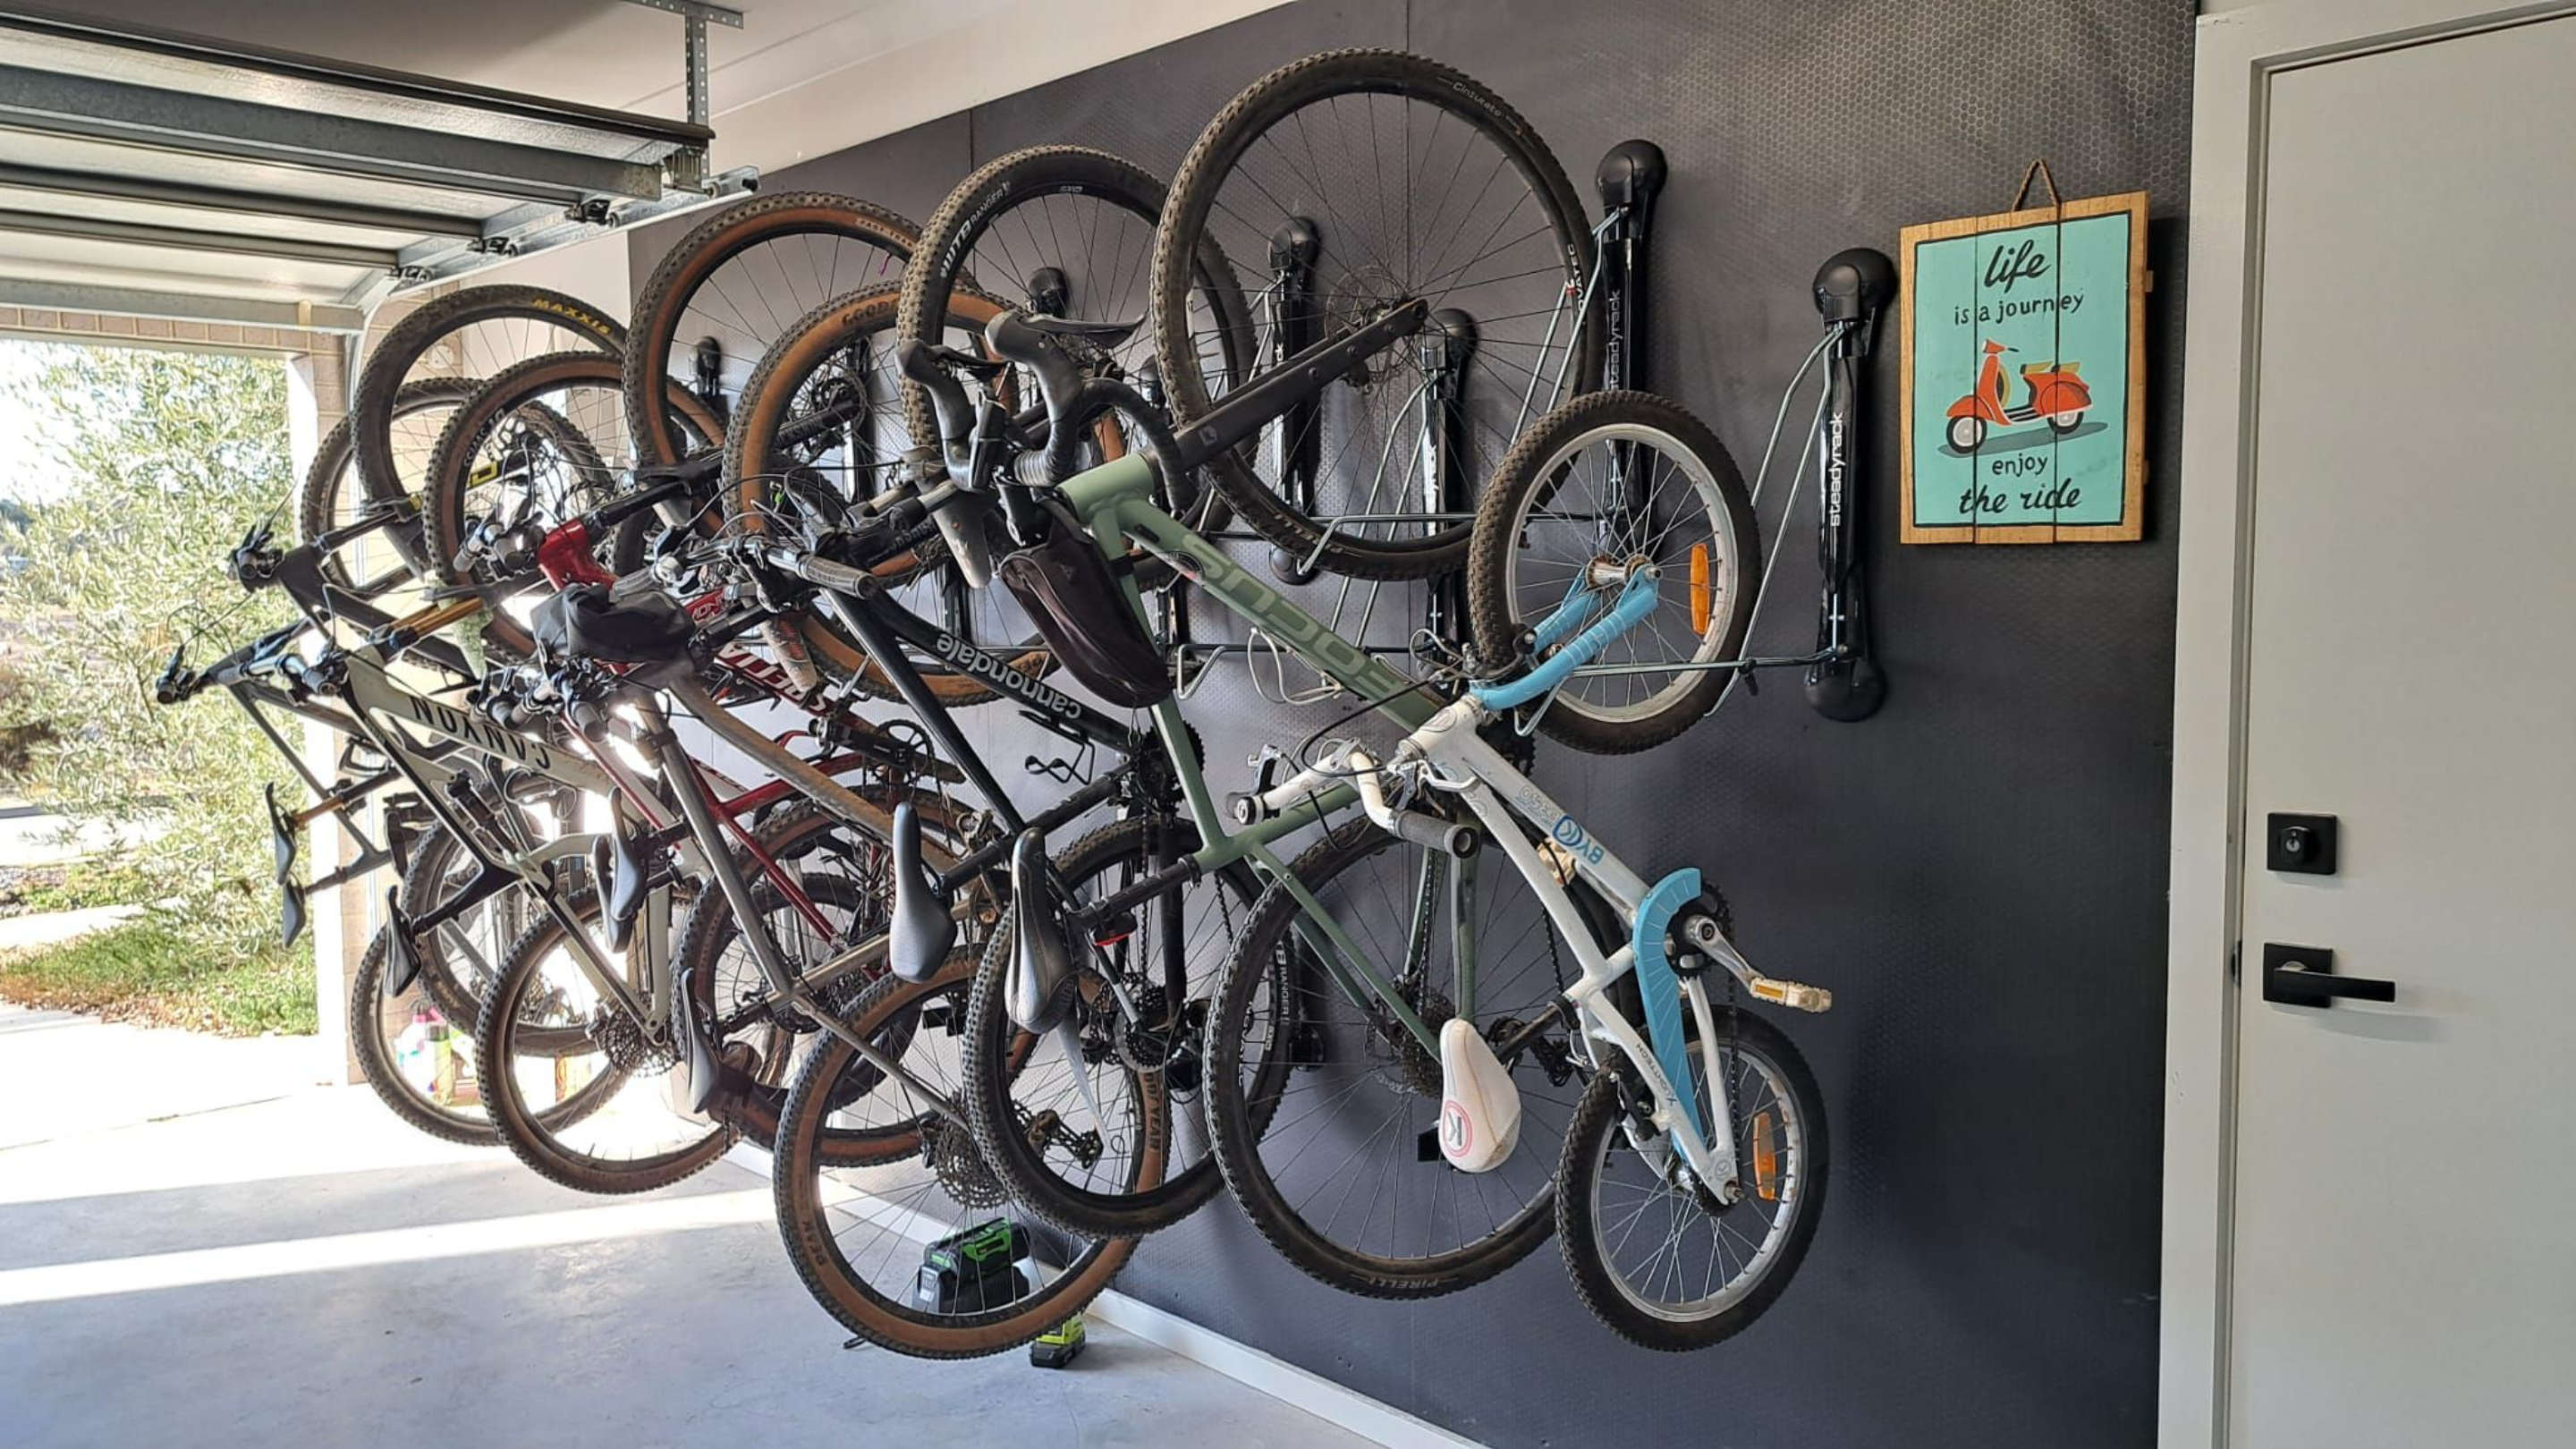
Your bikes leaning precariously in the corner, taking up valuable floor space? A Dirza bike rack installation solves this common storage headache by transforming unused wall space into secure, organized bicycle storage. This wall-mounted system keeps your bikes safely elevated while freeing up precious square footage—perfect for cramped apartments, cluttered garages, or anyone seeking a cleaner cycling setup.
Installing your Dirza rack takes under an hour with basic tools, but skipping proper technique risks wall damage and unsafe bike storage. Many DIYers make critical errors like mounting on hollow drywall or misaligning brackets, leading to sagging racks or falling bikes. This guide walks you through every step with professional tips you won’t find in the manual, ensuring your Dirza bike rack installation succeeds the first time.
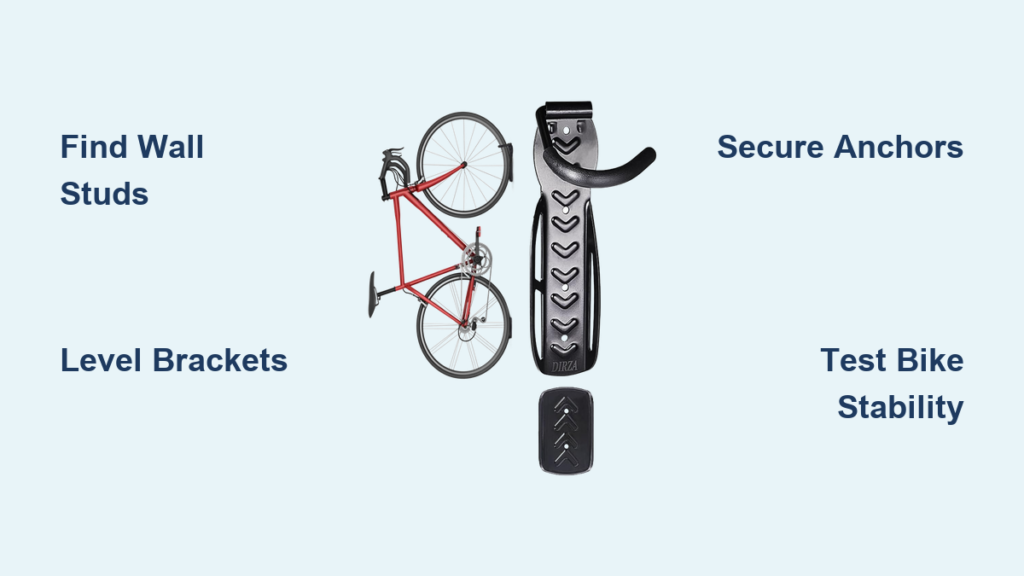
Pinpoint Your Ideal Mounting Location Before Drilling
Identify Your Wall Construction Type
Tap your wall lightly—hollow sounds mean drywall, while solid thuds indicate concrete or brick. For drywall installations, you must locate wall studs for secure mounting. Run a stud finder vertically until it detects framing members, typically spaced 16-24 inches apart. Mark two adjacent studs with pencil, then verify by driving a small finish nail through the drywall; solid resistance confirms you’ve found the stud.
Critical warning: Never mount directly into drywall without hitting studs—this causes catastrophic failure when weight is applied. If your desired location doesn’t align with studs, adjust your height 1-2 inches up or down to find solid framing.
Optimize Height for Easy Bike Access
Position your Dirza bike rack so the top tube (horizontal frame bar) sits 60-65 inches from the floor—this keeps your bike within comfortable reach while standing. Ensure 6-8 inches of clearance on both sides for handlebar movement, and verify at least 7 feet of ceiling height for vertical storage. Test your reach by standing naturally at the proposed location—you should comfortably grasp your bike’s top tube without stretching.
Gather These Essential Tools Before Starting
Must-Have Installation Equipment
- Electric drill with 1/4″ masonry bit (for concrete/brick)
- Phillips head screwdriver (manual or drill attachment)
- Reliable stud finder (digital models detect deeper studs)
- 24-inch level (shorter levels won’t ensure proper alignment)
- Measuring tape and pencil for precise markings
Verify Included Hardware Before Mounting
Your Dirza package contains everything needed for proper installation:
– 4 heavy-duty expansion bolts for masonry walls
– 4 wood screws for drywall/stud mounting
– 4 plastic anchors for hollow wall sections
– 2 mounting brackets with pre-drilled holes
– 2 bike hooks with protective rubber coating
– 2 arm hooks (for dual bike models)
Pro tip: Lay out all hardware before starting—missing components cause frustrating mid-installation stops. Check that rubber coatings on hooks are intact to prevent frame scratches.
Perfect Your Bracket Placement in 5 Minutes
Precisely Locate Stud Centers
For drywall installations, use your stud finder to detect two adjacent studs spaced 16-24 inches apart. Mark the center of each stud with a pencil, not the edge—screws driven into stud edges have significantly reduced holding power. Verify locations by driving a small finish nail through the drywall; solid resistance confirms proper stud alignment.
Mark Drill Points with Professional Accuracy
Hold the mounting bracket against the wall at your chosen height. Place your level across the bracket’s top edge—adjust until the bubble sits perfectly centered. Mark drill holes through the bracket’s pre-drilled holes onto your wall with pencil. For concrete or brick walls, position holes at least 2 inches from any edge to prevent cracking during installation.
Drill Pilot Holes for Maximum Holding Power
Create Proper Holes for Wood Studs
Drill 1/8″ pilot holes 2.5 inches deep at each marked location using a standard drill bit. These smaller guide holes prevent wood splitting when driving larger screws. Hold your drill perpendicular to the wall—angled holes weaken the connection and cause bracket misalignment. Apply steady pressure without forcing the drill.
Master Concrete and Brick Wall Drilling
Switch to a 1/4″ masonry bit and drill holes 2.75 inches deep. Work slowly at medium speed to prevent bit overheating—let the drill do the work rather than forcing it. Clean each hole thoroughly using compressed air or a vacuum to remove dust and debris that could prevent anchors from seating properly. Incomplete hole cleaning causes 70% of concrete installation failures.
Secure Brackets to Prevent Rack Failure

Install Anchors for Your Specific Wall Type
For drywall installations aligning with studs, skip plastic anchors and drive wood screws directly into studs—this provides 3x the holding power. When anchors are needed (hollow walls), tap plastic anchors flush with the wall surface using a hammer. For concrete, insert expansion bolts fully, leaving 1/4″ of thread exposed for proper bracket seating.
Level and Tighten Brackets Like a Pro
Align bracket holes with your installed anchors or studs. Insert screws through brackets and tighten until snug—don’t overtighten, which can strip holes or crack drywall. Double-check each bracket remains level after tightening. For dual bike models, ensure both brackets are at identical heights using your measuring tape—just 1/8″ difference causes bike imbalance.
Adjust Hook Arms for Perfect Bike Positioning
Set Optimal Hook Angle for Your Bicycle
Insert hook arms into bracket slots at your preferred angle. Most bikes hang best with hooks angled 15-20 degrees downward—this prevents bikes from sliding forward. Tighten adjustment screws firmly, but avoid over-torquing which can damage the adjustment mechanism. Road bikes often require slightly different angles than mountain bikes.
Test and Refine Before Final Installation
Before finalizing positions, hang your bike by the top tube. The bike should hang level with the rear wheel slightly elevated. If the bike tilts forward or backward, adjust the hook arm angle accordingly. For dual bike setups, mount the heavier bike on the upper hook first to prevent weight imbalance issues.
Troubleshoot Common Installation Problems Immediately

Fix Rack Tilting Before It Causes Damage
Symptoms: Visible bracket movement or bike leaning to one side
Immediate solution: Remove the rack and reinstall with additional anchors or relocate to a more secure wall stud location. For concrete walls, consider using larger expansion bolts or chemical anchors for permanent solutions.
Prevent Bike Slipping Off Hooks
Common causes:
– Hook angle too shallow (adjust downward 15-20 degrees)
– Worn rubber coating (contact Dirza for replacements)
– Improper bike placement (ensure top tube sits fully in hook curve)
Quick test: Gently bump the mounted bike—if it shifts more than 1 inch, readjust before storing regularly.
Maintain Your Dirza Rack for Long-Term Reliability
Essential Monthly Safety Checks
Spend 5 minutes each month ensuring continued safety:
– Test all mounting screws with a screwdriver—tighten any that feel loose
– Inspect hook arms for wear, cracks, or damaged rubber coating
– Verify bikes remain secure when bumped or jostled
Critical warning: Loose screws are the #1 cause of rack failure—check them religiously during the first 3 months after installation.
Professional Installation When DIY Isn’t Feasible
Consider professional help for these scenarios:
– Concrete walls older than 20 years (potential hidden damage)
– Plaster and lath construction (specialized techniques required)
– Rental properties with installation restrictions
– Multiple rack installations throughout home or garage
Professionals typically charge $100-200 per rack but provide load testing and warranty documentation—worth the investment for problematic wall types.
Warranty and Support for Your Peace of Mind
Your Dirza bike rack carries a 5-year manufacturer warranty covering materials and craftsmanship. This doesn’t cover installation-related damages, so register your product within 30 days of installation. Save your receipt and take photos of the completed installation for warranty claims.
Access installation videos on the manufacturer website for visual guidance. Technical support operates Monday-Friday 8 AM – 6 PM EST, with email responses within 24 hours. Replacement parts ship quickly—order damaged hooks or hardware directly through customer service.
A properly installed Dirza bike rack provides years of reliable service while keeping your bikes organized and accessible. Take time during installation to ensure brackets are level and securely mounted—the extra 10 minutes spent perfecting the initial setup prevents hours of frustration later. With your bikes now hanging safely on the wall, you’ve reclaimed valuable floor space and created a cleaner, more functional cycling storage solution. Remember to perform those monthly safety checks—your investment in proper Dirza bike rack installation pays off every time you grab a bike without tripping over clutter.


