
Nothing ruins a cycling adventure faster than discovering your bike rack failed halfway to the trailhead. Properly attaching your Rhode Gear bike rack—particularly the popular Rhode Shuttle model—is the critical foundation that ensures your bikes arrive intact. This guide delivers the exact steps to securely mount your rack, preventing roadside emergencies and protecting both your vehicle and prized bicycles. You’ll learn professional installation techniques that most riders miss, transforming what feels like a complicated process into a reliable 15-minute routine.
Confirm Your Rhode Shuttle Rack Has All Necessary Components
Identify Every Piece Before Starting Installation
Before touching your vehicle, lay out every component on a clean surface like you’re preparing for surgery. Your Rhode Shuttle must include the main rack frame (the structural backbone), complete hardware bag containing all bolts, washers, and nuts, anti-sway straps specifically designed for bicycle stabilization, and the installation manual that serves as your roadmap. Missing even one washer creates pressure points that compromise the entire system’s integrity—double-check against the manual’s parts diagram before proceeding.
Create an Optimal Workspace Around Your Vehicle
Choose a flat, well-lit area with at least 3-4 feet of clearance around your vehicle’s rear. This isn’t the time for cramped driveway corners—you need space to maneuver the rack assembly and access all mounting points without straining. Position your vehicle so you can walk completely around it during installation, verifying clearance from house walls, garage doors, or other obstacles that might interfere with the rack’s final position.
Position Your Rhode Gear Rack on Vehicle Mounting Points

Locate Your Vehicle’s Ideal Attachment Surface
The Rhode Shuttle uses your vehicle’s trunk or hatch as its primary mounting surface—never attach it to spoiler edges or non-reinforced plastic panels. Open your trunk completely and run your hand along the metal edges surrounding the opening. You’re feeling for the reinforced sections, typically 1-2 inches wide, where the rack’s mounting brackets will grip securely. Most vehicles have subtle indentations or thicker metal in these areas designed specifically for rack attachment.
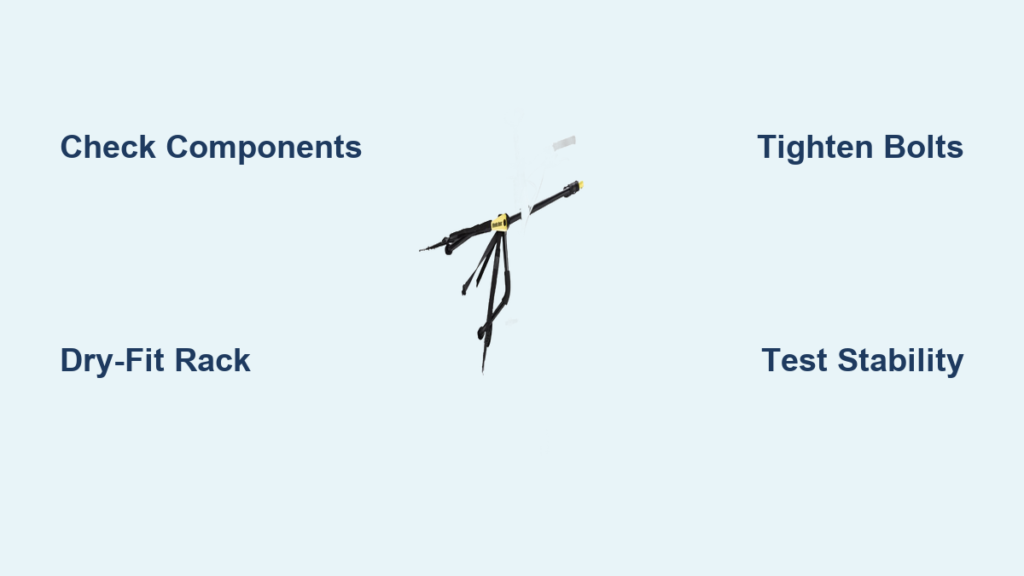
Dry-Fit the Rack Without Hardware First
Hold the rack against your vehicle with the curved upper hooks positioned along the top edge of your trunk lid. The lower support arms should rest against the bumper area, creating a stable triangular base. This critical dry-run confirms correct rack orientation and alignment before adding hardware. The rack should sit level with equal space on both sides—adjust side-to-side until perfectly centered. If the rack tilts or feels unstable during this dry-fit, identify the cause before proceeding.
Install Mounting Hardware in the Correct Sequence
Hand-Tighten Bolts Before Final Securing
Begin by inserting bolts through the rack’s mounting brackets and corresponding vehicle attachment points. Thread nuts on by hand initially—this prevents cross-threading and allows micro-adjustments as you align everything perfectly. Treat each bolt like starting lug nuts on a tire before lowering the jack; the goal is even pressure distribution across all mounting points. If you encounter resistance, back out and realign—forcing bolts risks damaging your vehicle’s mounting points.
Tighten Fasteners Using the Cross-Pattern Method
Using your wrench or socket set, tighten fasteners incrementally in a cross-pattern sequence, like tightening a car tire’s lug nuts. This prevents uneven pressure that could warp the rack frame or damage your vehicle’s mounting points. Start with moderate pressure until all bolts are snug, then give each bolt one final quarter-turn with firm pressure. The rack should feel completely rigid when you attempt to wiggle it—no movement, no creaking, no flexing. Test by applying 10-15 pounds of pressure at each mounting point.
Secure Your Bicycle to the Rhode Gear Rack Properly

Center the Front Wheel in the Designated Cradle
Position your bike with the front wheel centered in the rack’s cradle area, not off to one side. The bike must face forward, parallel to your vehicle’s direction of travel—this orientation reduces wind resistance and keeps the bike stable during highway speeds. Ensure the bike frame rests against the rack’s frame holder, with the front wheel securely positioned between the retention arms. Never mount the bike backward or sideways, as this creates dangerous leverage points during driving.
Establish Three Secure Contact Points with Anti-Sway Straps
Create a triangle of security using the anti-sway straps: the primary strap secures the bike frame to the rack’s main support at the down tube, while secondary straps anchor each wheel to prevent rotational movement. Tighten each strap until it’s drum-tight with no slack—you should feel significant resistance when trying to move the strap sideways. This three-point system prevents both rotational movement and side-to-side swaying that can damage your bike or vehicle during transit.
Conduct Thorough Safety Verification Before Driving
Perform the Critical Shake Test in All Directions
Before considering the job done, grab your bike firmly at the seat and handlebars and attempt to move it up/down, side-to-side, and forward/backward with moderate force. Properly secured bikes should feel like they’re part of the vehicle—zero movement, zero play. If you detect any wiggle, recheck strap tension and mounting hardware immediately. This simple 10-second test prevents 90% of common rack failures during transit.
Verify All Clearance Zones Around Your Vehicle
Walk completely around your vehicle and verify the bike doesn’t obstruct brake lights, turn signals, or your license plate—these are common failure points during safety inspections. Ensure the bike won’t interfere with trunk operation; you should be able to open and close the trunk without contact. Check that the lowest bike part maintains at least 6 inches of clearance from the ground to prevent scraping on inclines. Confirm no part of the rack or bikes extends beyond your vehicle’s rear bumper.
Fix Common Rhode Gear Attachment Problems Immediately
Eliminate Rack Instability During Initial Test Drive
If your rack wobbles during the first few miles, pull over safely and re-tighten all mounting bolts using proper torque. Often, the initial settling of components creates small gaps that need rechecking after the first few miles. Use a torque wrench if available (typically 15-20 ft-lbs for most Rhode Shuttle models) to ensure consistent pressure across all mounting points—uneven torque is a leading cause of rack failure.
Stop Bicycle Movement Mid-Trip with Proper Strap Technique
Bikes that shift during transit usually suffer from loose anti-sway straps or improper strap placement. Pull over and re-tension all straps, ensuring they’re not twisted and make full contact with frame and wheels. Straps should feel drum-tight when properly secured—try the “two-finger test”: if you can fit two fingers between the strap and frame without significant resistance, it needs tightening. Double-check that wheel straps secure both the front and rear wheels to prevent rotation.
Maintain Your Rhode Gear Rack for Long-Term Reliability
Clean and Inspect After Every Use
Road grime, salt, and debris act like sandpaper on moving parts. After each trip, wipe down the entire rack with a damp cloth, paying special attention to hinge points and adjustment mechanisms. This 5-minute routine prevents long-term corrosion issues and maintains smooth operation. While cleaning, inspect all hardware for tightness and check for any signs of wear or damage you might have missed during installation.
Perform Annual Deep Maintenance for Peak Performance
Once yearly, apply a light lubricant like silicone spray to all moving parts. Focus on hinge points where the rack folds, adjustment mechanisms for different bike sizes, and any threaded hardware. Avoid petroleum-based lubricants that attract dirt. Store the rack indoors when not in use—garage corners and basements work perfectly for preventing weather damage. Before each season’s first use, conduct a thorough inspection of all components for cracks, corrosion, or wear.
Final Pre-Drive Safety Checklist: 60 Seconds That Save Hours
Before every trip, take 60 seconds to verify:
– All mounting bolts remain tight with no visible gaps between rack and vehicle
– Anti-sway straps maintain proper tension without fraying or twisting
– Bike position hasn’t shifted from your original secure placement
– No interference with vehicle lights or license plate visibility
– Total bike weight stays below the rack’s specified capacity (typically 35-45 lbs per bike)
Your Rhode Gear rack transforms from a simple metal frame into a reliable transport system when properly attached. These steps ensure every cycling adventure starts safely—because nothing ruins a perfect ride faster than discovering your bike rack failed 50 miles from home. Remember: the extra 10 minutes spent on proper installation saves hours of potential problems. Your bikes—and everyone sharing the road with you—depend on getting this right every single time. When you follow these precise attachment procedures, you’re not just installing a rack—you’re securing peace of mind for every journey ahead.


