
Mud-caked dirt bike rims aren’t just an eyesore—they’re a performance hazard. When brake dust, chain lube, and trail debris accumulate on your wheels, you’re not only dealing with unsightly stains but potentially compromised braking performance and accelerated wear. Learning how to clean dirt bike rims properly is essential for every off-road rider who wants to maintain peak performance while preserving that factory-fresh look. Whether you’re prepping for a race or just maintaining your weekend warrior, this guide delivers the exact techniques to safely remove stubborn grime without damaging your valuable rims.
Most riders make critical mistakes during rim cleaning that actually cause more harm than good. Using the wrong chemicals on anodized rims can strip protective coatings permanently, while improper drying techniques leave water spots that mimic chemical damage. By following these proven methods, you’ll keep your wheels looking pristine while avoiding costly damage that requires professional restoration.
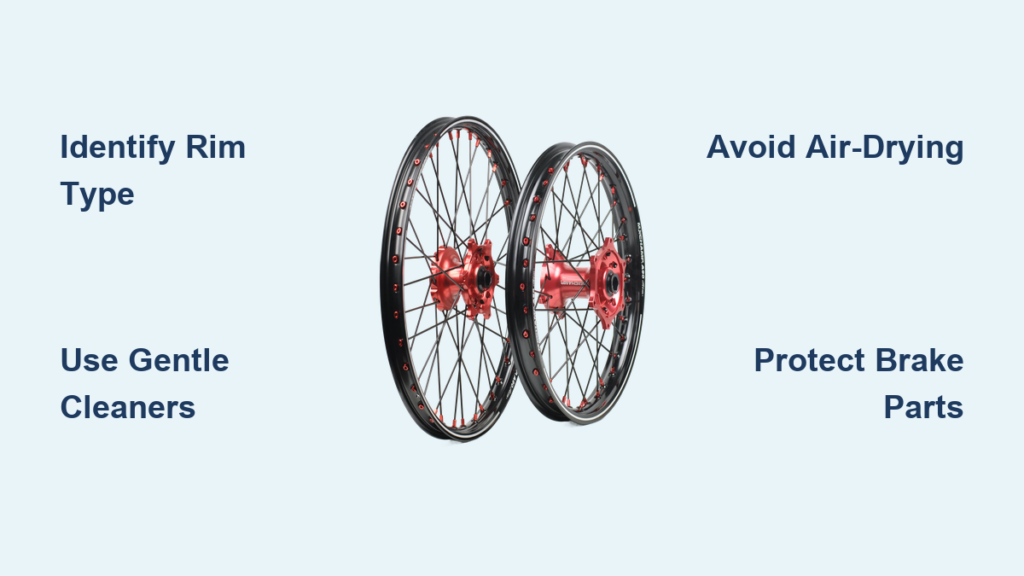
Identify Your Dirt Bike Rim Type Before Cleaning
Knowing whether you’re working with anodized, powder-coated, or painted rims determines everything about your cleaning approach. Applying aggressive cleaners to anodized aluminum creates irreversible damage that no amount of scrubbing can fix, while being too gentle on powder-coated rims leaves stubborn grime behind.
Anodized rims feature a glass-like surface created through an electrochemical process that makes them incredibly durable yet surprisingly vulnerable to certain chemicals. Run your finger across the surface—these rims feel smooth and glassy rather than textured. When damaged, anodized finishes show uneven coloring or fading rather than flaking paint. This porous coating bonds with color pigments during manufacturing, but harsh chemicals can strip the protective sealant and permanently stain the underlying aluminum.
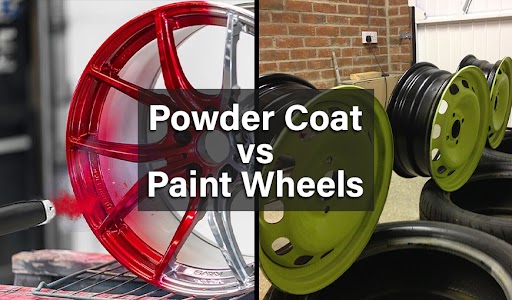
Powder-coated rims have a slightly rough or textured surface that feels more like fine sandpaper. This durable polymer layer withstands more aggressive cleaning than anodized finishes. Painted rims with varnish topcoats provide good protection but typically show wear through chipping rather than fading.
How to Test for Surface Contamination vs. Permanent Damage
Before investing time in deep cleaning, determine whether stains are surface dirt or actual coating damage. Apply a small amount of Meguiar’s Ultimate Polish to an inconspicuous area with a microfiber cloth. If the stain improves, you’re dealing with surface contamination that proper cleaning can remove. If the discoloration remains unchanged, the anodizing itself has been damaged—no amount of cleaning will restore it.
Essential Products for Safe Dirt Bike Rim Cleaning

Using the right products makes the difference between professional results and permanent damage. Skip the household cleaners you might have lying around—these often contain chemicals that destroy anodized finishes.
Must-Have Rim Cleaning Products
- WD-40 Specialist Bike Cleaner Spray: Works effectively on wet rims while avoiding brake component contamination
- Rock Oil’s Dirt Blaster: Specifically formulated for motorcycle wheel cleaning with excellent degreasing power
- WD-40 Specialist Motorbike Brake Cleaner: Essential for safely removing grime from brake discs without compromising performance
- Blue Magic Metal Polish Cream: Recommended by professional detailers for restoring damaged anodized wheels
Cleaning Tools That Won’t Scratch
Microfiber cloths are non-negotiable for drying and polishing—never use paper towels that can leave micro-scratches. Invest in multiple colors to distinguish between clean and dirty cloths during the process.
Soft-bristle brushes work for general agitation on the rim face, while nylon brushes tackle stubborn chain lube buildup on sprocket carriers. For ABS sensor rings with their intricate serrations, keep a stiff nylon brush dedicated to this specific task.
Prepare Your Dirt Bike for Rim Cleaning
Proper preparation prevents damage to bearings and other components during the cleaning process. Never skip these crucial steps regardless of whether you’re doing a quick clean or deep restoration.
Place your bike on paddock stands to elevate the wheels off the ground, allowing full access and free rotation. For basic maintenance, you can clean rims while mounted, but removing the wheels entirely provides the deepest clean—especially for the sprocket carrier and hub areas normally hidden from view.
Critical Safety Steps Before Removing Wheels
When removing wheels for deep cleaning:
– Note which side spacers are located on
– Mark the sprocket carrier position for correct reassembly
– Undo brake disc carrier bolts while noting which side each disc was fitted to
– Avoid impact guns that can damage bolt heads
– For stubborn bolts, apply heat with a heat gun directly to the bolt head until sufficient warmth breaks the threadlock compound
Rinse each wheel thoroughly with a hose before applying any cleaning products. This removes loose debris that could scratch surfaces during scrubbing. Always work in the shade with cool rims—cleaning hot rims causes products to dry too quickly, leaving permanent residue.
Step-by-Step Rim Cleaning Process for Anodized Wheels
Follow this sequence to safely remove trail grime without damaging your anodized rims. Skipping steps or rushing the process risks irreversible damage that requires expensive professional restoration.
Apply Cleaner to Wet Rims Properly
Spray your chosen wheel cleaner on rims that have been pre-wet with water (never apply to dry surfaces). Use water no hotter than 86°F and avoid direct sunlight. Let the cleaner work for one to two minutes maximum—longer dwell times on anodized finishes increase chemical damage risk.
Agitate and Remove Stubborn Contamination
Gently scrub with your soft-bristle brush, focusing on areas of heaviest accumulation. For particularly stubborn grime:
– Use a densely bristled brush with light pressure
– Never use steel wool or abrasive pads
– Repeat the cleaning process rather than applying excessive force
Rinse and Dry to Prevent Water Spots
Rinse each section thoroughly before moving to the next area. This prevents cleaner residue from drying and creating new stains. Wipe dry with microfiber cloths immediately—never allow rims to air-dry, as this leaves visible water spots that mimic chemical damage.
Deep Cleaning Heavily Contaminated Dirt Bike Rims
When regular cleaning fails to remove months of accumulated grime, follow this professional deep cleaning process for dramatic results.
Remove Wheels and Disassemble Components
Take wheels to a well-ventilated workspace where you can make a mess. Lay down a tray to catch runoff, especially when cleaning the sprocket carrier area where chain lube attracts heavy contamination. Remove brake disc carriers, noting disc orientation and ABS sensor ring position.
Clean the Sprocket Carrier First
This area typically requires the most intensive treatment. Generously apply chain cleaner and let it work for several minutes. Agitate with a nylon brush to break down sticky chain lube, then rinse thoroughly. Repeat until clean—stubborn residue requires multiple applications rather than aggressive scrubbing.
Complete Rim Restoration Process
With components removed, spray the entire wheel with water and apply bike cleaner liberally. Allow to work for a couple of minutes, then attack heavy dirt areas with a soft brush. Pay special attention to the inside of the rim, hub areas, and spoke junctions.
For final shine, apply polish to the entire wheel and buff with a microfiber cloth. Work in small sections and ensure no polish contacts brake disc mating surfaces. Clean ABS sensor rings with a stiff nylon brush, scrubbing the serrated teeth thoroughly.
Critical Mistakes That Damage Dirt Bike Rims
Avoid these common errors that turn routine cleaning into expensive restoration projects:
Chemicals That Destroy Anodized Rims
Simple Green is described by experienced riders as “death on anodizing.” If you must use it, rinse within five minutes maximum and follow with soapy water to neutralize residues. Purple Power and similar aggressive degreasers cause severe damage—never allow contact with anodized surfaces.
Improper Drying Techniques
Leaving rims to air-dry creates water spots that mimic chemical damage. Always wipe dry with microfiber cloths immediately after rinsing—this simple step prevents most “mystery stains” riders encounter.
Ignoring Brake Component Protection
Spraying wheel cleaner near brake discs compromises stopping power. Always clean brake components separately with dedicated brake cleaner and test brakes thoroughly before riding after any cleaning session.
Maintain Clean Rims Between Deep Cleaning Sessions
Preventative care dramatically reduces the need for intensive cleaning sessions while keeping your wheels looking factory-fresh.
Quality wheel cleaners leave behind a protective film that delays new dirt accumulation. Apply wheel cleaner during regular washes even when rims don’t appear heavily dirty—this creates a barrier against contamination.
Wash your bike on a consistent schedule based on riding conditions. Riders in muddy environments need weekly cleaning, while those in milder conditions can extend intervals. Never let contamination accumulate to the point where it requires intensive treatment—regular maintenance takes minutes, while deep cleaning takes hours.
Apply car polish occasionally to provide additional protection against environmental contamination. This barrier makes it harder for brake dust and grime to bond to the surface, extending time between deep cleaning sessions.
Fix Permanent Rim Damage When Cleaning Fails
When proper cleaning doesn’t restore your rims, you’re likely dealing with actual coating damage rather than surface dirt.
Staining that doesn’t respond to cleaning typically indicates chemical damage to the anodized coating—no amount of scrubbing will help. Your options are limited: accept the appearance, paint or powder coat over the damaged surface, or professionally re-anodize (though results rarely match the original finish).
Aluminum etching from improper chemical use creates pitting that cannot be reversed. Prevention through proper product selection is the only effective approach—there’s no way to restore pitted aluminum once damaged.
For powder-coated rims showing rough or uneven texture, you may be dealing with coating failure rather than staining. These surfaces can handle more aggressive cleaning than anodized finishes, but significant damage typically requires professional re-coating.
Keep Your Dirt Bike Rims Looking Factory-Fresh
Regular rim maintenance takes minimal time but delivers significant benefits in appearance, performance, and component longevity. By understanding your rim type, using appropriate products, and following proper techniques, you’ll keep your dirt bike wheels looking pristine for years.
The most critical principles to remember: identify your rim type before cleaning, avoid harsh chemicals on anodized surfaces, work in sections without letting cleaners dry, protect brake components from contamination, and maintain a consistent cleaning schedule. Deep cleaning sessions become necessary when regular maintenance isn’t enough, but following these practices minimizes their frequency.
Take just two minutes after each ride to give your rims a quick rinse, especially after muddy conditions. This simple habit prevents contamination from bonding to the surface and makes your regular cleaning sessions faster and more effective. Your rims—and your riding experience—will thank you.


