
Your dirt bike’s front wheel stubbornly hugs the ground no matter how hard you yank the clutch? You’re not alone—most riders waste months practicing ineffective wheelie techniques that lead to dangerous endos or stalled engines. Mastering the clutch wheelie separates casual riders from dirt bike control artists, and it starts with understanding why your current method fails. This guide cuts through the misinformation by focusing on actionable friction zone manipulation, body positioning, and throttle-clutch coordination proven on practice tracks worldwide. You’ll learn exactly how to initiate, control, and extend wheelies without relying on excessive speed or risky weight shifts.
Forget the myth that only high-powered bikes can wheelie. With proper clutch technique, even 250cc four-strokes will lift cleanly at 15-20 mph. The key lies in three synchronized actions most tutorials ignore: clutch release timing, rear suspension loading, and visual focus points. By the end of this guide, you’ll consistently pull controlled wheelies in third gear at street-legal speeds—no racing experience required. Let’s transform your failed attempts into repeatable skill.
Why Your Clutch Wheelie Attempts Keep Failing
Misdiagnosing the Real Problem Behind Flopped Wheelies
Most riders blame weak engines or bad timing when their front wheel slams down instantly. The truth? You’re likely releasing the clutch too fast while sitting too far forward. When you dump the clutch abruptly, the sudden power surge either stalls the engine or snaps the wheel skyward uncontrollably. Simultaneously, if your chest rests against the tank, gravity pulls the front down the moment lift begins. Watch for these visual cues:
– Engine bogging: Clutch released too slowly with insufficient throttle
– Instant endo: Clutch dumped while leaning forward over handlebars
– Wheel wobble: Gripping handlebars too tightly during lift
Critical Gear Setup Mistakes Sabotaging Your Control
Your bike’s setup directly impacts wheelie success. A common oversight is ignoring tire pressure—overinflated rear tires (above 12 PSI) reduce rear-wheel traction needed for clean lift-off. Similarly, adjust your clutch lever so it reaches the friction zone when three fingers grip the bar. Test this:
1. Park on flat ground with engine off
2. Pull clutch lever until resistance increases (friction zone start)
3. Your lever should stop 1-1.5 inches from the grip
If it engages too early, tighten the clutch cable at the handlebar adjuster.
Finding Your Bike’s Clutch Friction Zone Sweet Spot
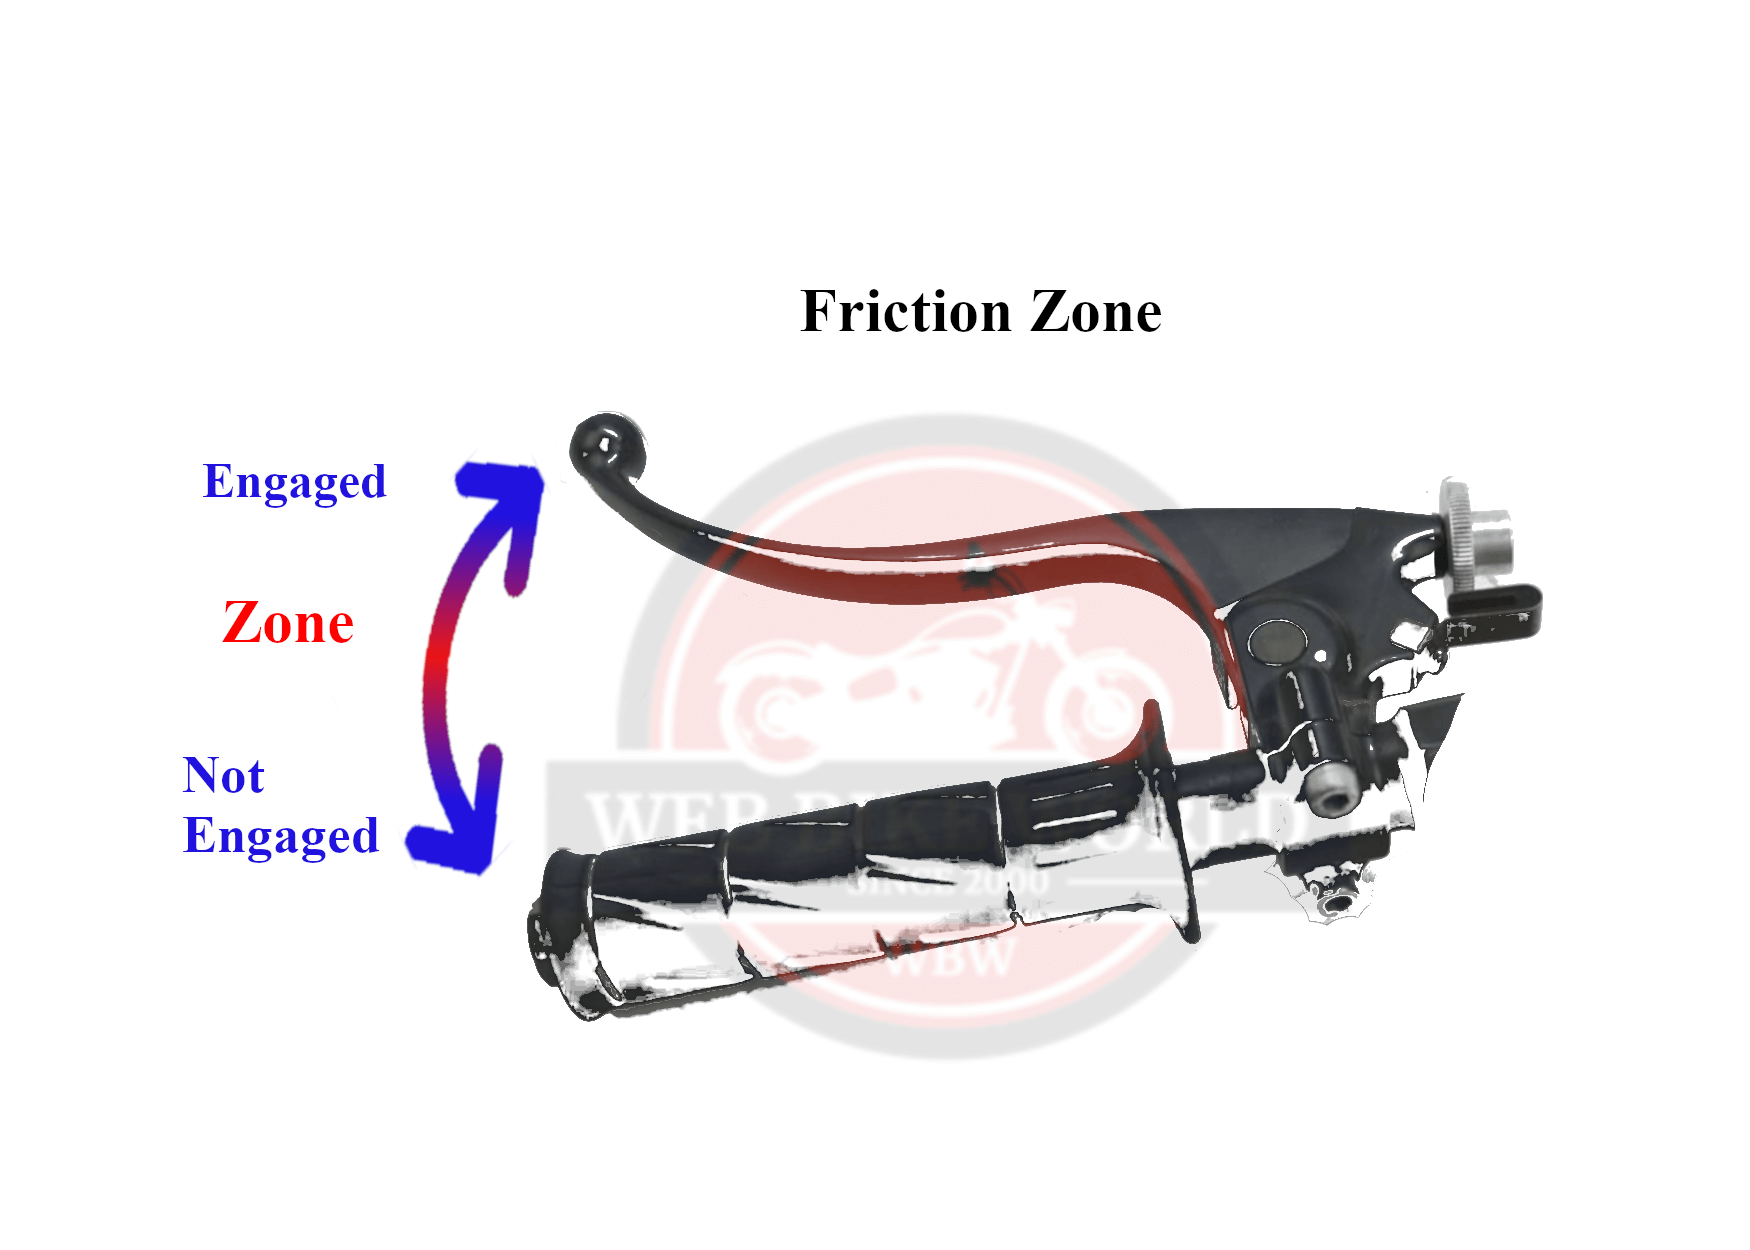
How to Map the Friction Zone Without Moving an Inch
The friction zone—the narrow lever travel range where power transfers gradually—is your wheelie control center. Most riders engage too little (stalling) or too much (endoing). Discover yours in 60 seconds:
1. Start engine in neutral, pull clutch fully
2. Rev to 3,500 RPM (just above idle surge)
3. Slowly release clutch while watching RPM gauge
4. Note RPM drop point (e.g., 2,800 RPM)—this is your friction zone entry
5. Continue releasing until RPM stabilizes (full engagement)
Pro Tip: Mark your lever’s friction zone start/end points with colored tape. On most 250-450cc bikes, it spans just 0.75 inches of lever travel.
Throttle-Clutch Coordination That Prevents Sudden Wheel Lifts
Successful lift-off requires matching throttle input to clutch release speed. Too much gas with slow clutch release causes wheel spin; too little gas with fast release stalls the engine. Practice this stationary drill:
– Low-speed lift: 1/4 throttle + slow clutch release (2 seconds)
– Mid-speed lift: 1/2 throttle + medium release (1.5 seconds)
– High-speed lift: 3/4 throttle + quick release (1 second)
Your goal: Lift the front wheel 6-8 inches off the ground consistently at 15 mph in second gear. If the wheel shoots up violently, you’re dumping the clutch—reset and try slower.
Body Position Secrets for Stable Wheelie Balance

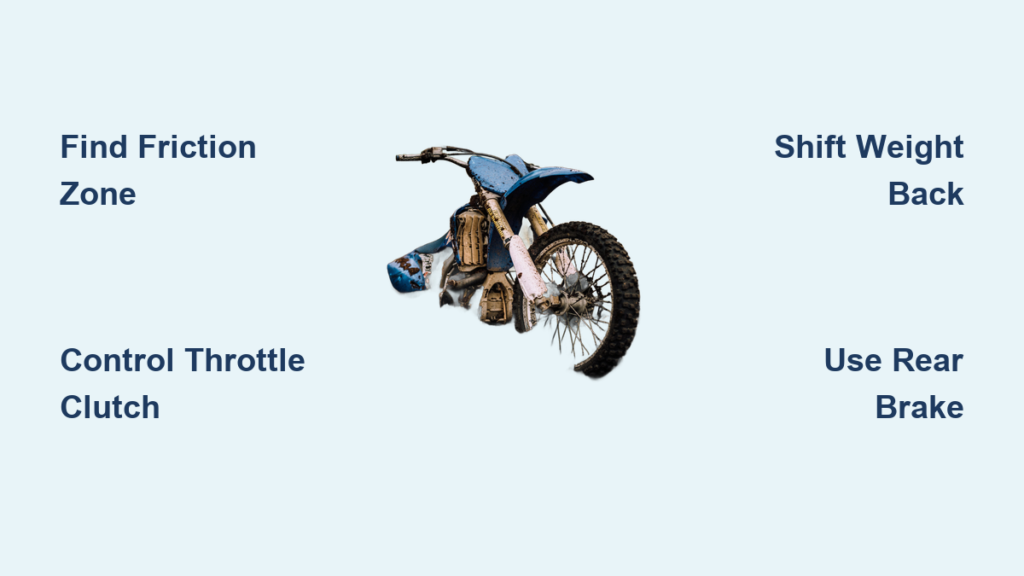
Where to Shift Your Weight During Each Wheelie Phase
Leaning back too far causes over-rotation, while staying upright guarantees a faceplant. Optimal positioning changes dynamically:
– Initiation phase: Slide rearward until your butt hovers over the rear fender
– Balance phase: Keep elbows bent, chest 4-6 inches from tank
– Correction phase: Shift weight forward 2 inches to lower wheel
Critical visual cue: Your handlebar crossbar should align with the horizon. If you see sky above it, you’re over-rotated; if ground dominates, the wheel’s dropping.
Hand and Foot Placement That Prevents Wobble
Gripping handlebars like a death grip amplifies front-wheel oscillations. Instead:
– Rest palms lightly on grips (thumbs wrapped)
– Apply steady rear brake pressure with left foot
– Keep right foot planted firmly on peg
When the wheel wobbles, reduce throttle slightly while squeezing the rear brake 10-15%. Never release the clutch—this kills momentum instantly.
Step-by-Step Clutch Wheelie Execution on Flat Ground
Gear Selection and Speed Thresholds for Reliable Lift-Off
Third gear at 18-22 mph is the beginner sweet spot—enough torque without excessive speed. Avoid first gear (too jerky) or fourth/fifth (requires dangerous speeds). Confirm your speed:
– 18 mph = Walking pace on a firm trail
– 22 mph = Jogging pace on hardpack
Warning: Never attempt clutch wheelies above 25 mph until you’ve mastered balance control. At higher speeds, small errors cause catastrophic endos.
The 5-Second Lift Sequence That Works Every Time
Follow this exact timing sequence on flat terrain:
1. Load suspension: Roll off throttle slightly while compressing rear shock (0.5 sec)
2. Apply power: Roll on 1/2 throttle smoothly (1 sec)
3. Clutch release: Ease lever out to friction zone start (1 sec)
4. Lift initiation: Continue releasing clutch while leaning back (1.5 sec)
5. Balance point: Feather clutch/throttle as wheel reaches 12-inch height (1 sec)
If the wheel won’t lift after step 4, add 1/8 throttle—not more clutch release. Stalling means insufficient throttle; endoing means too much clutch release.
Troubleshooting Sudden Wheelie Collapses
Why Your Wheelie Dies at the Balance Point
Collapses typically happen when riders fixate on the front wheel instead of looking ahead. Your bike follows your vision—if you stare at the rising front tire, you’ll instinctively lean forward, killing momentum. Instead:
– Focus 20-30 feet ahead on the trail
– Feel balance through seat and foot pegs
– Make micro-corrections with clutch/thumb throttle
Pro Tip: Record practice sessions. If your head jerks downward as the wheel lifts, retrain your gaze.
Rear Brake Usage That Saves Dying Wheelies
Most beginners avoid the rear brake during wheelies, fearing it’ll kill momentum. Properly used, it’s your safety net:
– Light pulse (5% pressure): Lowers wheel gently when over-rotated
– Steady hold (10% pressure): Maintains balance point during extended wheelies
– Release slowly: Never slam brake off—modulate with clutch
Practice brake-only recoveries: Lift wheel 6 inches, then use rear brake alone to lower it smoothly. Master this before adding throttle.
Daily Drills to Build Wheelie Muscle Memory
The 10-Minute Garage Practice Routine
You don’t need a dirt track to improve. Do this daily:
1. Friction zone mapping: 50 slow clutch releases at idle (3 min)
2. Balance holds: Lift wheel 6 inches using only clutch, hold 10 sec (4 min)
3. Brake corrections: Lift wheel, use rear brake to lower it 3 inches repeatedly (3 min)
Key metric: Achieve 5 consecutive 10-second balance holds before track practice.
Progressive Milestones for Safe Skill Building
Track practice should follow this progression:
| Week | Goal | Max Duration | Critical Check |
|———-|——————————|——————|———————————–|
| 1 | 6-inch lift in 3rd gear | 3 seconds | Wheel doesn’t wobble |
| 2 | 12-inch lift, no rear brake | 5 seconds | Throttle hand stays steady |
| 3 | 18-inch lift with corrections| 8 seconds | Can lower wheel using only brake |
Stop immediately if you feel the bike becoming unstable. Pushing beyond your control zone breeds bad habits.
Preventing Catastrophic Endos and Crashes
The 2-Second Warning Signs of Impending Endos
Your bike telegraphs an endo 1-2 seconds before it happens. Watch for:
– Rear suspension fully compressed
– Handlebar vibration increasing rapidly
– Engine RPM dropping despite full throttle
Emergency recovery: Slam rear brake while pushing handlebars forward. Do NOT release clutch—that removes all traction control.
Why “Letting Off Throttle” During Wheelies Causes Crashes
Novices instinctively chop the throttle when the wheel rises too high. This kills rear-wheel drive, causing the bike to pivot violently around the rear axle. Instead:
1. Maintain steady throttle
2. Gently squeeze rear brake
3. Shift weight forward 2 inches
This preserves rear traction while lowering the front wheel smoothly. Practice this sequence at low heights until it’s instinctive.
Mastering clutch wheelies hinges on friction zone precision—not brute force. By now, you’ve learned to diagnose failed attempts through visual cues, map your bike’s specific clutch response, and execute the 5-second lift sequence safely. Remember: Consistent 6-inch lifts in third gear at 20 mph are more valuable than rare, unstable high wheelies. Commit to the 10-minute daily garage drills for two weeks, and you’ll develop the muscle memory to initiate controlled wheelies on demand. Always prioritize balance over height, and never practice without a helmet and chest protector. When you’re ready to advance, focus on extending duration before increasing wheel height—true control means holding a wheelie through bumps and turns, not just on flat ground. Your next step? Film three practice runs this weekend and analyze your body position versus the horizon line. That single adjustment will transform your consistency more than any other technique.


