
That unmistakable smell of stale gasoline hits you as soon as you lift the seat—your dirt bike’s been sitting too long, and now you need to drain the fuel before attempting a restart. Whether you’re preparing for winter storage, dealing with contaminated gas, or getting ready for carburetor maintenance, knowing how to drain fuel from dirt bike properly protects critical components from costly damage. Left unchecked, old fuel turns into varnish that clogs jets, deteriorates fuel lines, and creates frustrating starting issues. This guide delivers the exact techniques mechanics use to safely remove every drop of fuel from your dirt bike’s system.
The right draining method depends entirely on your situation. Quick storage prep might only need float bowl draining, while contaminated fuel demands complete system evacuation. Each approach has specific advantages, and experienced riders often combine methods for the most thorough results. Let’s break down exactly how to drain fuel from dirt bike with precision, safety, and efficiency.
Essential Safety Steps Before Fuel Draining
Gasoline vapors ignite explosively with the smallest spark, turning a routine maintenance task into a dangerous emergency in seconds. Never skip these critical safety measures before attempting to drain fuel from dirt bike. Work exclusively in well-ventilated areas away from open flames, running engines, or electrical equipment that could produce sparks—your garage might seem safe, but water heater pilot lights or power tool motors create serious ignition risks.
Always wear chemical-resistant gloves and safety goggles to protect against skin irritation and eye damage from fuel splashes. Keep an ABC fire extinguisher within immediate reach whenever handling gasoline—don’t wait until you smell fuel to position this critical safety equipment. Disconnect your battery before starting work to eliminate electrical ignition sources, especially when removing fuel tanks or working near wiring harnesses.
Dispose of old fuel responsibly by taking it to auto parts stores that accept used gasoline, municipal hazardous waste facilities, or community collection events. Never pour fuel down drains or onto the ground—this violates environmental regulations and contaminates local ecosystems. Keep absorbent materials like kitty litter or oil-absorbent pads nearby to contain any spills immediately.
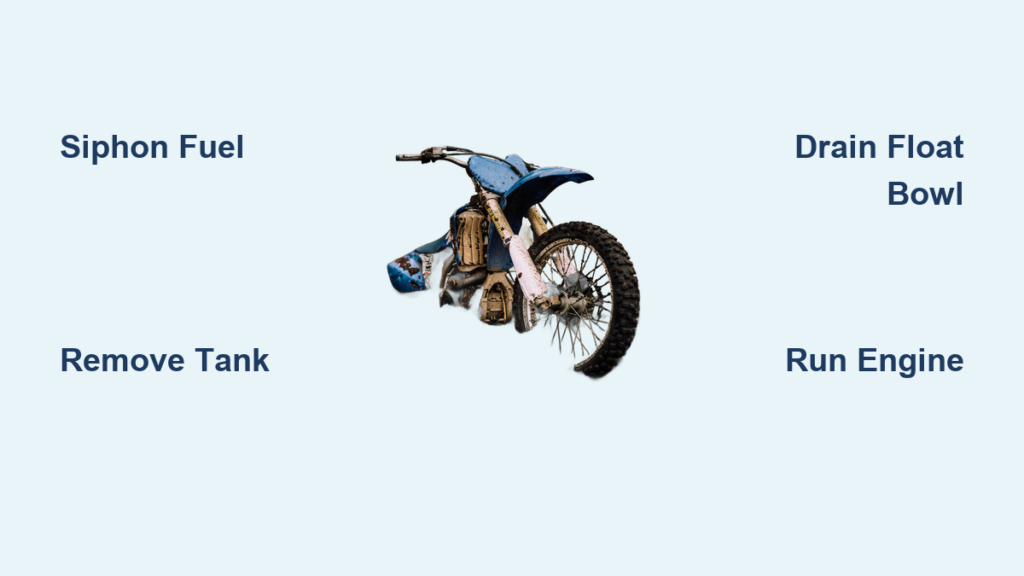
Gravity Siphon Fuel Out in Minutes
Gravity siphoning delivers the quickest method to drain fuel from dirt bike without tank removal, requiring only basic equipment you likely already own. Start with clear 1/4-inch diameter tubing that reaches deep into tank corners where fuel collects. Insert one end all the way to the tank bottom, positioning your collection container below the tank’s fuel level to maintain proper flow.
Suck gently on the free end to start the flow, but stop immediately if fuel enters your mouth—spit and rinse thoroughly. Better yet, invest in a $5-$10 manual siphon pump from any hardware store to avoid mouth contact completely. These pumps create reliable suction without risking fuel ingestion and work effectively for multiple draining sessions.
For stubborn tanks, use an air compressor to initiate flow—blow air across the tube’s free end at an angle to create suction. Once flow begins, gravity maintains the siphon until the tank empties completely. Keep the tube’s end submerged in your collection container to prevent dangerous splashing during transfer.
Remove Tank for Complete System Drainage

Tank removal delivers the most thorough approach to drain fuel from dirt bike when preparing for carburetor work or dealing with contaminated gas. After siphoning most fuel, reinstall the fuel cap securely to prevent spills during disconnection. Place a small container beneath the fuel line connection point before disconnecting from the carburetor—this catches residual fuel that inevitably drips out.
Remove all tank mounting hardware and carefully lift the tank from the bike frame. Position it over a large 5-gallon bucket, then remove the fuel cap to allow complete drainage. With the tank elevated, gravity pulls out every last drop from corners and baffles where siphoning often leaves residue. This method gives you perfect access to inspect fuel lines, clean petcock screens, or replace damaged components while the tank sits removed.
The extra five minutes invested in tank removal pays significant dividends when you discover clogged filters or deteriorated fuel lines that were causing running issues. Many experienced riders perform this complete drain whenever fuel has sat longer than 30 days to prevent storage-related problems.
Run Engine to Burn Remaining Fuel Safely
Using your engine to consume residual fuel eliminates siphoning equipment needs when preparing for storage. Start with the petcock in “on” position and let the bike idle normally. As fuel depletes, the engine runs increasingly lean—listen for rising temperatures and occasional popping sounds that indicate fuel starvation.
Critical warning: Never run your dirt bike completely out of fuel while moving at speed—this caused one rider’s catastrophic crank failure after running dry at wide-open throttle in sixth gear. However, carefully monitoring idle operation until the engine stalls safely consumes remaining fuel without damage.
After the engine stalls, immediately drain the float bowl to remove the last fuel deposits. This combined approach leaves your entire fuel system empty and protected during storage. Many riders use this method exclusively for routine end-of-season preparation when fuel remains relatively fresh.
Drain Carburetor Float Bowl in Seconds
The float bowl holds the fuel most likely to cause starting problems after storage—draining it takes mere seconds but prevents countless headaches. Locate the drain plug beneath your carburetor (typically requiring a small flathead screwdriver or hex key), then position a small container directly beneath it.
Remove the plug completely and let fuel drain until drops stop falling—this usually takes 15-30 seconds. Reinstall the plug tightly using the correct tool to avoid stripping the soft metal. Many mechanics drain the float bowl whenever the bike will sit unused for more than two weeks, preventing fuel staleness before it begins.
This simple habit eliminates the primary cause of hard starting when you’re ready to ride again. Never skip float bowl draining when storing your dirt bike—the small amount of fuel here creates disproportionate clogging problems during extended storage.
Fuel-Injected Dirt Bike Fuel Drain Procedure
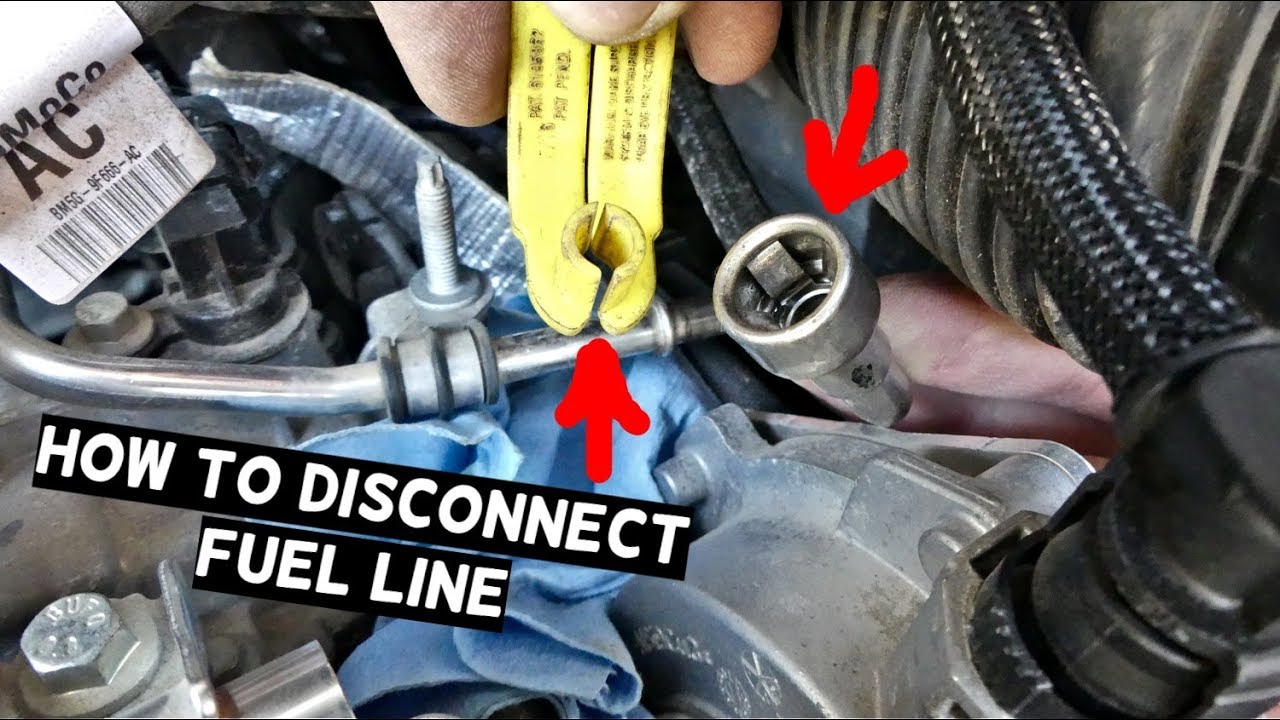
Fuel-injected models require a specialized approach to drain fuel from dirt bike since their electric pumps maintain constant pressure. Locate the return fuel line (smaller of the two lines at the fuel rail), then disconnect it and route into your collection container. Turn the ignition to “on” without starting the engine—the fuel pump activates immediately, pushing all tank contents through the return line.
This method empties fuel extremely rapidly, so ensure your container can hold the full tank capacity. Verify the disconnected line won’t spray fuel onto hot exhaust components or electrical connections—position a heat shield if necessary. After complete drainage, turn the ignition off and reconnect the return line securely.
The entire process takes less than two minutes and provides the most complete fuel evacuation for fuel-injected systems. Always wear eye protection during this procedure since pressurized fuel can spray unexpectedly when disconnecting lines.
Winter Storage Fuel Drainage Protocol
Proper winter preparation prevents 90% of spring starting problems when you drain fuel from dirt bike correctly. Begin by running the bike until nearly empty (switching to reserve position if equipped), then allow it to stall from fuel exhaustion. Immediately drain the float bowl to remove the last fuel deposits from the carburetor.
Leave the petcock in “off” position during storage to prevent gravity feeding into the carburetor—this simple step avoids overflow situations if the bike gets bumped in storage. For two-stroke models, complete fuel removal becomes especially critical since pre-mix oil can separate during extended storage, causing lubrication issues.
Store your bike with the fuel system completely empty rather than relying solely on fuel stabilizers. While treated fuel lasts longer, nothing beats complete drainage for multi-month storage periods. This protocol ensures reliable starting whenever riding season returns.
Fix Common Fuel Draining Problems Immediately
When fuel won’t siphon, check for air locks or kinks in your tubing—ensure the tank end sits below fuel level and remains unobstructed. If using a hand pump, verify inlet/outlet connections match flow direction. For tanks that won’t empty through the petcock, remove and clean the screens or blow compressed air through passages in both directions.
Fuel leaks after reassembly typically indicate loose connections, damaged O-rings, or improperly seated drain plugs. Tighten all connections finger-tight first, then apply proper torque with tools. Inspect O-rings for cracks or compression set, replacing them if damaged. Always use new sealing washers on drain plugs to prevent future leaks.
Two-stroke owners should pay special attention to complete fuel removal since separated pre-mix oil causes lubrication issues during storage. Four-stroke systems face fewer lubrication concerns but still require identical draining procedures to protect carburetor jets.
Quick Fuel Drain Reference for Every Situation
For routine winter storage, run the tank nearly empty then drain the float bowl—this takes under two minutes but prevents most starting issues. When dealing with contaminated fuel or performing carburetor work, remove the tank for complete system access and drainage. Fuel-injected models require activating the fuel pump with the return line directed into a collection container.
Keep these essentials in your toolkit: 1/4-inch clear tubing, manual siphon pump, 5-gallon bucket, drip pans, absorbent materials, chemical-resistant gloves, and safety goggles. These inexpensive items make every fuel draining session safer and cleaner.
Mastering how to drain fuel from dirt bike properly protects your investment and ensures reliable performance whenever you’re ready to ride. With these proven techniques, you’ll avoid the frustration of clogged jets and starting problems that plague riders who neglect proper fuel management.


