
You’ve got a trail adventure planned, but your new bike rack lies in a confusing pile of metal parts while your car sits waiting. Knowing exactly how to fix bike rack to car makes the difference between a stress-free trip and arriving with scratched paint or a wobbling disaster. This isn’t just about bolting metal to your vehicle—it’s about securing your investment, protecting your car’s finish, and ensuring your bikes survive the journey. You’ll learn precise installation methods for every rack type, avoid costly mistakes that void warranties, and discover pro techniques to prevent theft and damage.
Whether you drive a sedan with a bare roof or an SUV with a hitch receiver, this guide cuts through the confusion. We focus exclusively on factory-approved mounting points and weight limits so you never risk overloading your vehicle. After reading, you’ll confidently fix any rack while keeping your car’s warranty intact and your bikes trail-ready.
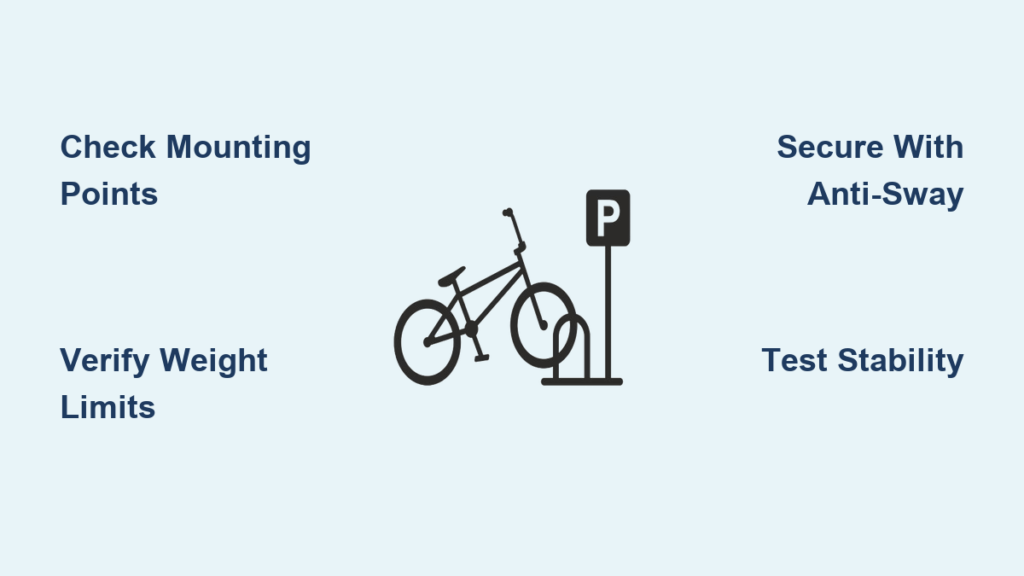
Verify Your Vehicle’s Mounting System Before Installation
Identify Critical Mounting Points on Your Car
Inspect your vehicle’s roof, rear bumper, and hitch area to pinpoint compatible mounting options. Most modern cars feature one of these factory systems: roof rails (parallel bars running front-to-back), fixed points (threaded inserts hidden under plastic covers along roof edges), flush rails (low-profile integrated tracks), or a trailer hitch receiver (1.25″ or 2″ square tube below the bumper). If your roof has no rails, you’ll need a clamp-style system that attaches through door frames. Never mount racks on weatherstripping, window seals, or exhaust components—these cause paint damage or safety hazards. For trunk-mounted racks, confirm the gap between your trunk lid and bumper can securely hold hooks without obstructing lights.
Calculate Total Weight Capacity Accurately
Add your empty rack weight (15-60 lbs), all bike weights (including e-bikes at 40-70 lbs each), and accessories like locks or cargo baskets. Compare this total against strict limits: roof racks max out at 165 lbs for most vehicles, hitch racks vary by class (Class I: 200 lbs, Class II: 350 lbs, Class III: 500 lbs), and trunk racks typically handle only 70-100 lbs. Exceeding these risks roof deformation, hitch failure, or compromised braking. Always leave a 10% safety margin—e.g., for 150 lbs of bikes, choose a 165-lb roof rack, not a 150-lb model.
How to Fix a Roof-Mounted Bike Rack to Your Car

Install Fixed-Point Systems Without Damaging Paint
For vehicles with factory roof mounts: Remove plastic covers using a flathead screwdriver, then clean threads with degreaser to prevent corrosion. Apply dielectric grease to bolts before inserting T-bolts through mounting points. Torque bases to 25-35 ft-lbs—overtightening cracks roof panels. Position crossbars 24-32 inches apart, perpendicular to your car’s centerline. After driving 50 miles, recheck all bolts; vibrations often loosen them initially.
Secure Clamp-Style Racks on Bare Roofs
Place rubber-padded clamps 4-6 inches from door edges—never on weatherstripping. Thread hooks through door frames without pinching window seals. Tighten clamps in a crisscross pattern to distribute pressure evenly. Test by closing doors; they must operate smoothly without resistance. If paint shows metal contact points, reposition pads immediately. Verify zero rack movement by pushing laterally—shift shouldn’t exceed 1/4 inch.
Attach Bikes Using Anti-Sway Protection
Position rack feet on crossbars per manufacturer specs, then secure with U-bolts. Install anti-sway straps that connect bike frames to the rack, preventing side-to-side motion on curves. For carbon bikes, use rubber frame pads to avoid direct contact. Add locking cores (like Thule One-Key) to both rack-to-car and bike-to-rack connections. Before driving, lift each bike slightly—wheels should stay firmly seated in wheel trays.
How to Fix a Hitch-Mounted Bike Rack to Your Car
Prepare the Receiver Tube Properly
Measure your hitch opening (1.25″ or 2″) to match the rack shank. Scrape rust from the receiver tube with a wire brush, then apply a thin grease coat to prevent corrosion. Insert an anti-rattle device like a threaded pin or wedge to eliminate driving noise. Never force a rack into a misaligned receiver—this bends components.
Lock the Rack Securely to Prevent Theft
Slide the shank fully into the receiver until pin holes align perfectly. Insert the hitch pin from the passenger side, add a lock washer, and torque the nut to 75-85 ft-lbs. Engage the anti-wobble mechanism per instructions—this stops vertical movement that stresses the hitch. Test stability by lifting the loaded rack; it shouldn’t budge. Ensure 10+ inches of ground clearance when folded to avoid scraping driveways.
Choose Platform Racks for Heavy E-Bikes

Opt for platform-style racks when hauling e-bikes or downhill models over 40 lbs. They secure bikes via wheels instead of frames, eliminating carbon-fiber damage risks. Hanging racks work for lightweight bikes under 40 lbs but require frame contact that stresses delicate tubes. Platform systems cost more but prevent costly bike repairs from improper clamping.
How to Fix a Trunk-Mounted Bike Rack to Your Car
Position Straps to Avoid Paint Scratches

Place upper hooks on the trunk lip—not the rear window edge—to prevent glass contact. Route side straps along rear quarter panels near tail lights, avoiding exhaust pipes. Attach lower hooks to the bumper’s bottom edge. Apply protective film strips to all contact points; road grit trapped under straps acts like sandpaper on paint.
Tighten Straps in the Correct Sequence
Secure upper hooks first, then alternate side straps in a figure-eight pattern, finishing with lower hooks. Straps must form 45-60 degree angles from the rack—steeper angles cause slippage. After initial tightening, drive 10 miles and recheck tension; cold weather contracts straps by up to 20%. Never let metal hardware touch paint—reposition pads until only rubber contacts the surface.
Validate Stability Before Driving
Push the rack sideways—it shouldn’t shift more than 1 inch. Load one bike and inspect for trunk interference when opening the hatch. Check that brake lights remain visible above the rack; if obscured, use a license plate relocation kit. Retest after temperature changes, as heat expands straps while cold contracts them.
Prevent Theft and Installation Failures
Implement Layered Security Measures
Use a hitch lock to secure the rack to your receiver, then add cable locks through bike frames. For high-theft areas, supplement with U-locks around seat posts. Always remove quick-release wheel skewers and replace them with security skewers. Before trips, verify all bolts meet torque specs—loose hitch pins cause 68% of rack thefts.
Fix Wobbling and Noise Immediately
Retighten crossbar bolts to 25-35 ft-lbs if roof racks sway. For hitch racks, check anti-rattle device alignment and apply thread locker to the hitch pin. Replace cracked rubber bushings under clamps—these dampen vibrations. If noise persists, inspect the receiver tube for dents; a bent hitch requires professional repair.
Maintain Your Rack for Longevity
Follow Seasonal Maintenance Steps
Weekly: Check strap tension and bolt tightness. Monthly: Clean salt/debris from moving parts and lubricate hinges with silicone spray. Seasonally: Remove the rack entirely to inspect for rust under clamps. Annually: Replace frayed straps and corroded hardware. For winter storage, wash off road salt, dry thoroughly, and hang vertically to prevent warping.
Meet Legal Visibility Requirements
Bikes must never block brake lights or turn signals—use auxiliary lights if needed. Keep license plates fully visible with relocation kits. Ensure no part extends more than 4 feet beyond your car’s rear. Document proper installation with photos for insurance claims; many policies void coverage for improperly secured loads.
Properly fixing a bike rack to your car takes 20 minutes but prevents thousands in damages. Always recheck connections after your first drive—straps settle and bolts loosen. When done right, your rack becomes invisible until you need it: silent, secure, and ready for the next adventure. Your car’s finish and your bikes’ safety depend on these precise steps, so never skip torque checks or paint protection. Now grab those tools and hit the road with confidence.


