
You’re loading bikes for a weekend trail ride when you realize your Tesla’s roof rack bolts are loose. That sinking feeling hits—did you overtighten and risk cracking the panoramic glass? With Tesla’s unique mounting systems, one wrong turn of the wrench can mean $2,000 in repairs. But here’s the good news: Whether you drive a Model 3, Y, S, or X, this step-by-step guide delivers the exact torque specs, software settings, and model-specific tricks Tesla owners actually need. Skip the forum guesswork—we’re installing both roof and hitch racks correctly on your first try.
Confirm Your Tesla Model’s Rack Compatibility First
Why Model 3/Y Roof Rack Placement Differs From Model S/X
Model 3 and Y owners: Your front crossbar must align precisely with the windshield’s top edge. Position the rear bar 700mm (27.5 inches) behind it using Tesla’s included template. Any deviation risks uneven stress on the glass. Model S and X drivers: Slide the front bar 260mm (10.2 inches) behind the windshield. The rear bar lands 680mm (26.8 inches) aft. Pre-2021 Model S? Roof rack only—no hitch option exists.
Hitch Rack Installation: The Tow Package Trap
Don’t assume your Tesla has a receiver. Model 3/Y requires factory tow package code TB000 or an aftermarket 2″ Class III receiver. Model S/X needs the optional 2″ receiver (part #1616800-00-A). Plug your VIN into Tesla’s accessory portal—you’ll see compatibility instantly. Cybertruck owners: Your factory 2″ receiver works, but Tesla’s rack ships Q3 2024.
Gather These 5 Critical Tools (Skip #3 and Crack Your Glass)
Why a Torque Wrench Isn’t Optional
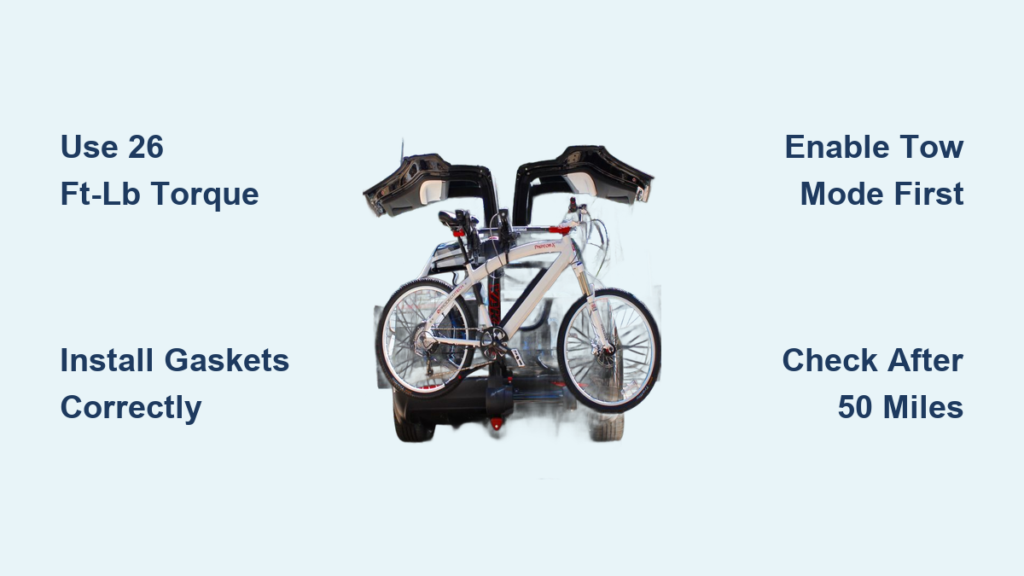
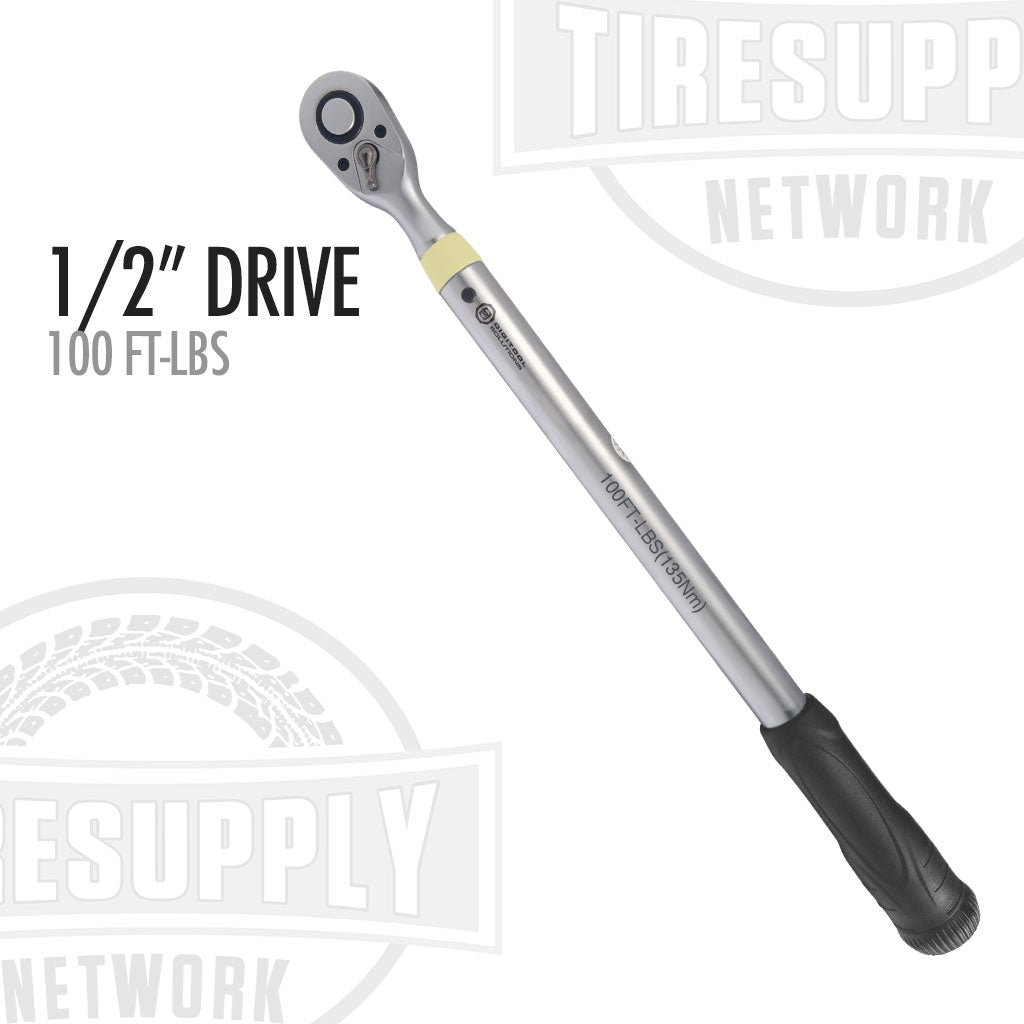
Tesla’s glass roof tolerates zero error. You must use a ½” drive torque wrench set to 26 ft-lb (35 Nm) for roof racks. Overtightening by just 5 ft-lb can cause micro-cracks that spread in cold weather. For hitch racks, 86 ft-lb (116 Nm) is non-negotiable—loose pins cause dangerous wobble at highway speeds.
Essential Tool Checklist
- Torque wrench (½” drive, 10-100 ft-lb range)
- 13 mm deep socket (roof rack bolts—standard sockets won’t clear glass)
- T50 Torx bit (Model 3/Y hitch cover removal—regular bits strip screws)
- Plastic trim tool (prevents $200 bumper scratches during hitch access)
- 4 mm hex key (anti-wobble bolt adjustment—no eyeballing allowed)
Pro Tip: Wrap electrical tape around your torque wrench handle. If it slips during tightening, the tape catches on your sleeve—preventing accidental over-torque.
Pre-Installation: The 3 Software Checks You Can’t Skip
How to Activate Tow Mode Without Error Codes
Navigate to Controls → Service → Tow Mode → ON before touching hardware. If “Tow Mode available” doesn’t appear, update to firmware 2020.48+. Older versions trigger false “trailer wiring fault” alerts even with bike racks. Model S/X owners: Skip this—your hitch receiver stays exposed.
Physical Prep That Prevents Costly Mistakes
- Lower air suspension to “Very Low” (if equipped)—gives 6 extra inches for roof access.
- Remove rear cargo mats blocking the hitch receiver—mats trap moisture causing corrosion.
- Inspect roof glass with a flashlight—any chip >1mm wide must be repaired before rack install. Stress from clamps spreads cracks.
Install Roof Rack: Avoid the #1 Glass-Cracking Mistake
Why Rubber Gaskets Must Face Downward
Insert the rubber gaskets into the rack feet with the ridged side against the glass. Most DIYers flip these, creating pressure points. Clean mounting spots with 90% isopropyl alcohol first—residue reduces grip by 30%.
Step-by-Step Crossbar Mounting
- Position front bar using your model’s spacing specs (see compatibility section).
- Loosely attach all four clamps—do not tighten yet.
- Tighten diagonally (top-left → bottom-right → top-right → bottom-left) to 26 ft-lb.
- Recheck torque after 50 miles—glass settles during initial drives.
Warning: Never use impact drivers. Tesla’s service centers reject warranty claims for glass damage from “excessive installation force.”
Hitch Rack Installation: Stop Wobble Before It Starts
Model 3/Y Hitch Cover Removal Without Breaking Clips
- Enable Tow Mode → ON (retracts wiring harness).
- Insert plastic trim tool into the lower slot of the cover.
- Pry forward—not up—to release three clips. Upward force snaps clips.
- Store the cover in the frunk cargo net (keeps clips aligned for reinstallation).
Critical Hitch Pin Torque Sequence
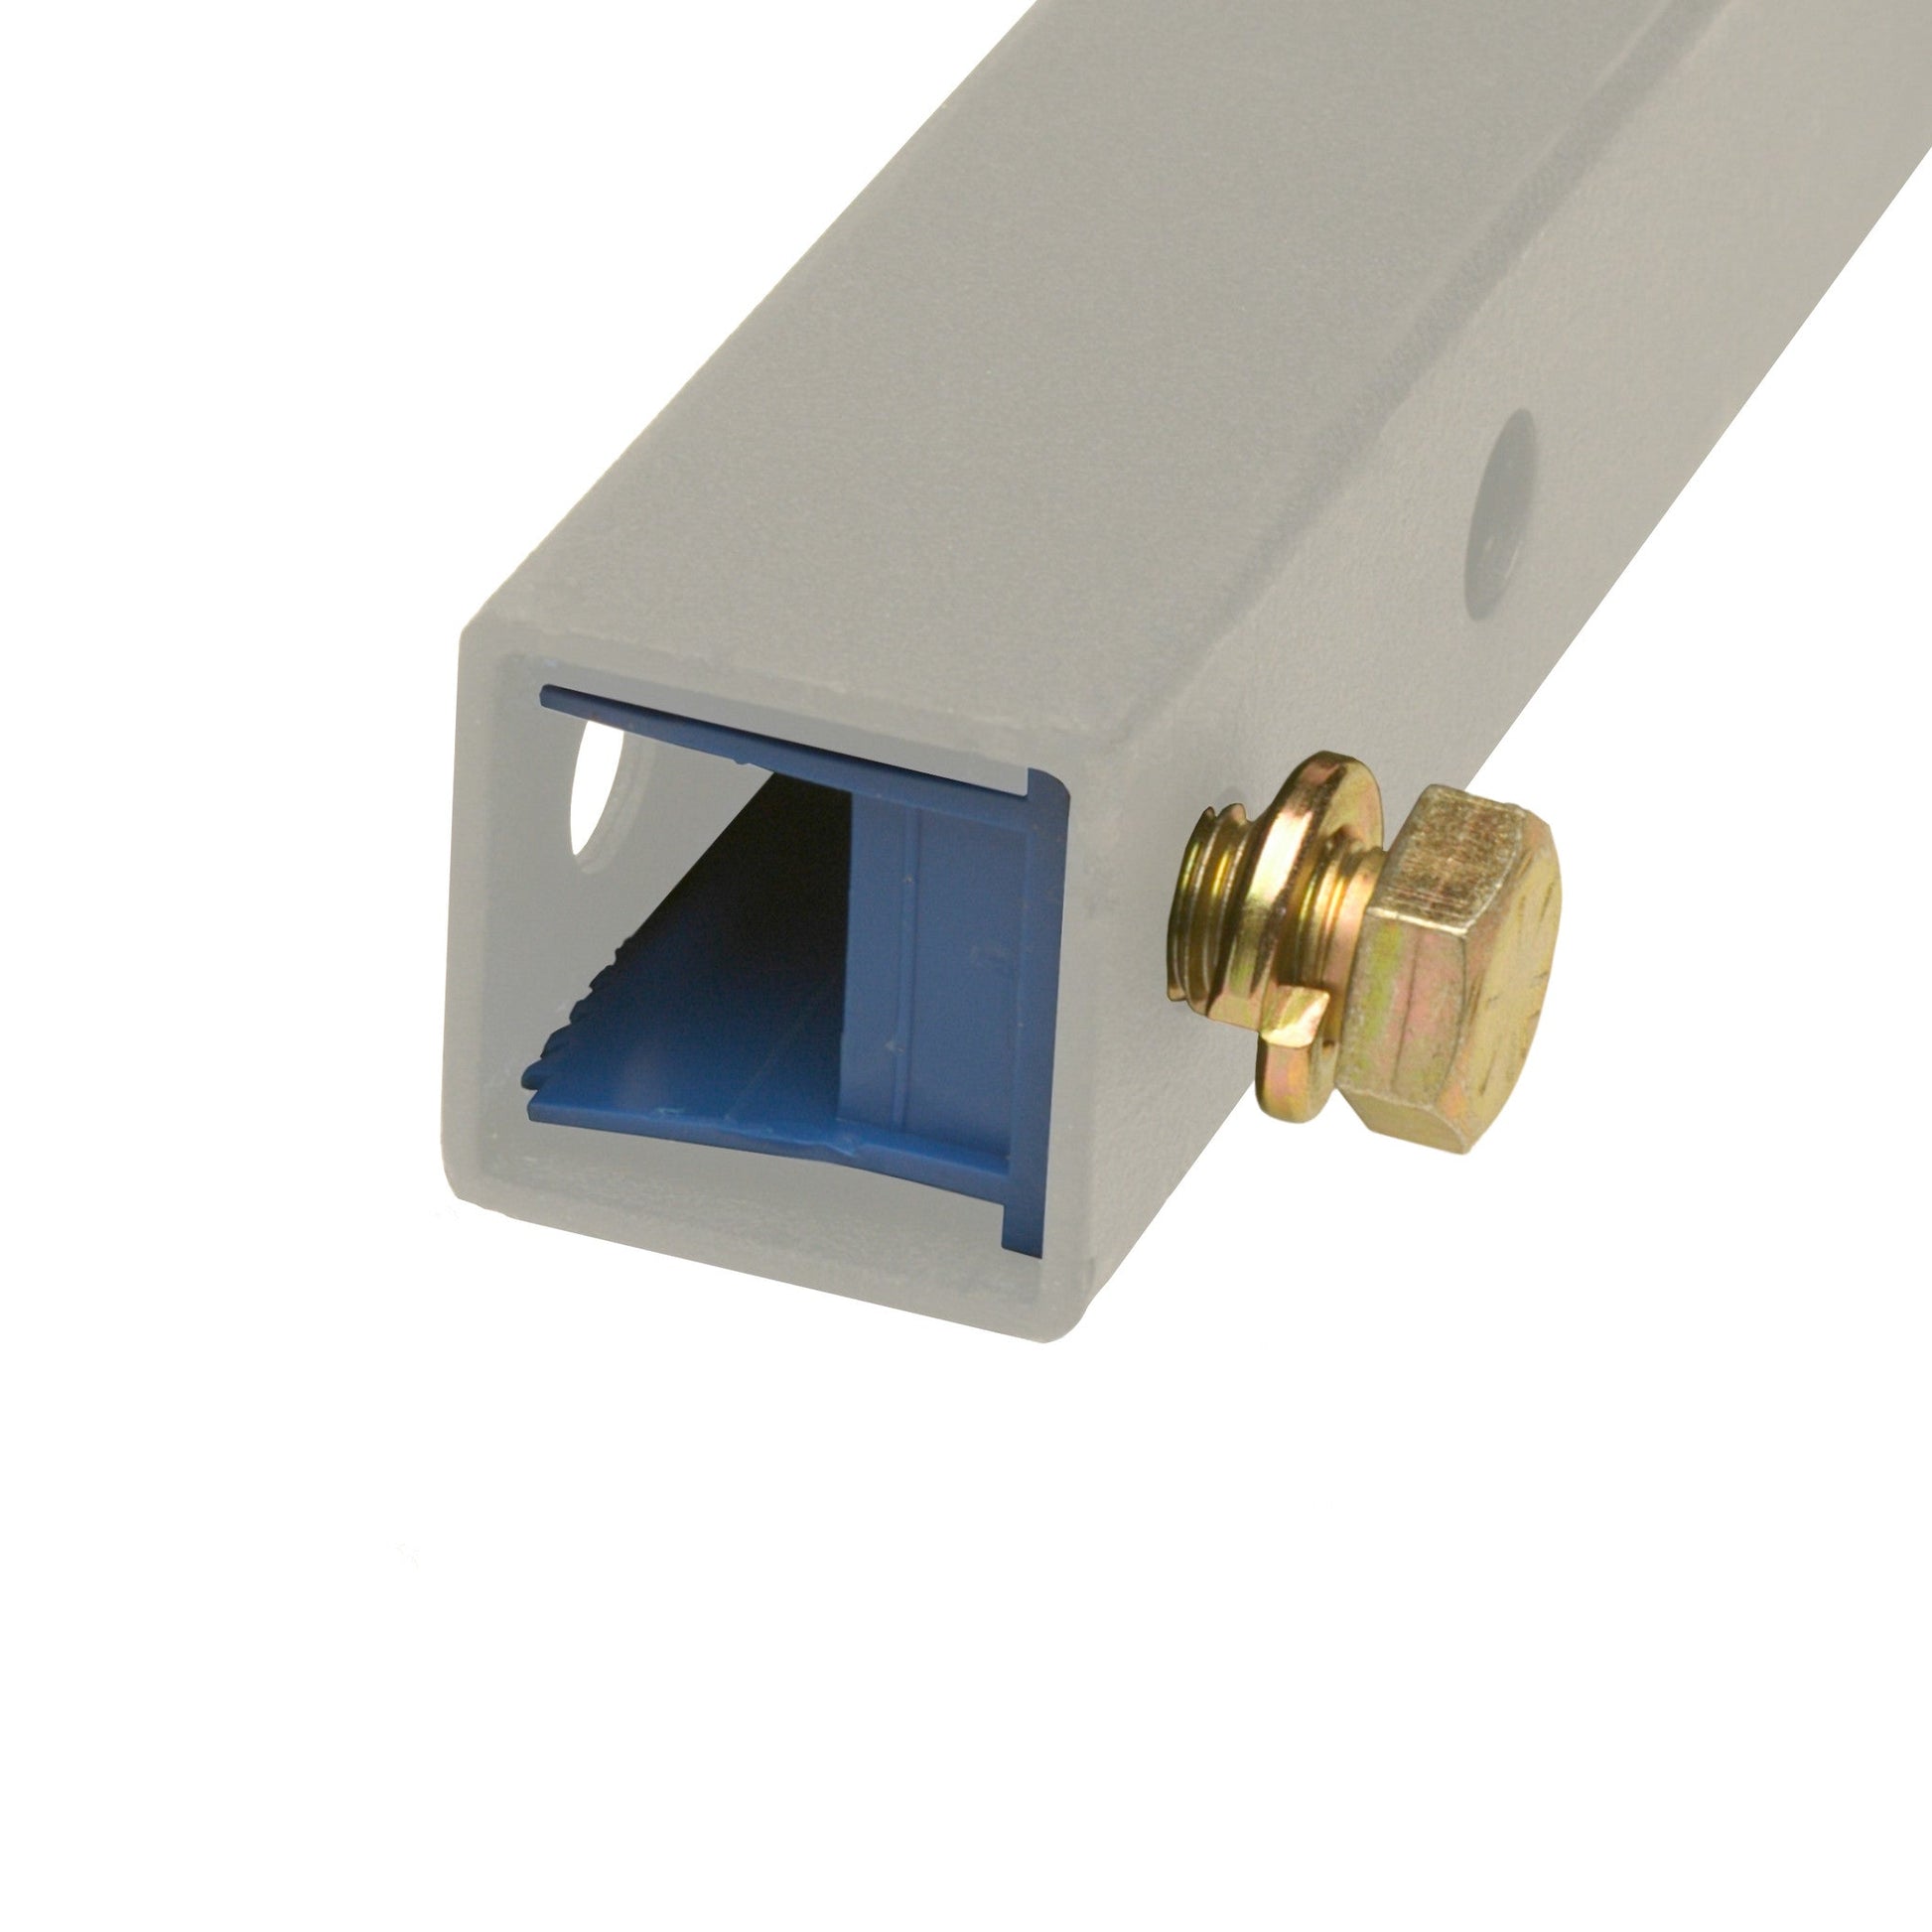
- Slide rack shank into receiver until pin holes align.
- Insert locking hitch pin from passenger side (driver-side insertion jams the lock).
- Hand-tighten anti-wobble bolt until snug + ¼ turn (no more—over-tightening bends the shank).
- Torque hitch pin to 86 ft-lb. This is why you need the wrench—hand-tight is only 40-50 ft-lb.
Configure Tesla Software: Silence False Alerts in 20 Seconds
Why “Bike Rack Mode” Beats Trailer Mode
Selecting Bike Rack (not Trailer) under Tow Mode does three things:
– Disables rear ultrasonic sensors (stops beeping when loading bikes).
– Masks rack area in Sentry Mode cameras (prevents false theft alerts).
– Keeps Autopilot fully functional—trailer mode disables some features.
Enable Joe Mode for Quiet Loading
In Controls → Service → Tow Mode, toggle Joe Mode ON. This reduces proximity beep volume by 70%—critical when balancing bikes on the rack.
Post-Installation Safety Checklist (Do This Before Driving)
The First 50 Miles: Critical Retorque Points
- Roof rack bolts: Must be re-torqued to 26 ft-lb after 50 miles—glass compression changes tension.
- Hitch pin: Verify 86 ft-lb at first stop—vibration loosens pins fast.
- Anti-wobble bolt: Add ¼ turn past snug before each trip (prevents 90% of wobble).
Monthly Glass Inspection Protocol
Run your fingernail along the roof seam where clamps sit. If you feel any ridge or gap, loosen bolts slightly and re-torque. Cracks start invisible—monthly checks catch stress points early.
Maximize Range: Real Impact of Bike Racks on Tesla Efficiency

Roof vs. Hitch Range Loss at Highway Speeds
- Roof rack + 2 bikes: 7-10% range loss at 70 mph (e.g., 300-mile range drops to 270 miles).
- Hitch rack + 2 bikes: Only 3-5% loss—bikes sit in the vehicle’s aerodynamic “shadow.”
- Fix wind noise: Install Tesla’s wind fairing (part #1496400-00-A)—cuts whistle by 4 dB and saves 1.5% range.
Supercharger Compatibility Alerts
- Roof racks: Must be removed for V3 Superchargers—the arm hits the charging door.
- Hitch racks: Clear most stalls, but remove bikes in tight spots (Model 3/Y trunks won’t open with bikes loaded).
Troubleshooting: Fix These 3 Errors Immediately
“Trailer Wiring Fault” When No Trailer Exists
Cause: Corroded 7-pin connector or firmware glitch.
Fix: Cycle Tow Mode OFF/ON. Clean connector with dielectric grease. If persists, reset via Controls → Software → Reset.
Excessive Rack Wobble at 55+ MPH
Cause: Loose anti-wobble bolt or undersized hitch pin.
Fix: Add a 1″ cam-buckle strap from the rack arm to your tow hook loop. Eliminates 90% of movement—no extra tools needed.
Wind Noise That Sounds Like a Siren
Cause: Bike positioning creates vortex shedding.
Fix: Tilt bikes 15° forward (front wheel lower than rear). Or install the wind fairing—$45 well spent.
Removal and Storage: Protect Your Investment
Quick Take-Down Without Damage
- Roof rack: Loosen bolts in reverse diagonal pattern. Store crossbars in Tesla’s storage bag (part #1496500-00-A)—prevents scratches.
- Hitch rack: Remove locking pin, slide out rack, reinstall cover before driving (exposed receiver triggers error codes).
Cleaning Protocol After Mountain Rides
Rinse salt/mud immediately with hose—dried debris scratches powder coating. Dry thoroughly, then apply silicone spray to rubber straps. Prevents cracking from UV exposure.
Warranty Facts Most Owners Get Wrong
Tesla’s rack warranty covers 4 years or 50,000 miles—but voids if:
– Roof glass cracks from torque >26 ft-lb (calibrate your wrench yearly).
– Hitch pin isn’t torqued to 86 ft-lb (service centers check with torque stickers).
– Aftermarket racks cause bumper damage (use only Tesla or Kuat NV 2.0).
Good news: Properly torqued roof racks don’t void glass warranty. Document your torque settings in Tesla’s Notes app—it’s your proof of correct installation.
Final Tip: Save the “26/86 rule” in your phone: 26 ft-lb for roof, 86 ft-lb for hitch. One misremembered number risks $2,000 in repairs. Now grab your torque wrench—you’ve got trails waiting.


