
Struggling to hoist your 50+ pound ebike onto a standard bike rack? You’re not alone. With electric bikes weighing 40-70 pounds—nearly double a traditional bicycle—the wrong loading technique risks back injury, expensive damage to your bike, or even dangerous accidents on the highway. Most riders don’t realize standard bike racks max out at 35-40 pounds, putting them dangerously close to their ebike’s weight limit before they even attempt the lift.
This guide reveals the exact loading sequence experienced ebike owners use to safely secure their machines every time. You’ll discover why removing the battery isn’t just about weight reduction—it’s your first line of defense against costly theft—and the two-person method that prevents 90% of loading mishaps. Whether you’re heading to your favorite trail or just need to transport your commuter for service, these proven steps protect both your investment and your body.
Verify Your Rack Handles Ebike Weight Capacity

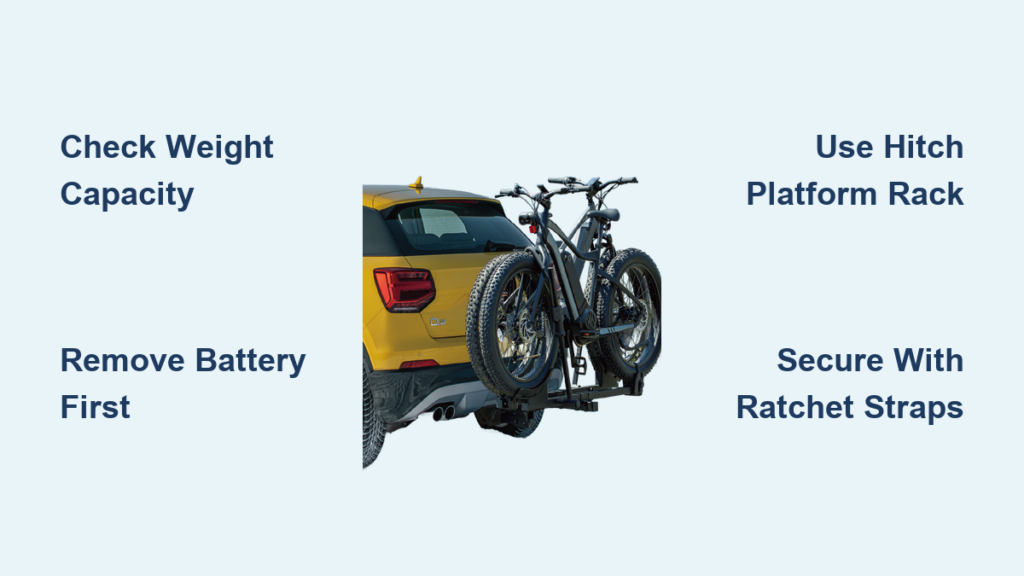
Before touching your ebike, check your rack’s maximum load rating. Standard bike racks typically support only 35-40 pounds per bike—dangerously close to many ebike weights. Hitch-mounted platform racks offer the highest capacity, often handling 60-80 pounds per bike, while trunk racks usually max out at 40 pounds. Never exceed these limits; rack failure at highway speeds turns your ebike into a deadly projectile.
Find Your Ebike’s True Weight
Manufacturer specs often list weight without the battery. Add 5-8 pounds for the power pack to get your actual transport weight. For an accurate measurement, step on a bathroom scale holding your ebike, then subtract your body weight. Dual-battery systems or cargo ebikes can reach 70-80 pounds—well beyond many rack capacities.
Calculate Combined Load for Multiple Bikes
Loading two ebikes? Multiply carefully. Two 55-pound bikes equal 110 pounds—exceeding many hitch rack limits. Check both per-bike and total capacity ratings. If your combined weight approaches the limit, remove the heavier bike’s battery first or consider alternative transport methods.
Remove Battery Before Attempting the Lift
This single step reduces lifting weight by 10-15% and eliminates theft risk during rest stops. Most ebike batteries slide out vertically or release with a key. Store the battery inside your vehicle, not in the rack—extreme temperatures and moisture rapidly degrade battery cells. Never leave it exposed on the rack during transport.
Seal the Empty Battery Compartment
After removal, protect the exposed port from road spray. Use the manufacturer’s rubber cover or temporary electrical tape to block water intrusion. A $5 battery cover prevents corrosion that could require a $500 replacement later.
Shed Non-Essential Weight
Consider removing these components before loading:
– Water bottles and cages (1-2 pounds)
– Panniers or rear racks (3-5 pounds)
– Front baskets or accessories
– Optional fenders on lightweight models
Every pound counts when lifting 50+ pounds overhead.
Select the Right Rack for Ebike Transport
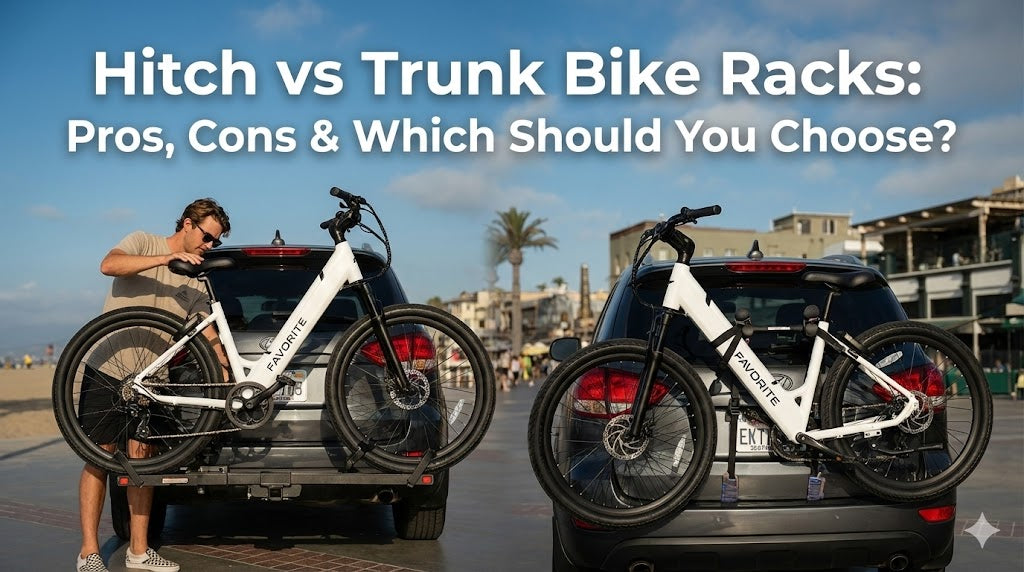
Your rack choice determines both safety and ease. Hitch-mounted platform racks dominate for ebikes, offering superior weight capacity and stability. Trunk racks work only for sub-40-pound ebikes, while roof racks require exceptional strength and should be avoided for most electric bikes.
Hitch-Mounted Platform Advantages
- Weight capacity: 60-80 pounds per bike
- Loading height: knee to waist level
- Wheel support prevents frame stress
- Ramp options eliminate full lifting
- Easier single-person operation
Trunk Rack Limitations to Consider
- Max 40 pounds per bike (after battery removal)
- Requires vertical lifting to shoulder height
- Straps often loosen under vibration
- High risk of bike-to-car contact on bumps
- Not recommended for ebikes over 45 pounds
Hitch Platform Loading Without Back Strain
Position Your Vehicle Properly
Park on level ground with parking brake engaged. Lower the rack’s loading ramp if equipped. Adjust wheel trays for your ebike’s wheelbase—most need 45-50 inch spacing. Verify tire width compatibility; fat tires require 4-5 inch holders to prevent slippage during transport.
Single-Person Loading Sequence
- Roll backwards toward the rack using the ramp
- Align front wheel in the front tray first
- Guide rear wheel into position while rolling
- Secure wheels with integrated straps—tight but not rim-crushing
- Clamp frame on the main triangle, avoiding cables
- Double-check all points before driving
Two-Person Method for Heavy Models
For 60+ pound ebikes, recruit help. One person lifts the rear while the other guides the front wheel. Communicate clearly: “Lift on three, then roll back.” This reduces strain and prevents drops that damage derailleurs or racks. The helper should focus on lifting the rear wheel while you control the front for better balance.
Trunk Rack Loading Without Damage
Prepare the Rack Correctly
Fold rack arms completely down. Position the heaviest bike closest to the vehicle for stability. Remove wheels for extreme weight reduction on 50+ pound bikes. Check that rack arms clear your vehicle’s trunk lid and won’t scratch the paint during loading.
Maintain Proper Lifting Form
Bend knees, keep back straight, lift with legs—not your back. Place the top tube on the lower arm first, then lift to the upper arm. Use three-point contact: bike rests on both arms and against the vehicle. Secure with at least four straps, checking for exhaust contact before driving.
Optimize Strap Configuration
Cross-strap the frame in an X-pattern for stability. Ensure straps never touch exhaust components that melt nylon during operation. Test security by shaking the bike—any movement indicates loose straps. Tighten straps in a sequence: front, back, then center points.
Avoid Roof Rack Loading for Most Ebikes

Not recommended for ebikes due to the combination of weight and lifting height. Lifting 40-70 pounds overhead creates significant injury risk and potential vehicle damage. If absolutely necessary for a lightweight ebike under 40 pounds, never attempt alone and use wheel-on mounts instead of fork mounts.
Height Assistance Tools Required
Use a sturdy step stool or platform for additional height. Lift in two stages: first to shoulder height, then overhead. Wheel-on mounts maintain stability better than fork mounts with heavy ebikes. Have someone spot you during the lift to prevent accidental drops.
Secure All Critical Attachment Points
Verify Strap Quality and Rating
Use straps rated for 100+ pounds working load—standard bike straps often max at 50 pounds. Ratchet straps provide secure tension but avoid over-tightening on carbon frames. Cam-buckle straps offer better control for delicate components and quick adjustments.
Implement Multi-Point Security
Secure at these critical locations:
– Both wheels with integrated straps
– Frame triangle with main clamp
– Handlebars to prevent rotation
– Rear wheel additional strap for highway speeds
– Front fork if using a fork mount system
Manage Cables Properly
Route cables away from pinch points. Secure loose brake lines with velcro straps. Check brake function after loading—kinked lines create dangerous riding conditions. Protect electronic displays from vibration with foam padding.
Complete Safety Inspection Before Driving
Perform the 3-Minute Shake Test
Before pulling away, verify security by:
1. Push bike side-to-side at the seat
2. Lift up on the frame
3. Check wheel straps for loosening
4. Verify rack-to-vehicle connection is solid
Repeat after driving the first half-mile to catch any settling.
Measure Critical Clearances
Check rear overhang—maximum 4 feet in most states. Test ground clearance on sloped driveways. Ensure bikes don’t block taillights; use auxiliary LED lights if needed. Confirm visibility in rearview mirrors and backup cameras isn’t obstructed.
Verify Legal Compliance
Check total width stays under 8.5 feet including mirrors. Attach required reflectors if bikes obscure vehicle lighting. Carry ebike registration and insurance info for traffic stops. Know your state’s regulations for rear overhang and lighting requirements.
Adapt for Special Ebike Types
Handle Fat Tire Models Safely
Confirm rack accepts 4-5 inch tires. Use fat tire specific wheel holders—standard holders won’t grip wide tires. Expect 5-10 pounds additional weight over standard tires. Check that frame clamps can accommodate oversized downtubes without slippage.
Transport Folding Ebikes Securely
Fold according to manufacturer instructions. Secure folding joints with additional straps to prevent unfolding. Remove pedals to reduce width—store in vehicle. Use padding between folded sections to prevent frame damage from vibration during transport.
Safely Load Multiple Ebikes
Load heaviest bike closest to vehicle for tongue weight distribution. Stagger handlebars to prevent interference—alternate high/low positions. Use inter-bike straps for added stability on rough roads. Verify total weight doesn’t exceed rack capacity by at least 10%.
Maintain Equipment After Every Trip
Conduct Post-Trip Inspection
Check all bolts and connections monthly, especially after long trips. Replace worn straps immediately—frayed straps fail without warning. Lubricate rack hinges per manufacturer schedule to prevent corrosion. Tighten any loose hardware before your next trip.
Protect Your Ebike During Transport
Use frame pads where straps contact paint. Cover electronic displays during transport to prevent sun damage. Check tire pressure after arrival—temperature changes affect inflation significantly. Clean road salt and chemicals after winter transport to prevent corrosion.
Secure Storage When Not in Use
Remove rack when parked long-term to prevent theft. Store inside vehicle or locked garage. Clean road salt and chemicals after winter transport. Consider a cover for extended outdoor parking to protect against weather damage.


