
Your dirt bike’s frame has lost its luster after seasons of hard riding, but you don’t have to live with a dull, scratched appearance. Learning how to polish a dirt bike frame transforms ordinary aluminum into a breathtaking mirror finish that turns heads at the track and trailhead. This process requires patience and precision as you systematically remove the factory surface through progressive sanding and polishing stages. While the transformation demands several hours of focused work, the dramatic visual upgrade makes your motorcycle stand out from stock models and showcases your dedication to craftsmanship. By following this complete guide, you’ll achieve professional results without needing specialized equipment—just the right materials, technique, and understanding of what to expect throughout the process.
Essential Tools for Dirt Bike Frame Polishing Success

Before touching your frame with sandpaper, gather every tool you’ll need to avoid frustrating interruptions mid-project. The right materials make the difference between amateur results and a show-quality mirror finish that reflects your hard work.
Sandpaper Grit Progression System
Start with 400-grit wet/dry sandpaper to remove the factory finish, then systematically advance through 600, 800, 1000, 1500, 2000, and optionally 2500 grit. Never skip grit levels—each stage must completely eliminate the scratches from the previous one before progressing. Automotive-specific wet sandpaper outperforms standard paper because it withstands saturation better and delivers consistent results. Keep multiple sheets of each grit on hand, as they wear out quickly during the intensive sanding process.
Polishing Compounds That Deliver Chrome-Like Results
Mothers aluminum polish forms the foundation of your shine, applied first by hand to reach intricate areas, then with a powerball attachment for large surfaces. The powerball—attached to a variable-speed drill—reduces physical strain while producing uniform results across flat sections. For ultimate reflectivity, Eagle One Never Dull serves as the final enhancement step, applied with the powerball after standard polishing. You’ll need multiple microfiber cloths dedicated to residue removal between stages—don’t risk contaminating your progress with dirty rags.
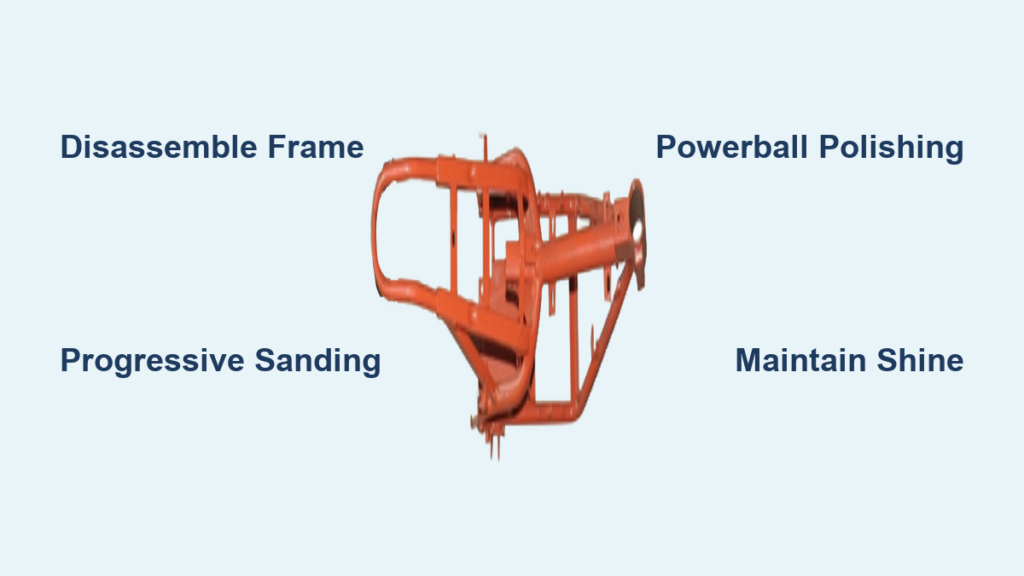
Complete Frame Disassembly for Unobstructed Access
Removing components prevents accidental damage to plastics and ensures every square inch receives consistent treatment. This step separates professionals from beginners—those who skip disassembly end up with visible inconsistencies around mounting points.
Tank and Subframe Removal Process
Turn the petcock to “off,” disconnect the fuel line into a container, and remove all tank mounting bolts. Document each bolt’s location with photos or a simple sketch to simplify reassembly. The subframe typically attaches through visible bolts at frame junction points—remove these methodically while noting any washers or spacers. Critical tip: Wrap removed bolts in labeled bags to avoid confusion during reassembly.
Radiator and Shroud Extraction Without Leaks
Drain coolant completely before disconnecting radiator hoses to prevent spills. Use zip ties to temporarily secure disconnected hoses away from your work area. Shrouds usually detach through simple clips or screws along side panels—remove these carefully to avoid breaking fragile fasteners. With these components removed, you’ll access hidden weld seams and frame sections that would otherwise receive uneven treatment.
Frame Preparation: The Secret to Flawless Results
Skipping proper preparation guarantees frustration later—contaminants trapped under sandpaper create permanent scratches that ruin your finish.
Deep Cleaning Technique That Prevents Embedded Debris
Soak the entire frame in a degreaser solution, then use a soft-bristled brush to scrub every weld seam, crevice, and hard-to-reach area. Rinse thoroughly with low-pressure water to avoid forcing debris into pores. Warning: Never use high-pressure washers—they force dirt deeper into microscopic aluminum pores. Dry completely with clean microfiber towels before inspecting under bright LED lighting to verify no contaminants remain.
Master the Progressive Sanding Process

This stage consumes 70% of your total project time but determines your final result’s quality. Rushing through grit levels creates visible imperfections that compound through later stages.
400 to 1000 Grit: Foundation for Mirror Finish
Begin with 400 grit using consistent, overlapping strokes in one direction, then perpendicular passes. Keep the surface and paper constantly wet—dry spots create uneven scratches. Each grit requires 20-30 minutes per frame section until all previous scratches disappear under direct lighting. Progress to 600 grit only when 400-grit marks are completely gone—a common beginner mistake is advancing too soon.
1500 to 2500 Grit: Achieving True Reflectivity
At 1500 grit, the surface develops noticeable sheen but remains hazy. Increase scrutiny under multiple lighting angles—what looks smooth in one light reveals hidden scratches in another. The 2000 to 2500 grit transition creates the ultra-fine surface needed for mirror reflection. Pro tip: Dip your finger in water and gently rub the surface—any remaining texture indicates incomplete sanding at that grit level.
Powerball Polishing Technique for Professional Results
Hand polishing alone won’t deliver consistent results across large frame surfaces—mastering power tool technique separates acceptable finishes from show-quality shine.
Mothers Polish Application Workflow
Apply Mothers aluminum polish by hand first to ensure complete coverage in detailed areas, working until the compound dries to a haze. Wipe clean with microfiber, then attach the powerball to a variable-speed drill set at 1200-1800 RPM. Move the tool slowly across the surface—never hold it stationary—allowing the rotation to do the work. Excessive speed generates heat that damages aluminum and creates swirl marks.
Never Dull Final Enhancement Method
Place small strands of Eagle One Never Dull along the powerball’s edge and work across the entire frame. This final treatment fills microscopic valleys in the aluminum, boosting reflectivity to near-chrome levels. Repeat 2-3 times with complete residue removal between applications for maximum effect. The difference becomes dramatic when comparing treated versus untreated sections under direct sunlight.
Yamaha Frame-Specific Polishing Challenges

Yamaha owners face unique hurdles due to the brand’s distinctive frame construction—know these before starting your project.
Continuous Frame Construction Complications
Unlike brands with segmented frames, Yamaha builds most models (WR450F, YZ250F) as single-piece structures. This means you can’t skip sections or vary finish quality—every square inch requires equal attention. The bottom frame section starts with a rougher as-cast texture, demanding extra sanding time to match the top section’s smoothness.
Leg Contact Area Wear Reality Check
Within seconds of mounting your Yamaha after polishing, rider contact areas show immediate wear. The aluminum’s softness means high-traffic zones lose shine rapidly—be prepared for frequent touch-ups if you prioritize perfection. Many Yamaha owners focus extra protection on these zones with removable frame guards for practicality.
Maintaining Your Mirror Finish Long-Term
Polished aluminum requires ongoing care that painted frames don’t—understand these commitments before starting.
Realistic Maintenance Schedule
After each ride:
– Wipe frame with microfiber dampened with water
– Apply light coat of Mothers Polish to contact areas
– Full re-polish every 3-5 rides for show-quality appearance
Warning: Riding in muddy conditions destroys polished finishes—reserve your gleaming bike for dry days or accept frequent restoration work. Competitive riders often maintain polished frames only on show bikes, not race machines.
Alternative Protection Methods Worth Considering
Some riders explore protective coatings to preserve shine with less maintenance—weigh these options carefully.
Clear Powder Coating Trade-offs
While clear powder coating theoretically preserves shine while adding durability, results vary significantly by applicator skill. Critical consideration: Most coatings slightly alter reflective properties, diminishing the “true aluminum” look enthusiasts seek. Test on a small frame section first—you may prefer the authentic look with higher maintenance over a protected but altered appearance.
Key Takeaways for Perfect Frame Polishing
Achieving a mirror finish requires strict adherence to the 400-2500 grit progression, consistent Mothers polish application with powerball assistance, and realistic expectations about Yamaha’s wear-prone contact areas. The process demands 8-12 focused hours but transforms your dirt bike into a head-turning showpiece. Remember to disassemble completely for uniform results, never skip grit levels during sanding, and prepare for ongoing maintenance proportional to your riding intensity. While the commitment seems substantial, the satisfaction of riding a bike with a flawless, reflective frame makes the effort worthwhile for dedicated enthusiasts who value visual excellence as much as performance.


