
That moment when you first try to load your bike onto a trunk rack can feel like defusing a bomb. You’re sweating bullets wondering if you’ll scratch your car, damage your frame, or worst of all—discover your bike flying off the highway during your road trip. I’ve been there too, standing in a parking lot with a wobbly rack and mounting frustration. But here’s the good news: with the right technique, you can secure your bike safely and confidently in under 10 minutes. This complete guide reveals the exact steps professional cyclists use to load bikes onto trunk racks without damage or stress. You’ll learn proper positioning techniques, strap placement secrets, and critical safety checks that prevent costly mistakes most beginners make.
Verify Your Trunk Rack Fits Your Vehicle and Bike

Before lifting your bike an inch, confirm your trunk rack matches both your vehicle’s dimensions and your bicycle’s frame type. Most standard trunk racks handle 2-3 bikes weighing up to 35 pounds each, but exceeding your specific model’s capacity risks dangerous failures on the road.
Measure Critical Trunk Clearance Before Loading
Open your trunk completely and check the gap between the trunk lid and bumper. Your rack arms need at least 6 inches of clearance to avoid interference when opening and closing the trunk. If the rack contacts your trunk lid when raised, you’ll damage both the rack and your car’s paint during normal use. For SUVs with liftgates, ensure the rack sits below any rear wiper mechanisms that could strike your bike wheels.
Confirm Your Bike Frame Works with Rack Arms
Hold your bike against the rack arms without strapping it down. Traditional diamond frame bikes with straight top tubes secure easily. However, step-through frames (common on women’s bikes and cruisers) or full-suspension mountain bikes often require a horizontal crossbar adapter to prevent frame damage. If your bike frame doesn’t rest securely on the curved arms without tilting, stop now and get the correct adapter—forcing an improper fit risks frame cracks during transport.
Position Your Trunk Rack for Maximum Stability
Place the rack against your trunk with the curved support arms facing upward toward the sky. The lower padded arms must rest against your vehicle’s bumper, not the trunk lid itself, to distribute weight properly and prevent trunk damage.
Align Straps with Vehicle Structural Points
Locate all six strap attachment points on your rack frame. These must connect to your vehicle’s structural edges—not plastic trim pieces that can tear off during transit. For sedans, attach top straps to the trunk lid’s metal edge where it meets the rear window. On SUVs, route straps around the metal frame surrounding the liftgate opening. Plastic components flex too much and will fail when highway winds hit your rack.
Secure Rack Frame Before Adding Bikes
Thread the top straps through the trunk gap first, then position the side straps around your vehicle’s edges. Pull each strap snug but don’t fully tighten—this allows final centering adjustments. Stand back and verify the rack sits perfectly centered on your trunk; an off-center rack creates dangerous weight imbalance. Only after confirming perfect alignment should you fully tighten all straps, working diagonally across the rack for even tension.
Load Your First Bike Closest to the Vehicle
Always position your heaviest bike closest to the car for optimal weight distribution. This reduces dangerous sway and keeps the center of gravity directly over your vehicle’s rear axle—critical for safe handling at highway speeds.
Lift Using Proper Body Mechanics
Grab your bike firmly by the top tube and seat post (never the handlebars or seat). Lift smoothly with your legs, not your back, and place the bike onto the rack with the front wheel facing toward the passenger side. Rest the top tube directly on the rack’s curved arm support—this distributes weight evenly across your frame without stressing vulnerable joints.
Achieve Correct Wheel Elevation
Center the bike so the front wheel sits approximately 2 inches higher than the rear wheel. This slight angle prevents handlebars from contacting your car’s rear window and creates space for additional bikes. Check that your brake calipers don’t contact the rack arms—if they do, rotate the front wheel 90 degrees before securing.
Secure Bike Frame with Professional Strap Technique
Most frame damage occurs from improperly placed straps that rub against paint or create pressure points. Proper strap positioning protects both your bike’s finish and structural integrity during transport.
Create a Protective X-Pattern with Straps
Wrap the rubber-coated hooks around your bike’s top tube, not the seat tube or down tube. Secure each hook to the opposite rack arm to form an “X” pattern across your frame. This distributes pressure evenly and prevents the bike from twisting during transit. Ensure no strap edges contact your bike’s paint—use the rubber protectors fully covering any metal hooks.
Tighten Straps in Progressive Stages
Tighten each strap only 2-3 clicks at a time, alternating between left and right sides. This gradual approach keeps the bike perfectly centered and prevents frame stress from uneven pressure. After initial tightening, lift the bike slightly and let it settle back onto the rack before final tightening—this ensures the frame sits naturally in the straps.
Eliminate Wheel and Pedal Movement Hazards

Unsecured wheels cause the most common transport problems—from annoying rattles to catastrophic damage when wheels contact road debris. Pedals left in the wrong position scratch your car’s paint with every bump in the road.
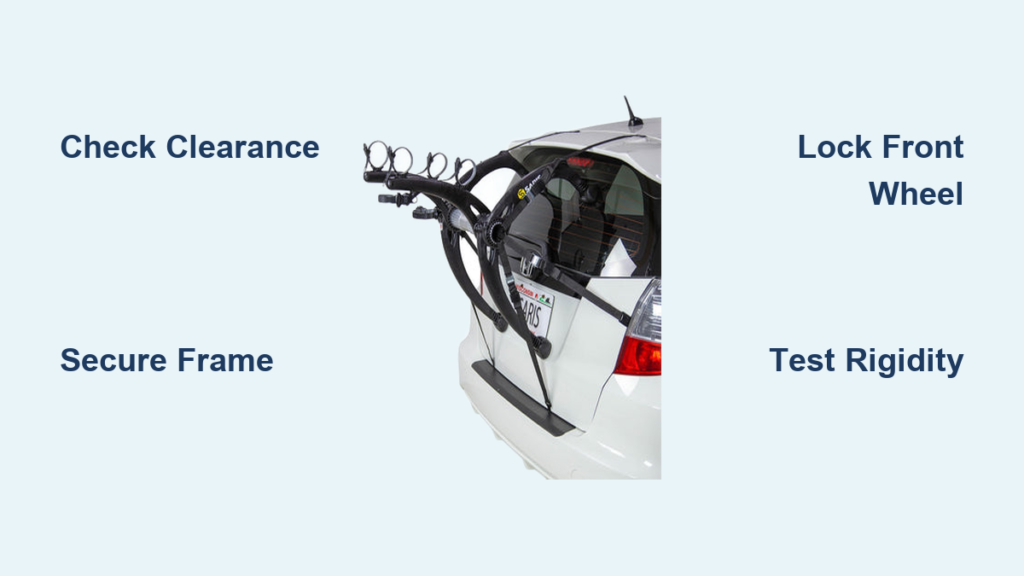
Lock Front Wheel in Transport Position
Wrap the wheel strap around your front rim (not the tire) and through the nearest rack arm. Pull tight until the wheel barely moves when pushed side-to-side. Spin the wheel to verify brake pads don’t contact rotors—if they do, slightly loosen the quick-release skewer before transport.
Position Pedals to Prevent Car Contact
Rotate the crankset so the left pedal points straight down at 6 o’clock position. This keeps both pedals clear of your car’s body and prevents them from catching on other bikes. For multi-bike loads, ensure pedals on adjacent bikes don’t overlap—this causes annoying clicking sounds and potential damage during transit.
Load Additional Bikes Without Damage
Adding second and third bikes requires strategic positioning to prevent handlebar tangles and frame scratches that happen when bikes contact each other during transport.
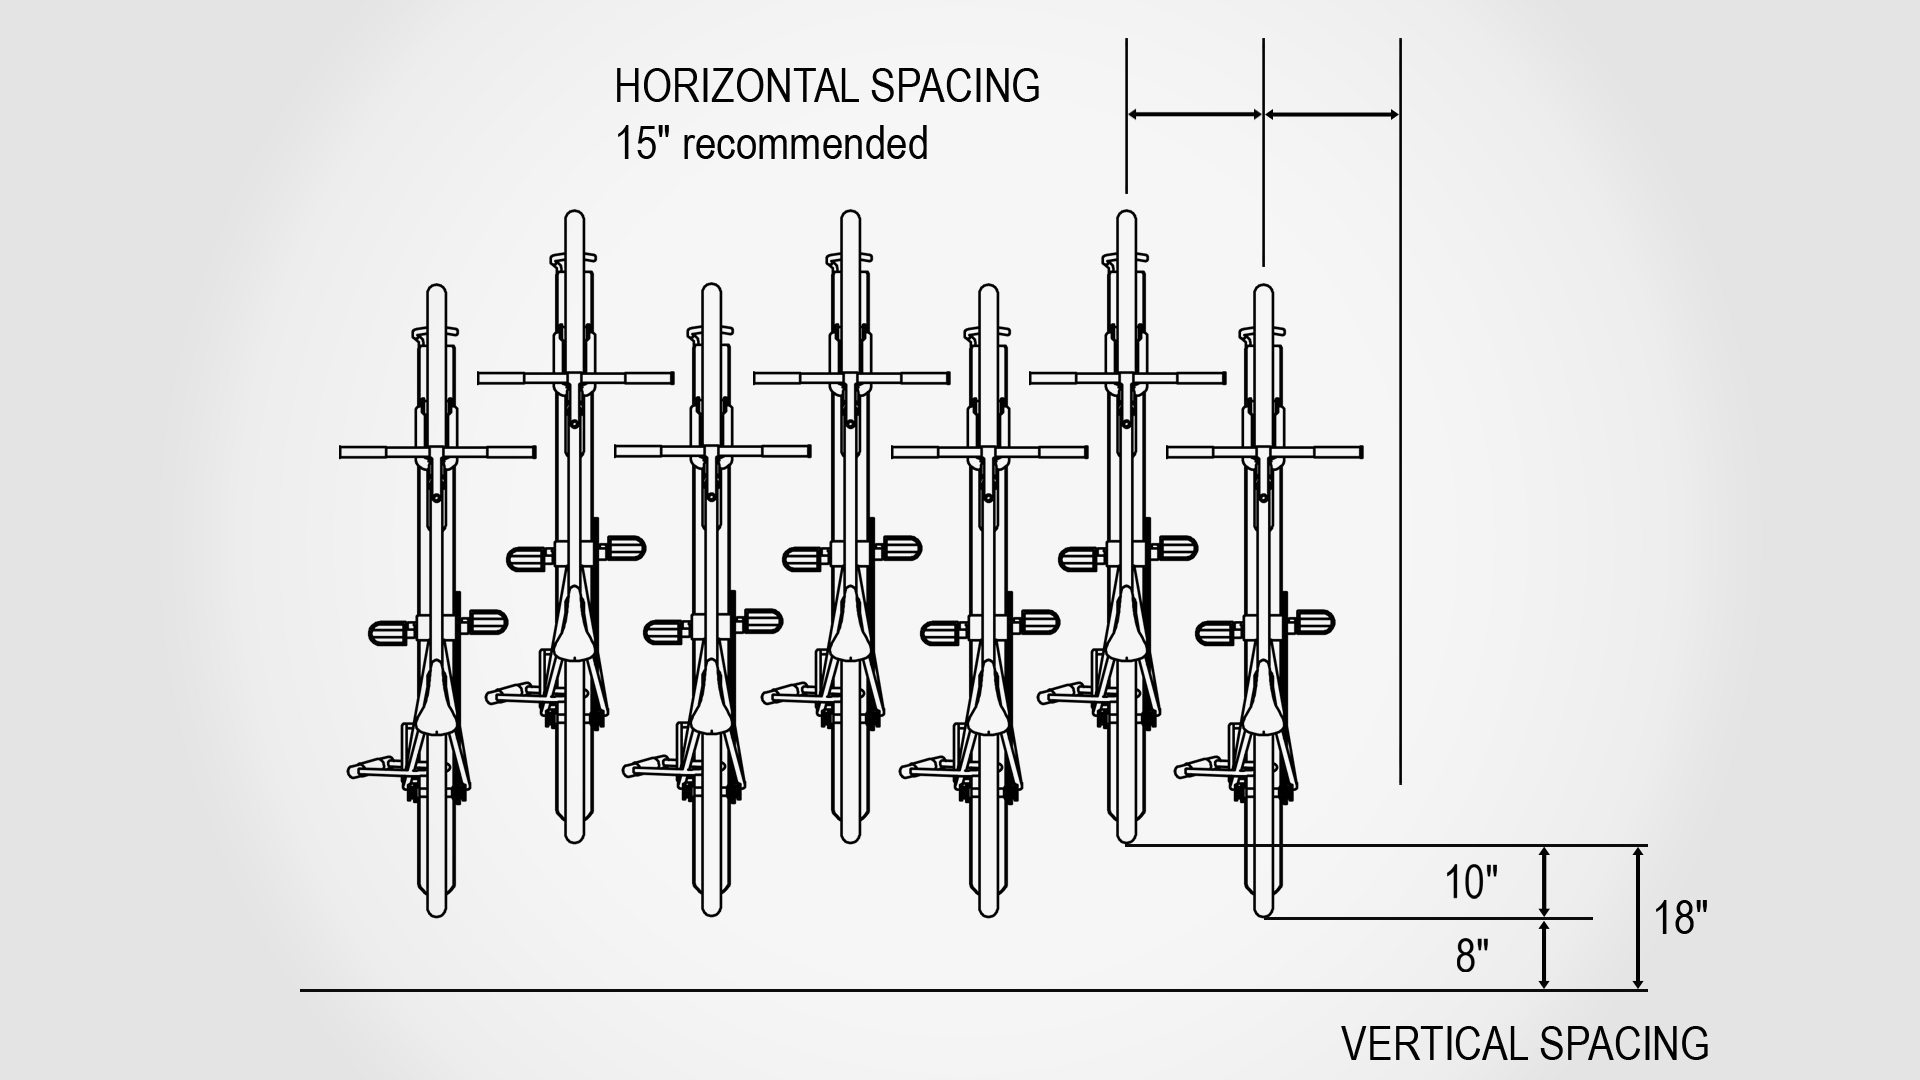
Maintain Critical Bike Spacing
Leave exactly 6-8 inches between bikes—measured from handlebar to handlebar. This creates enough room to secure straps without pinching fingers while preventing handlebars from crossing into neighboring bike space. Use a tape measure the first few times until you develop an eye for proper spacing.
Alternate Bike Orientations for Stability
Face your second bike opposite the first (front wheel toward driver side) to balance weight across your vehicle. This alternating pattern reduces overall width and creates natural gaps between handlebars. For three-bike racks, the middle bike should face the same direction as the first bike to maintain proper spacing.
Complete Critical Safety Inspection Before Driving
Skipping this 90-second check risks losing your bike on the highway—don’t become another roadside horror story. Professional drivers perform this exact sequence before every trip.
Test Every Connection Point Under Tension
Pull firmly downward on each strap attachment point—any movement exceeding 1/4 inch means immediate re-tightening. Pay special attention to top tube straps; these bear the most weight during acceleration and braking. If any strap shows fraying or damaged stitching, replace it immediately—don’t risk failure mid-journey.
Verify Full System Rigidity
Grab each bike firmly and attempt to rock it side-to-side. The entire rack system should move as one solid unit with minimal flex. Excessive movement indicates loose rack attachment to your vehicle—recheck all trunk straps before driving. Also confirm your bikes don’t contact each other when rocked—this causes paint damage on longer trips.
Avoid Costly Loading Mistakes That Damage Bikes
Most trunk rack failures stem from preventable errors that damage bikes, cars, or both. These simple oversights cause thousands of dollars in repair bills annually.
Critical Errors That Cause Highway Disasters
- Overtightening straps can permanently dent lightweight aluminum frames
- Skipping wheel straps allows bikes to sway dangerously at highway speeds
- Loading bikes backward puts dangerous stress on front fork dropouts
- Exceeding weight limits bends rack arms and risks complete failure
Proven Time-Saving Loading Techniques
- Remove water bottles and bike computers—they vibrate loose during transport
- Lower your seat post 1-2 inches for better trunk clearance when loading
- Use a single bungee cord between front and rear wheels for extra stability
- Place a microfiber towel between bike frame and car body when loading solo
Extend Your Trunk Rack’s Lifespan with Simple Maintenance
Regular care prevents mid-trip failures and doubles your rack’s service life. Most rack failures happen due to neglected maintenance, not manufacturing defects.
Essential Monthly Inspection Routine
Check all strap stitching for fraying along edges and attachment points. Replace any cracked or hardened rubber hooks immediately—these fail catastrophically under stress. Apply silicone lubricant (never oil) to all pivot points monthly to prevent squeaks and corrosion. Inspect all metal components for rust, especially where straps contact the rack frame.
Proper Off-Season Storage Methods
Remove your trunk rack when not in use for extended periods—UV rays degrade straps within months. Store indoors in a dry environment; garage temperature swings cause metal fatigue. Before storage, clean all components thoroughly to prevent salt and grime buildup that accelerates corrosion. Loosen all straps to their maximum length to prevent elastic memory loss.
Mastering trunk rack loading transforms your road trip preparations from stressful to seamless. After just 3-4 practice sessions in your driveway, you’ll confidently secure bikes in under 5 minutes—no more last-minute panic before weekend adventures. Remember that proper bike transport isn’t just about getting from point A to B; it’s about ensuring your trusty two-wheeler arrives ready to ride, trip after trip. Take those extra moments to adjust everything correctly, and you’ll never experience the heart-stopping moment of discovering your bike missing at the rest stop. Your perfect road trip starts with a perfectly secured bike.


