
Every time you straddle a dirt bike, you’re trusting your safety entirely to the gear strapped to your body. Unlike riding on paved roads where a car’s cage protects you, off-road riding leaves you completely exposed to whatever the trail throws at you—flying rocks, falling branches, hot exhaust pipes, and the ground itself during inevitable crashes. Knowing how to put on dirt bike gear correctly isn’t just about looking the part; it’s about ensuring every piece functions as intended when you need it most. This guide walks you through the complete process, from head to toe, so you can ride with confidence knowing your protection is properly aligned and secure.
The essential protective kit includes a helmet, goggles, chest protector, jersey, pants, knee braces or pads, boots, and gloves. Each piece serves a specific purpose, and the order in which you layer them significantly impacts both comfort and protection. Many riders make the mistake of simply pulling on gear without considering how pieces interact, leading to chafing, restricted movement, or equipment that shifts during crashes. By following the proper sequence and techniques outlined here, you’ll avoid these common pitfalls and establish a gear routine that becomes second nature before every ride.
Start with Head Protection
Your head deserves first attention because a helmet is the single most critical piece of protective equipment in your entire kit. Before anything else, ensure your helmet fits properly—it should feel snug against your cheeks without squeezing your head uncomfortably, and it shouldn’t rock or slide when you move your head up and down. The chin strap must sit low on your chin, not against your throat, and you should be unable to pull the helmet off once the strap is fastened. Take time to adjust the visor and verify the ventilation controls move freely, as you’ll need to make quick adjustments during changing conditions.
After securing your helmet, put on your goggles immediately while the helmet is already positioned. Goggles create a critical seal that keeps dirt, debris, and wind from your eyes, which is essential for maintaining visibility and reaction time. Position the goggles strap over the back of your helmet, not under it, to ensure the strap stays secure during aggressive riding. The foam padding should sit flush against your face without creating pressure points, and the lens should provide a wide, unobstructed field of view. If you wear glasses, check that your goggles accommodate them comfortably, or consider contact lenses for a more streamlined fit.
Layer Upper Body Protection
Upper body layering requires careful attention to the order of components to maximize both protection and comfort. Begin with a moisture-wicking base layer against your skin—this could be a compression shirt, an Under Armour-style top, or simply a wicking t-shirt depending on your preference and the weather conditions. This base layer manages sweat, prevents chafing from the armor you’ll wear on top, and adds a layer of thermal regulation that becomes crucial during long rides.
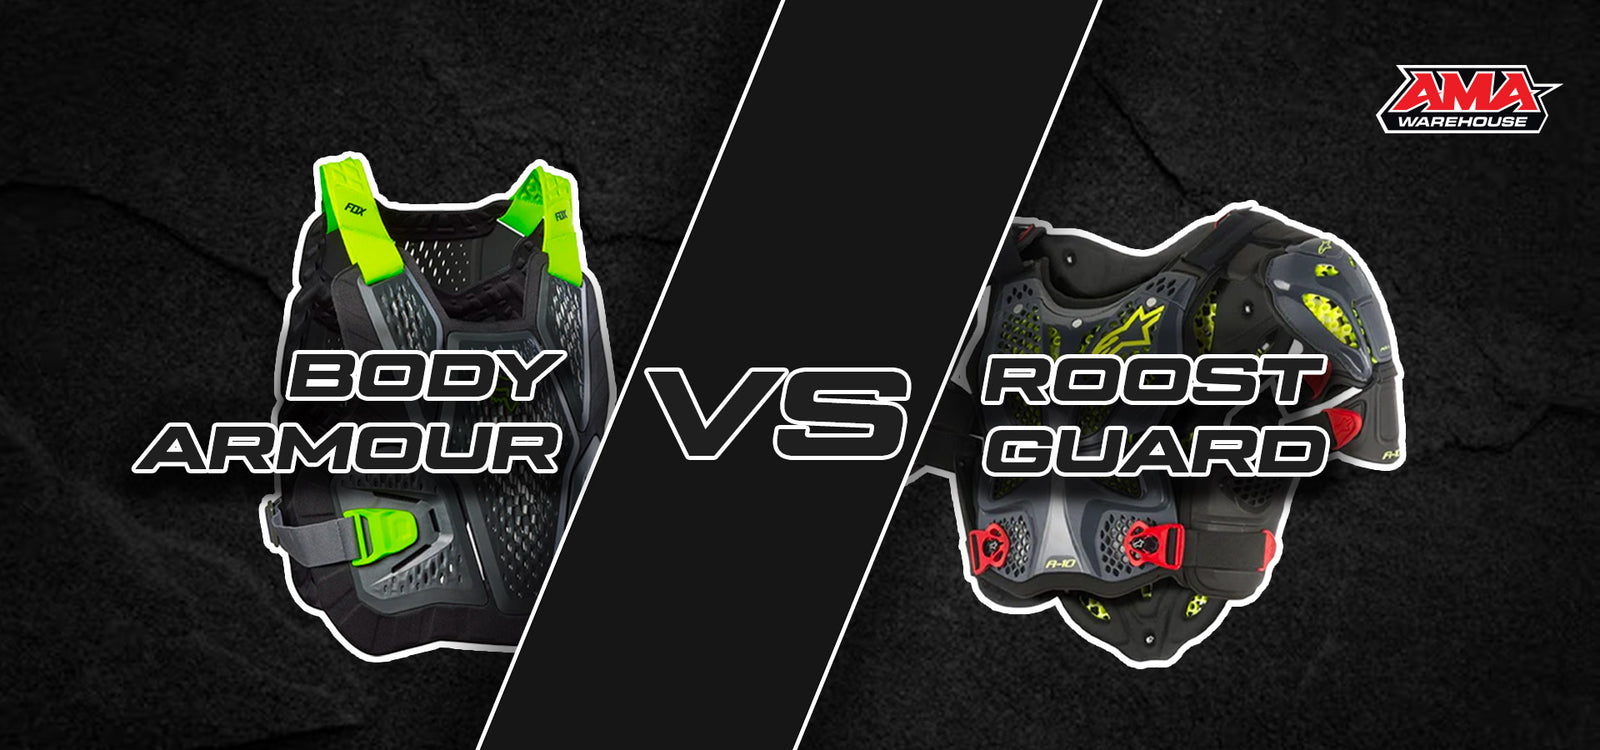
Next, put on your chest protection. The key distinction here involves whether you’re wearing a foam roost guard or a hard plastic chest protector, as this determines where it sits relative to your jersey. Foam roost guards typically go under your jersey, deflecting stones and debris while staying close to your body. Hard plastic chest protectors generally go over your jersey, providing impact absorption for larger collisions. If you use a neck brace, it sits on top of everything, with the jersey typically tucking underneath the brace’s back plate to prevent lifting during crashes. Ensure all straps are secured but not so tight that they restrict breathing or shoulder movement.
Protect Lower Body and Knees

Your knees represent one of the first body parts to hit the ground during a crash, making knee protection absolutely essential for any dirt bike rider. Before putting on pants, don your knee protection first—whether that’s simple pads around the fifty-dollar mark or sophisticated knee braces that cost eight hundred dollars or more. Position knee braces or pads carefully, ensuring they cover the kneecap completely and won’t shift during movement. Compression shorts or running tights worn underneath help keep knee protection in place while preventing chafing between your thighs and the bike.
When putting on dirt bike pants, take special note of the knee areas—they’re designed roomy specifically to accommodate knee braces without bunching inside your boots. If your pants feel tight around the knees, you’ll experience restricted movement that becomes dangerous on technical terrain. Modern pants incorporate stretch panels in key areas for mobility, and many feature adjustable waist straps that let you customize the fit. Pull the pants up high enough that the waistband sits comfortably above your belt line, then sit and move your legs to ensure nothing pulls or binds before proceeding to your boots.
Choose and Wear Proper Boots
Dirt bike boots protect your entire foot, ankle, and lower leg from mud, branches, stones, and the hot pipes that sit near your lower legs. When putting on boots, ensure they’re properly fastened before you attempt to ride—loose boots create dangerous situations when shifting gears or standing on the pegs. Buckles should be secured in their lowest position first, then tightened progressively as you work up the boot, finishing with any velcro straps that keep the lower buckles from opening during crashes.
Your pants leg should sit over the boot, not tucked inside it, to prevent bunching that affects both comfort and control. If you wear enduro-style pants for wet or cold conditions, these are designed to go over standard boots and provide additional weather protection. New boots require break-in time and will feel more comfortable after several rides than they do fresh from the box, so factor this into your sizing—you want them slightly roomy at the top of the leg to accommodate knee braces without feeling sloppy anywhere else. Quality boots offer the protection and support needed for the fundamental riding positions of standing, shifting, and braking.
Add Final Hand Protection
Gloves complete your gear setup, protecting your hands from the elements and the constant vibration and impact of handlebar control. When putting on gloves, ensure they fit snugly without being so tight that they restrict finger movement or circulation. You need full sensitivity for throttle and brake control, so avoid gloves with excessive bulk in the palm area. Most quality dirt bike gloves use materials like neoprene that provide protection without sacrificing dexterity.
The glove cuff should sit comfortably over your wrist, with any velcro or closure systems secured to prevent the glove from sliding off during crashes. Some riders prefer gloves in plain colors that match multiple gear combinations, while others select designs that complement their overall kit. Beyond external protection, gloves prevent blisters that develop from extended handlebar grip—blisters that can make subsequent riding painful and affect your control of the bike. Before every ride, check that all glove fingers have full sensation and that you can operate every lever comfortably.
Master the Layering Sequence
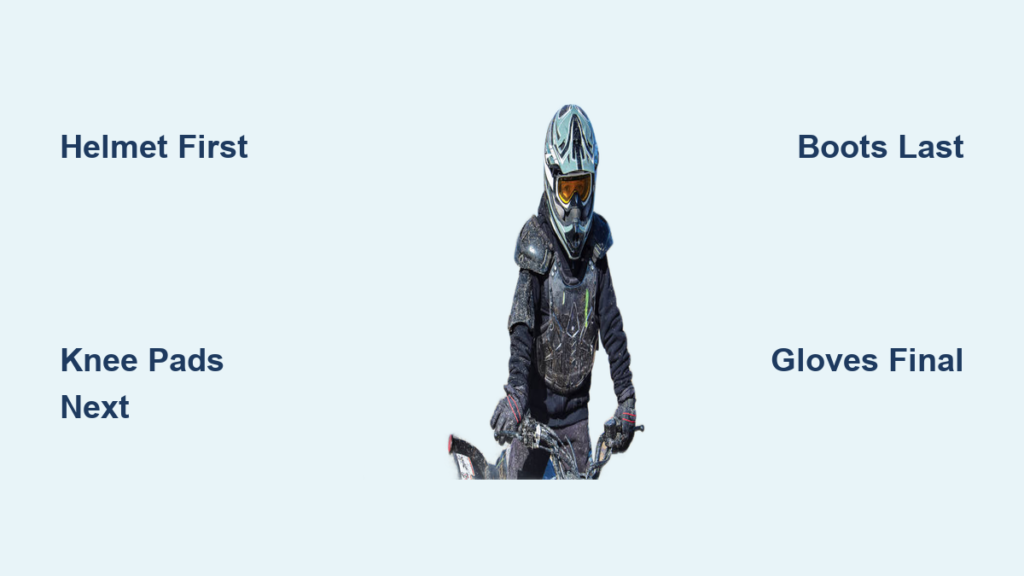
Establishing a consistent gear routine ensures you never forget a piece and helps you identify problems before you hit the trail. The complete sequence begins with moisture-wicking undergarments for both upper and lower body, followed by knee and shin protection. Next comes chest protection, then your jersey, and finally the neck brace if you use one. Lower body continues with riding pants over knee protection, then your boots. The process concludes with gloves, goggles, and helmet as your final pieces.
This specific order matters because each piece needs to layer correctly relative to the others. Putting on pants before knee protection would result in braces shifting inside the knee area. Donning a helmet before goggles makes it difficult to position the strap correctly. By following this sequence every time, you develop muscle memory that makes suiting up faster and more reliable, even when you’re eager to get riding. Many experienced riders can complete their entire gear routine in under five minutes once they’ve established this habit.
Adjust for Weather Conditions
Cold weather riding requires additional layering without sacrificing protection or mobility. Under your chest protection, add a long-sleeve compression layer that traps warmth while wicking moisture away from your skin. Some riders add a thin insulating layer between their base layer and jersey for core warmth, though you must ensure this doesn’t prevent your chest protector from fitting correctly. A kidney belt can provide additional core warmth, but verify it doesn’t interfere with your chest protector’s function or create pressure points during riding.
In hot weather, minimize layers to prevent overheating and fatigue. Many riders wear nothing under their chest protector armor, finding the fabric doesn’t cause chafing issues when the fit is correct. Moisture-wicking base layers become even more important in heat as they help evaporate sweat and regulate body temperature. For extremely hot conditions, some riders wear compression armor directly against their skin without an additional jersey on top, accepting reduced roost protection in exchange for maximum cooling. The trade-off between protection and comfort varies by individual tolerance and specific riding conditions.
Solve Common Fitting Problems

Chafing frustrates many dirt bike riders, but several strategies prevent this painful issue. Moisture-wicking compression layers under your protective gear create a smooth barrier that reduces friction between skin and equipment. If knee braces cause irritation behind the knee during extended rides, thin cotton stretchable knee supports worn underneath the braces create a protective barrier. Anti-chafe products applied to vulnerable areas provide additional protection for riders prone to skin irritation.
Gear compatibility requires attention to how each piece fits with others. Jersey size must accommodate your chest protector if worn underneath, while pants must fit over knee braces without bunching or pulling at the waist. When purchasing new gear, try assembling your complete outfit before buying to ensure everything works together. What fits perfectly individually may not work together—a jersey that fits great alone may be too tight over a chest protector you already own. Mixing and matching brands often works better than purchasing complete sets, as this allows optimization for each body area based on your unique shape and preferences.
Once you’ve established your gear routine and verified everything fits correctly, the process of suiting up becomes automatic. Before every ride, perform a quick check to ensure all straps are tight, zippers are closed, and nothing has shifted since your last ride. This final verification takes only moments but ensures your protective equipment functions as intended throughout your ride. Your gear is quite literally the only thing between you and the trail, so treat every piece with the respect it deserves and verify everything before you hit the dirt.


