

A failing throttle cable transforms your dirt bike from a responsive machine into an unpredictable hazard within minutes. When your grip no longer translates smoothly to engine response—whether sticky, sluggish, or failing to return properly—replacing this critical component restores precise control and ensures your safety on the trail. Most riders experience throttle cable issues after 20-30 hours of hard riding, especially in muddy or dusty conditions that accelerate wear. This guide delivers the exact steps to replace your throttle cable in under 30 minutes using basic tools you likely already own, whether you’re working on a Yamaha YZ250, Honda CRF, or KTM SX model.
Spotting Throttle Cable Failure Before It Leaves You Stranded
Don’t wait for complete failure to address throttle cable issues—recognizing early warning signs prevents dangerous situations mid-ride. Begin your inspection at the handlebar end where cables face constant stress from grip movement. With the throttle closed, rotate your handlebars fully left and right while watching the cable routing near the steering stem. If you notice the throttle grip binding or resisting movement at specific steering angles, your cable has likely developed internal damage from repeated bending.
Check for visible damage along the entire cable housing, especially where it bends around the frame downtube or passes near the radiator. Look for housing that’s flattened, kinked, or showing exposed inner wire through cracks in the outer jacket—these areas create friction points that make throttle action feel rough. At the carburetor or throttle body connection, inspect the cable nipple for corrosion or deformation that prevents smooth movement in the linkage arm. If you see frayed strands in the inner wire at either end, replacement is urgent as complete failure could happen at any moment.
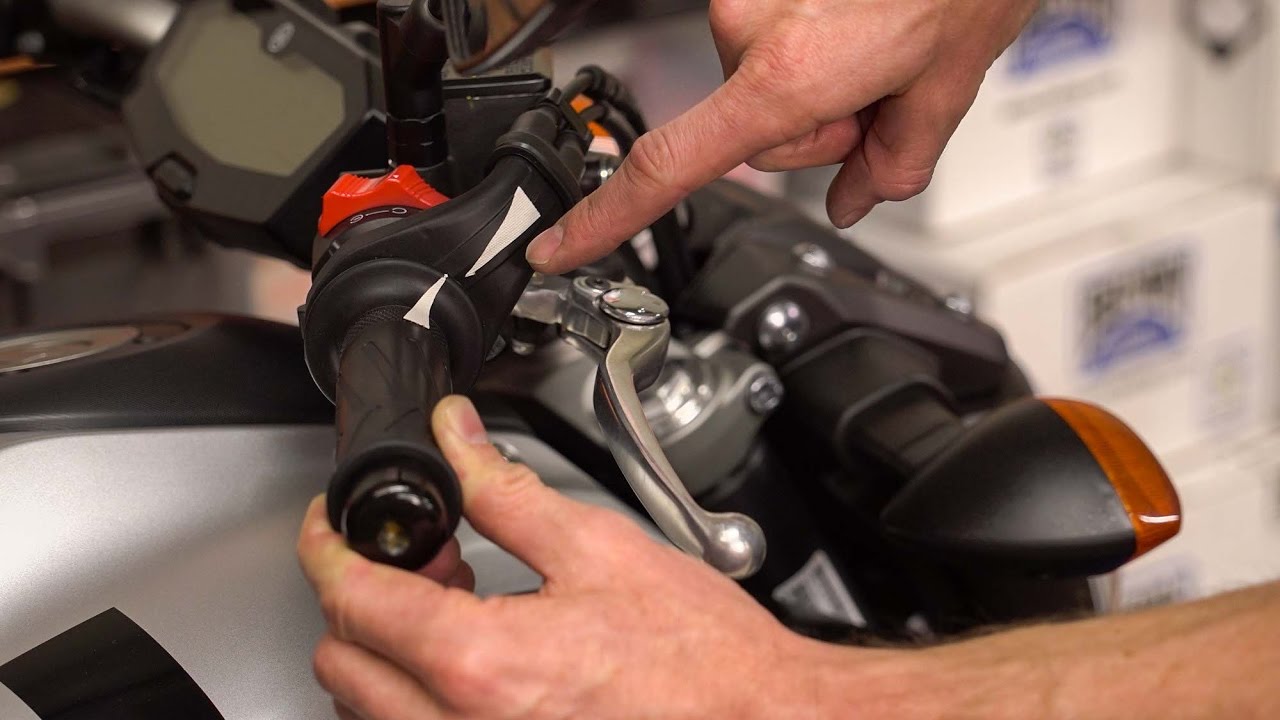
Functional tests reveal problems invisible to the naked eye. With the engine off, twist the throttle fully open and release it 10 times while watching the return action. Healthy cables snap back to closed position within half a second; if it returns slowly or hesitates, internal damage or incorrect routing is restricting movement. Measure free play by rotating the grip from closed position until you feel resistance—this should be 2-3mm at the grip’s outer edge. Less than 1mm indicates dangerously tight tension that could cause unintended acceleration, while more than 5mm creates vague throttle response that makes precise control impossible.
Essential Tools and Cable Selection for Flawless Installation
Gather these specific tools before starting to avoid frustrating mid-job interruptions: 2.5mm and 4mm hex keys for bodywork (most modern bikes), 8mm and 10mm wrenches for cable adjusters, diagonal cutters for removing old zip ties, and a small flathead screwdriver for prying rubber dust covers. A headlamp proves invaluable for seeing connection points under the fuel tank, and having replacement zip ties (3-4″ length) ensures proper securing of the new cable.
When selecting replacement cables, avoid cheap universal kits that often feature incorrect housing lengths or incompatible end fittings. For most Japanese dirt bikes (Yamaha, Honda, Kawasaki, Suzuki), Motion Pro cables provide exact OEM specifications at half the dealer price—look for model-specific kits like the Motion Pro Throttle Cable Set for Yamaha YZ models (part #40-0003). European bikes (KTM, Husqvarna, GasGas) often require OEM cables due to proprietary throttle body connections. Verify cable length by comparing to your old cable—new cables should be within 10mm of the original stretched length, not the factory spec.
Complete Throttle Cable Replacement in 6 Critical Steps
Disconnect the Old Cable Without Losing Your Mind
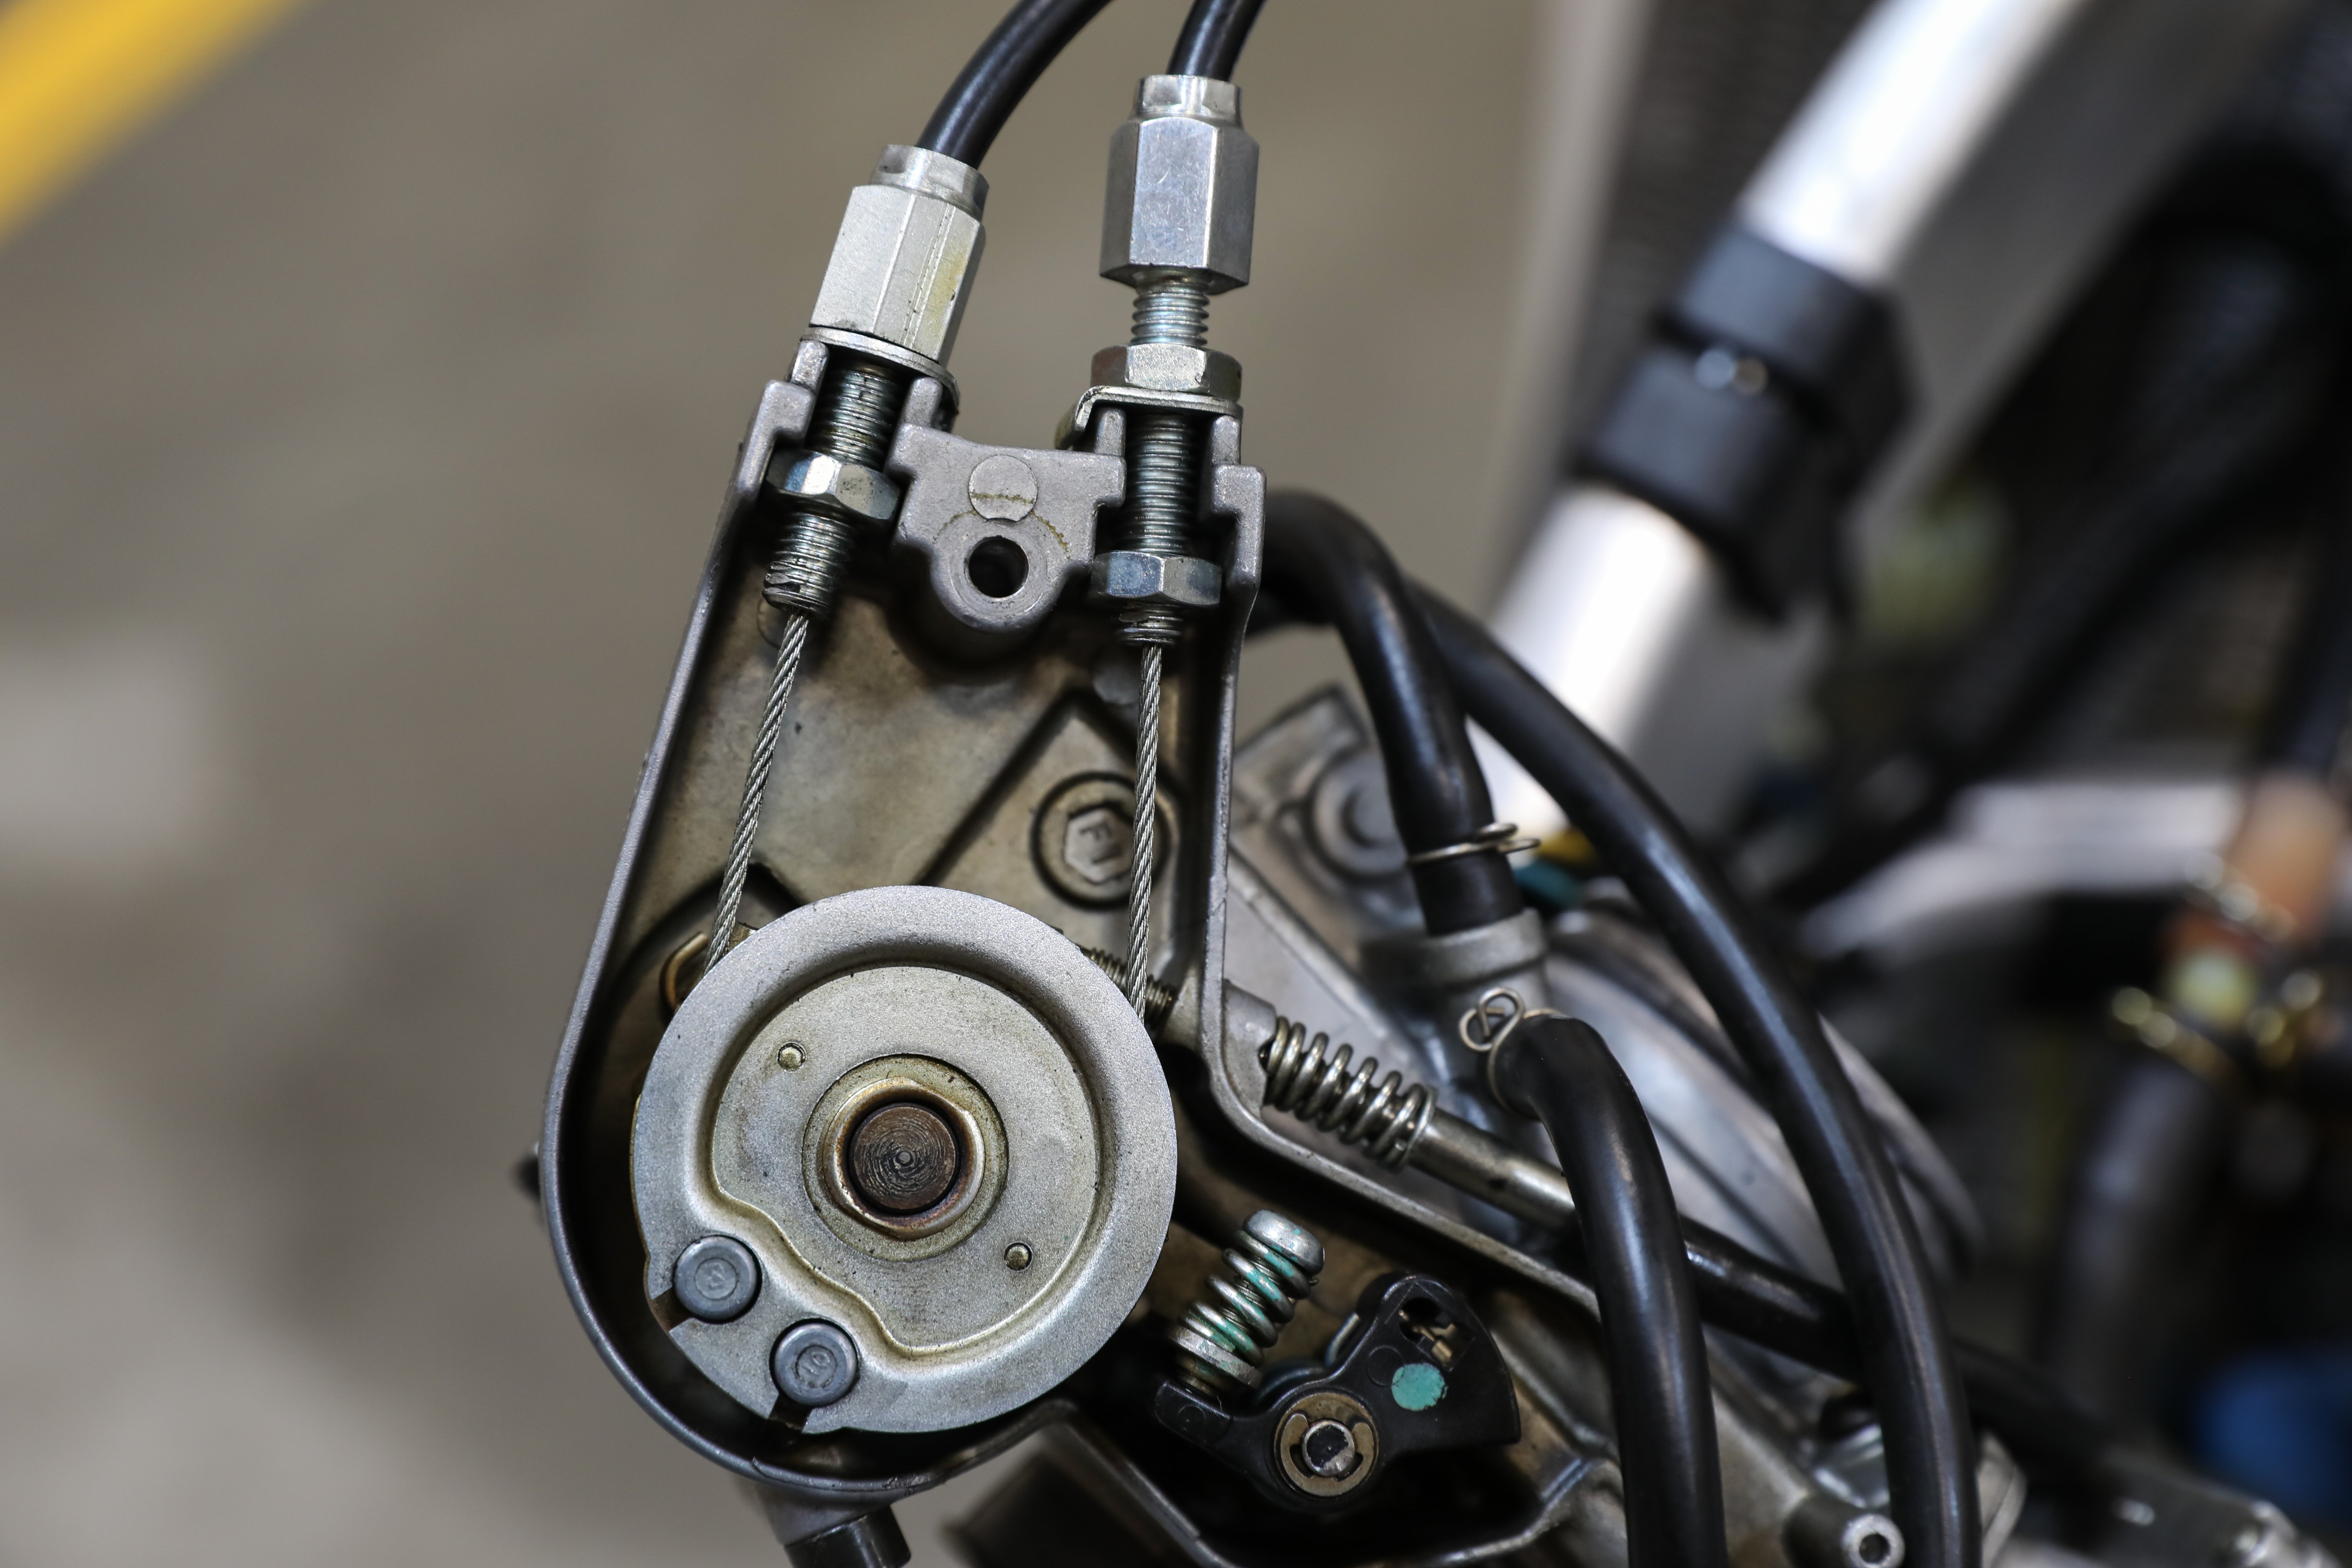
Start at the handlebar end where cables connect to the throttle housing assembly. Peel back the rubber dust boot covering the adjuster barrel, then loosen the locknut with an 8mm wrench. Back the adjuster out completely to maximize slack, then rotate the throttle grip to expose the cable nipple seated in the pulley mechanism. Gently pry the nipple out using a small flathead screwdriver—don’t force it as damaged pulleys cost more than cables. For dual-cable systems, label which cable is pull (accelerator) and push (decelerator) with masking tape before removal.
Work your way down the cable, cutting zip ties with diagonal cutters while noting bracket positions. At the carburetor or throttle body, repeat the disconnection process: loosen the locknut, back out the adjuster, then carefully remove the cable nipple from the linkage arm. If working on fuel-injected bikes, you may need to remove the airbox cover for access—photograph all connections before disconnecting.
Route the New Cable Like a Pro Mechanic
The single biggest mistake DIYers make is incorrect cable routing that causes binding during steering. Preserve your original cable routing by leaving the old cable in place temporarily and feeding the new cable alongside it. Starting at the throttle housing end, gently thread the new cable through each bracket and grommet following the old cable’s exact path. For tight spaces, attach the new cable to the old one using electrical tape, then pull the old cable out while guiding the new one into position.
Verify correct routing by checking three critical points: the cable must have a gentle arc (not sharp bend) at the steering stem, maintain 10mm clearance from exhaust headers, and avoid contact with any moving suspension components. Incorrect routing causes handlebar binding at full lock—test this before final connections by turning handlebars fully left and right while watching cable movement.
Connect and Adjust for Perfect Throttle Response
At the throttle housing, apply a pea-sized amount of silicone grease to the cable nipple before seating it in the pulley mechanism—this reduces wear without attracting dirt like heavy greases do. For dual-cable systems, connect the pull cable (accelerator) first, leaving the push cable disconnected temporarily. Set initial tension by turning the barrel adjuster all the way in, then backing it out 1.5 turns.
Move to the carburetor or throttle body end and connect the cable while maintaining slight tension. Take up 90% of slack at this end using the adjuster barrel, then fine-tune free play at the handlebar. The sweet spot is 2-3mm of grip rotation before resistance—that’s roughly the thickness of two stacked quarters. For dual-cable systems, set the push cable with zero free play when throttle is fully closed to ensure instant return capability.
Critical Post-Installation Verification Tests
Handlebar Range Test That Prevents Trailside Breakdowns
Before starting the engine, verify your cable survives steering input. With the engine off, turn handlebars fully left and right while twisting the throttle open. The grip should operate smoothly through its full range without binding or resistance changes. If you feel increased resistance at full lock, the cable is routed too tightly across the steering stem—reposition brackets to create more slack in this critical area.
Throttle Return Test That Could Save Your Life
This safety check takes 30 seconds but could prevent a runaway throttle incident. With the engine off, twist the throttle fully open and release it 10 times at three different handlebar positions: centered, full left lock, and full right lock. The grip must snap back to closed position within half a second every time. If return slows at any position, immediately check for cable kinks or routing issues—never ride with compromised return action.
Real-World Idle Test You Can’t Skip
Start the engine and let it reach operating temperature. With the bike in neutral, slowly turn handlebars from lock to lock while listening for idle speed changes. Any increase or decrease in RPM indicates binding that could cause unintended acceleration mid-turn—a dangerous situation on single-track trails. If idle fluctuates, recheck cable routing at the steering stem where movement concentrates.
Pro Maintenance Tips That Double Cable Life
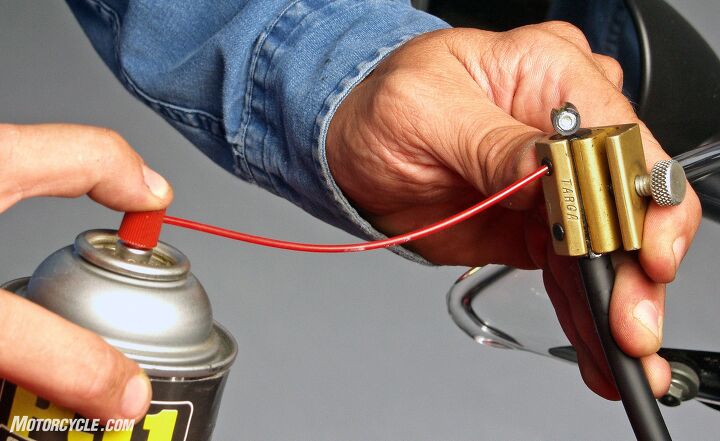
After installation, apply a single drop of light oil (3-in-1 or dedicated cable lube) where the inner wire exits the housing at both ends—this prevents moisture ingress without attracting dirt. For dusty conditions, skip lubrication as oil traps abrasive particles that accelerate wear. Check free play before every ride by rotating the grip closed to open while feeling for smooth resistance onset—adjust if free play exceeds 4mm.
Replace zip ties securing the cable every six months as UV exposure makes them brittle. When installing new ties, position them perpendicular to cable movement rather than parallel to prevent sawing action that damages housing. Most importantly, never neglect throttle return testing—if your grip doesn’t snap back instantly, stop riding immediately and diagnose the issue.
When you complete this process correctly, your dirt bike responds with precision to the slightest grip input, transforming rough trails into controlled acceleration rather than unpredictable lurches. Properly installed throttle cables should last 30-50 hours of hard riding before showing signs of wear—far longer than neglected ones that fail prematurely from incorrect routing or tension. Keep this guide bookmarked for your next cable replacement, and you’ll maintain the critical connection between your hands and the engine that makes dirt biking both thrilling and safe.


