That wobble when you hit a rock garden or the pressure point that turns a fun ride into a headache—these are dead giveaways your mountain bike helmet doesn’t fit right. Properly learning how to size a mountain bike helmet transforms your riding experience from constant adjustment to confident flow. Forget guessing based on hat size or previous helmets; this guide delivers the exact measurements, fit checks, and brand-specific nuances that ensure your helmet becomes an invisible extension of your head, not a distraction on the trail.
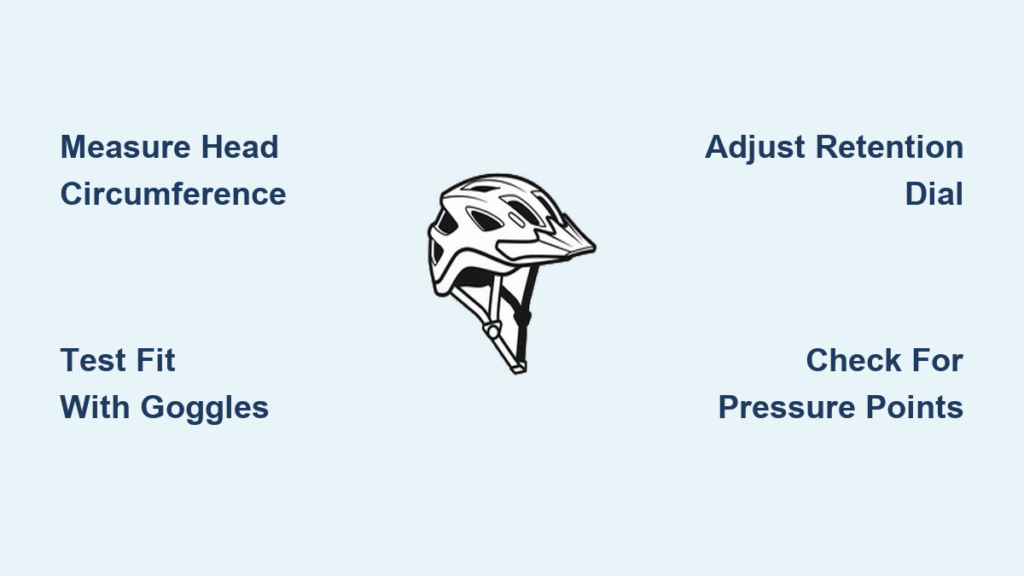
Measure Your Head Circumference Like a Pro

Essential Tools for Accurate Measurement
Ditch the metal tape measure from your toolbox—grab a flexible tailor’s tape that won’t stretch or slip. Stand before a full-length mirror or recruit a riding buddy for precision. Have a notepad ready to record measurements in centimeters (not inches), as helmet brands universally use metric sizing. Pro tip: Lightly mark your starting point with a washable marker to ensure consistent tape placement across multiple measurements.
Step-by-Step Measurement Process
- Position correctly: Place the tape exactly 1 inch above your eyebrows, following the natural hairline
- Wrap properly: Guide the tape over your ears and around the most prominent bump at the back of your skull
- Check tension: The tape should feel snug but not compress your head—no indentations in your skin
- Record accurately: Take three measurements and use the largest result for sizing
- Verify consistency: If measurements vary by more than 0.5 cm, restart the process for accuracy
Critical Measurement Mistakes That Skew Results
Don’t measure over thick hair—comb it flat or dampen it to remove volume. Avoid angled placement—tilting the tape even slightly can add 1-2 cm to your reading. Skip the ponytail—measure with your typical riding hairstyle, whether that’s loose, braided, or tied up. Account for winter gear—if you ride year-round, add 0.5-1 cm to accommodate skull caps without needing a second helmet.
Decode Helmet Size Charts Without Guesswork

Standard Mountain Bike Helmet Size Ranges
| Size | Centimeters | Common Equivalent |
|---|---|---|
| XS | 51-52 cm | Toddler/Child |
| S | 52-54 cm | Adult Small |
| M | 54-58 cm | Adult Medium |
| L | 58-62 cm | Adult Large |
| XL | 62-64 cm | Adult XL |
| XXL | 64-66 cm | Adult XXL |
Brand-Specific Sizing Secrets
Giro helmets typically run 1-2 cm larger per size—size down if you’re between measurements. POC‘s European sizing feels noticeably tighter, so consider moving up one size if you’re on the cusp. Specialized uses half-centimeter increments for more precise fitting, while Fox Racing designs specifically for oval head shapes, making them challenging for round-headed riders. Bell offers intermediate sizing options like SM or ML for those stuck between standard categories.
Test Fit Your Mountain Bike Helmet Like a Shop Technician
Initial Position Verification
Your helmet must sit level with no more than two finger-widths above your eyebrows. When looking upward, the front rim should remain visible in your line of sight. Side straps need to form a perfect “Y” just below your earlobes—not above or behind them. Red flag: Any gap between the helmet and your forehead indicates an oversized fit that won’t protect you in a crash.
The Shake Test That Reveals True Fit
Fasten the chin strap with only 1-2 fingers of clearance between strap and chin. Now shake your head vigorously side to side and front to back—the helmet should move with your head, not independently. Push the helmet from the front, back, and sides; any shifting indicates poor retention that compromises safety. A properly fitted helmet will pull down slightly when you open your mouth wide.
Pressure Point Detection Protocol
Wear the helmet for a full 10 minutes in the store—comfort issues rarely show up in quick try-ons. Check for even pressure distribution around your entire skull, with no localized hot spots or pinching. Verify that all padding makes contact with your head without gaps. Critical test: Open your mouth wide repeatedly; if pressure increases significantly, the retention system needs adjustment.
Master Retention System Adjustments for Precision Fit
Dial-Adjustment Techniques That Work
Turn the rear dial until snug, then back off one click—you should feel slight tension when yawning. Listen for the clicks—each audible increment equals about 2mm of adjustment. The helmet should pull down on your head when you open your mouth, indicating proper tension. If you hear grinding or feel resistance, the mechanism may need lubrication.
Strap Sequence for Optimal Stability
- Start with stabilizer: Adjust the rear dial until snug but comfortable
- Position side straps: Form the “Y” below earlobes, adjusting buckles equally on both sides
- Set chin strap: Buckle with 1-2 finger space—too tight restricts breathing on climbs
- Final verification: All straps should create slight tension when you open your mouth wide
- Test in riding position: Tuck into your normal riding stance to ensure no forward slippage
Solve Special Fit Challenges Before They Ruin Your Ride
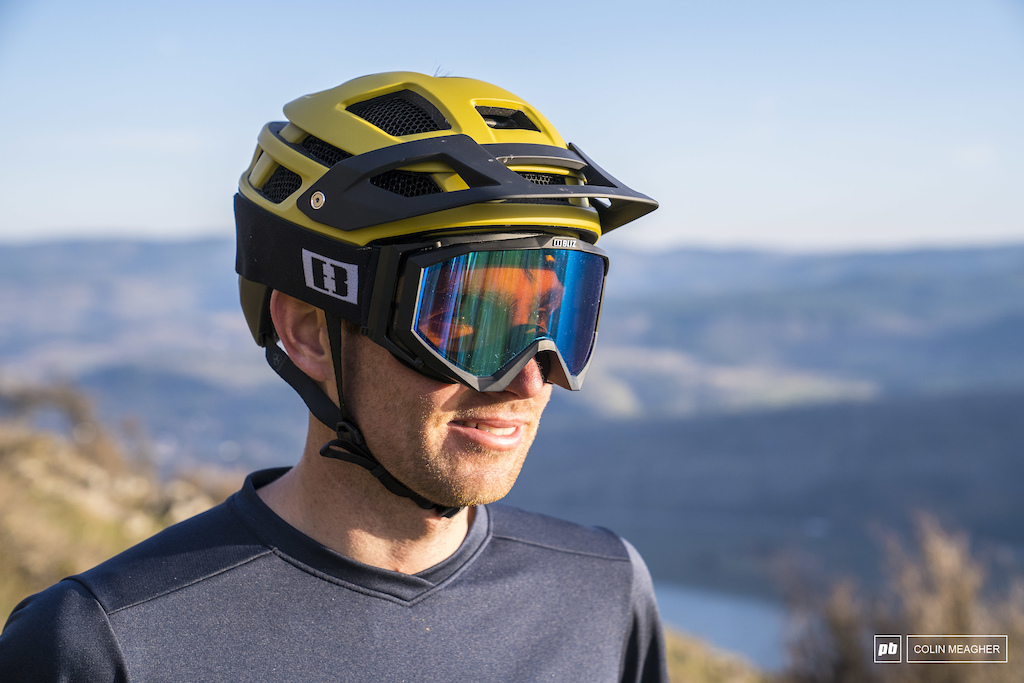
Goggle Compatibility Fixes
Measure your head circumference while wearing your goggles—many riders overlook this critical step. The helmet’s upper rim shouldn’t break the goggle seal, which creates fogging issues. Check that the retention system accommodates goggle straps without creating pressure ridges along your temples. Pro tip: Test ventilation with goggles on—some helmet designs channel airflow poorly when combined.
Hair Management Strategies for All Riders
Thick hair riders: Add 0.5-1cm to your measurement and look for helmets with ponytail ports or removable padding systems. Short hair riders: Your measurement stays true, but verify winter cap compatibility by testing with your thickest headwear. Braided hair riders: Measure with hair in its typical riding configuration to avoid sizing errors.
Head Shape Solutions for Problem Areas
- Round heads: Bell and certain Giro models accommodate better with their rounder internal shapes
- Long oval: Seek helmets with adjustable padding thickness or removable cheek pads
- Asymmetrical: Consider custom padding or specialized fit systems from premium brands
- High forehead: Look for helmets with extended front coverage to protect your brow
Children’s Growing Heads: Size Smart for Safety
Youth Size Ranges with Growth Headroom
| Age Group | Centimeters | Growth Check Frequency |
|---|---|---|
| Toddler | 44-49 cm | Monthly |
| Child | 49-52 cm | Every 2-3 months |
| Youth | 52-55 cm | Every 6 months |
| Junior | 54-57 cm | Overlaps adult S |
Critical: Never compress a child’s soft spots—use the gentlest tape tension possible. Children’s helmets should have adjustable retention systems that accommodate 2-3 cm of growth. Check fit monthly as a child’s head grows rapidly during developmental years.
Smart Buying Strategies That Save Time and Money
In-Store Testing Protocol That Works
Bring your measuring tape to verify store measurements—retail staff often rush this step. Try three brands in your size range, not just one. Test with your actual riding eyewear and gloves. Walk the store for 10 minutes—comfort issues surface quickly when moving. Check return policies before purchasing; many shops won’t accept returns on used helmets.
Online Purchase Tactics for Perfect Fit
When between sizes, order both and return one—reputable retailers allow this. Verify return policies exceed 30 days to accommodate break-in periods. Look for brands offering fit guarantees like Specialized’s “Perfect Fit Promise.” Pro move: Search forums for consistent sizing feedback on specific models—riders often note if a helmet runs large or small.
Long-Term Fit Maintenance for Trail-Ready Protection
Break-In Expectations and Adjustments
Expect 5-10% loosening over the first month as padding compresses. Adjust weekly during the break-in period to maintain snug fit. Replace padding when compression exceeds 3mm of original thickness—most manufacturers sell replacement kits. Monitor fit after any drops or impacts, even minor ones, as they can affect retention system integrity.
Seasonal Adjustments You Can’t Ignore
Winter skull caps add 0.5-1cm to your effective head size—test fit with your thickest headwear. Summer heat can expand padding slightly, creating a looser feel on hot days. Hair length changes—a summer buzz cut versus winter growth can shift your size by a full category. Always verify fit when transitioning between seasons.
Replacement Indicators That Signal Danger
Time for a new helmet when:
– Retention system hits maximum adjustment with gaps still present
– Padding compressed beyond 50% of original thickness
– Visible gaps appear between helmet and head during movement
– The helmet shifts with normal head movement despite proper adjustment
Perfect mountain bike helmet fit isn’t just about numbers—it’s about creating a seamless extension of your head that disappears during your ride. Measure twice with proper technique, test thoroughly with your actual gear, and adjust seasonally for changing conditions. Your safety on every descent depends on getting how to size a mountain bike helmet right the first time.