
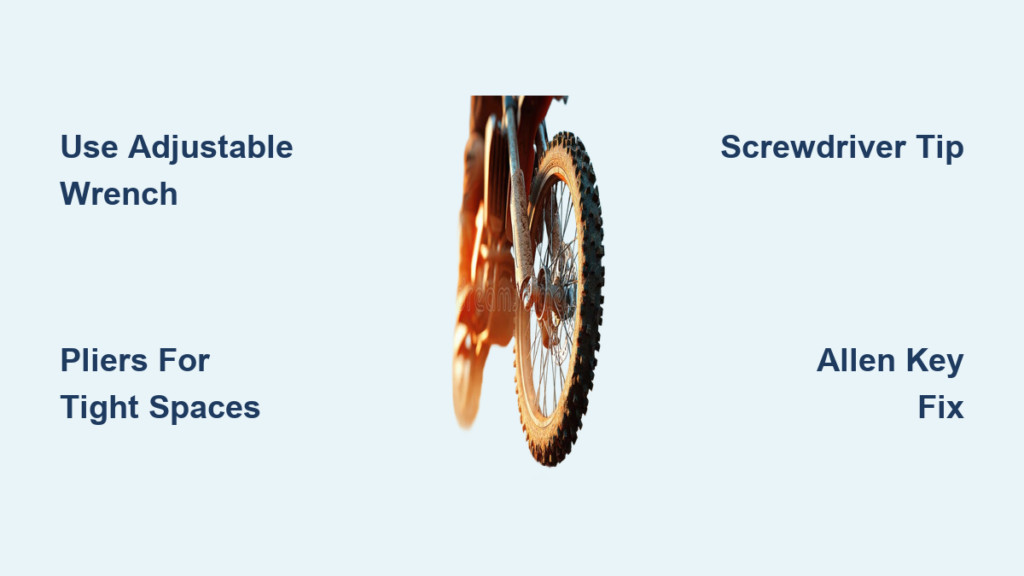
That unsettling “ping” sound mid-ride followed by a wobbly wheel can ruin even the most perfect trail day. When loose spokes threaten your dirt bike’s wheel integrity and you’re miles from home without your spoke wrench, knowing emergency tightening techniques becomes a safety necessity. This guide delivers practical, field-tested methods for securing loose spokes using tools commonly found in home workshops or trail kits, while emphasizing when these solutions are appropriate and how to avoid permanent damage to your wheel components.
These emergency techniques should only serve as temporary fixes to get you through your ride or back to proper maintenance facilities. Once you complete any makeshift adjustment, schedule professional wheel truing with the correct spoke wrench to ensure your wheel maintains structural integrity and safe operation under riding stresses.
Why Loose Spokes Create Immediate Danger
Loose spokes compromise your dirt bike wheel’s structural integrity by disrupting the delicate tension balance that distributes forces evenly across all components. When even a single spoke loosens, adjacent spokes must compensate by bearing additional load, accelerating fatigue and increasing the likelihood of multiple spoke failures during riding.
This imbalance creates dangerous handling characteristics as the rim flexes beyond its designed parameters, potentially causing brake rotor misalignment, unpredictable steering response, and rim deformation. The movement of loose spokes against their nipples also wears the spoke holes in the rim, eventually rendering the rim unusable even after spoke replacement.
Regular spoke tension checks should be part of your pre-ride ritual, especially after aggressive riding sessions involving jumps or extended rough terrain. Most experienced riders check spoke tension weekly during active seasons, making minor adjustments before small problems escalate into major safety hazards.
Emergency Tools That Actually Work
When you discover loose spokes without your spoke wrench, several common workshop tools can serve as effective temporary substitutes. The suitability of each method depends on your spoke nipple design, so understanding multiple approaches increases your options when facing this situation on the trail.
Adjustable Wrenches: The Most Accessible Solution
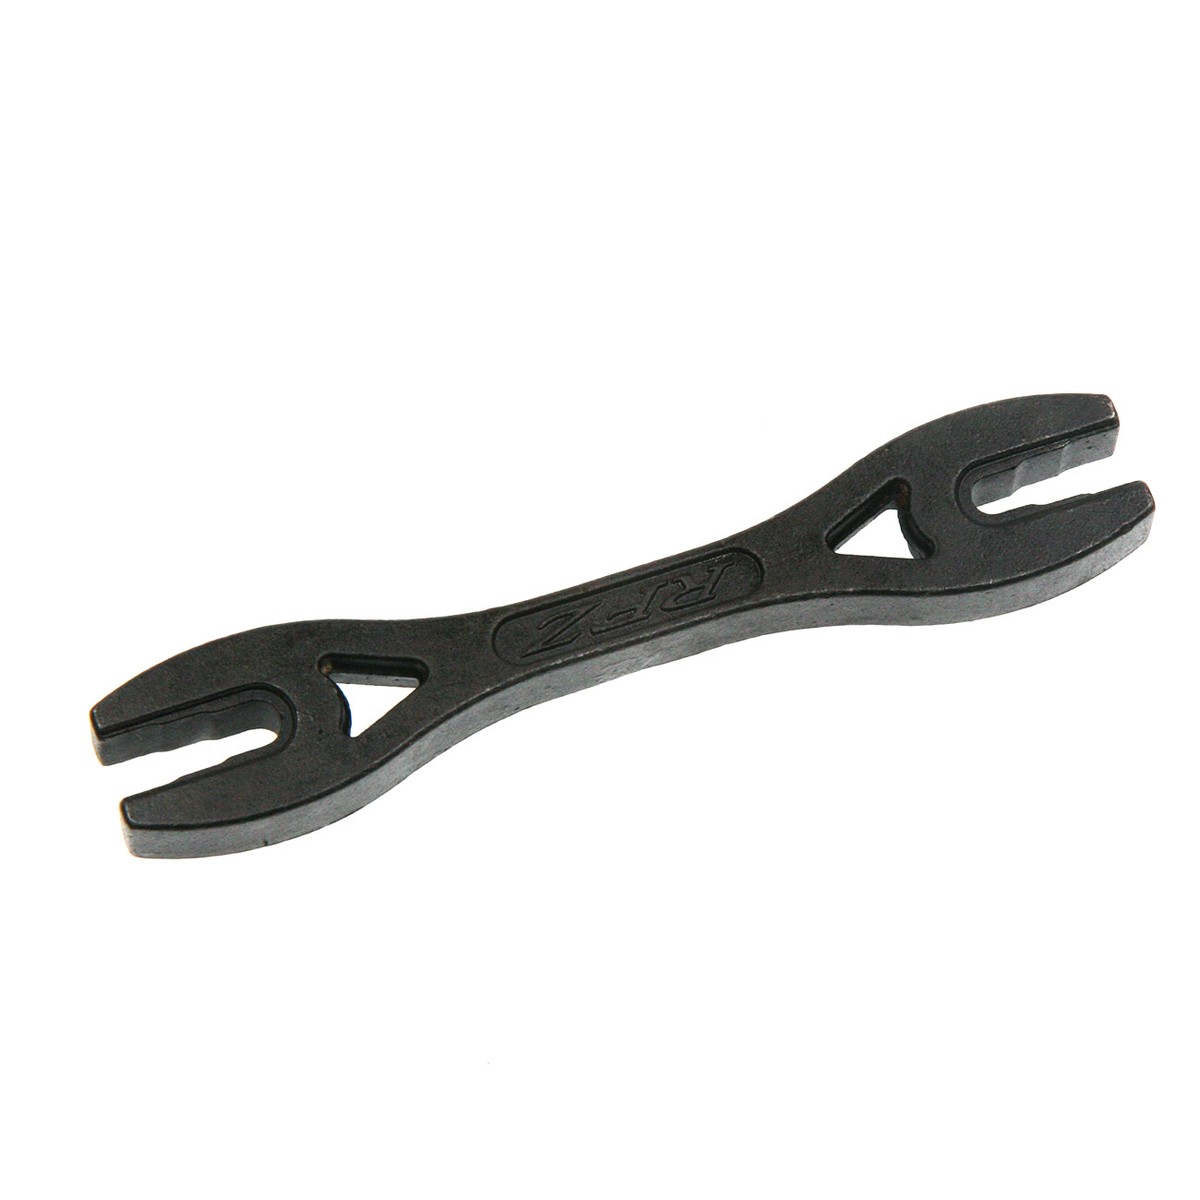
An adjustable wrench provides the most straightforward emergency method for tightening dirt bike spokes when your dedicated tool is unavailable. This approach works best for nipples with external hexagonal heads, though careful technique allows use with rounded nipple designs.
Position the wheel so the affected spoke nipple faces outward for maximum accessibility. Open the wrench jaws wide enough to accommodate the nipple, then close until snug without forcing or deforming the metal. Apply the wrench with the fixed jaw against one side of the nipple head and the adjustable jaw pressing against the opposite side to prevent slipping.
Turn clockwise with smooth, steady pressure—never jerking motions—and work in quarter-turn increments. Check tension frequently by plucking the spoke and comparing its sound to neighboring spokes. The primary risk involves the wrench jaws spreading under pressure, particularly with softer aluminum nipples. If you feel the jaws slipping or notice the nipple head showing impressions, reduce pressure immediately to avoid permanent damage.
Pliers: Superior Grip for Tight Spaces
Pliers offer better access in confined areas where wrench clearance becomes problematic, especially around the wheel hub. Needle-nose or flat-nose pliers provide parallel jaw grip that distributes pressure more evenly than wrench jaws, reducing deformation risk.
Before clamping, wrap the plier jaws with electrical tape or thin cloth to create a protective barrier between metal and nipple surface. This simple step prevents jaw serrations from marring the nipple head and creating stress concentration points that lead to premature failure.
Grip the nipple firmly but avoid excessive pressure that could deform the head. Turn clockwise while maintaining consistent contact, using your free hand to control the tool if it begins to slip. The direct hand grip provides excellent feedback about turning resistance, helping prevent over-tightening despite the limited leverage.
Screwdrivers and Allen Keys: Precision Emergency Methods
Many spoke nipple designs accept standard screwdrivers or Allen keys, providing effective adjustment options when these tools are available. The suitability depends entirely on your nipple head design.
Slotted Nipple Solutions
For slotted nipple heads with a single linear indentation, insert a flathead screwdriver blade fully into the slot until it contacts both sides of the slot walls. Apply steady pressure against one wall while turning clockwise, keeping your free hand ready to control the tool if it begins to cam out of the slot.
The screwdriver method requires constant attention to prevent slipping, which can damage the slot edges and make future adjustments impossible. Work in small increments and frequently check your progress by plucking the spoke to assess tension changes.
Hex Socket Success with Allen Keys
Nipples with internal hexagonal sockets require appropriately sized Allen keys for engagement. Select a hex key that fits snugly without requiring excessive force to insert or remove. Insert the short end into the nipple socket and use the longer end for leverage while turning clockwise.
The Allen key method generally provides the best control among emergency alternatives, resisting cam-out tendencies that make screwdriver adjustments challenging. However, excessive force risks stripping internal threads or rounding hex corners. If you encounter unusual resistance, stop immediately—forcing the issue creates more problems than the original loose spoke.
Multi-Tool Alternatives for Trail Riders
Bicycle-specific multi-tools often include spoke wrench attachments designed for nipple engagement, providing the most proper emergency solution. Check your multi-tool for shaped openings specifically designed to fit common nipple dimensions before resorting to other methods.
The primary limitation involves the small size of multi-tool attachments, which limits applied force and may require significant hand effort for stubborn spokes. Work in small increments and recheck tension frequently—patience prevents frustration-driven excessive force that causes most emergency-method damage.
Many multi-tools also include small hex keys that serve the same function as standalone Allen keys for nipples with internal hex sockets. The advantage lies in their trail availability, making them ideal for unexpected maintenance needs during rides.
Proper Spoke Tightening Pattern to Prevent Wheel Damage

Consistent spoke tension requires a systematic approach that distributes adjustments evenly rather than concentrating changes in specific areas. The skip-pattern method ensures your wheel maintains proper geometry while preventing high-stress zones.
Begin by selecting a fixed reference point on your wheel, such as the valve stem. From this reference, check spokes in a consistent pattern—every third spoke works well for most dirt bike wheels. Document which spokes require adjustment and how much each needs tightening.
After completing your initial assessment pass, return to the reference point and begin a second pass offset by one spoke position. This shift ensures you evaluate every spoke while maintaining the systematic approach. A third pass starting from the second offset position completes full coverage.
When adjusting spokes using emergency methods, resist the temptation to make large corrections to individual spokes. Make quarter-turn adjustments across multiple spokes, then recheck your progress before continuing. This incremental approach prevents over-correction and maintains wheel structural integrity.
Truing Your Wheel Without a Stand
When loose spokes have caused rim deviation beyond acceptable specifications, you can perform basic truing adjustments without expensive equipment. Secure your dirt bike so the wheel remains completely stationary—you might use ratchet straps wrapped around handlebars anchored to a solid structure.
Create visual indicators using a black Sharpie marker and masking tape. Affix the marker to a fixed point adjacent to the rim, positioning the tip approximately two millimeters from the rim surface. Spin the wheel slowly and observe where the marker leaves a visible line, indicating rim deviation beyond your tolerance.
Areas where the marker leaves a visible line indicate where the rim requires correction toward that side. To move the rim in the correct direction, adjust spokes on the opposite side. Start at the beginning of the marked section and loosen spokes on the opposite side by quarter-turn increments, then move to the affected side and tighten those spokes by the same amount.
Critical Mistakes That Damage Wheels

Several common errors during emergency spoke adjustment can cause more harm than the original problem. Understanding these pitfalls helps you complete temporary repairs safely.
Over-tightening a single spoke represents the most frequent mistake. Riders eager to eliminate wheel wobble quickly often apply excessive force to one or two spokes, creating severe stress concentrations that cause component failure. The correct approach involves small adjustments distributed across multiple spokes.
Using improper tools without understanding risks damages more wheels than the original maintenance need. Pliers without protective jaw covering, incorrectly sized wrenches, and loose-fitting screwdrivers all create opportunities for nipple damage. Before applying any emergency tool, consider whether the approach risks stripping threads or deforming heads.
Continuing to ride with wheels requiring significant adjustment endangers both rider and equipment. Emergency tightening provides temporary correction that allows you to complete your ride or reach a workshop—not permanent solutions that eliminate the need for proper maintenance.
Professional Assessment and Long-Term Care
Emergency spoke tightening methods exist for trail-side necessity only. For long-term wheel health, professional truing using proper tools remains essential. Bike shop mechanics possess specialized equipment including dedicated spoke wrenches, torque wrenches calibrated for spoke tension, and truing stands for precise geometry verification.
Professional truing includes comprehensive tension analysis across all spokes, identifying variations that indicate developing problems before they cause failures. Mechanics verify wheel geometry including lateral and radial run-out, spoke tension uniformity, and component wear.
Carry a proper spoke wrench during regular riding—many riders attach one to their keyring or store it in an easily accessible trail pack pocket. The dedicated wrench provides superior grip, proper engagement, and the leverage needed to achieve correct tension without damaging nipples.
Regular professional maintenance, combined with responsible emergency procedures when needed, keeps your dirt bike wheels performing reliably throughout their service life. The investment in proper tools and periodic professional attention pays dividends in riding safety, component longevity, and consistent bike handling that makes every ride more enjoyable.


