That annoying bump, wobble, or strange vibration under your wheels can turn a smooth ride into a frustrating experience. When your bike tire develops a mysterious “valley” or sideways deformation, it’s not just uncomfortable—it signals something’s wrong with your tire setup. Most cyclists immediately assume they need a new tire, but often the problem stems from simple installation issues or tube positioning that you can fix in minutes with basic tools. Understanding how to accurately diagnose whether you’re dealing with a bead seating problem, twisted tube, or actual tire damage will save you money and get you back on the road faster.
This guide cuts through the confusion by providing specific diagnostic steps for the five most common bike tire deformations. You’ll learn exactly how to identify whether your issue requires a quick adjustment or a complete tire replacement. Whether you’re experiencing that characteristic “valley” where the tire dips inward, a sideways wobble after re-inflating, or an uneven rolling sensation, these proven techniques will solve your bike tire problems efficiently.
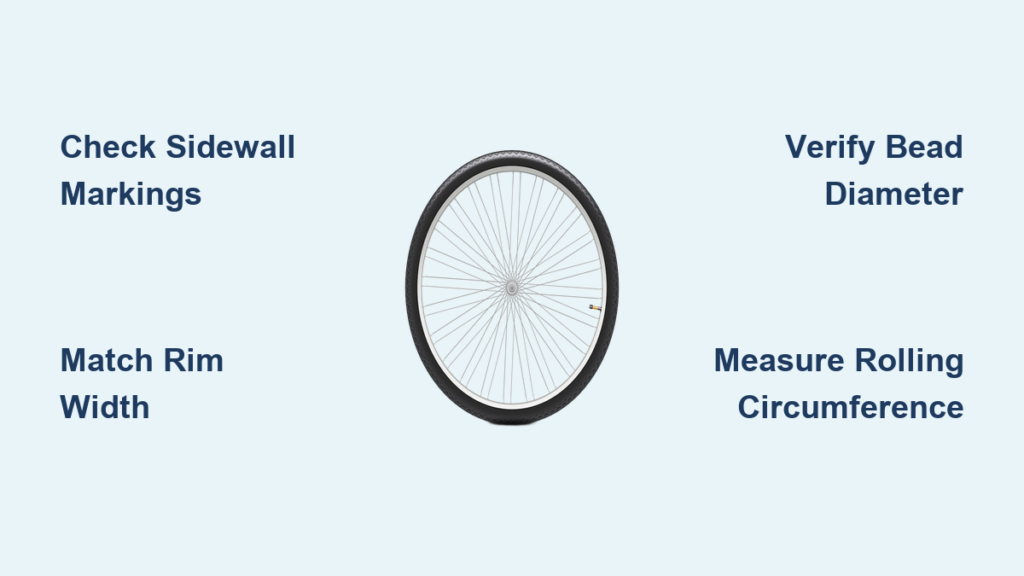
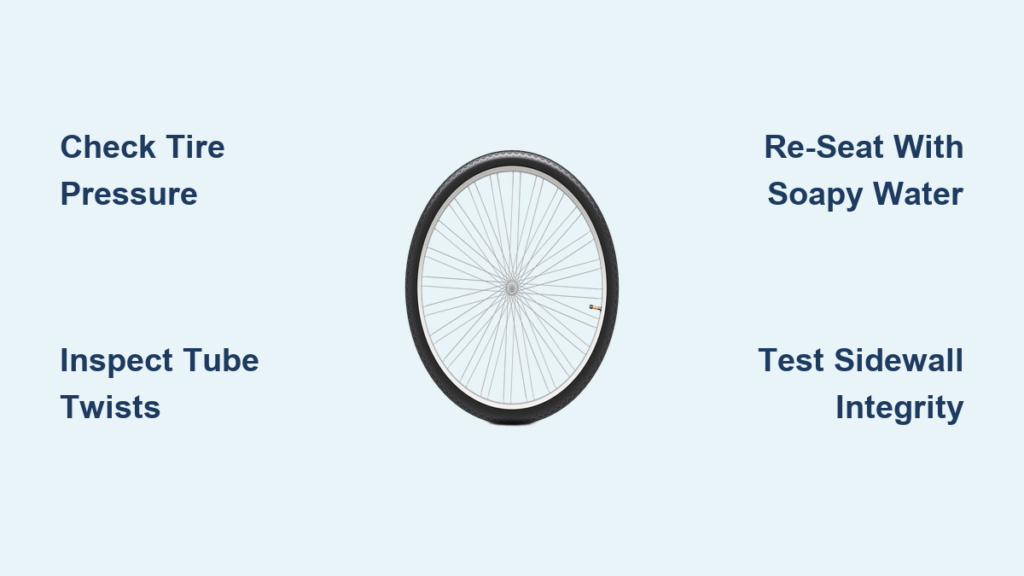
Identify Your Specific Tire Deformation Type
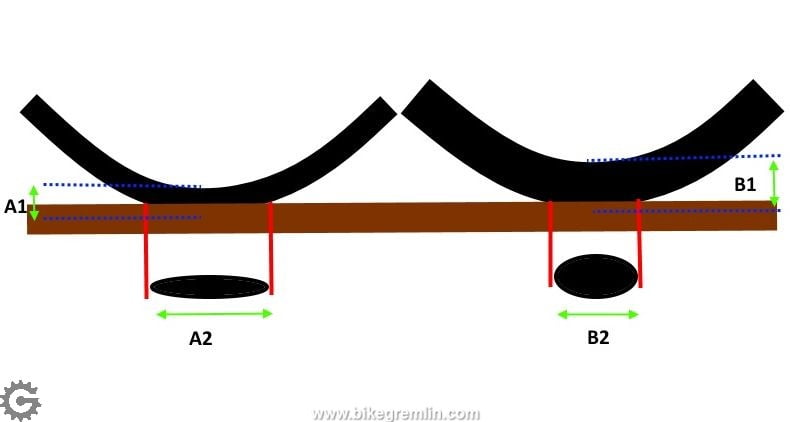
Not all tire deformations are created equal—each has distinct visual clues and requires different solutions. The “valley” deformation (where a section of your tire dips inward) typically indicates improper bead seating rather than tire damage. This occurs when the tire’s edge pulls away from the rim at a specific point, creating a depression that makes your ride feel bumpy. Crucially, this problem often appears after tire installation or repair when the bead hasn’t seated uniformly around the rim.
A sideways wobble presents differently—your tire appears stable vertically but shifts laterally as it rotates. This usually develops after multiple deflation/re-inflation attempts and often correlates with the valve stem position. If your deformation moved from a valley to a sideways wobble after your initial troubleshooting (as happened in our source case), you’re likely dealing with residual seating issues rather than structural damage.
Actual structural damage shows telltale signs like visible cracks in the sidewall, exposed tire fibers, or persistent bulges that don’t change with inflation pressure. Unlike seating problems, structural damage won’t improve with re-inflation techniques and requires immediate tire replacement. The key differentiator: seating issues change appearance when you deflate and re-inflate, while structural damage remains consistent regardless of pressure.
How to Perform the Critical Rim Reference Test
Grab a pencil or zip tie and secure it to your bike frame so the tip nearly touches your tire’s sidewall. Spin your wheel slowly while watching the gap between the reference point and tire. If you see consistent distance throughout rotation, your rim is true but your tire has a seating issue. If the gap suddenly narrows at one point, that’s your “valley” location—confirm by checking whether the tire’s sidewall markings dip inward at that spot.
For sideways wobble, position your reference point horizontally against the tire’s outer edge. As the wheel spins, watch for lateral movement where the tire shifts side-to-side. This often occurs opposite the valve stem and indicates either incomplete bead seating or tube bunching at the valve area. Document exactly where the deformation occurs relative to the valve—this positioning clue helps pinpoint the cause.
Why Your Tire Pressure Gauge Might Be Lying to You
Many riders unknowingly cause deformation problems by underinflating their tires. Most quality gauges show that tires require at least 60 PSI to properly seat the bead against the rim—road tires often need significantly more. Pump-mounted gauges frequently give false readings as they drift out of calibration, leading to chronic underinflation. If you’ve been using just the pump gauge, invest in a floor pump with a reliable external gauge. Test your current pressure against a known-accurate gauge; you might discover your tires have been running 10-15 PSI below recommended levels, causing repeated seating issues.
Diagnose Bead Seating Problems Step-by-Step
Start your diagnosis by checking the most accessible factor: tire pressure. Many “deformed tire” issues disappear when you simply inflate to the manufacturer’s recommended PSI (printed on the tire sidewall). If your pressure was low, inflate to proper levels and spin the wheel—sometimes adequate pressure alone forces the bead into proper position. If the deformation persists, move to visual inspection.
The Sidewall Marking Test for Improper Seating
Examine your tire’s sidewall markings where the deformation occurs. Properly seated tires maintain consistent alignment between the rim edge and the tire’s bead line (visible as a distinct ridge near the rim). If the bead has pulled inward, the sidewall markings will dip toward the wheel center at the problem spot. This inward dip confirms a seating issue rather than tire damage. Check both sides of the tire—sometimes only one bead has disengaged from the rim.
How to Identify Valve Area Seating Failures
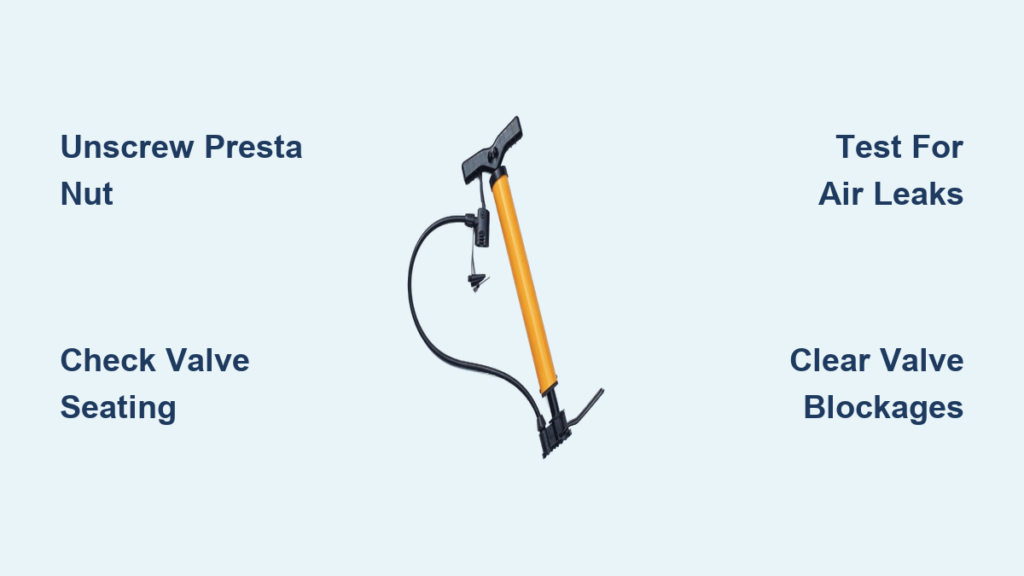
Since 70% of seating problems occur near the valve stem, perform this targeted check: deflate completely, then press the tire inward around the valve area. Re-inflate slowly while watching the valve region. If the tire doesn’t seat evenly here, you’ll see the bead lag behind other sections as pressure increases. The thicker rubber around the tube’s valve often prevents proper seating—this explains why deformations frequently appear opposite the valve stem after initial installation.
Fix Twisted Tube Problems in Under 10 Minutes

Tube twists cause distinctive deformations that mimic tire damage but disappear with proper tube positioning. If your deformation developed after a recent tube replacement or riding on a flat tire, perform this definitive test: deflate completely, then press down around the valve stem area with your thumbs. If you feel lumps, uneven resistance, or a distinct “fold” in the tube, you’ve found your culprit.
The Complete Tube Inspection Protocol
Remove the tire completely and extract the tube. Inflate slightly (just enough to hold shape) and hold against a light source. Rotate slowly while watching for:
– Sections that appear thicker or thinner than others
– Visible twists that create “knots” in the tube
– Folds concentrated near the valve stem
If you find any irregularities, replace or reposition the tube. For stubborn folds opposite the valve (common after riding flat), completely deflate, then work your fingers around the tube inside the tire before re-inflating—this redistributes excess material.
Prevent Future Tube Twists During Installation
Before installing a new tube, partially inflate it to 20% capacity—just enough to hold shape without pressure. Place the valve through the rim hole first, then tuck the tube evenly inside the tire, working from the valve outward. Press the tube inward slightly all around to create slack before inflating. This prevents the “valley effect” caused by tube bunching at the valve area.
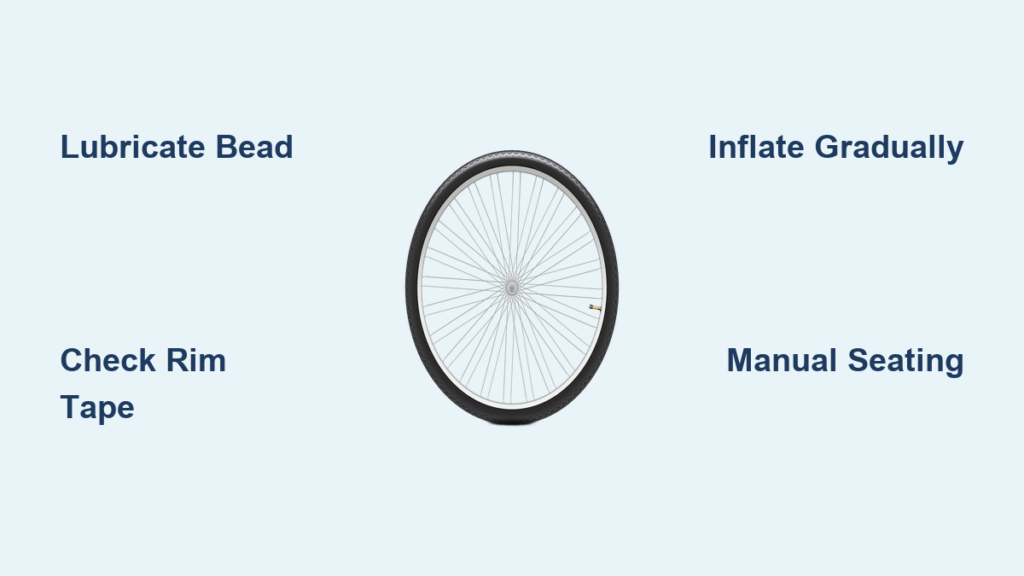
Re-Seat Your Tire Properly Using the Soapy Water Method
When standard re-inflation fails, the soapy water technique solves 90% of persistent seating issues. Mix dish soap with water (1 tablespoon per cup) in a spray bottle. Completely deflate your tire, then apply soapy solution generously around the entire bead area where tire meets rim.
The Critical Partial Inflation Technique
Inflate to 10-15 PSI—just enough to create pressure without fully seating the bead. At this stage, vigorously squeeze the tire all around with both hands, working from the valve outward. You should hear occasional “pops” as sections of the bead snap into place. Continue adding air in 5 PSI increments, repeating the squeezing process at each stage until fully inflated. This gradual approach prevents air pressure from forcing the bead into improper positions.
Troubleshooting Stubborn Seating Areas
If one section refuses to seat, deflate to 10 PSI and apply additional soapy water directly to the problem area. Insert your thumbs between tire and rim at the stubborn spot and work the bead with firm, circular motions while someone else slowly adds air. The combination of lubrication, manual manipulation, and gradual pressure usually solves even the most stubborn seating issues without tire levers.
Recognize When Your Tire Needs Replacement Now
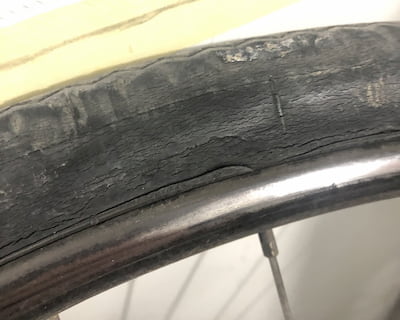
Certain deformations signal immediate tire replacement—don’t risk riding on these. If your tire shows visible wear on the sidewalls (thinning rubber, exposed fibers, or cracks), bulges that persist at proper inflation, or tread separation, stop riding immediately. Unlike seating issues, these problems won’t improve with re-inflation attempts.
The Sidewall Flex Test for Structural Integrity
Pinch the tire’s sidewall between your thumb and forefinger at the deformation point. Compare the flexibility to undamaged sections. If the problem area feels significantly softer or “mushy,” the supporting structure has failed. This exact scenario caused the “valley” deformation in our source case—what looked like a seating issue was actually advanced sidewall wear requiring replacement.
Tread Wear Thresholds by Bike Type
Mountain and gravel bike tires can often be ridden with significant tread wear, but road tires become dangerous when the center tread pattern disappears. For all bike types, replace tires showing:
– Visible cords or fabric beneath the rubber
– Cracks longer than 1/4 inch in the sidewall
– Bulges that create more than 2mm variation in tire profile
Prevent Future Deformations With These 3 Proven Techniques
Implement these maintenance habits to avoid recurring tire problems. First, check tire pressure weekly with an accurate floor pump gauge—never rely solely on pump-mounted indicators. Second, after installing new tires, perform the rim reference test before your first ride to catch seating issues early. Third, inspect tires monthly for embedded debris (glass, thorns) that can work through to the tube and cause slow leaks leading to deformation problems.
The Pre-Ride Seating Verification Method
Before every ride, spin your wheels while watching the tire/rim interface. Properly seated tires maintain consistent alignment between the rim edge and tire bead all around. Any visible gap or irregularity indicates developing seating problems you can address before they cause deformation. This 10-second check prevents most “mystery wobble” issues riders experience mid-ride.
Why Quality Matters for Frequent Riders
If you ride regularly on rough surfaces, invest in tires known for consistent bead sizing. Some manufacturers produce “tight” tires that resist proper seating, while others run slightly large. Research tire brands popular with cyclists in your discipline—forums often discuss which models seat most reliably on specific rim types. This knowledge prevents the frustration of buying replacement tires that create the same problems as your worn-out ones.
When your bike develops that annoying tire wobble or mysterious valley, remember most issues stem from correctable seating problems rather than damaged components. By following these specific diagnostic steps, you’ll quickly determine whether your problem requires simple re-seating techniques or urgent tire replacement. The key differentiator: seating issues change with inflation pressure while structural damage remains consistent. Implement the soapy water re-seating method for stubborn cases, and establish regular pressure checks to prevent future bike tire problems. For persistent deformations that don’t respond to these techniques, inspect closely for sidewall wear—the underlying cause might be a tire that’s quietly reached the end of its service life, just like the cyclist in our source material discovered.