Nothing ruins a perfect ride faster than a flat tire, especially when you’ve invested in a tubeless setup expecting reliable performance. Tubeless bike tires have transformed cycling by eliminating inner tubes and delivering superior flat protection through specialized sealants. These liquid compounds immediately seal punctures as they occur, keeping you on the trail or road instead of stranded with a flat. However, sealant is a consumable component that dries out over time, typically lasting 60 to 90 days before needing replacement. Understanding exactly how to add sealant to tubeless bike tires ensures your system continues delivering reliable protection ride after ride.
This guide covers all proven methods for adding sealant, along with essential tools, troubleshooting tips, and maintenance practices that keep your tires performing optimally. Whether you’re performing routine maintenance or dealing with dried-out sealant that needs complete replacement, you’ll find the step-by-step instructions needed to get the job done correctly.
Use the Right Tools for Clean Sealant Application
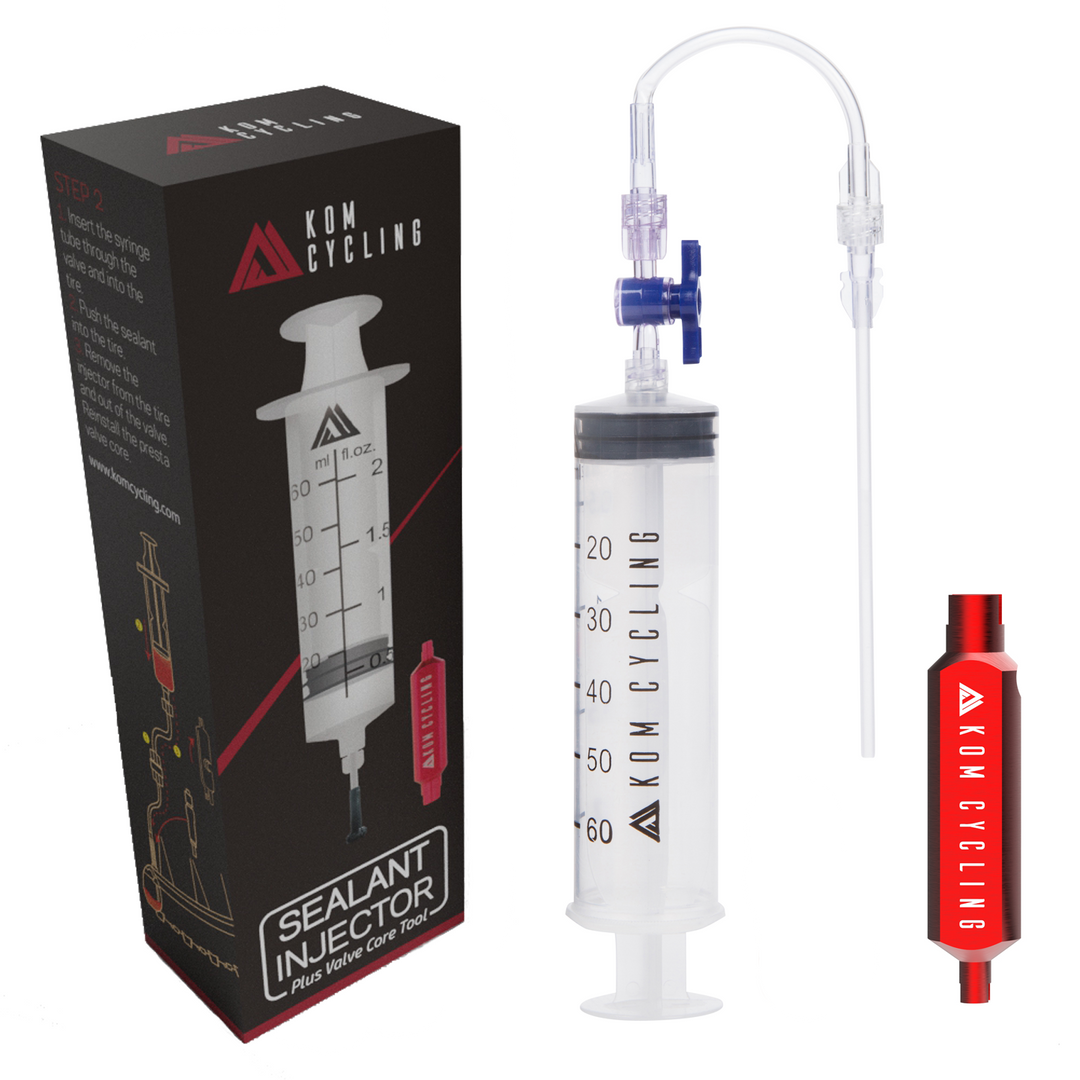
Having the proper tools prevents messy spills and ensures precise sealant delivery when adding sealant to tubeless bike tires. Start with a specialized sealant injector syringe like the Stan’s NoTubes Tire Sealant Injector, which allows you to control flow, measure accurately, and prevent waste. The clear barrel lets you monitor exactly how much sealant you’re adding as you work.
You’ll also need an air compressor or high-pressure pump for seating tire beads, particularly when installing new tires or when both beads have been removed during the sealant process. Small funnels prove essential when pouring sealant through tire bead gaps, especially for wheels with integrated valves that lack removable cores. These minimize spillage and allow controlled filling. Never attempt sealant application without these tools—improvised methods often create more problems than they solve.
Calculate Exact Sealant Amounts for Your Tires
Using the correct sealant quantity ensures optimal protection without unnecessary weight penalties that affect ride quality. Most mountain bike tires in 29-inch format require between 60-100 milliliters (2-3 ounces) of sealant. Lightweight cross-country race tires typically need the lower end of this range, while larger enduro or downhill tires benefit from additional sealant for enhanced puncture protection.
How to measure sealant for different tire sizes
For precise measurement, use sealant bottles with built-in measuring guides like Monkey Goo from RedMonkey. These eliminate guesswork by providing exact amounts for specific tire volumes. Always shake the bottle vigorously before pouring—sealant components separate during storage, and proper mixing ensures consistent performance. When in doubt, slightly exceed the minimum recommended amount rather than risk insufficient protection.
Inject Sealant Through Valve Stem Without Removing Tire
The injector syringe method provides the cleanest approach for routine maintenance when your valve cores are removable. Begin by removing the valve core using the provided tool—this creates an opening large enough for sealant injection. Draw the appropriate amount into the syringe, then attach it securely to the valve stem.
Step-by-step valve stem injection
- Remove valve core completely (partial removal causes clogs)
- Shake sealant bottle thoroughly before drawing into syringe
- Attach syringe to valve stem, ensuring tight seal
- Press plunger slowly and steadily to inject sealant
- Reinstall valve core securely after injection
- Inflate tire and bounce/rotate wheel to distribute sealant
This method works exceptionally well for regular top-ups without disturbing the tire’s position on the rim. Complete the process in under five minutes with virtually no mess when done correctly.
Replace Dried Sealant by Unseating One Tire Bead
When sealant has dried significantly or become contaminated with debris, unseating one bead provides a thorough approach without full tire removal. Start by removing the wheel from your bike for better access and cleaner operation.
Complete sealant replacement process
Drain existing sealant completely by tilting the tire, removing any “tire boogers”—thick, dried chunks that add unnecessary weight without providing sealing benefit. Pour new sealant directly through the opened bead area using the measuring guide on your bottle. Since one bead remains seated, seating the remaining bead with a standard floor pump typically succeeds without requiring a compressor. After seating, set your preferred pressure and take a short test ride to ensure proper distribution.
This method allows complete removal of old sealant while avoiding the complexity of full tire disassembly—a perfect solution for routine complete replacements.
Add Sealant to Wheels Without Removable Valve Cores
Modern wheelsets with UST-style valves present unique challenges since their valve cores cannot be removed. The partial tire installation with funnel method solves this problem effectively.
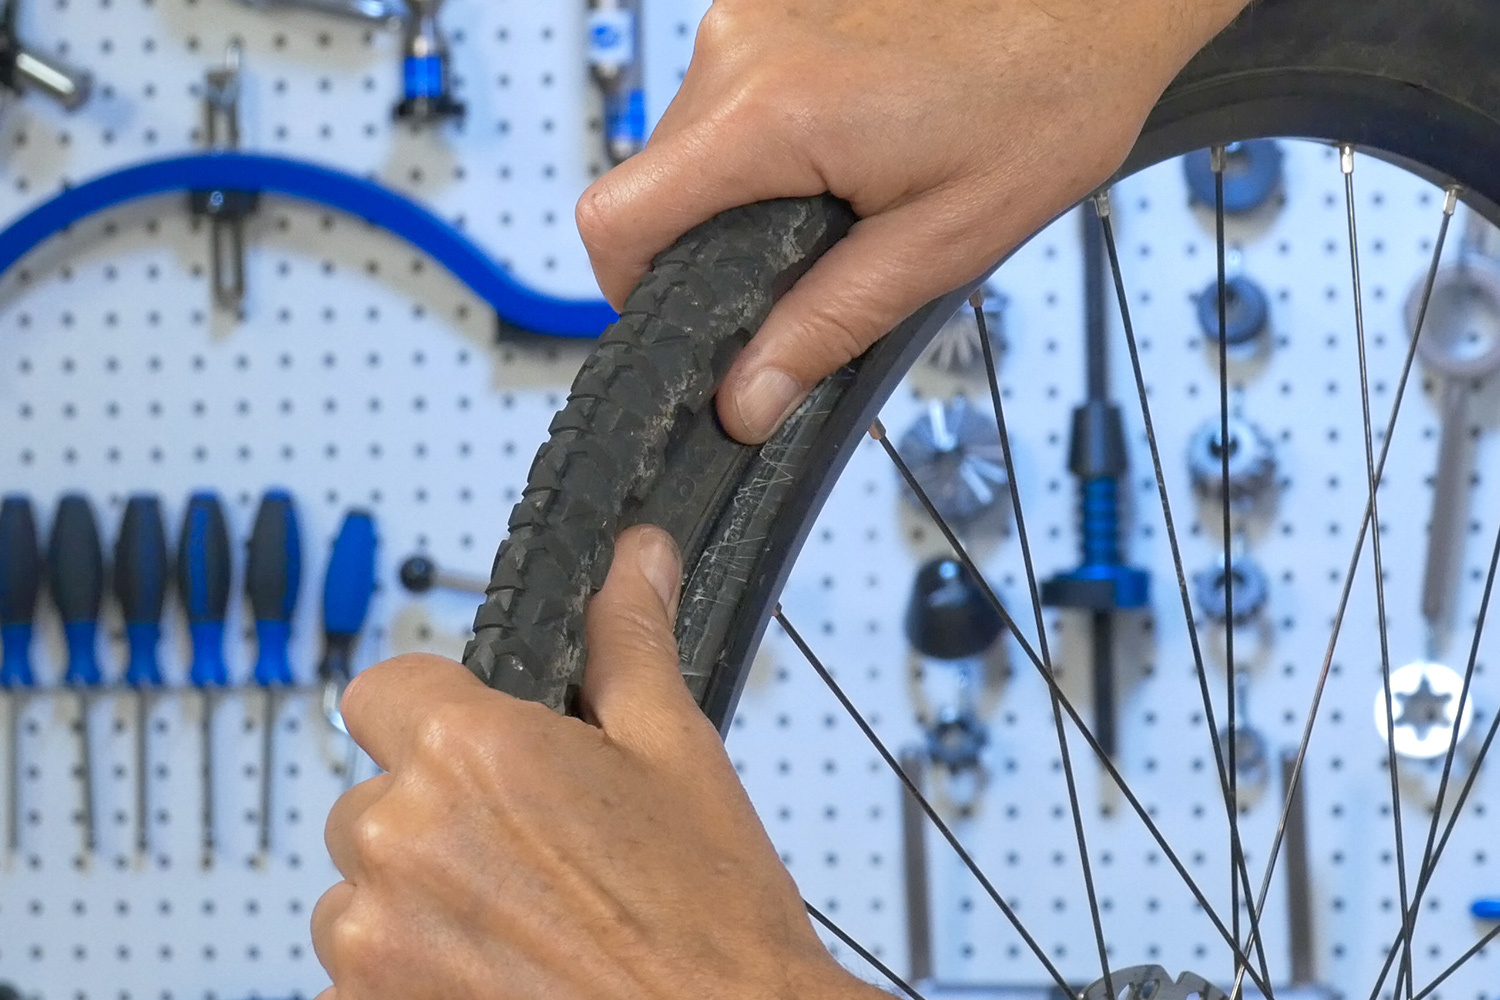
Install one bead completely onto the rim, leaving a small gap in the second bead. Insert a small funnel into this gap and pour the measured sealant into the tire cavity. Work the remaining bead onto the rim and use an air compressor to seat it fully. Some sealant seepage around the bead area is normal and not indicative of a problem.
Alternative methods for non-removable cores
If partial installation proves difficult, consider pouring sealant after completely removing the tire from the rim. This guarantees no spillage but requires more time to reinstall the tire properly. While some riders suggest needle injection through the sidewall, this creates new puncture points that defeat the purpose of sealant protection and should be avoided.
Prevent Common Sealant Application Mistakes
Many riders encounter avoidable problems due to simple errors during the sealant application process. Always shake sealant bottles thoroughly before use—separated components won’t seal properly. Never force sealant through a clogged valve; instead, remove the syringe, clean components, and try again with slower injection.
Critical error to avoid
When adding sealant through the valve, ensure the valve core is removed completely before attempting injection. Partial removal causes frustrating clogs that waste time and sealant. Similarly, don’t overtighten valve cores when reinstalling, as this damages the valve stem and makes future removal difficult.
Fix Immediate Sealant Problems After Application
Sealant application sometimes presents immediate challenges that require specific solutions. If sealant leaks around the bead area, the tire isn’t fully seated—use an air compressor to properly seat the beads. For valves clogged by sealant particles, remove the syringe, clean thoroughly, and attempt slower injection.
Troubleshooting uneven distribution
If sealant pools in one area rather than distributing evenly, remove the wheel and perform intensive bouncing while rotating the wheel’s position. Persistent air leaks after application often indicate multiple small punctures—ride the bike to allow sealant to find and plug these points. If problems continue, inspect the tire for embedded debris preventing proper sealing.
Establish Long-Term Sealant Maintenance Routine
Proactive maintenance prevents most flat tire issues before they occur. Every few months, unseat a small section of bead to check sealant condition—it should remain liquid and flow freely. In hot, dry climates, check monthly during summer as these conditions accelerate drying.
Essential maintenance schedule
- Check sealant condition every 30-60 days
- Add 1-2 ounces of fresh sealant as preventative top-up
- Replace completely every 60-90 days (varies by climate)
- Inspect tire tread for embedded debris regularly
- Check tire pressure before each ride
At the end of each riding season, replace sealant completely before storage—cold temperatures can cause separation and reduced performance when riding resumes.
Adding sealant to tubeless bike tires requires specific techniques based on your wheel configuration and whether you’re performing routine maintenance or complete replacement. The injector syringe method through the valve stem provides the cleanest approach for regular top-ups with removable cores. For complete replacement or non-removable cores, the partial tire removal method delivers the best results. Regardless of method, always use the appropriate amount for your tire size, distribute thoroughly, maintain proper pressure, and establish a regular inspection schedule. With these techniques, your tubeless setup will deliver reliable flat protection that keeps you riding longer and fixing flats less often.