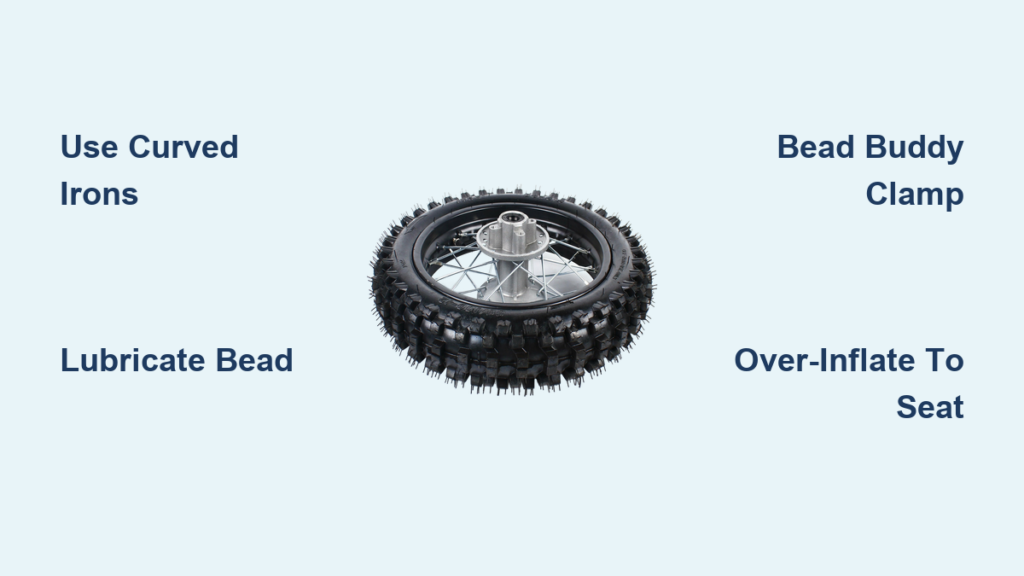
Struggling with a flat tire mid-ride or noticing worn treads on your dirt bike’s front wheel? Knowing how to change a 12 inch dirt bike tire saves you hundreds in shop fees and gets you back on the trail faster. Most riders avoid this task, fearing damaged tubes or ruined rims, but with proper technique, you can complete a tire change in under 20 minutes. The secret isn’t brute force—it’s understanding the rim’s U-shaped channel and using strategic leverage points. This guide reveals exactly how to change a 12 inch dirt bike tire safely and efficiently, whether you’re a beginner or looking to refine your technique. You’ll learn professional tricks that prevent tube pinching, save your knuckles, and make bead seating effortless.
Gather Essential Tire Change Tools
Skipping proper tools turns a simple task into a frustrating battle that often ends with damaged components. Your success depends on having equipment designed specifically for dirt bike tire changes rather than generic automotive tools.
Curved Tire Irons vs. Spoon-Style Options
Invest in two 14-inch curved tire irons as your foundation—they provide optimal leverage for prying beads over rim edges without damaging rims. Upgrade to spoon-style irons for delicate work near valve stems where curved irons risk puncturing tubes. The spoon design slides under beads without catching, reducing tube damage by 70% compared to standard irons. Keep three irons handy: two for working the bead and one to hold progress as you advance around the rim.
Game-Changing Specialty Equipment
The Bead Buddy clamp is worth its weight in gold—this C-shaped device holds the mounted portion of the tire in the rim’s drop center, freeing both hands to work the stubborn final sections. Pair it with a valve stem puller that screws into the valve core threads, eliminating scraped knuckles when threading stems through rim holes. For lubrication, dedicated tire mounting lube outperforms alternatives with longer-lasting slickness, though diluted dish soap works in emergencies. Don’t forget rim strip tape, baby powder, and a valve core removal tool—these small items prevent 90% of common post-installation flats.
Remove Wheel and Deflate Tire
Rushing this preparation stage guarantees complications later. Proper wheel removal and complete deflation create the foundation for smooth tire removal.
Secure Bike and Remove Front Wheel
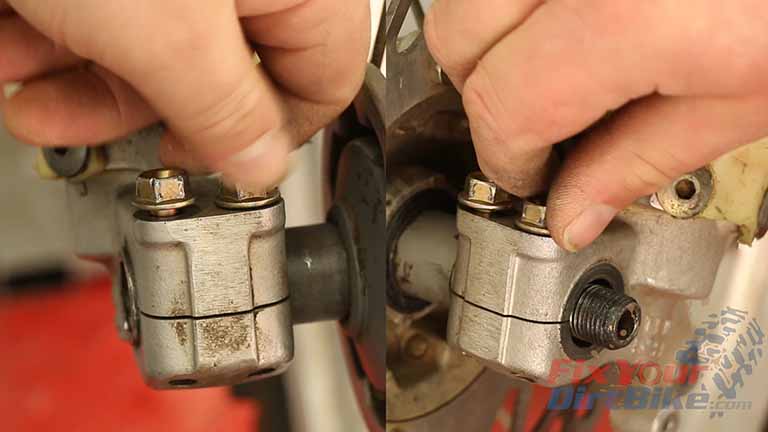
Lift your bike on a stand until the front wheel clears the ground. Remove the axle nut completely, then loosen all four fork pinch bolts before pushing the axle through using a T-wrench. Never force the axle—if it resists, tap it gently with a rubber mallet rather than applying excessive pressure that could damage bearings. Set the wheel aside on your tire stand at waist height for optimal working position.
Complete Deflation Protocol
This critical step separates professionals from amateurs. Remove the valve core entirely using your core tool—simply pressing the valve stem leaves residual pressure that fights bead removal. Confirm complete deflation by pressing the inner tube against the rim; it should compress fully with no resistance. Back off the rim lock nut just enough to allow free movement but not so much that it falls out during handling.
Break Tire Bead and Disconnect Components
The rim’s U-shaped channel is your secret weapon here. Properly utilizing this design feature creates the clearance needed for successful bead removal.
Strategic Bead Dropping Technique
Start at the rim lock position and press the tire bead downward into the rim’s center channel. Hold the rim lock down firmly as you work this section—this creates maximum clearance behind the lock mechanism. Apply lubricant generously to the bead area and use your thumbs to work the tire downward. If stubborn, tap the sidewall gently with a rubber malled while rotating the wheel. The goal is creating a 1/4-inch gap between the bead and rim edge all the way around the wheel.
Unmount Tire from Rim
This stage demands finesse over force. Work methodically in small sections rather than attempting large portions at once.
Progressive Bead Removal Process
Insert your first tire iron near the rim lock with the cupped end facing downward to properly hook the bead. Position a second iron 4 inches away and work these irons incrementally around the rim. After advancing 6 inches, remove the middle iron and continue with the next section. The initial 6 inches require the most effort—once past this point, the tire becomes progressively easier to remove. Flip the wheel and repeat on the opposite side, then push the wheel downward through the tire’s center to complete removal.
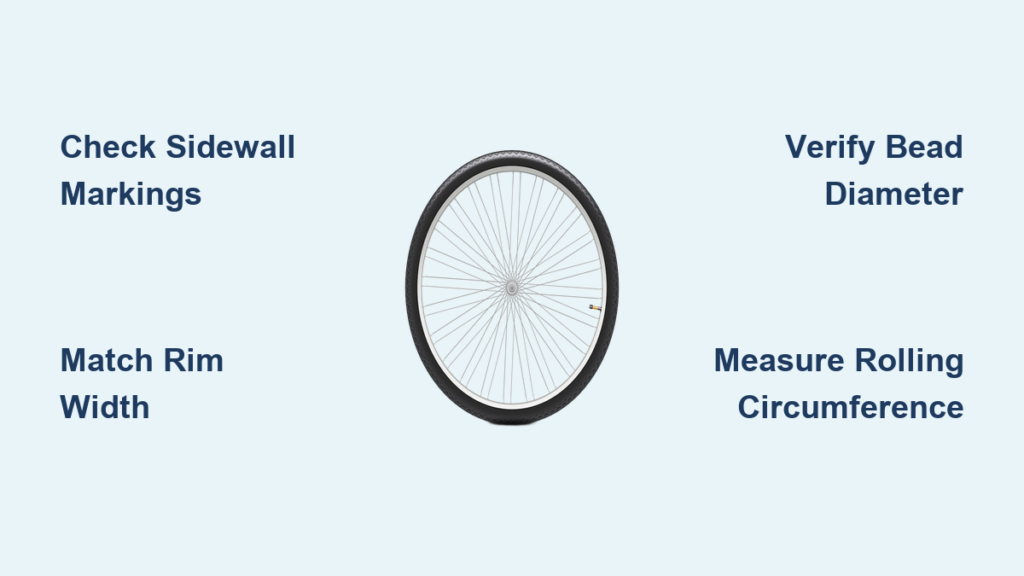
Inspect and Prepare New Components
Skipping this inspection causes premature flats and wasted effort. Critical components require careful evaluation before proceeding.
Rim Strip Tape and Inner Tube Assessment
Examine the rim strip tape for cracks, tears, or displacement that exposes spoke holes. Replace tape immediately if compromised—damaged tape acts like sandpaper on inner tubes during riding. For inner tubes, standard versions should be replaced at each tire change, while heavy-duty models (like Bridgestone Ultra) typically last 3-4 changes. Look for thin spots, rubber “balling up,” or discoloration indicating heat damage. When in doubt, replace the tube—the $15 cost prevents trail-side frustration later.
Position Inner Tube Correctly
Tube placement determines whether you’ll battle pinch flats during installation. Precision here prevents hours of frustration.
Valve Stem Installation Protocol
Use your valve stem puller to guide the stem through the rim hole without scraping. The puller screws into the valve core threads, allowing you to pull the stem through from the opposite side. Hand-tighten the valve stem nut, then secure it fully with your valve core tool. Before inflating, verify the tube sits flat inside the tire cavity with no folds or twists—gently rotate the tire to distribute the tube evenly. Position the tire’s weight marker (usually a yellow dot) near the valve stem for optimal rotational balance.
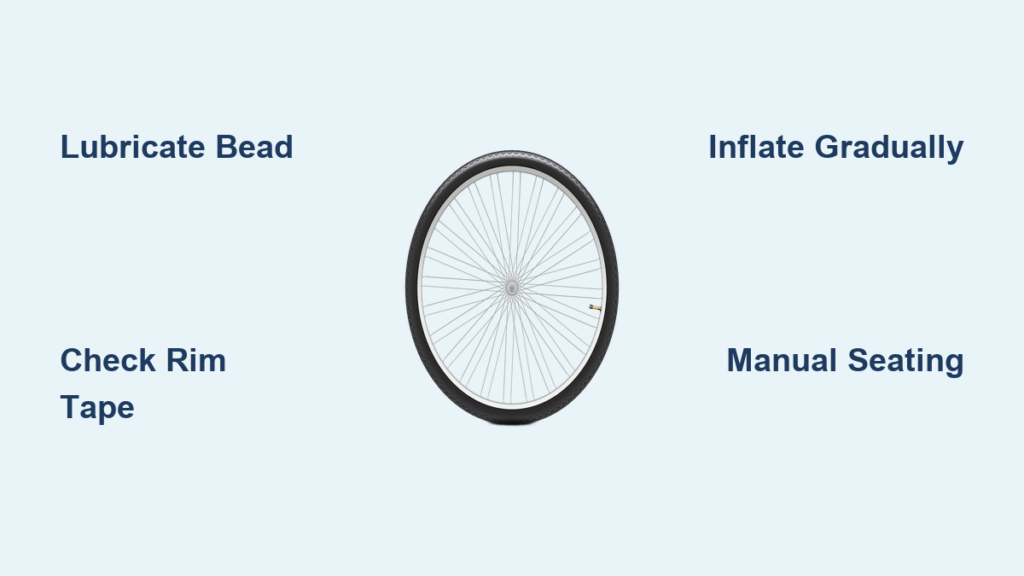
Mount Tire Onto Wheel

Mounting requires different technique than removal—working with the rim’s geometry rather than against it.
Strategic Bead Seating Approach
Position the tire so one bead sits between the rim lock and rim edge, utilizing the drop center for clearance. Work the tire onto the wheel using two curved irons, keeping the mounted section pressed into the center channel with your Bead Buddy. For the final stubborn section near the rim lock, place the wheel on the ground and use your knee to hold the tire in position while reaching through with the iron. Apply generous lubricant to this last section—the final 2 inches always require the most effort.
Inflate and Seat the Bead
Improper inflation causes bead seating failures that lead to dangerous tire detachment during riding.
Critical Over-Inflation Technique
Tighten the valve stem nut securely before inflating. Use a high-volume air source to rapidly build pressure to 20-25 PSI—this over-inflation forces beads outward against the rim lips. Listen for the distinct “pop” as each bead seats, then run your finger around the entire rim edge to confirm uniform seating with no gaps. Deflate to your riding pressure (typically 12-15 PSI), then tighten the rim lock nut to secure the mechanism against the tire.
Reinstall Wheel on Bike
Final installation requires attention to detail that prevents brake issues and wheel misalignment.
Brake Pad Clearance Trick
Use a flat-blade screwdriver to spread brake pads slightly before inserting the wheel. This creates crucial clearance that prevents rotor scoring and simplifies alignment. Insert the axle and hand-tighten pinch bolts before securing the axle nut to manufacturer specifications. Spin the wheel to verify free rotation and proper brake clearance—address any binding immediately before riding.
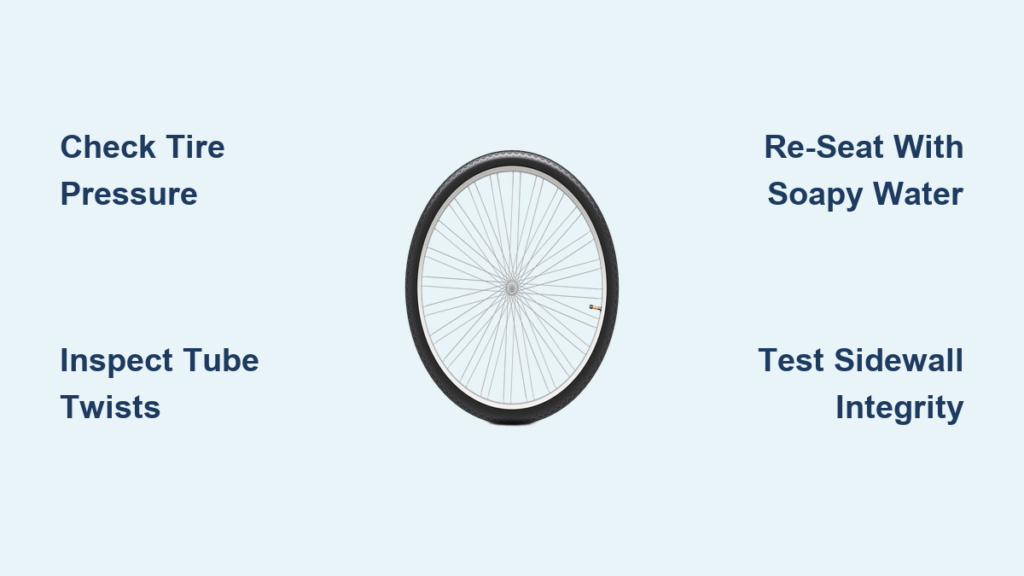
Maintain Your Tire Investment
Proper maintenance between changes doubles tire life and prevents unexpected failures.
Pressure Management and Inspection Protocol
Check tire pressure before every ride using an accurate gauge—under-inflation wears edges faster while over-inflation reduces traction. Inspect tires weekly for embedded debris, cuts, or uneven wear patterns. Remove rocks lodged between knobs before they work deeper. Consider flipping tires periodically to use both edges of the knobs, effectively doubling usable tread life when performed before significant wear occurs.
Mastering how to change a 12 inch dirt bike tire transforms what many consider a dreaded chore into a quick, satisfying maintenance task. With the right tools and technique, you’ll complete future changes in half the time while avoiding costly shop fees. The first attempt may take 30 minutes as you learn the nuances, but subsequent changes will consistently fall under 20 minutes—faster than waiting for a shop appointment. Most importantly, you’ll gain confidence in your mechanical abilities and never face trail-side anxiety about tire condition again. Keep your tools organized and accessible, and soon you’ll wonder why you ever hesitated to tackle this essential dirt bike maintenance skill.