You’re mid-trick at the skatepark when thud—your back tire goes flat. Instead of packing up early, imagine popping a new tire on in under 30 minutes and getting back to riding. Every BMX rider faces this scenario, and mastering how to change a BMX bike tire transforms frustrating downtime into a quick pit stop. Unlike road bikes with complex components, BMX tires use straightforward hardware that rewards basic mechanical skills with total riding independence. This guide cuts through the fluff to deliver only the proven steps that actually work on modern BMX rims and tires. You’ll learn exactly how to avoid the two most common mistakes that cause immediate re-flats—pinched tubes and improper bead seating—using just three essential tools you can carry in a backpack. Let’s get you back on your bike faster than waiting for a ride home.
Grab These 3 Tools Before Removing Your Wheel
Skipping the right tools turns a 20-minute job into an hour-long battle with your tire bead. You only need three items, but each serves a non-negotiable purpose in the how to change a BMX bike tire process. First, a 17MM socket wrench (not an adjustable wrench) is mandatory for removing wheel nuts without rounding the bolt heads—a frequent issue with cheap tools. The precise fit prevents damage to your axle hardware during repeated removals. Second, never attempt tire removal with screwdrivers or tire irons—invest in three plastic tire levers specifically designed for BMX rims. Metal levers risk gouging your rim’s sidewall, while plastic versions flex safely against high-pressure tire beads. Third, a floor pump with a built-in pressure gauge is non-optional; BMX tires demand 60-110 PSI, and guessing leads to blowouts or pinch flats.
Pro Tip: Store your tire levers clipped to your bike frame’s seat tube. This keeps them instantly accessible when you get a flat mid-session—no scrambling through your backpack.
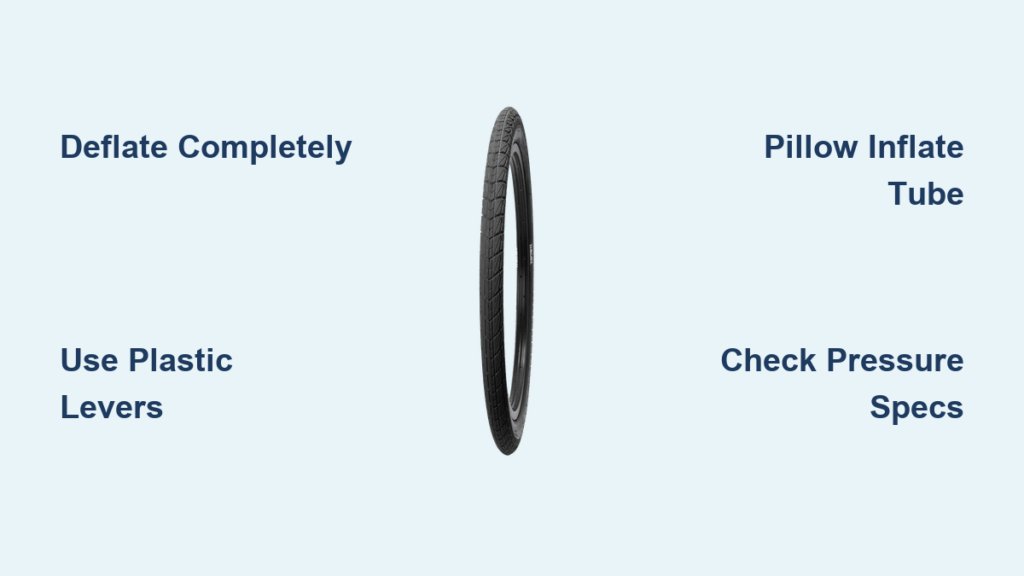
Deflate Completely—This Step Saves Your Rim
Rushing past full deflation is the #1 cause of damaged rims during BMX tire changes. A partially inflated tire locks the bead against the rim lip with 30+ PSI of pressure, forcing you to use excessive leverage that bends rim edges. Locate the Schrader valve (standard on BMX bikes) and press the core down firmly for 10 seconds. Then, squeeze the tire sidewalls at 3 o’clock, 6 o’clock, and 9 o’clock positions to push trapped air toward the valve. Stop when the tire feels completely limp—no springiness when pressed. Now remove the wheel using your 17MM socket: loosen both axle nuts just enough to slide the wheel out without losing tension on the chain.
Critical Check: If your tire resists removal after deflation, you missed air pockets. Repeat the squeeze-and-release process before touching tire levers.
Remove the Tire Using the 3-Lever Method
Forget prying from one spot—systematic lever placement prevents rim damage. Insert your first tire lever 2 inches from the valve stem, tucking it under the tire bead where it meets the rim lip. Push downward to fold the bead over the rim edge, then clip this lever to a spoke. Position your second lever 4 inches away and repeat, creating two anchor points. Now take your third lever and work it around the rim 4 inches from either anchor point. Rotate this lever slowly while applying upward pressure—never force it straight up—to walk the bead over the rim. Complete one full revolution until half the tire sits free. Pull the inner tube out through this opening, noting how the valve stem aligns with the rim hole.
Warning: If the tire feels stuck beyond 70% removal, flip the wheel and repeat the process on the opposite side. Forcing it risks snapping the bead.
Install the New Tire Without Pinching the Tube

90% of “new flat” failures happen during tube installation. Start by seating one side of the new tire fully onto the rim—press it into the center channel with your thumbs, working clockwise from the valve hole. Now inflate your new tube just enough to hold its shape (like a soft pillow)—never more than 10 PSI at this stage. Over-inflating causes wrinkles that lead to pinches. Thread the valve stem through the rim hole first, then tuck the tube inside the tire casing, smoothing out any twists. As you push the remaining bead onto the rim, stop when 6 inches of tire remain unseated. This is the danger zone—use two tire levers here: one to hold the bead down, the other to gently lift the final section over the rim lip while checking for tube visibility.
Pro Tip: Apply a drop of soapy water to stubborn bead sections. The lubrication helps it slide without leverage damage.
Inflate to Exact BMX Pressure Specifications

BMX tires fail catastrophically outside their pressure range—no guessing allowed. Check the sidewall for minimum/maximum PSI (typically 60-110 PSI). Riders over 160 lbs should target the upper third of the range (85-110 PSI) for ramp stability, while lighter riders (<130 lbs) can use 60-85 PSI for better grip. Inflate in 10-PSI increments, pausing to check bead seating: both sides should sit evenly 1-2mm below the rim edge. Stop immediately if you hear hissing—this means the bead isn’t sealed. Deflate completely and reposition the tire. Once fully inflated, spin the wheel to ensure no bulges appear where the tube might be trapped.
Critical Check: After 5 minutes of riding, recheck pressure. New tires often lose 5-10 PSI as the bead settles.
Avoid These 3 Costly Tire Change Mistakes

Mistake #1: Skipping the pillow inflation step. Installing a completely flat tube creates hidden wrinkles that pinch during final seating. The slight inflation lets you feel and smooth these out. Mistake #2: Using metal levers on modern alloy rims. The aggressive edges dig into rim sidewalls, causing slow leaks. Stick to plastic levers even on stubborn tires. Mistake #3: Over-tightening axle nuts during reinstallation. This stresses the rim and can warp it. Snug them to 15-20 ft-lbs—tight enough to prevent wheel movement but loose enough to allow slight chain adjustment.
Pro Tip: Carry a pre-stretched tube (inflated overnight) for race days. It installs faster with zero wrinkles.
Prevent Future Flats With Smart Tire Maintenance
Check pressure before every session—BMX tubes lose 5-10 PSI weekly even without punctures. Under-inflated tires (<55 PSI) cause “snake bite” pinch flats when hitting obstacles. Inspect tires for embedded debris like glass shards; run your thumb along the tread weekly to catch sharp objects before they penetrate. Rotate tires every 3 months if you notice uneven wear—rear tires wear 30% faster due to power transfer. For street riders, replace tires when tread depth drops below 1mm (measure with a coin edge); worn treads increase flat risk on rough surfaces.
Reinstall the Wheel for Instant Riding Readiness
Your final reassembly determines ride safety. Slide the wheel back into the dropouts, aligning the chain with the rear cog. Hold the axle bolt steady with a wrench while tightening the nut—never let the bolt spin freely—to prevent chain tension loss. Snug both nuts evenly in quarter-turn increments until the wheel centers perfectly between the frame stays. Test by spinning the wheel: it should clear both chainstays and seatstays by 2-3mm. Give the tire one final pressure check before heading back to the park—your 30-minute flat fix is now ride-ready.
Mastering how to change a BMX bike tire means never missing a session due to flats. The entire process—from pulling a flat tire to hitting jumps again—takes under 25 minutes with practiced technique. Focus on the critical pressure check during inflation and the pillow inflation method for tube installation, as these steps prevent 95% of beginner errors. Keep your three essential tools (17MM socket, three plastic levers, gauge pump) in a dedicated pouch on your bike, and you’ll spend more time riding and less time waiting for help. Next time you hear that dreaded thud, smile—you’ve got this.