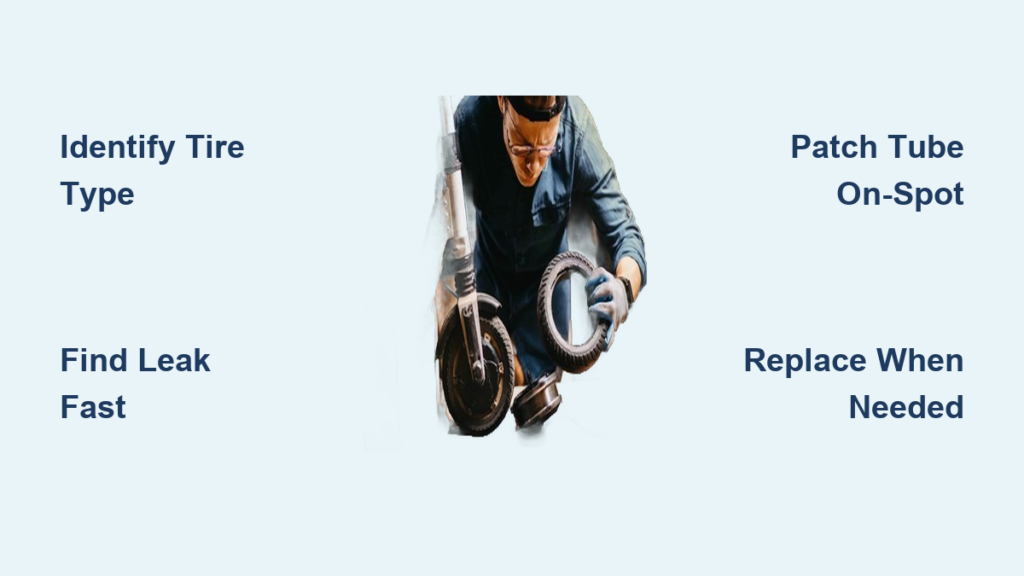
Flat tires are among the most common issues electric scooter riders face. Whether you’re commuting through city streets or cruising on bike paths, a sudden loss of air can leave you stranded. Knowing how to perform proper scooter tire repair—especially on pneumatic models—can save time, money, and frustration. This guide breaks down every aspect of diagnosing, repairing, and replacing scooter tires using proven methods and real-world insights. You’ll learn how to patch a tube without removing the wheel, when to go full disassembly, and when to call a pro.
From identifying puncture types to avoiding costly mistakes like snakebite flats or valve interference, this guide covers it all. Whether you’re a DIY beginner or looking to upgrade your maintenance routine, you’ll walk away with actionable steps to keep your scooter rolling smoothly.
Identify Your Tire Type First
Before attempting any repair, confirm what kind of tire your scooter uses. The fix depends entirely on whether it’s pneumatic, solid, or hybrid.
Pneumatic vs. Solid: Know the Difference
Pneumatic tires are air-filled and offer superior comfort and grip. Most electric scooters use 8.5-inch pneumatic tires with inner tubes. These are prone to flats but easy to repair. Look for a valve stem—usually Schrader type—to confirm.
Solid tires are made from dense rubber or foam-filled materials. They never go flat but deliver a harsher ride. No repair needed here—only replacement when worn.
Check for Hybrid or Self-Healing Models
Some scooters use mixed configurations, like the EMOVE Touring, which pairs a pneumatic front tire with a solid rear. Always inspect both wheels independently.
High-end models like the Apollo City 2022 and Apollo Pro 2023 feature self-healing gel-lined tires that automatically seal small punctures. These rarely need repair unless damage exceeds 2–3mm.
If your scooter has self-healing or solid tires, skip patching—replace only when visibly cracked, split, or worn down.
Spot the Signs of a Flat Early

Catching a slow leak early prevents total failure and potential rim damage.
Warning Signals Before Total Failure
Watch for these indicators that your tire is losing air. A spongy or wobbly ride signals pressure loss and reduces stability. Increased vibration at higher speeds is another red flag. Visible sidewall bulge indicates internal tube failure. Uneven tread wear suggests chronic under-inflation.
Check tire pressure monthly with a digital gauge. Most 8.5-inch tires require 50 PSI—marked on the sidewall. Under-inflated tires are more likely to pinch flat.
Monthly Maintenance Checklist
Perform these checks regularly to prevent flats. Inflate to recommended PSI. Inspect tread for cuts, embedded glass, or nails. Wipe down tire surface and rim. Spin wheel to detect wobble or brake rub.
Prevention cuts flat frequency by up to 70%, especially in urban areas where road debris is common.
Diagnose the Leak Accurately
Guessing where air escapes leads to failed repairs. Use these foolproof methods to pinpoint the exact location.
Listen and Feel for Air
Inflate the tire slightly and run your hand around the valve, sidewall, and tread. A hissing sound or cool airflow pinpoints the leak.
Use Soapy Water Test
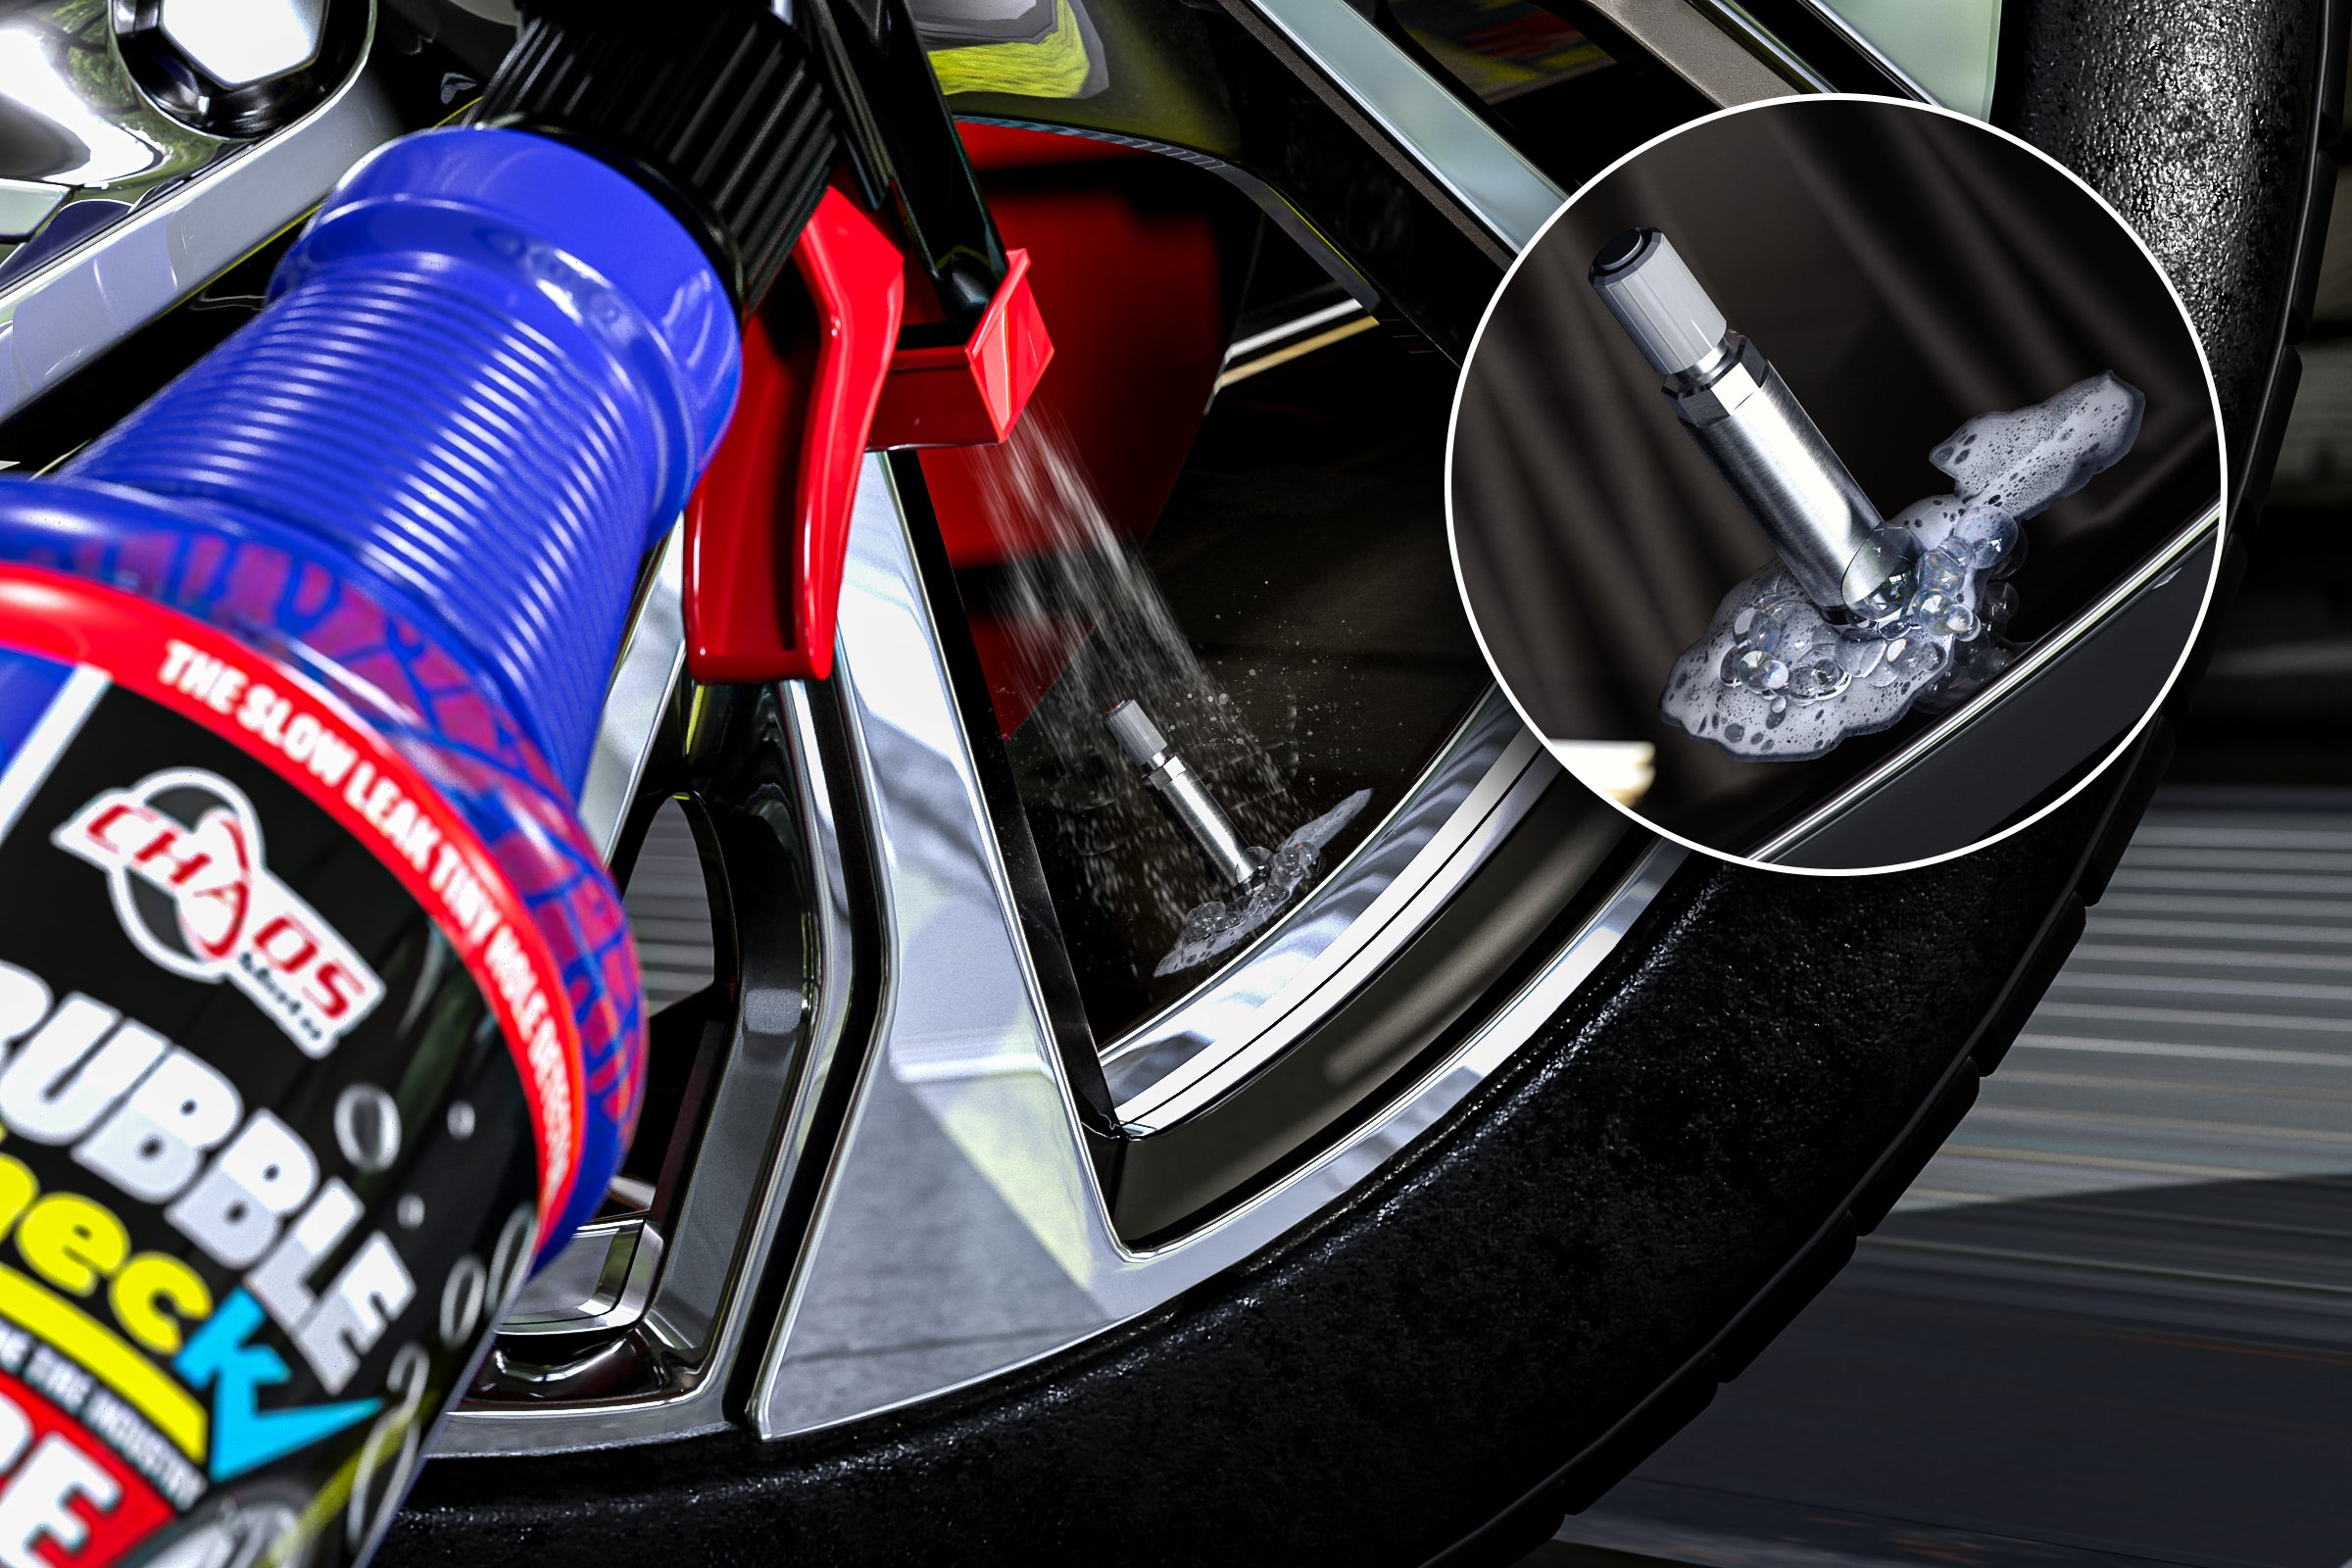
Mix dish soap and water in a spray bottle. Spray it over the valve stem, tire bead, and tread surface. Bubbles form exactly where air leaks. This method works even with slow leaks.
Submerge for Precision (If Wheel Is Off)
Remove the inner tube, inflate slightly, and submerge in a bucket of water. Watch for a steady stream of bubbles. Mark the spot with a pen.
Never Skip Internal Tire Inspection
After removing the tube, run your fingers inside the tire casing. Find and remove any glass, wire, or nail that caused the puncture. Reinstalling without cleaning guarantees another flat within minutes.
Roadside Repair: Fix Without Removing Wheel
When you’re stuck mid-ride, this method gets you moving fast without full disassembly.
What You Need in Your Kit
Carry these essentials in a saddle bag or backpack for emergencies. You need a mini pump with pressure gauge, tire levers (plastic preferred), a patch kit with sandpaper and rubber cement, a flashlight, and a rag.
Step-by-Step Emergency Fix
Start by locating the puncture. Inflate slightly and use soapy water to find bubbles. Confirm the hole is not near the valve or sidewall—those require full removal.
On most scooters, you can peel back part of the tire sidewall or remove a small cover near the valve. Gently pry open with a tire lever. Pull just enough tube to expose the puncture.
Prepare the surface by sanding the area around the hole until rough. Apply a thin layer of rubber cement and wait 2–3 minutes until tacky. Press the patch firmly over the hole for 30 seconds. Let cure 10–15 minutes before inflating.
Tuck the tube back in carefully, avoiding twisting. Inflate slowly to 50 PSI and recheck with soapy water.
Pro Tip: Do not use liquid sealants unless your scooter manufacturer approves them. They can clog valves or damage sensors in hub motors.
Full Repair: Remove Wheel for Permanent Fix
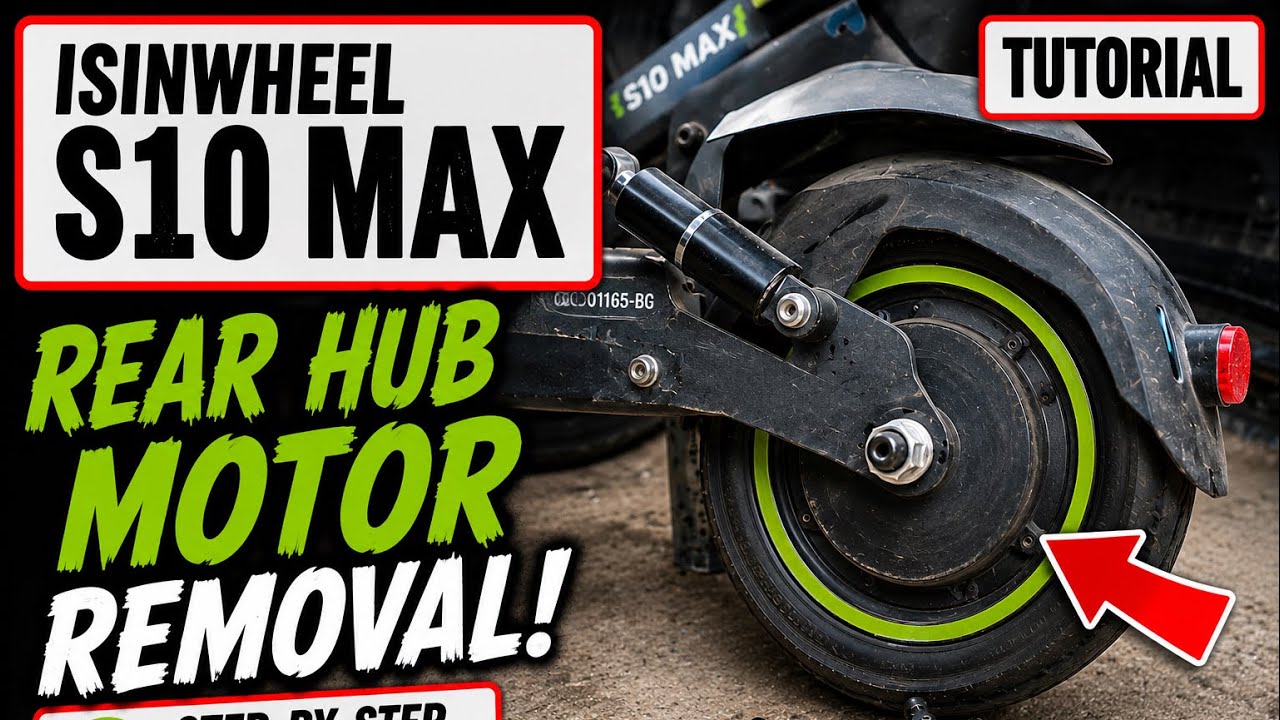
For lasting results, remove the wheel and replace or patch the tube properly.
Tools You Will Actually Need
Keep these tools in a dedicated toolkit. You need tire levers (2–3 recommended), a pump with gauge, Allen keys (5/32″, 9/32″), a 17mm wrench for axle nuts, a Phillips #2 screwdriver, soapy water spray, and a dry cloth.
Step 1: Remove the Wheel Safely
Front Wheel (Simpler)
Place the scooter on a flat surface. Remove outer fork cover screws (often hidden under reflective stickers). Use a 5/32″ Allen key to remove securing bolts. Pull the wheel forward gently to clear the brake caliper.
Rear Wheel (More Complex)
Flip the scooter to access brake and motor cables. Remove 9/32″ Allen screws from the brake caliper and let it hang. Disconnect motor wires carefully—note the orientation. Loosen 17mm axle nuts and slide the wheel out.
Warning: Never let the brake caliper dangle by the hose. Support it with tape or a zip tie to avoid hydraulic line damage.
Step 2: Remove Tire and Tube
Deflate completely by pressing the valve core. Spray soapy water on the bead and rim. Insert a tire lever between the tire and rim and pry one side off. Once started, work around with hands or a second lever. Pull out the inner tube.
Step 3: Inspect and Clean Thoroughly
Find the puncture on the tube. Check inside the tire for sharp objects—this step prevents repeat flats. Wipe the inside of the rim with a dry cloth and remove grit or old sealant.
Step 4: Install New or Repaired Tube
Use an 8.5-inch heavy-duty inner tube with a short Schrader valve. Long bicycle tubes will hit the fork and stop the wheel.
Insert the valve into the rim hole first. Screw on the valve nut lightly to secure. Tuck the tube into the tire evenly with no twists. Work one bead onto the rim by hand. For the second bead, use tire levers gently to avoid puncturing the tube. Spray soapy water on the bead to ease seating.
Never use metal tools—they can slice the tube.
Step 5: Inflate and Seat the Bead
Inflate slowly to 10–15 PSI to seat the bead. Check that the tire sits evenly on both sides of the rim. Increase to 50 PSI using a gauge. Wipe off soapy residue.
Snakebite Prevention: Under-inflation or improper installation causes pinch flats where the tube gets crushed between rim and obstacle. Always inflate to spec.
Step 6: Reinstall and Align Wheel
Slide the wheel back onto the axle. Reconnect motor cables if removing the rear wheel. Reattach the brake caliper. Tighten all bolts securely.
Spin the wheel to check alignment. If brake pads scrape the disc, slightly loosen axle bolts, adjust wheel position until spin is smooth, then retighten. Misalignment increases drag, reduces range, and wears brakes fast.
When to Replace Instead of Repair
Some damage cannot be fixed—only replaced.
Replace Tire If
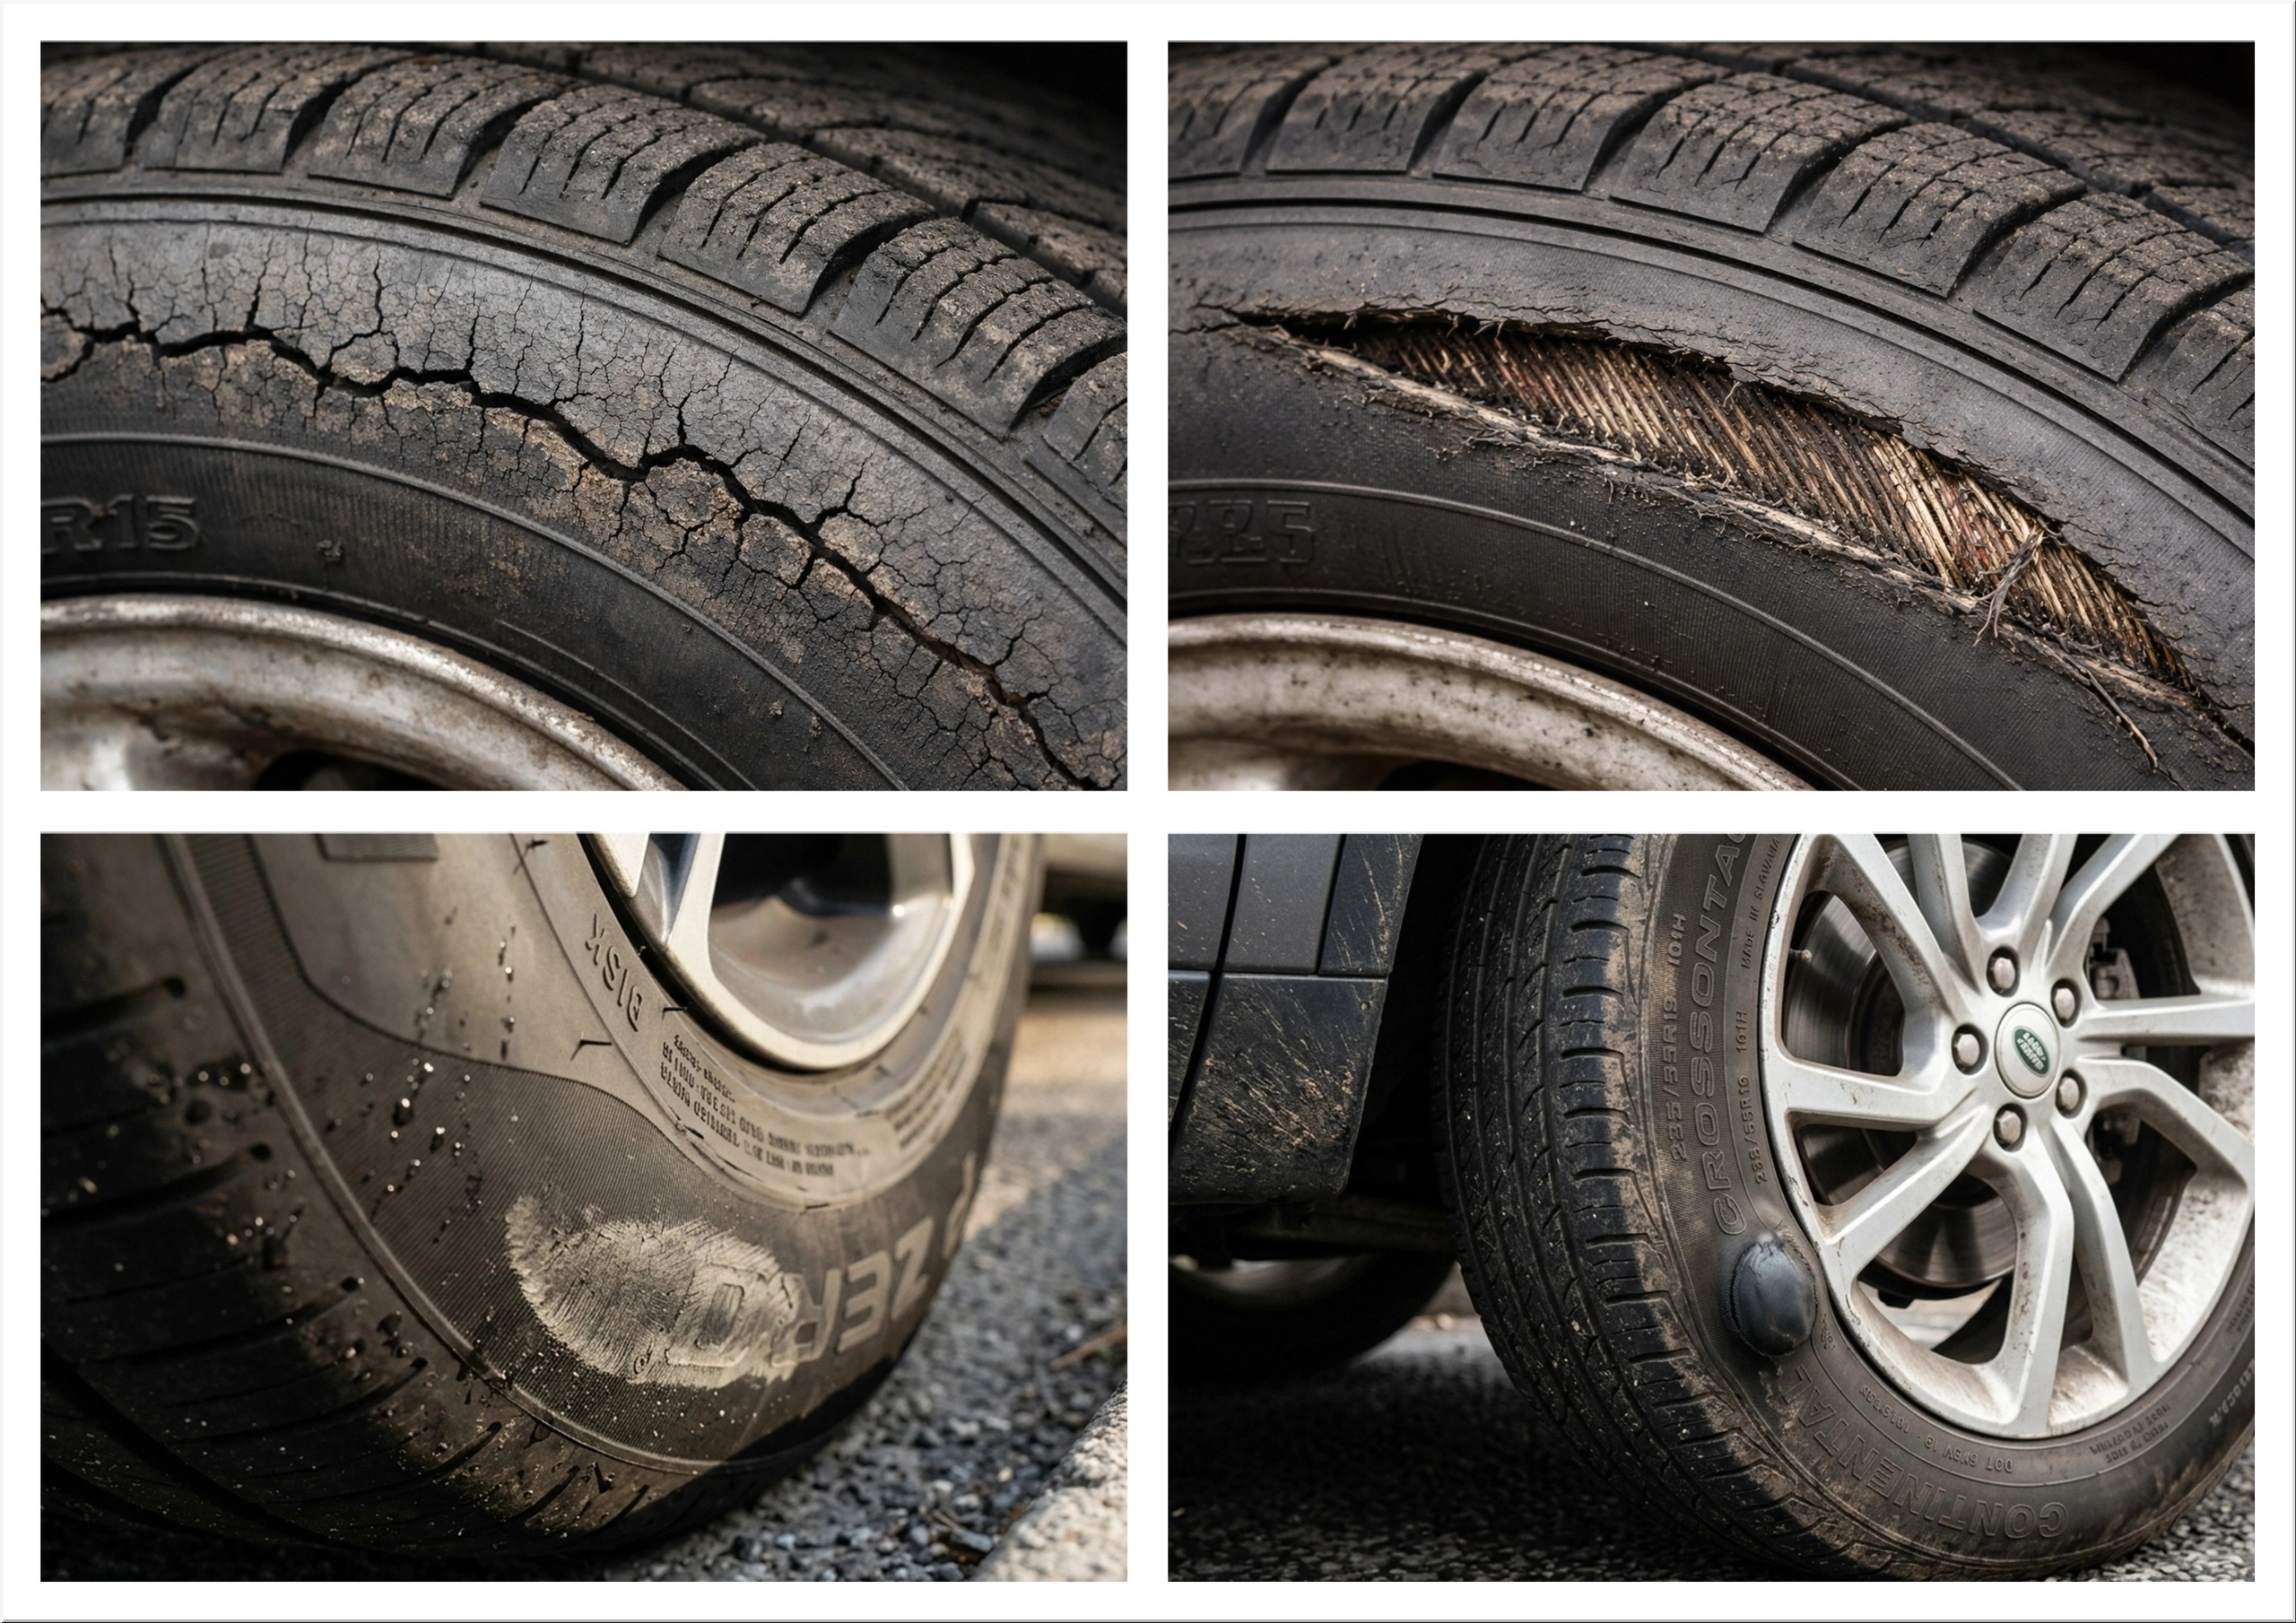
Replace the tire when tread is completely worn or cracked. Replace if the sidewall is split or bulging. Replace if the bead is damaged or will not seat. Replace if more than two patches exist on one tube.
Upgrade Options Worth Considering
Consider these alternatives based on your riding needs. Heavy-duty tubes offer thicker rubber and fewer flats but add slight weight. Solid tire conversion eliminates flats entirely but delivers a harsher ride with less grip. Self-healing tires auto-seal small punctures but are expensive with limited availability.
Riders in debris-heavy cities often switch to solid tires for reliability despite the comfort trade-off.
Professional Repair: When to Call a Pro
DIY is not always the best choice, especially with complex systems.
Get Help If You Have
Seek professional help for tubeless tires requiring sealant injection and high-pressure seating. Get help for hub motor issues where miswiring can fry controllers. Get help if you lack proper tools—wrong Allen keys or no tire levers increase risk. Get help for repeated flats which could indicate rim damage or alignment issues.
What Pros Charge (2024 Rates)
Expect to pay around $75 for labor only (tube swap if you remove the wheel). Full flat repair with scooter in runs $100–$150. A tubeless plug costs approximately $50 with no warranty. Full tire replacement (front or rear) runs $125. Front and rear replacement together costs $250.
Pro Advantage: Technicians use bead breakers, torque wrenches, and pressure testers to ensure safety and longevity. Many offer warranties—DIY does not.
Avoid These 5 Costly Mistakes

Even experienced riders make these errors—do not be one of them.
1. Using Long-Valve Bicycle Tubes
Scooter forks are tight. A long valve hits the fork, stopping the wheel. Always use short-valve 8.5-inch tubes.
2. Skipping Internal Tire Inspection
Leaving a glass shard inside guarantees re-puncture. Always check the inside.
3. Over-Tightening Axle Bolts
This can crack the fork or damage motor housing. Use hand-tight plus 1/4 turn—no wrench force.
4. Ignoring Brake Alignment
Misaligned calipers cause drag, reducing range by up to 15%. Spin test every time.
5. Riding on Under-Inflated Tires
Below 40 PSI increases pinch flat risk. Check pressure monthly.
Final Tips for Long-Lasting Tires
Keep your tires in top shape with these habits.
Monthly: Pressure and Tread Check
Use a digital gauge. Top off to 50 PSI. Look for uneven wear or embedded debris.
Seasonal: Full Wheel Inspection
Remove wheels twice a year to inspect rims, spokes, and brake discs. Clean and lubricate moving parts.
Upgrade Smart
In cities, consider solid tires for reliability. For comfort, stick with pneumatic plus heavy-duty tube. For performance, use self-healing tires on high-end models.
Key Takeaways for Scooter Tire Repair
A flat tire does not have to end your ride. With the right tools and knowledge, scooter tire repair is fast, affordable, and empowering. Master the roadside patch method for quick fixes when you’re stuck away from home. Learn full wheel removal and tube replacement for permanent repairs that last months or years. Know when to call a professional—tubeless tires, hub motor issues, and repeated flats all benefit from expert attention.
Check your tire pressure monthly, inspect for debris, and carry a basic repair kit. These simple habits prevent most flats before they happen. Your scooter—and your commute—will thank you.
Frequently Asked Questions About Scooter Tire Repair
How do I know if my scooter tire needs repair or replacement?
Replace the tire if you see visible cracks in the sidewall, the tread is worn down to the wires, or the bead is damaged and will not seat properly on the rim. Repair is appropriate for small punctures from nails or glass that are located on the tread area away from the valve.
Can I patch a scooter tire without removing the wheel?
Yes, for small punctures you can access the inner tube through the sidewall or valve area without full wheel removal. This roadside method works for holes away from the valve stem and sidewall. It is temporary—plan for a full repair when you get home.
What causes snakebite flats on electric scooters?
Snakebite flats occur when the inner tube gets pinched between the tire and rim, usually from under-inflation or improper installation. Inflate to the recommended 50 PSI and ensure the tube is not twisted or pinched during installation.
How often should I check my scooter tire pressure?
Check tire pressure at least once a month. Under-inflated tires are the leading cause of flats. Use a digital gauge and inflate to the PSI marked on your tire sidewall.
Are self-healing tires worth the extra cost?
Self-healing tires are worth it if you ride frequently in areas with road debris or want to minimize maintenance. They automatically seal small punctures. However, they are expensive and only available on certain high-end models like Apollo City 2022 and Apollo Pro 2023.