Your bike lock tangles into a frustrating knot every time you reach for it? You’re not alone—over 60% of cyclists report damaged or unusable cable locks within two years due to improper storage. When your security tool becomes a hassle, you’re less likely to lock your bike properly, putting your investment at risk. Storing your cable lock correctly isn’t just about convenience; it prevents internal wire breakage, vinyl coating cracks, and frustrating tangles that waste your time. In this guide, you’ll master a 60-second storage routine that extends your lock’s lifespan, keeps it instantly accessible, and eliminates morning commute headaches. Learn exactly where to mount it on your frame, the coiling technique that prevents kinks, and critical mistakes that silently destroy your lock.
Why Improper Cable Lock Storage Ruins Your Security Tool
Storing your cable lock haphazardly causes irreversible damage most riders ignore until it’s too late. When cables develop kinks or sharp bends, internal steel strands snap one by one. You won’t notice until the lock suddenly separates during use. Vinyl coatings crack when wrapped tightly around thin frame tubes, exposing wires to rust. Moisture trapped in tangled coils accelerates corrosion inside the cable—especially dangerous in coastal or snowy climates. Worst of all? A poorly stored lock takes 30+ seconds to untangle when thieves need just 10 seconds to strike.
How Kinks Destroy Cable Lock Integrity
Every sharp bend in your cable creates micro-fractures in the steel wires. Test this yourself: repeatedly fold a paperclip until it snaps. That’s exactly what happens inside your lock with improper coiling. A single severe kink can reduce cutting resistance by 40%. When stored loosely draped over your rear rack, wind vibration during riding causes constant wire-on-wire abrasion. Within months, the cable weakens significantly at these stress points.
Critical Moisture Traps You’re Creating
Leaving your cable lock tangled in a saddlebag or frame mount traps moisture against the vinyl coating. Condensation forms overnight, seeping into microscopic coating cracks. By morning, you’re storing a damp cable that rusts from the inside out. This hidden corrosion makes cables brittle and prone to sudden failure. Check your lock after rainy rides—you’ll often find water pooled in the tightest coil bends.
Step-by-Step: The 30-Second Tangle-Free Coiling Method
Master this coiling sequence to prevent kinks and ensure instant deployment. You’ll need only your hands and 30 seconds—less time than wrestling with a tangled mess.
Prepare the Cable for Stress-Free Coiling
Begin with the lock body secured (key inserted or combination set). Hold the cable end firmly in your left hand. Shake the cable gently to release any existing twists—like straightening a garden hose. Critical step: Identify the natural curve direction by letting the cable hang loose. Forcing it against its natural bend guarantees future kinks. Most cables coil clockwise when viewed from the lock body.
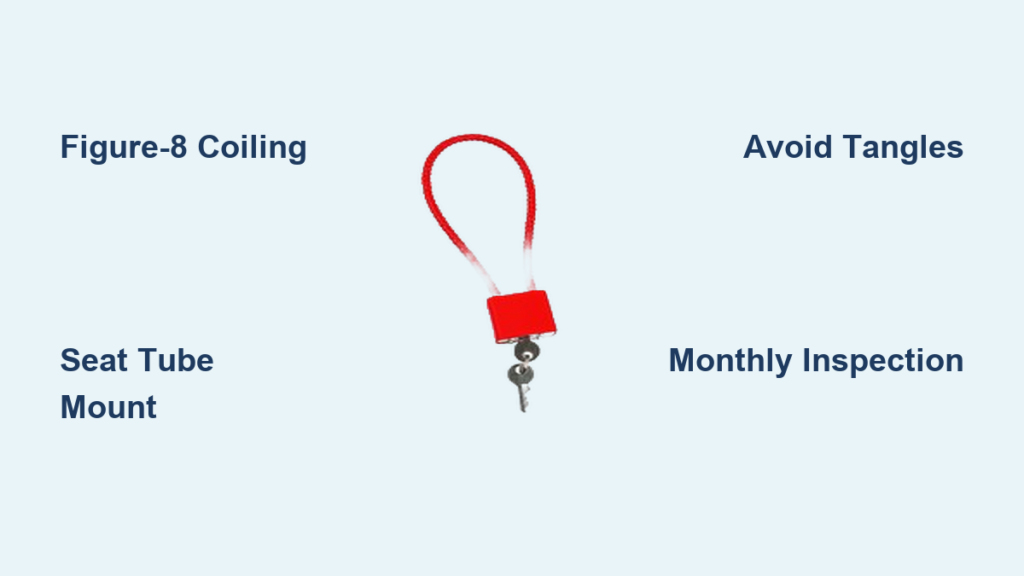
The Figure-8 Coiling Technique That Prevents Tangles
- Create a large loop (12-18 inches diameter) by bringing the cable end toward you in a clockwise motion
- Instead of closing the loop, twist your wrist to form a second loop crossing under the first (creating a figure-8)
- Pinch the crossover point firmly between thumb and forefinger
- Continue adding figure-8 loops, maintaining consistent tension—never pull tight
- Stop when 6-8 inches of cable remain near the lock body
- Thread the loose end through the last loop and pull snug (not tight)
Pro Tip: Store with slight tension—like a relaxed rubber band. Complete slack allows coils to shift and tangle; excessive tightness stresses the vinyl coating. Your finished coil should sit flat without springing apart.
Optimal Mounting Locations That Protect Your Lock and Bike

Where you attach your coiled lock matters as much as how you coil it. Avoid these common mistakes that damage your bike or lock.
Frame Mounts: The Seat Tube Sweet Spot
Mounting your lock horizontally on the seat tube (between saddle and frame) is ideal for most riders. This location:
– Keeps the lock clear of chain grease and wheel spray
– Allows quick one-handed removal while standing
– Prevents cable swing that causes abrasion on downtubes
– Works with 95% of seat post designs
Warning: Never mount directly against carbon fiber frames. The constant vibration can micro-scratch the surface. Use rubber-lined mounts specifically rated for carbon. For aluminum or steel frames, ensure the mount’s edges aren’t sharp—file them smooth if needed.
Saddlebag vs. Rack Mounting: Which Wins?
While saddlebags seem convenient, they’re the worst storage spot for cable locks. The constant bouncing during rides:
– Creates internal cable abrasion (accelerating wire breakage)
– Traps sweat and rain against the vinyl coating
– Makes locks harder to access quickly
Rear racks work only if you use a dedicated vertical cable holder. Horizontal storage on racks causes dangerous cable swing into spokes. If using a rack, position the lock vertically behind the wheel with at least 3 inches of clearance.
Troubleshooting: Fixing Common Cable Lock Storage Failures

Even with proper technique, issues arise. Here’s how to diagnose and solve them immediately.
Problem: Cable Won’t Coil Smoothly Anymore
This signals internal damage. First, inspect for:
– Visible kinks (dents in the vinyl coating)
– Stiff spots when running your hand along the cable
– Rust-colored residue on your fingers
Immediate fix: Soak the stiff section in penetrating oil for 10 minutes, then work it gently. If stiffness remains, replace the lock—compromised cables fail without warning.
Problem: Vinyl Coating Keeps Splitting at Mount Points
This happens when mounts pinch the cable. Solutions:
– Replace metal mounts with neoprene sleeves ($5 online)
– Rotate the lock 90 degrees on the mount weekly to distribute pressure
– Never store the cable folded at the exact same spot
Pro Tip: Rub a tiny amount of silicone lubricant on coating contact points monthly. It prevents UV cracking and reduces friction.
Preventative Maintenance: The 5-Minute Monthly Routine

Skip this and your lock’s lifespan halves. Dedicate 5 minutes monthly:
-
Uncoil completely and inspect for:
– Hairline cracks in vinyl (especially near lock body)
– Rust spots (wipe with vinegar if found)
– Stiff sections (address immediately) -
Clean with a microfiber cloth dipped in isopropyl alcohol—removes grime without drying vinyl
-
Lubricate internally by spraying lock lubricant into both cable ends (never use WD-40—it attracts dirt)
-
Re-coil using the figure-8 method while applying lubricant
Critical reminder: Store your lock indoors during extreme cold (<20°F/-7°C). Vinyl becomes brittle and cracks when flexed in freezing temps.
When to Replace Your Cable Lock (Before Disaster Strikes)
Don’t wait for total failure. Replace immediately if you notice:
– Visible steel wires protruding through vinyl coating
– More than three stiff sections along the cable
– Rust bleeding onto your hands
– Lock body feels gritty when retracting
Expert insight: A damaged cable lock cuts 3x faster than a new one. Test yours by trying to bend it sharply—if it resists cracking, it’s still viable. If it kinks easily, replace it today. Quality replacement cables cost $15-$25—far cheaper than replacing your bike.
Storing your cable lock properly takes just 30 seconds but pays off in security and convenience every single ride. By using the figure-8 coiling method and mounting on your seat tube, you’ll eliminate frustrating tangles while doubling your lock’s lifespan. Remember the monthly maintenance ritual—especially lubricating and inspecting for cracks—to catch problems early. Your future self will thank you when you’re not wrestling with a frozen, rusted cable at 6 AM before work. Ready to lock smarter? Grab your lock now and practice the coiling technique—it’s the easiest upgrade to your bike security routine. For commuters, pair this with a compact U-lock stored on your top tube for maximum theft protection.