
If you’re a tall rider struggling to get your feet planted comfortably on your dirt bike, you’ve probably wondered how to raise dirt bike seat height without compromising performance. That cramped feeling with your knees squeezed against the tank isn’t just uncomfortable—it can lead to fatigue, reduced control, and even safety concerns during technical riding. The good news is you don’t need to buy a new bike to solve this problem. Numerous proven methods exist to increase your seat height while maintaining proper handling characteristics, from simple adjustments you can make in your garage to more involved modifications for significant height gains.
Many riders mistakenly believe raising the rear suspension is the solution, but this approach actually disrupts your bike’s carefully engineered geometry. Instead, smart modifications target the seat itself or complementary components like handlebars and footpegs to create a natural riding position that accommodates your height. This comprehensive guide reveals exactly how to raise dirt bike seat height through practical, tested methods that deliver results without sacrificing the bike’s intended performance characteristics. Whether you need a slight boost for better leg extension or a substantial increase for maximum comfort, you’ll discover the right solution for your specific needs and riding style.
Install a Taller Seat Foam Assembly
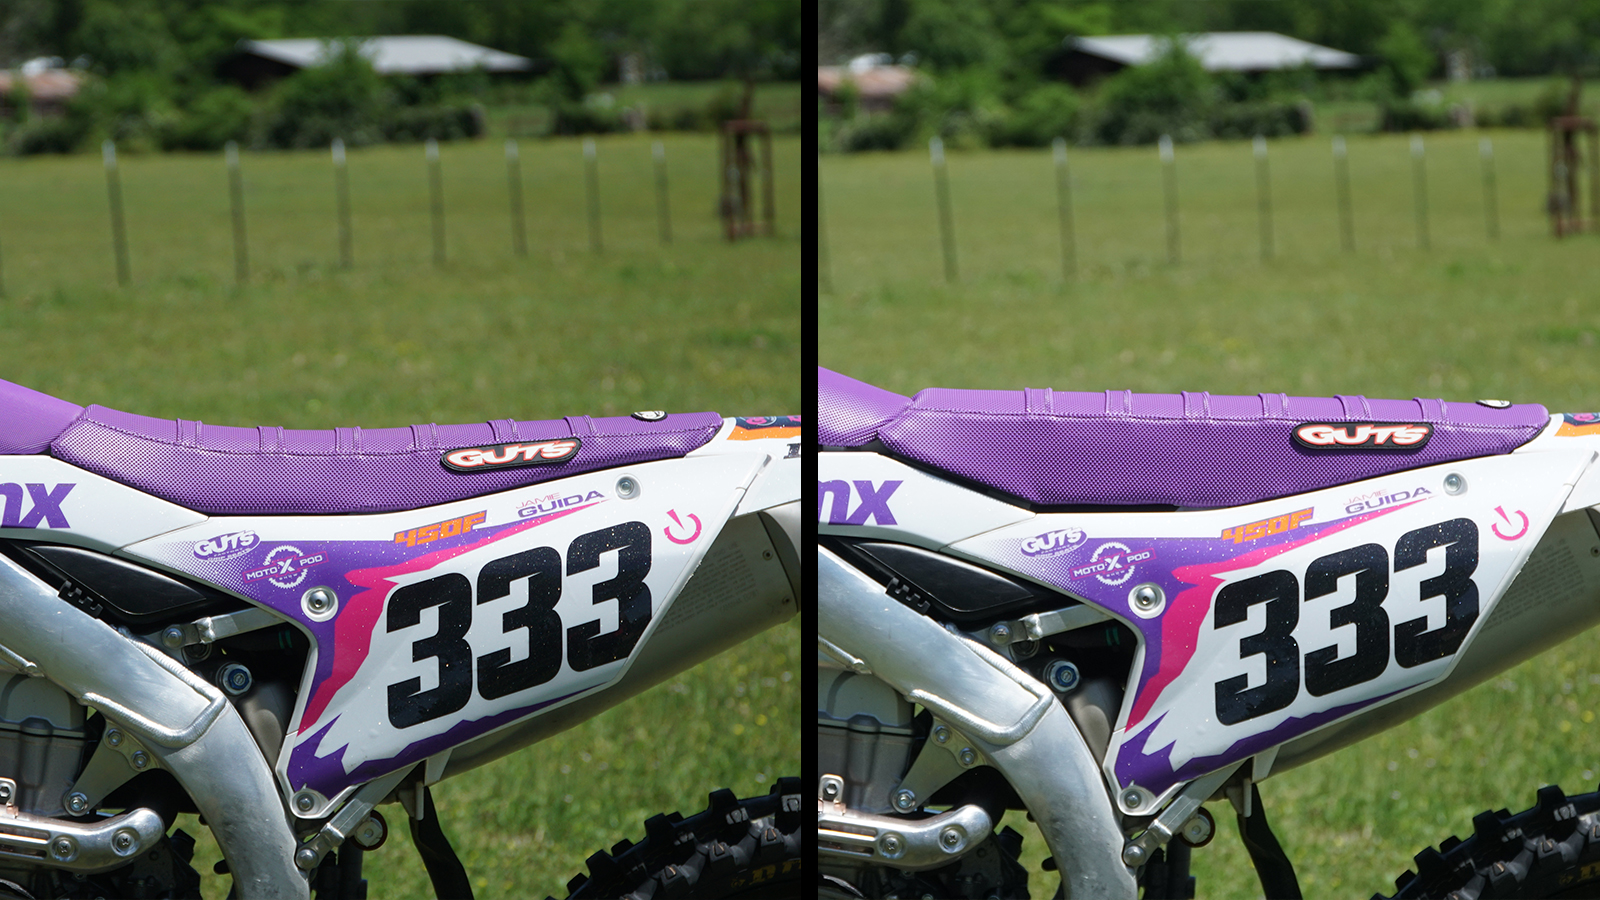
Replacing your stock seat with a taller foam assembly delivers immediate height gains without altering your bike’s suspension geometry or chain tension. This straightforward modification elevates your position by 15-25mm, creating crucial leg room that reduces fatigue during extended trail rides. Unlike suspension modifications, a taller seat maintains the bike’s original handling characteristics while providing the extended leg position tall riders desperately need.
How Taller Seats Improve Your Riding Experience
A properly fitted taller seat transforms your riding posture by allowing a more natural knee angle and reducing pressure points that cause discomfort on long rides. This elevated position also enhances your visibility over obstacles on technical terrain and gives you better leverage when shifting weight during slow-speed maneuvers. For trail riders who spend significant time seated, these benefits directly translate to improved control and reduced physical strain.
Choosing the Right Tall Seat for Your Bike
When selecting a taller seat, look for options specifically designed for your bike model to ensure proper fitment and aesthetics. Many manufacturers offer “tall seat” accessories that bolt directly onto your existing seat base without modification. Aftermarket options often feature premium materials like grippier vinyl covers and multi-density foam that provide both height and enhanced comfort compared to stock replacements.
Adjust Handlebar Position Forward
Your handlebars offer significant adjustability that works synergistically with seat height modifications to create a complete rider triangle solution. Japanese dirt bikes (Honda, Yamaha, Kawasaki, and Suzuki) feature top triple clamps with multiple mounting holes that, combined with reversible bar mounts, provide approximately 35.5mm of fore/aft adjustment—enough to make a noticeable difference for tall riders seeking a more open riding position.
Making the Handlebar Adjustment
Begin by loosening the pinch bolts on your top triple clamps using a 6mm or 8mm hex key. Slide your handlebars to the forwardmost position, ensuring they align with the steering stem before tightening to manufacturer specifications. This simple 5-minute adjustment accommodates longer arms by reducing the reach required to maintain control, decreasing shoulder and back fatigue during extended riding sessions.
Why Forward Handlebar Position Complements Height Modifications
Pushing your handlebars forward creates a more natural riding triangle that works with your raised seat position rather than against it. This adjustment shifts your weight distribution slightly forward on the bike, counteracting any “rear-weighted” feeling that might accompany seat height increases. The result is a balanced position where your arms extend comfortably forward rather than being forced upward—a critical factor for maintaining control during technical riding.
Modify Footpeg Height for Optimal Leg Position

Adjusting your footpeg position completes the rider triangle modifications needed to achieve comfortable leg angles after raising your seat height. Kawasaki models like the KX250 and KX450 feature factory-adjustable footpeg mounts that offer a 5mm-lower position specifically designed to help taller riders reduce knee bend and improve overall comfort.
Benefits of Lowered Footpegs for Tall Riders
Lower footpegs give your legs more “bike to squeeze” between your knees, creating a more natural leg angle that reduces fatigue during long rides. This seemingly small adjustment significantly improves your ability to shift weight effectively during cornering or jumping, as your knees aren’t forced into an excessively bent position. When combined with seat and handlebar modifications, lowered footpegs create a cumulative effect that dramatically improves overall comfort.
Aftermarket Footpeg Solutions for Non-Adjustable Bikes
For bikes without factory-adjustable footpegs, numerous aftermarket options provide 10-15mm of height adjustment in either direction. These bolt-on replacements often feature improved grip surfaces and more durable construction than stock units. While some riders consider having teeth welded onto existing pegs for height adjustment, this permanent modification is less common and generally unnecessary given the availability of quality aftermarket solutions.
Raise Seat Height Through Subframe Modification
When simpler modifications prove insufficient, subframe modification offers a more dramatic solution for significant height increases. While technicians commonly cut 5-10mm from aluminum subframes to lower seat height (dropping the seat approximately one inch), the reverse process—adding material to the subframe—can achieve the opposite effect for taller riders.
Understanding Subframe Modification Limitations
This approach requires mechanical expertise as it involves permanently altering your bike’s frame structure. Crucially, Husqvarna models with carbon or plastic subframes cannot be modified in this manner—their construction simply doesn’t allow for cutting and welding adjustments. Aluminum subframes must be modified by qualified fabricators to maintain structural integrity and safety.
When Subframe Modification Makes Sense
Reserve subframe changes for situations where combining a taller seat with handlebar and footpeg adjustments still doesn’t provide sufficient height. Most riders find that simpler modifications deliver adequate results without requiring frame alterations. If you pursue this route, work with professionals who specialize in motorcycle chassis modifications to ensure proper execution and maintain handling characteristics.
Fine-Tune Suspension Settings After Modifications
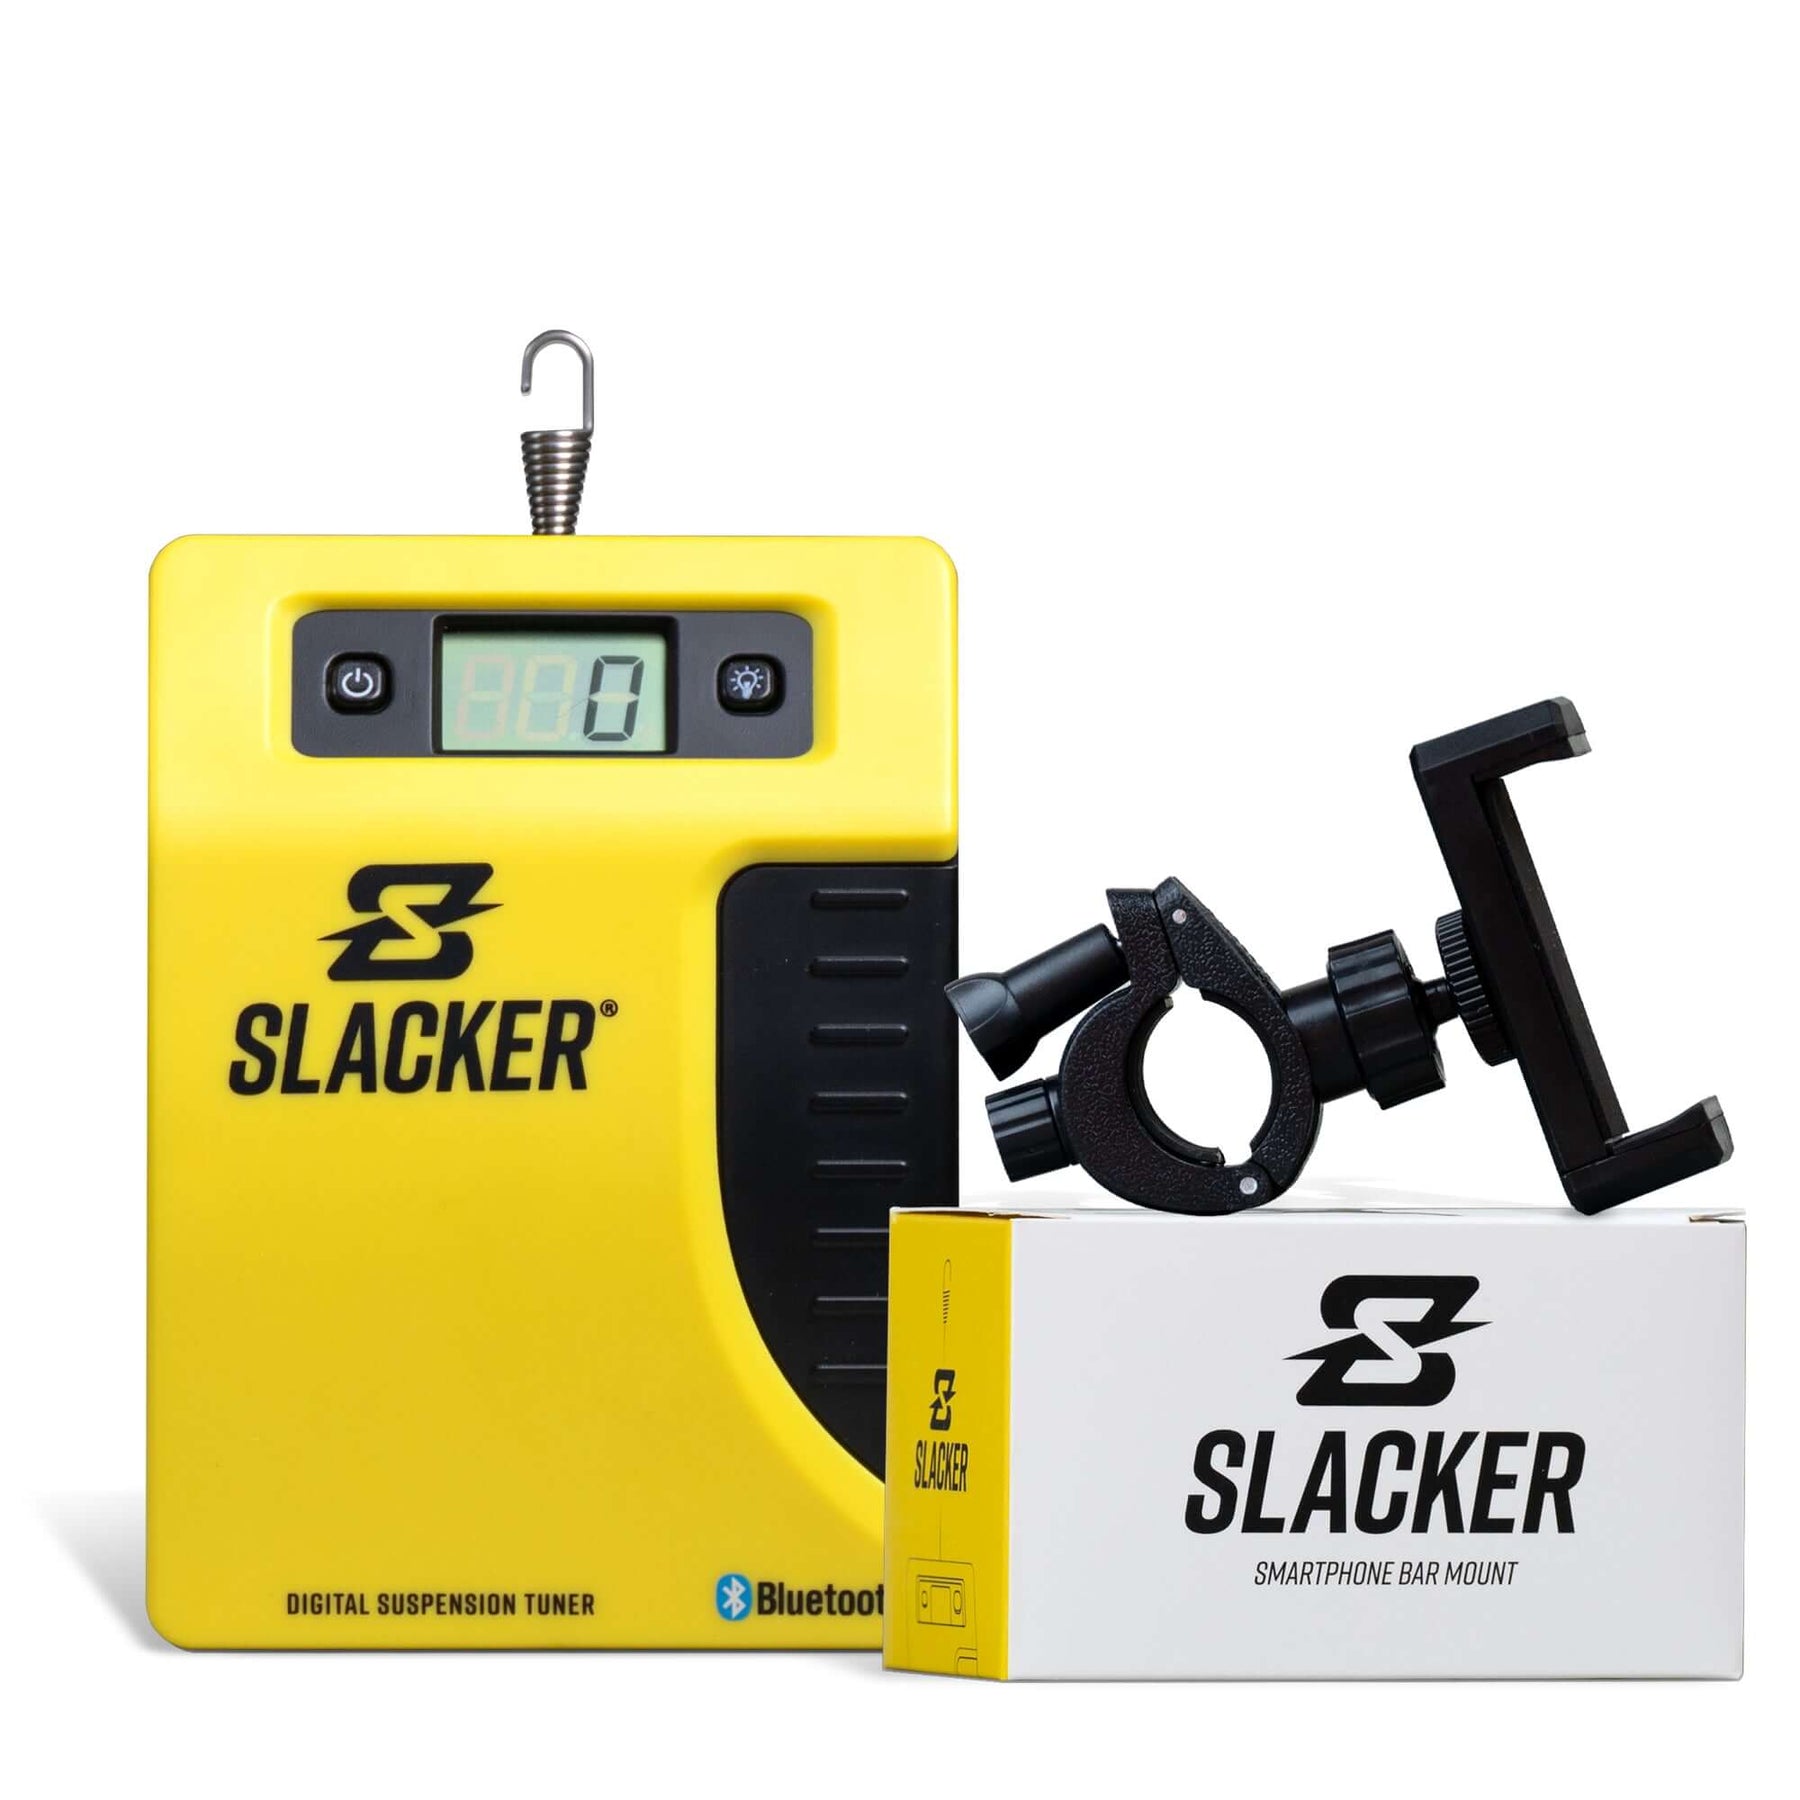
Maintaining proper suspension sag becomes critical after any seat height modification to ensure predictable handling. Your sag settings should match your weight regardless of seat height changes, with typical race sag specifications falling around 105mm for most dirt bikes. Some MXA test riders prefer slightly different settings—106-108mm on Yamaha YZ450F models or 108-110mm on Honda CRFs—but the fundamental principle remains consistent.
Key Suspension Adjustments to Make
After raising your seat height, check and adjust your race sag (suspension compression with you seated) to fall within manufacturer specifications. Fork positioning in the triple clamps also affects overall geometry—lowering forks in the clamps contributes to a higher perceived seat position. If you notice handling changes like reduced cornering stability or increased front-end dive, your suspension likely needs retuning to compensate for the modified geometry.
Balance Handling and Comfort Trade-Offs
Every seat height modification affects your bike’s handling characteristics in predictable ways, and understanding these trade-offs helps you optimize your setup. A taller seat raises your center of gravity, which can reduce cornering stability but improves leg room and visibility over obstacles. Conversely, a lower seat enhances cornering confidence but compromises comfort for taller riders.
Finding Your Optimal Height Compromise
Most tall riders achieve the best results with moderate modifications that provide sufficient leg extension without dramatically affecting handling. A slightly taller seat combined with forward handlebar positioning and lowered footpegs often creates the ideal balance. Extreme modifications should be approached cautiously and thoroughly tested in controlled environments before tackling challenging terrain.
Choose the Right Modification Path for Your Needs
Start with the simplest modifications first: install a taller seat foam, adjust your handlebars forward, and lower your footpegs if your model supports it. These changes require minimal tools, no permanent modifications, and can be reversed if needed. Combined, they typically provide 15-25mm of effective height increase while maintaining proper handling.
When to Consider Advanced Modifications
If basic adjustments prove insufficient, explore aftermarket components designed for taller riders, such as extended seat assemblies or professional suspension solutions. Reserve subframe modifications for cases where nothing else works, and always consult with experienced technicians who can help you achieve your height goals while preserving your bike’s intended performance characteristics.
Final Adjustment Tips
Test your modifications systematically across different riding scenarios. Pay attention to how the bike feels during cornering, braking, and jumping—situations where handling changes become most apparent. Keep notes about what works and what doesn’t, and don’t hesitate to fine-tune your setup until it meets your requirements for both comfort and performance. Remember that proper suspension sag settings around 105mm should be maintained regardless of seat height modifications to ensure consistent handling.
By following these methods for how to raise dirt bike seat height, you’ll transform your riding experience from cramped and uncomfortable to natural and controlled—without compromising the performance you expect from your machine.


