
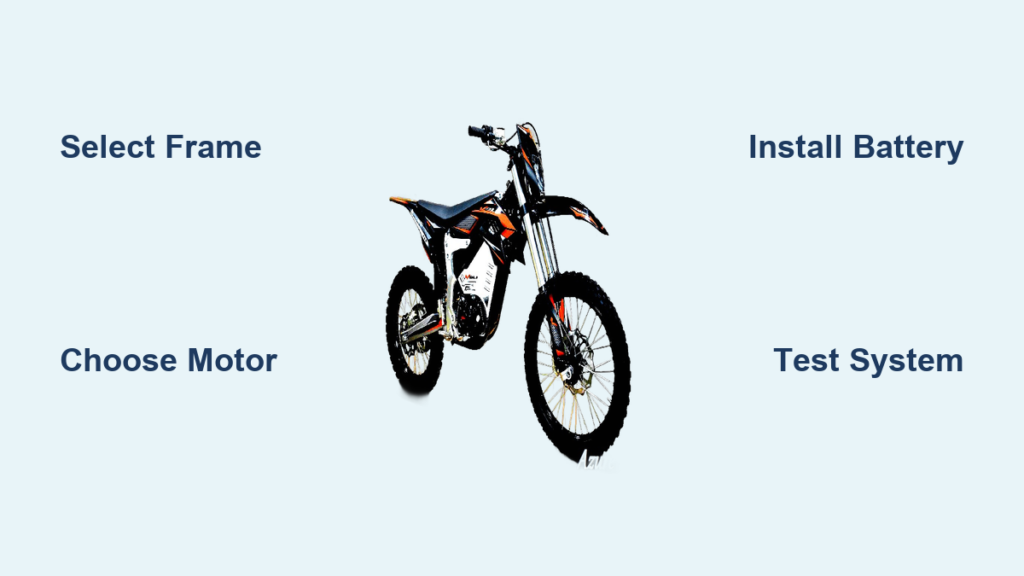
You can build an electric dirt bike that delivers instant torque, minimal maintenance, and nearly silent trail operation by converting a traditional motorcycle. The process has become remarkably accessible as component prices have dropped while quality improved dramatically. Quan Shun motors, high-density battery cells, and sophisticated controllers now allow DIY builders to create machines rivaling commercial offerings at half the cost. A well-executed conversion can produce wheel-torque equivalent to a 250cc four-stroke while maintaining similar weight to its gasoline-powered counterpart.
The electric dirt bike revolution is accelerating as more riders discover the benefits of instant torque and simplified maintenance. Whether you’re working with a Honda CR250 frame, KTM 200 EXC platform, or another donor motorcycle, understanding the essential components and their integration points will determine your success. This guide walks through every stage of the build electric dirt bike process, from frame selection through final performance tuning—giving you exactly what you need to create a reliable trail machine.
Select Donor Frame for Electric Dirt Bike Conversion
Modern motorcycle frames have evolved in ways that dramatically simplify electric conversions, with the shift from single backbone top-tube designs to twin-spar layouts being the most significant advancement. This split top-tube configuration creates a large cavity perfectly sized for rectangular battery blocks, maximizing energy capacity within the frame rails. Older conversion attempts required custom battery packs with odd geometries, often constructed from multiple sections that ended up smaller than optimal.
Honda CR250 frames from 2010 and newer provide an excellent foundation with their twin-spar design that accommodates large long-stroke shocks mounted vertically behind the engine bay. The 2009 CR250 still uses the older single top-bar design, so verify the specific year before purchasing. When evaluating potential donor frames, inspect for cracks, bent sections, or collision damage—pay special attention to engine mount points and swingarm pivot areas as these experience the highest stress during operation.
KTM 200 EXC frames from 2002-2007 have earned particular popularity among experienced builders due to their robust steel construction, readily available replacement parts, and geometry that naturally accommodates electric drivetrain components. Steel frames provide an additional advantage: they’re easier to modify and weld if you need to adapt mounting points or install battery enclosures. Aluminum frames require more specialized welding techniques but typically weigh less when completed.
Choose Optimal QS Motor for Your Build
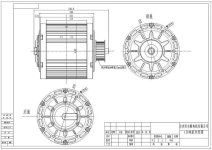
Quan Shun cylindrical motors have become the standard for electric dirt bike conversions, and understanding their nomenclature helps you select the right unit. The numbers represent rotor dimensions in millimeters (diameter/length), while the “H” indicates magnet height. A QS 138/70H motor, for example, has a 138mm diameter rotor with 70mm magnet height.
QS 138/70H V3 vs. 138/90H Performance Comparison
The QS 138/70H V3 represents the sweet spot for most dirt bike conversions. This motor delivers 3000W continuous power, with builders routinely pushing it to 7200W peak output at 72V with 100A current draw. The available integrated 2.3:1 gear reduction (45T/19T gearing) proves invaluable for dirt bike applications where wheel torque matters more than raw RPM. The helical gear arrangement runs quieter than common spur gears, and the removable end-cap design provides access for maintenance.
If your build demands more torque, consider the QS 138/90H motor, which steps up to 4000W continuous power. The increased magnet height translates directly to higher torque output, though this motor doesn’t offer the internal gear reduction option. External dimensions measure 217mm in length and 162mm in diameter, representing the practical upper limit for most dirt bike frame applications. One builder documented his 2018 Suzuki RM-Z450 conversion with this motor, reporting: “It hits very hard, maybe I will need to de-tune it a bit. Weight is 255 lbs, but it feels way lighter than that when moving.”
Match Votol Controller to Motor Specifications

The controller manages power delivery from battery to motor and represents perhaps the most critical component for achieving reliable performance. QS motors pair with several controller brands, with Votol, APT, Kelly, and Sabvoton offering the most common options for DIY builders.
EM-150 vs. EM-200 Controller Selection Guide
Votol EM-150 controllers provide 150A continuous current, making them well-suited to the 138/70H motor. The EM-200 controller steps up to 200A continuous with a 250A peak rating, providing additional headroom for the more powerful 138/90H motor. Some builders successfully pair the 138/70H with the larger EM-200 controller for enhanced performance when they want more power than the smaller motor would typically deliver.
The EM-200 controller uses 24 MOSFETs, providing approximately 8.4 continuous amps per FET. Baseplate dimensions measure 285mm by 168mm with a thickness of 70mm, so ensure your frame or battery enclosure accommodates this size. The capacitor bank is rated at 90V maximum, meaning a 72V 20S battery charged to 4.2V per cell (84V nominal) provides a critical 6V safety margin for voltage spikes during operation.
Build High-Capacity Battery Pack for Maximum Range
Battery selection fundamentally determines your electric dirt bike’s performance characteristics, range, and weight distribution. The three primary cell formats—cylindrical, pouch, and prismatic—each offer distinct advantages for different applications.
Cylindrical vs. Pouch Cells: Which Delivers Best Off-Road Performance?
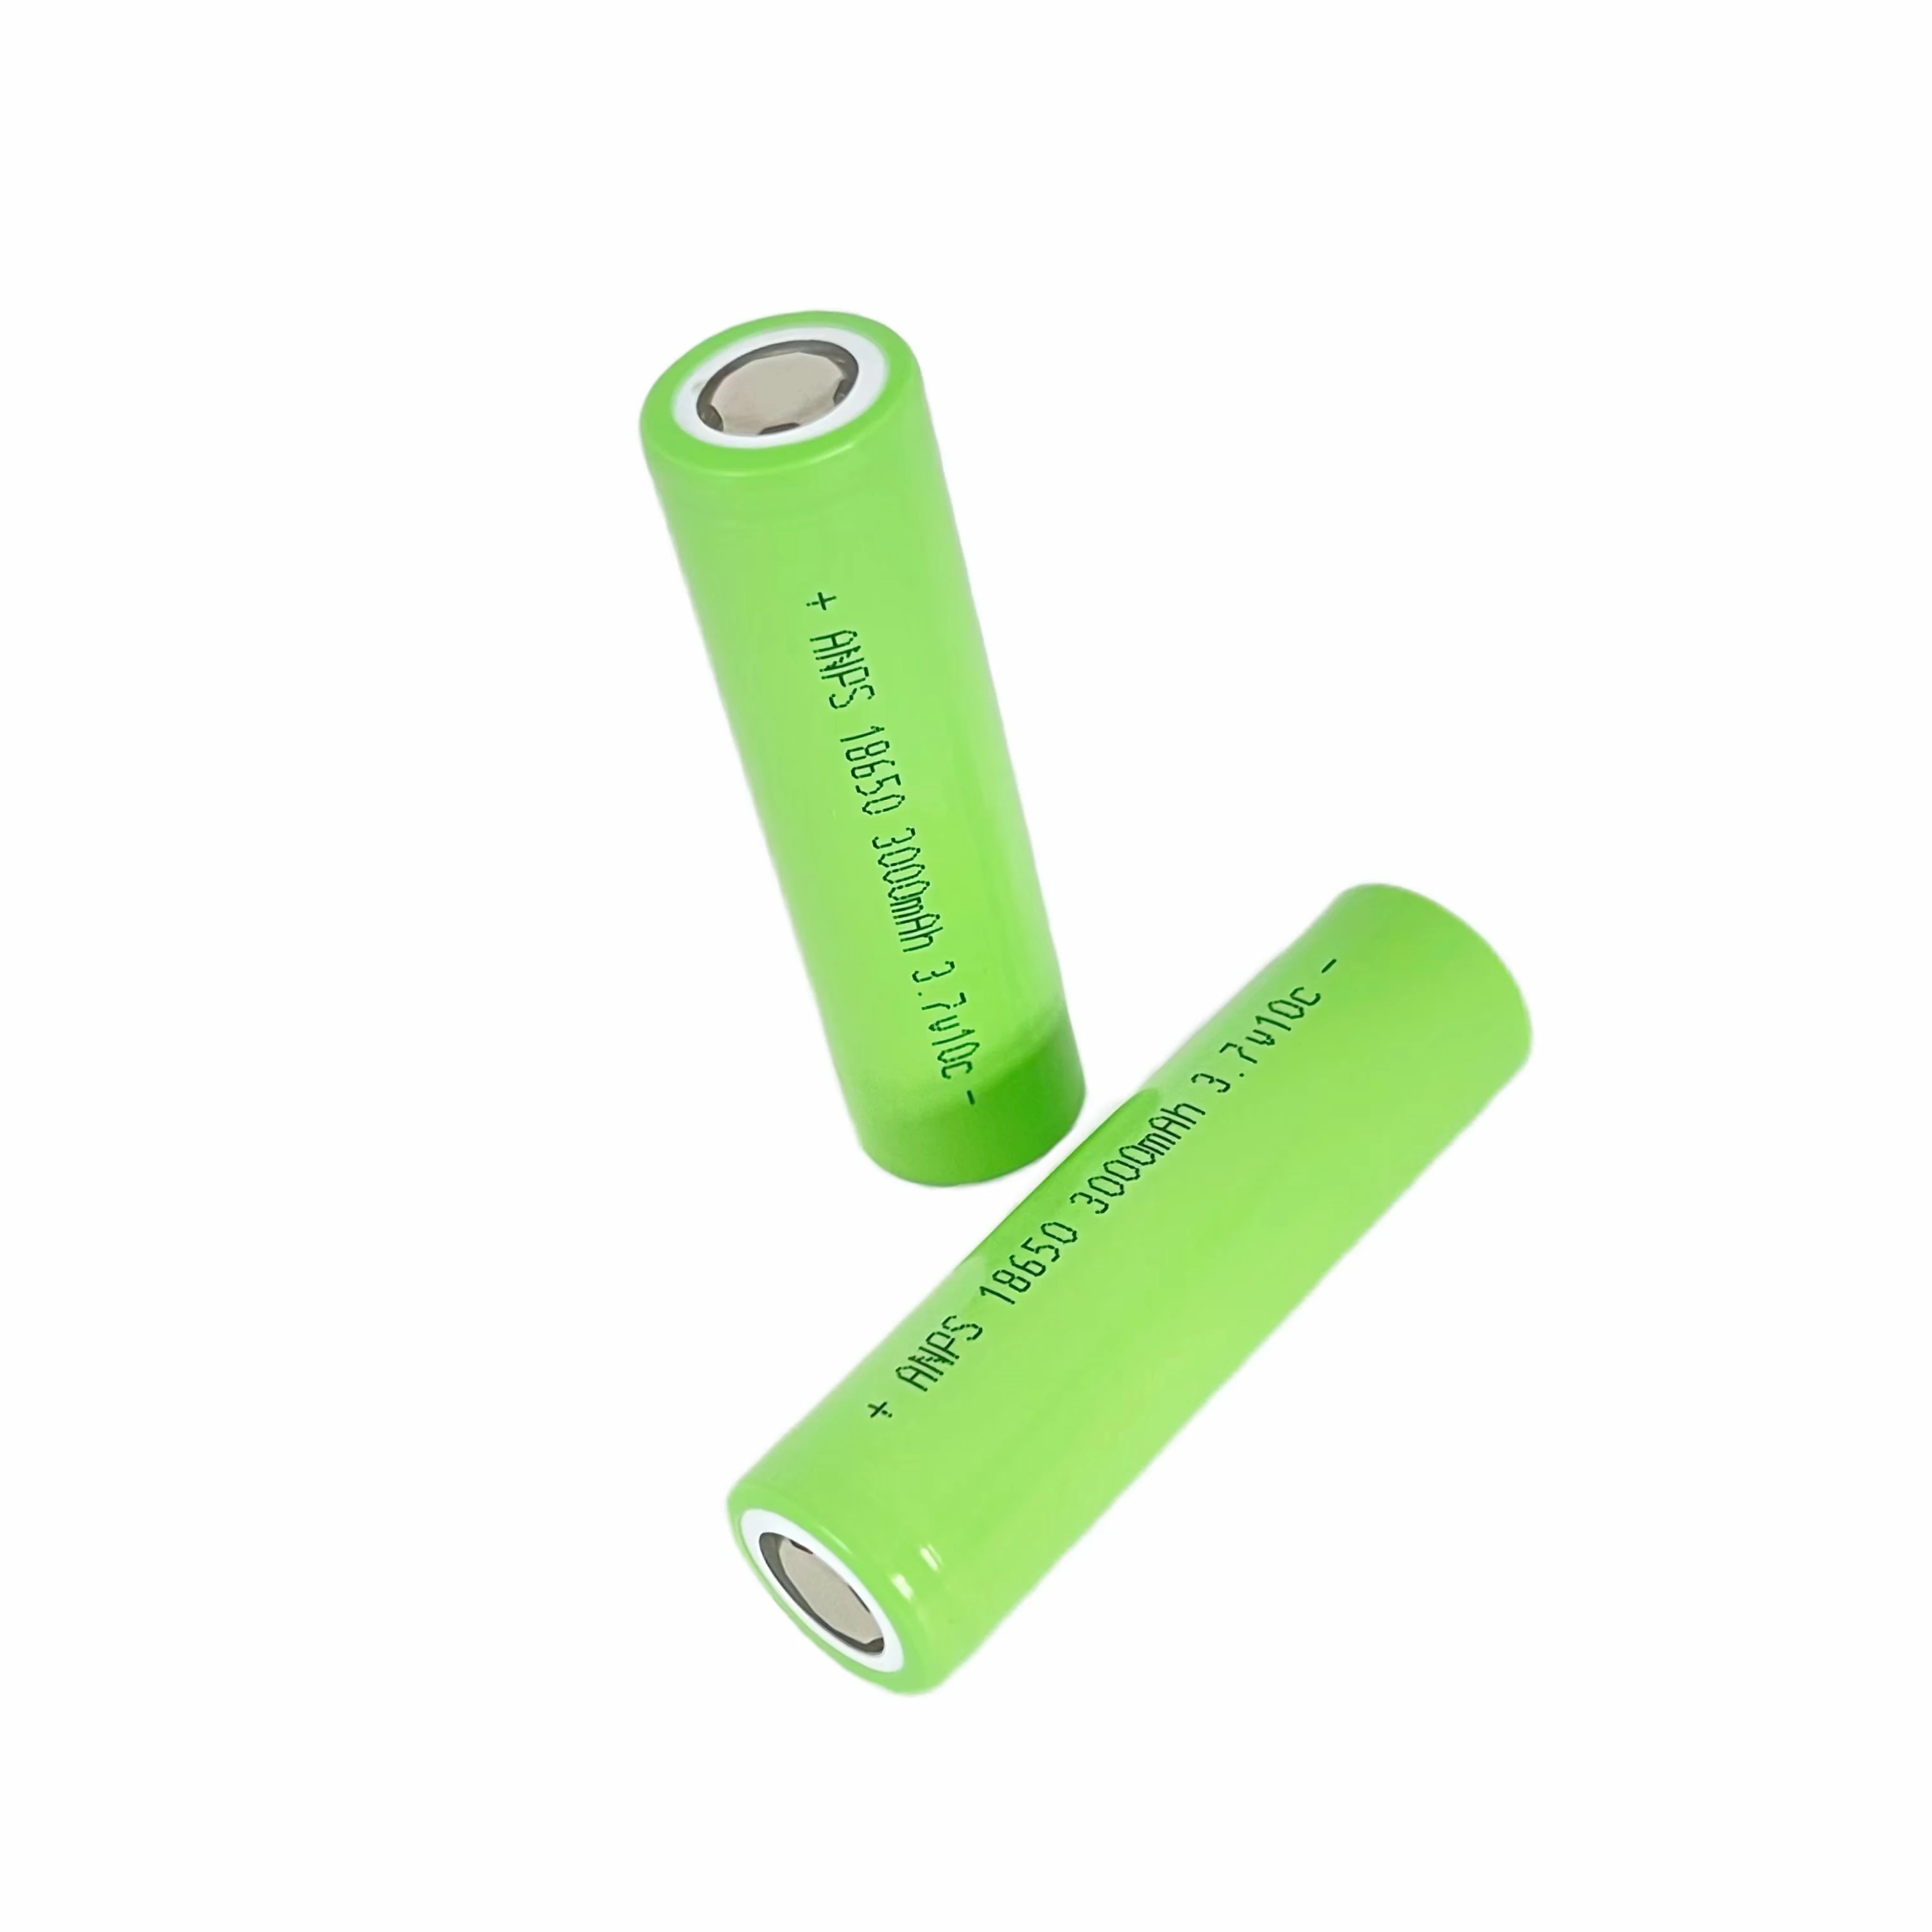
Tesla-style 18650 cylindrical cells represent the most common format for high-performance electric motorcycle builds. These cells offer high energy density and proven reliability but require more complex thermal management. For motocross applications requiring 1.5 to 2 hours of hard riding, battery capacity in the range of 2.6 to 3 kWh typically provides adequate range.
Pouch cells offer superior power density and thermal characteristics, making them attractive for high-performance applications. Experienced builders have reported using pouch cells offering over 200 Wh/kg energy density while maintaining 3C/5C continuous discharge performance. The primary disadvantage is structural vulnerability—pouch cells require potting in rigid, waterproof enclosures to survive the vibration and impact forces encountered in off-road applications.
Install Motor with Proper Chain Reduction
Motor installation requires careful attention to alignment, chain tension, and protection from debris. For QS 138/70H motors with the optional internal gear reduction, installation follows a relatively straightforward path: mount the motor using adapter plates, connect the output shaft to your existing chain drive, and ensure electrical connections reach the controller without stretching.
Step-by-Step Jackshaft Installation for QS 138/90H
Since the QS 138/90H lacks internal gearing, implement this 3-step jackshaft installation process:
- Mount the motor using custom brackets that maintain proper alignment with the jackshaft input
- Connect the motor output to the jackshaft using #428 or #520 chain with proper tension (10-15mm deflection)
- Install the 13T final-drive sprocket on the jackshaft output, connecting to your existing rear sprocket
Critical visual cue: When properly tensioned, the chain should have approximately 10-15mm of vertical movement at the midpoint of the longest run. Too tight causes premature wear; too loose risks derailment during aggressive riding.
Wire Electrical System for Safety and Reliability

Electrical system wiring requires careful planning and quality components to ensure reliable operation under demanding conditions. Begin by creating a wiring diagram showing every connection point, wire gauge, and fuse location—this documentation proves invaluable during assembly and future troubleshooting.
High-Current Connection Safety Checklist
For a 72V system at 200A, use these essential wiring specifications:
– 4 AWG cable or larger for main battery-to-controller connection
– 250A fuse between battery and controller for 72V systems using EM-200 controllers
– Split loom tubing or corrugated conduit to shield all wiring from moving components
– Digital temperature sensor installed directly on motor housing for thermal monitoring
Warning: Undersized cables create voltage drop, excessive heating, and potential fire hazards—never compromise on wire gauge for high-current connections.
Test and Tune Your Converted Electric Dirt Bike
Initial testing should proceed in stages, beginning with low-power verification and progressing toward full-power operation. Start with the controller configured to limit current output to 50% of maximum. This conservative approach allows you to verify proper motor rotation direction, throttle response, and brake cutout function without risking damage.
Progressive Power-Up Testing Sequence
Follow this 4-stage testing protocol before full-power operation:
1. Verify motor rotation direction by briefly powering at low current (swap any two phase wires if rotating backward)
2. Test brake cutout function—motor should remain unresponsive with brake levers pulled
3. Gradually increase current limits over several test sessions while monitoring temperatures
4. Adjust final drive sprocket size based on performance characteristics (smaller sprockets increase top speed; larger improve acceleration)
Pro tip: Install a heat sensor with digital readout to monitor motor temperature during extended high-current operation—pulling over for cooling breaks prevents permanent damage from overheating.
Extend Range with Multiple Battery Packs
Building an electric dirt bike opens possibilities for ongoing improvement. Multiple removable battery packs significantly extend effective riding time—having three packs in rotation (one in the bike, one cooling, one charging) provides continuous capability for longer sessions.
Weight distribution optimization often yields handling improvements that feel more significant than modest power increases. Pouch cell configurations offer packaging flexibility that can help optimize weight distribution within frame rails. Relocating the controller or auxiliary electronics can also shift the center of gravity for improved trail behavior.
The growing community of electric motorcycle builders provides ongoing support through social media groups. Facebook groups like “Electric Motorcycle Builds” connect you with experienced builders who can provide guidance on component selection, troubleshooting, and optimization—turning your build electric dirt bike project into a rewarding journey rather than a frustrating challenge.


