
Your enduro dirt bike feels sluggish on climbs, bounces erratically over roots, and lacks confidence in corners. That frustrating disconnect between rider and machine? It’s rarely about your skill—it’s almost always a poor enduro dirt bike setup. Unlike motocross bikes tuned for explosive power, enduros demand balanced precision for technical trails, river crossings, and marathon rides. Getting these adjustments right transforms a frustrating ride into trail-hugging mastery. In this guide, you’ll learn exactly how to configure suspension, tires, ergonomics, and more based on real trail conditions—not guesswork.
Most riders make the critical mistake of accepting factory settings as “good enough.” But with just 20 minutes of targeted tweaks before your ride, you’ll conquer steep descents with control, maintain momentum through rock gardens, and reduce fatigue on long rides. Forget generic advice; we’re diving into the exact measurements, settings, and checks that matter when the trail gets technical.
Suspension Tuning: Sag, Compression, and Rebound for Technical Trails

Your suspension is the foundation of enduro performance. Incorrect settings cause harsh bottoming on drops or excessive bouncing on whoops—both robbing control. Start with sag, the most overlooked adjustment.
Measuring and Setting Static Sag Correctly
Static sag determines how your bike handles weight transfer during acceleration and braking. For enduro:
– Ideal range: 95-105mm for most 250-300cc bikes (100-110mm for 450cc+)
– Measurement method:
1. Sit fully geared on the bike with feet off the pegs
2. Have a helper push down firmly on the rear fender
3. Measure the distance between the rear axle and a fixed point on the fender (e.g., 450mm)
4. Bounce the bike gently and remeasure (e.g., 350mm)
5. Subtract: 450 – 350 = 100mm sag (perfect for intermediate riders)
– Warning: Under 90mm sag causes harshness on impacts; over 115mm makes the bike feel unstable in corners
Front Fork Rebound Adjustment for Root Sections
Slow rebound causes “packing” over consecutive bumps, while fast rebound makes the bike skittish:
– Baseline test: Push down hard on the handlebars and release
– Too slow: Front stays compressed for >1 second
– Too fast: Bike rebounds violently with a “clunk”
– Pro tip: For rocky trails, set rebound 2-3 clicks slower than motocross settings to maintain tire contact
Tire Pressure Optimization: Grip vs. Pinch Flat Balance
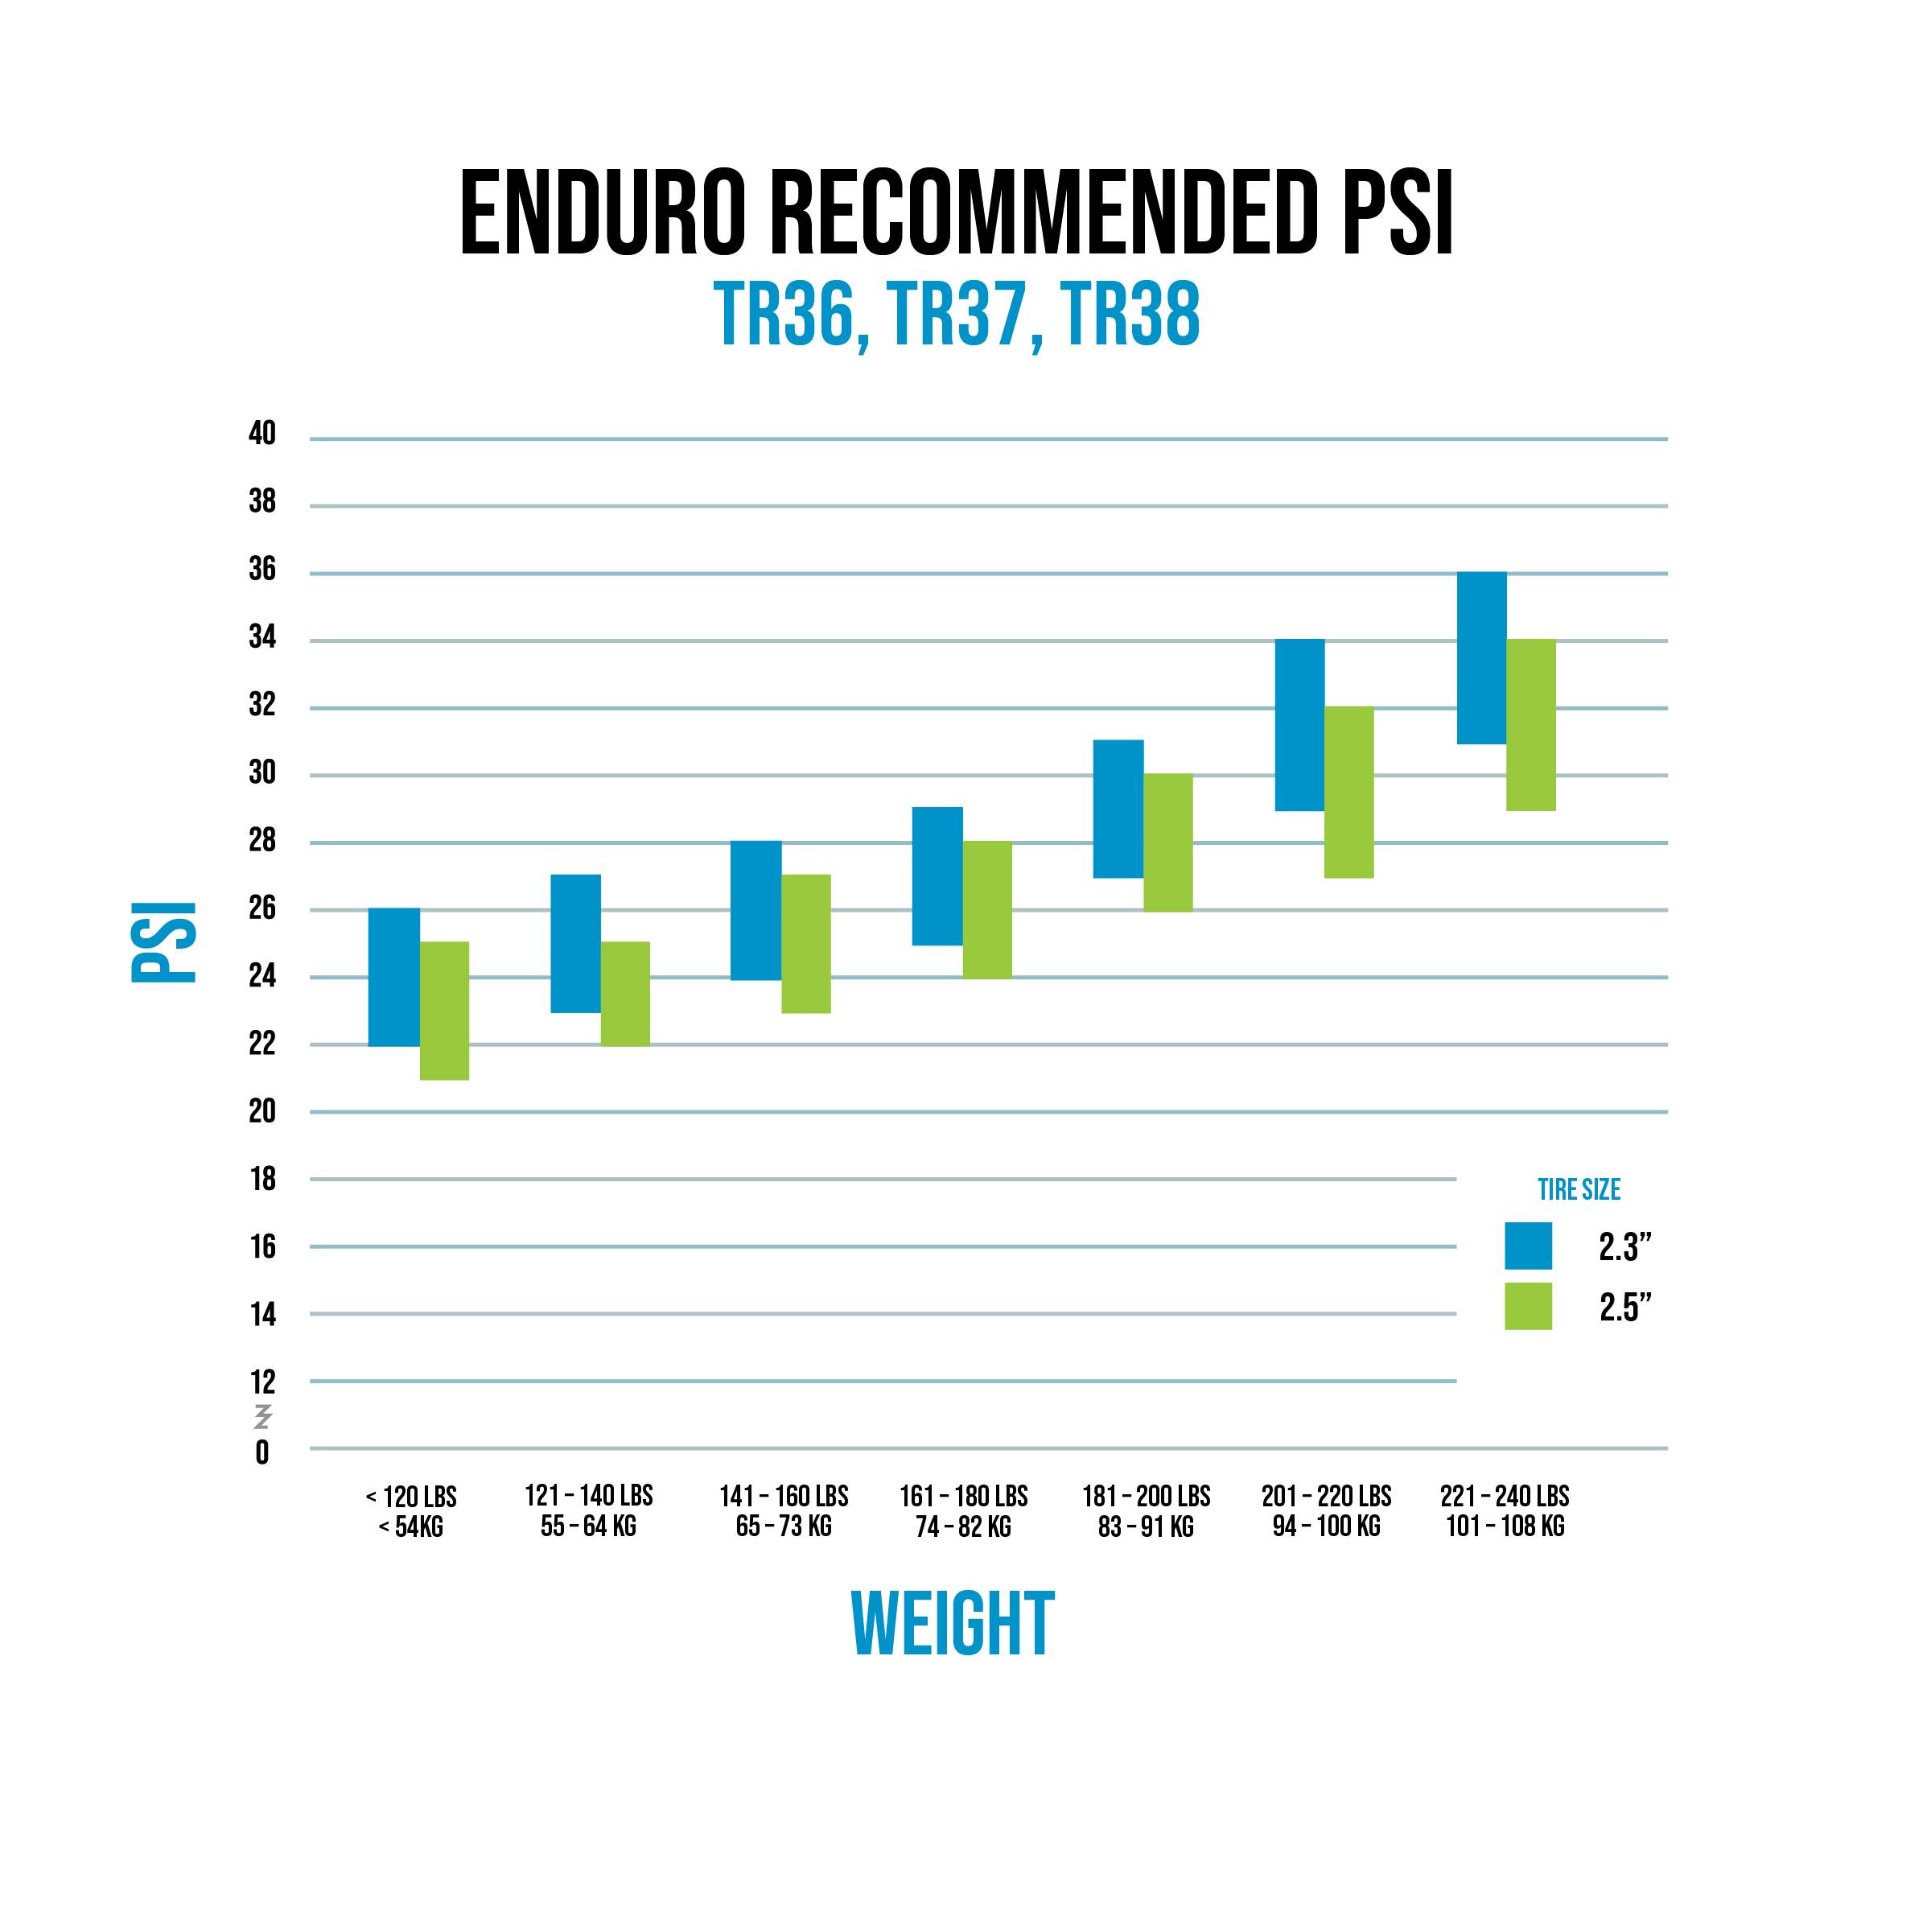
Tire pressure is your cheapest performance upgrade. Too high = no grip on loose terrain; too low = dangerous pinch flats in rocks.
Trail-Specific Pressure Guidelines
| Terrain Type | Front Tire PSI | Rear Tire PSI | Critical Warning |
|---|---|---|---|
| Hardpacked Trails | 12-14 PSI | 13-15 PSI | Below 12 PSI risks rim damage on roots |
| Loose Rock Gardens | 10-12 PSI | 11-13 PSI | Use tubeless sealant to prevent air loss |
| Muddy Conditions | 8-10 PSI | 9-11 PSI | Avoid <8 PSI—causes tire roll-off at speed |
Quick Pressure Check Before Riding
Pinch the tire sidewall between thumb and forefinger:
– Correct pressure: Slight give with firm resistance
– Too high: Feels rock-hard with no compression
– Too low: Sidewall collapses easily under light pressure
– Expert note: Drop 2 PSI after 10 minutes of riding as tires warm up
Handlebar Positioning: Eliminate Rider Fatigue on Long Rides
Misaligned handlebars strain wrists and shoulders during 3+ hour rides. The fix takes 5 minutes but transforms comfort.
Three-Point Alignment System
- Bar sweep: Set 780-820mm width (narrower for tight trails, wider for stability)
- Clamp angle: Rotate bars so controls point 15° inward toward your chest
- Height differential: Front edge 20-30mm lower than rear edge for weight distribution
– Critical mistake: Aligning bars parallel to the front wheel—this forces unnatural wrist angles
– Test ride indicator: Numb fingers after 30 minutes = bars rotated too far outward
Carburetor Jetting for Altitude and Temperature Changes
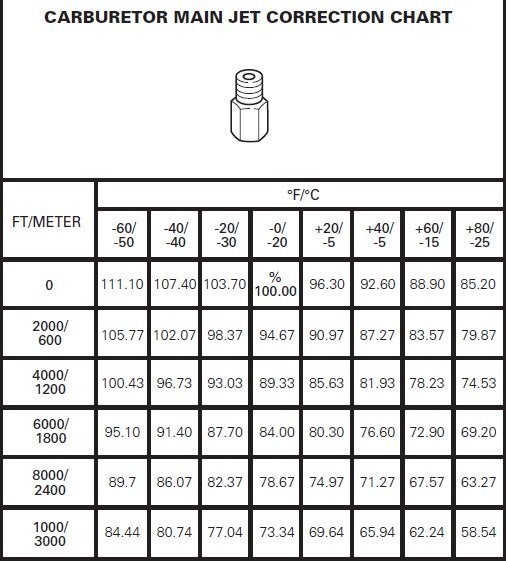
Enduro trails often climb from sea level to 8,000+ feet—requiring jetting changes factory settings ignore. Ignoring this causes bogging on climbs or overheating in canyons.
Identifying Lean vs. Rich Conditions
- Lean symptoms (too little fuel):
- Popping on deceleration
- Engine surging at mid-throttle
- White/chalky spark plug electrode
- Rich symptoms (too much fuel):
- Black, sooty plug
- Gurgling sound at idle
- Hard starting when hot
Altitude Adjustment Formula
For every 1,000 feet above 2,000 feet:
– Main jet: Downsize by 2-3 numbers (e.g., 160 → 158 at 3,000ft)
– Needle clip position: Raise clip 1 position (richer) for cold mornings
– Pro shortcut: Keep two main jets in your kit—stock for low elevation, one size smaller for mountain rides
Brake and Clutch Lever Customization for Glove Compatibility
Stiff levers cause hand fatigue on technical descents. Proper setup ensures one-finger braking even with thick gloves.
Lever Reach Adjustment Steps
- Measure distance from grip to lever perch (ideal: 75-85mm)
- Loosen the reach adjustment screw (usually 8mm hex)
- Rotate clockwise to bring lever closer to grip
- Test with riding gloves on—your index finger should comfortably reach the lever
– Critical safety check: After adjustment, ensure lever doesn’t contact handlebar when fully pulled
– Warning: Over-tightening the adjustment screw strips internal threads—stop when resistance increases
Weight Distribution Techniques for Steep Climbs and Descents
Where you position your body makes or breaks technical sections. These micro-adjustments prevent front-wheel washouts and rear-wheel slides.
Climbing Steep Rock Faces
- Foot position: Balls of feet on pegs, heels down for grip
- Body angle: Chest over front wheel, hips back to maintain rear traction
- Throttle control: Feather clutch with steady throttle—no sudden revs
- Failure sign: Front wheel lifting = shift weight forward immediately
Descending Technical Chutes
- Brace position: Knees gripping tank, elbows out like “chicken wings”
- Vision focus: Look 10-15 feet ahead, not directly at obstacles
- Weight balance: 70% on rear pegs, 30% on front for controlled sliding
- Pro tip: Stand with knees bent—never locked—to absorb impacts
Pre-Ride Setup Checklist: Avoid Trailside Breakdowns
Skip these checks and you’ll waste 45 minutes fixing preventable issues mid-ride. This 8-minute routine catches 95% of failure points.
Critical 10-Point Inspection
- Chain tension: 1.5-2 inches of play (measured at swingarm pivot)
- Spoke tightness: Pluck spokes like guitar strings—consistent “ping” sound
- Coolant level: Visible in reservoir (never below cold mark)
- Brake fluid: Clear with no bubbles in reservoir
- Air filter: Dry and lightly oiled (never dripping)
- Bolt torque: Triple-check footpeg and handlebar mounts
- Tire tread depth: Minimum 5mm for enduro knobbies
- Suspension seals: No oil streaks on fork legs or shock
Time-Saving Shortcut
Carry a pre-marked suspension clicker tool showing your ideal settings. Reset sag and click counts in under 3 minutes after transport.
Final Note: Proper enduro dirt bike setup isn’t about chasing lap times—it’s about consistent, fatigue-free control when the trail demands it. Start with sag and tire pressure (the two biggest game-changers), then refine jetting and ergonomics as you learn your bike’s quirks. After every ride, note one adjustment that improved performance—within three rides, you’ll develop personalized settings that make technical trails feel effortless. For extreme conditions like deep mud or high-altitude passes, always recheck tire pressure and jetting; what works at base camp fails at 10,000 feet. Now grab your clicker tool and transform tomorrow’s ride before the engine even fires up.


