
Nothing ruins your riding experience faster than a worn front sprocket that causes chain slippage, poor acceleration, or that unsettling clunking noise when you throttle up. The front sprocket—your bike’s critical power transfer point between engine and rear wheel—needs proper attention when it’s time for replacement. Whether you’re upgrading gearing for different terrain or replacing worn components after a hard season, installing a new front sprocket is one of the most cost-effective performance improvements you can make. With basic mechanical skills, the right tools, and about an hour of focused work, you’ll keep your dirt bike running smoothly while saving on shop labor costs. This guide walks you through every critical step to ensure your front sprocket installation is done correctly the first time.
Gather Essential Tools and Supplies for Sprocket Replacement
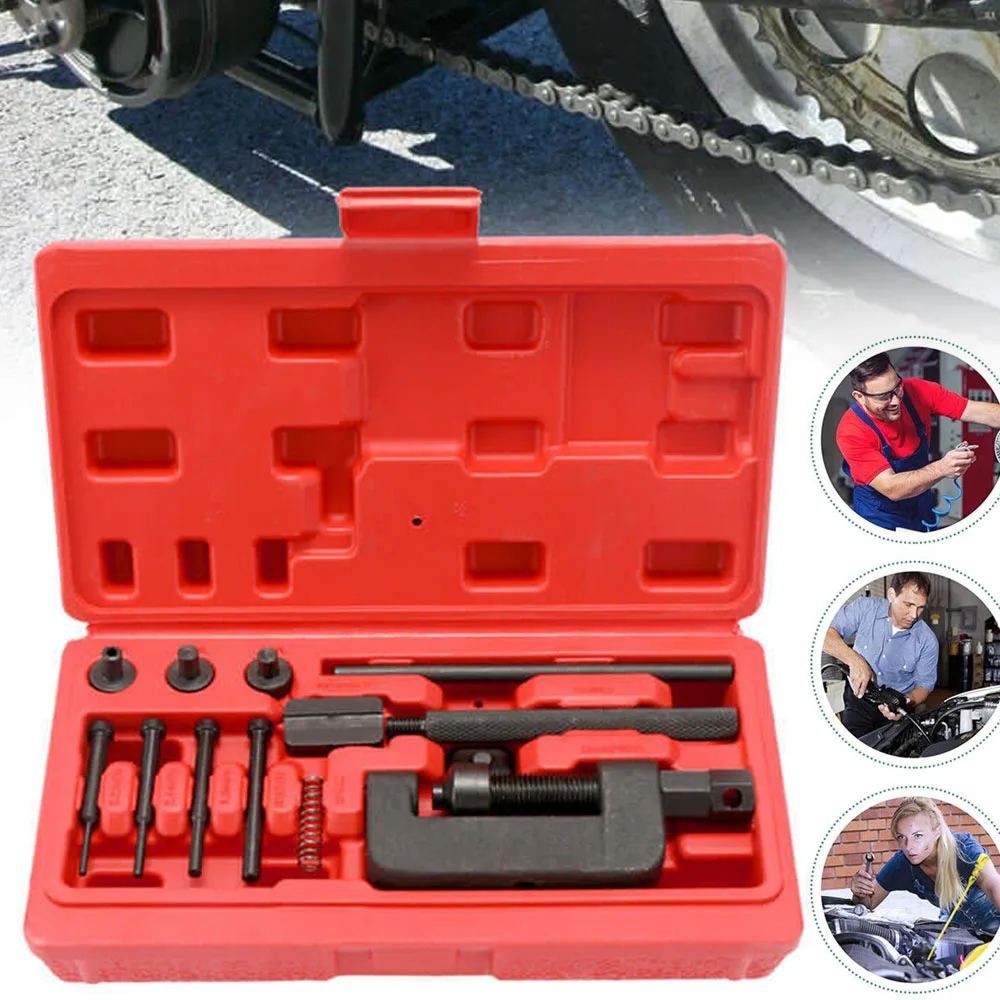
Skipping proper tool preparation leads to stripped bolts, damaged components, and frustrating mid-job trips to the hardware store. Before touching your bike, assemble these specific items: a 10mm or 12mm socket (most common sizes for countershaft bolts), ratchet with extension, torque wrench rated for 15-35 ft-lbs, circlip pliers, chain breaker tool, and degreaser. The torque wrench is non-negotiable—your countershaft bolt requires precise tightening between 22-28 ft-lbs depending on bike model, and guessing could mean catastrophic failure mid-ride.
Don’t overlook these often-forgotten essentials: fresh engine oil for spline lubrication, replacement circlip (never reuse old ones), thread locker (blue medium strength), and a clean microfiber cloth. If your service manual specifies it, have a new countershaft seal on hand in case you notice oil seepage during inspection. Store your old bolts and clips in a magnetic tray to prevent loss, and keep your service manual nearby for model-specific torque values—Kawasaki EXC models need 25 ft-lbs while Honda CRFs typically require 28 ft-lbs.
What to Do When You’re Missing Critical Tools
If you lack a sprocket holding tool, wrap an old chain through the rear sprocket and anchor it to your swingarm with a bungee cord to prevent rotation while loosening the countershaft bolt. Without circlip pliers, carefully use needle-nose pliers with tape-wrapped tips to avoid slipping, but replace the clip immediately as damaged clips won’t seat properly. For emergency torque verification without a torque wrench, use the “snug plus quarter-turn” method: tighten until firm contact, then one additional quarter-turn with a standard wrench—but this is a temporary solution only.
Prepare Your Dirt Bike for Sprocket Work
Position your dirt bike securely on a paddock stand with both wheels off the ground—this allows free rear wheel rotation for chain adjustment and prevents accidental movement during work. If you don’t have stands, place sturdy wooden blocks under the frame, but never rely on the kickstand alone. Engage first gear to prevent rear wheel rotation when needed, and remove the spark plug cap to eliminate accidental starts.
Thoroughly clean the sprocket area with degreaser and a stiff brush before removing any components. Built-up mud and grease hide critical details like hairline cracks or leaking seals that could compromise your installation. Remove the front sprocket cover bolts in a star pattern to prevent warping, noting any rubber grommets’ positions for reassembly. While exposed, check your chain’s condition—measure slack at the tightest point; if it exceeds 1.5 inches of vertical play, you’ll need chain adjustment after sprocket installation.
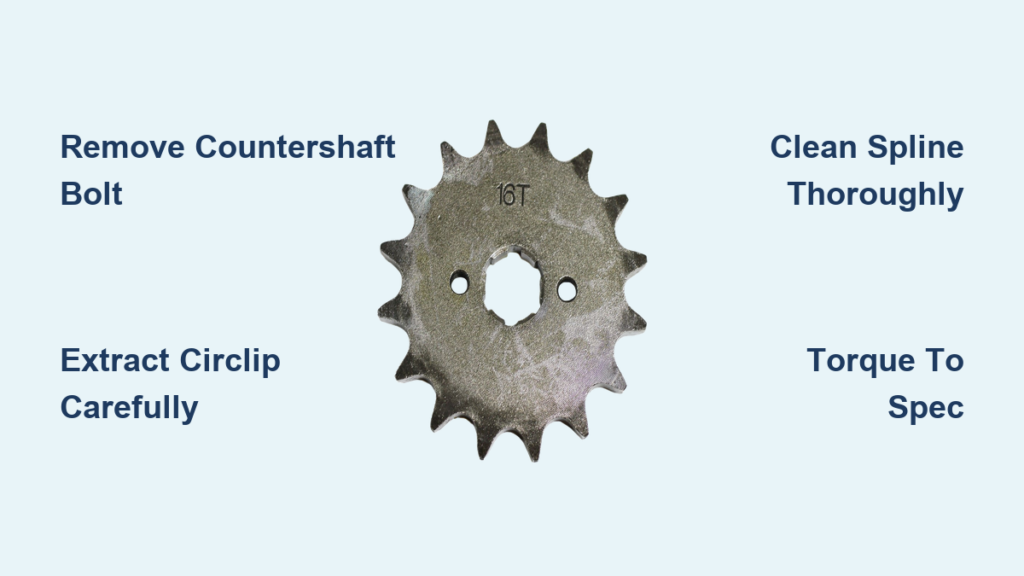
Remove the Old Front Sprocket Without Damage
Begin by breaking loose the countershaft bolt while preventing rear wheel rotation. Place your chain breaker tool on the chain and anchor it against the swingarm, or have an assistant hold the rear brake firmly. Apply steady pressure with your socket wrench—don’t shock the bolt loose as this can damage transmission internals. Once broken free, completely remove the bolt and set it aside with its washer.
Carefully extract the circlip using circlip pliers, expanding it outward while lifting from the groove. If the clip resists, spray penetrating oil around its edge and tap the sprocket face gently with a rubber mallet to break corrosion. Never use screwdrivers to pry clips—they slip easily and damage fingers or components. With the circlip removed, slide off the washer and spacer (if present), then pull the sprocket straight off the countershaft. If stuck, rotate the sprocket back and forth while pulling—never hammer directly on the sprocket teeth.
Inspect and Clean the Countershaft Spline Thoroughly

Examine the countershaft spline under bright light for rounded teeth, burrs, or visible wear patterns—these indicate transmission damage requiring professional attention. Run your fingernail along each spline groove; smooth, sharp edges mean good condition while noticeable ridges signal wear. Check the transmission seal behind the spline for oil leakage—any wetness means replace the seal before installing your new sprocket.
Clean the spline area meticulously using a brass brush and degreaser, working into each groove to remove metal particles and old grease. Wipe with a clean cloth until no residue transfers, then apply compressed air to blow out debris from deep in the splines. Finally, coat the entire spline surface with fresh engine oil—this lubrication prevents galling during installation and ensures proper seating under load.
Install the New Front Sprocket with Precision
Align the new sprocket’s splines with the countershaft by rotating it slightly until it slides on smoothly—never force it. A proper fit should require only hand pressure to fully seat the sprocket against the shoulder. If resistance occurs, remove and inspect for misalignment or debris. Once seated, verify the sprocket rotates freely without wobble—if it binds or clicks, disassemble and recheck your spline cleaning.
Reinstall components in exact reverse order: spacer (if applicable), flat washer, then new circlip. The circlip’s tapered edge must face outward toward you—installing it backward causes premature failure. Press the clip into its groove with even pressure around the circumference until it fully seats with no gaps. Apply blue thread locker to the countershaft bolt threads, then hand-tighten to prevent cross-threading before final torqueing.
Tighten to Exact Torque Specifications
Set your torque wrench to your bike’s specific value (typically 22-28 ft-lbs) and tighten the countershaft bolt in smooth, continuous motion. Pause halfway to verify proper alignment—if resistance feels uneven, back off and restart to avoid cross-threading. After reaching spec, attempt to rotate the sprocket by hand—it should turn smoothly with no play or clicking sounds.
Double-check the circlip’s seating by running a fingernail around its edge—no portion should protrude above the countershaft groove. If the clip lifts during tightening, disassemble and replace it with a new one, as stretched clips lose retention strength. Many mechanics recommend retorquing after the first 10 miles of riding to account for initial settling under operational loads.
Adjust Chain Tension After Sprocket Installation
With the new sprocket installed, check chain tension at the midpoint between sprockets—you need 1-1.5 inches of vertical play when measured at the chain’s tightest point. Loosen rear axle nuts and adjust both sides equally using the tensioner bolts, measuring from the same reference point on both swingarm marks. Rotate the wheel multiple times while checking tension to identify tight spots that need additional adjustment.
After setting tension, verify proper wheel alignment by measuring from the swingarm pivot to the axle on both sides—differences greater than 1/16 inch cause handling issues. Spin the wheel freely to ensure the chain runs smoothly over both sprockets without binding or skipping. Lubricate the chain thoroughly before riding, focusing on the rollers where sprocket engagement occurs.
Perform Critical Safety Checks Before Riding
Before starting your bike, conduct this 30-second safety checklist: verify all fasteners are tight (especially countershaft bolt), confirm the circlip is fully seated, ensure the sprocket cover is secured without gaps, and check for any tools left near moving parts. Start the engine and listen carefully for unusual noises—any clicking or grinding from the front sprocket area means immediate disassembly and inspection.
Take a short test ride in a safe area, gradually increasing speed while paying attention to power delivery. Properly installed sprockets provide smooth acceleration without chain slap or vibration. After riding, let the engine cool completely and recheck all fasteners—many mechanics recommend retorquing the countershaft bolt after the first ride as a safety precaution.
Maintain Your New Sprocket for Maximum Lifespan
Inspect your front sprocket during every chain lubrication session, looking for hooked teeth that indicate chain wear or improper lubrication. Replace sprockets and chains as a matched set—mixing new chains with worn sprockets (or vice versa) accelerates wear on both components. Clean mud and debris from sprocket teeth after muddy rides to prevent accelerated wear from abrasive particles.
Check chain tension weekly or before every ride, adjusting as needed to maintain 1-1.5 inches of play. Properly tensioned chains reduce sprocket wear by 30-40% according to industry studies. Lubricate your chain after every ride using quality motorcycle-specific lube applied to the rollers—not the side plates—for maximum penetration and protection. With consistent maintenance, quality front sprockets typically deliver 1,500-3,000 miles of reliable service depending on riding conditions and terrain.


