Nothing ruins the end of a great ride faster than discovering a bent dirt bike rim, especially when that telltale wobble appears during your cool-down lap. Whether you’ve just returned from a trail session or are preparing for your next adventure, understanding your options for addressing rim damage can save you money while keeping you safe on the trails. This guide gives you everything you need to know about diagnosing, repairing, and preventing bent dirt bike rim issues so you can make informed decisions without relying on expensive shop visits for minor problems.
The severity of rim damage varies dramatically—from subtle dents that barely affect performance to catastrophic bends that compromise your entire wheel’s structural integrity. Your repair path depends on multiple factors including damage location, your riding style, and budget constraints. Many riders have successfully extended their rim’s lifespan through careful straightening, while others have encountered progressive damage when underlying issues went unaddressed. By understanding the nuances of rim repair, you can choose the most appropriate solution for your specific situation rather than automatically reaching for your wallet.
What Causes Bent Dirt Bike Rims
Impact Damage from Obstacles
Dirt bike rims bend primarily from impacts with rocks, roots, logs, and other trail obstacles at speed. The concentrated force from hitting these objects transfers directly to your aluminum rim, causing deformation that compromises wheel trueness. High-speed riding dramatically increases this risk, with some riders reporting bent rims after hitting obstacles at speeds exceeding 75 miles per hour. Modern dirt bike rims use lightweight aluminum construction that balances durability with weight savings, but this same material becomes vulnerable to deformation under concentrated impact forces.
The location of the bend matters as much as its severity. Damage to the rim lip—the edge where the tire bead seats—creates different challenges than dents in the main body of the rim. Lip damage can compromise tire sealing, particularly with systems like Tubliss that rely on precise bead engagement. Some riders have successfully ridden for years with minor rim dents by keeping spokes tight and preventing progressive damage, while others experienced complete wheel failure from seemingly minor initial damage.
Rim Types and Durability Differences

Dirt bike rims come in several constructions, each with distinct repair considerations. Cast aluminum rims, common on older and mid-range bikes, are generally more repairable than forged or carbon fiber alternatives. Certain manufacturer rims are notably soft and malleable, making them easier to repair but potentially more susceptible to initial damage. Some manufacturers source rims from specific producers during supply disruption periods, and these rims tend to be softer than premium alternatives like Excel or DID.
Spoke wheels allow more flexibility in repair since individual spokes can be adjusted to address minor trueness issues, though the rim itself still requires attention if significantly damaged. Forged aluminum wheels found on high-performance motorcycles present greater repair challenges due to their different molecular structure. Never attempt to repair carbon fiber rims using bending techniques, as they can shatter without warning when stressed after sustaining damage.
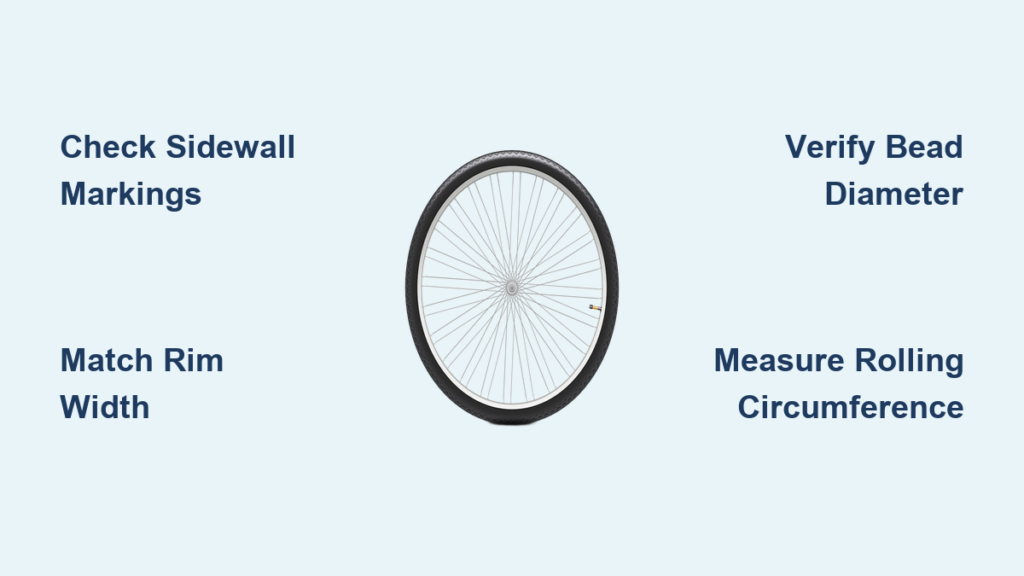
Assessing Damage Severity
Minor Dents Versus Major Damage
Determining whether your bent dirt bike rim warrants repair or replacement requires careful evaluation. Minor dents that don’t significantly affect wheel trueness or tire sealing can often be addressed through straightening, potentially extending the rim’s service life considerably. One rider reported successfully using a bib mousse in a rim with a dent about the same size as the original damage, continuing to ride for nearly two years without further issues while keeping spokes tight.
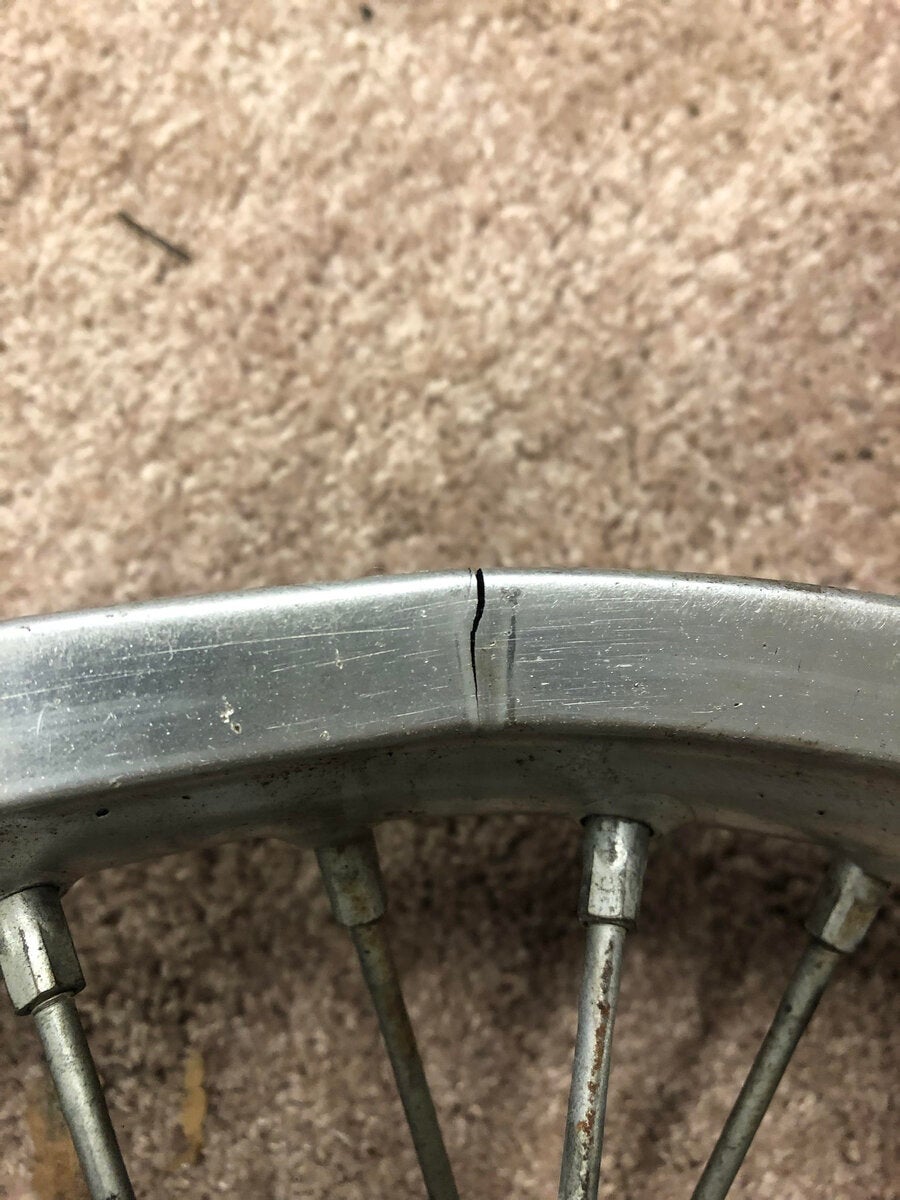
Cracks, fractures, or multiple bend locations in your bent dirt bike rim indicate that replacement is the safer option. Deep deformation requiring extensive metal working may compromise structural integrity even if cosmetic improvement is achieved. The general consensus suggests that if damage is severe enough to require professional straightening, the cost often approaches or exceeds the price of a new rim.
Safety Considerations by Riding Application
Your intended motorcycle use significantly influences repair decisions. For riders using smaller displacement bikes (125-200cc) primarily for commuting or light trail riding at moderate speeds, repairing a minimally bent rim presents acceptable risk. The consequences of wheel failure at lower speeds are generally less severe than on high-performance machines.
High-performance motorcycles capable of speeds exceeding 100 mph warrant a more cautious approach. The catastrophic potential of wheel failure at highway speeds makes replacement the preferred option for significantly bent rims on sport bikes. Rear wheel failures typically allow some rider control, whereas front wheel failures frequently result in immediate loss of steering control. Many experienced riders express comfort using repaired rear wheels while insisting on new front wheels.
DIY Straightening Techniques
Hammer and Hand Tool Methods
The most accessible method for straightening a minor bent dirt bike rim involves removing the tire and using hand tools to massage the dent back into shape. One proven technique positions the rim lip against a sturdy surface like a vise, then uses controlled hammer strikes to gradually bend the metal back. Riders who have successfully employed this method emphasize working slowly and using a rubber mallet to avoid damaging the rim surface.
Another effective approach uses a large crescent wrench as a bending lever. The wrench tightens onto the rim lip and applies controlled pressure against a solid surface. Start at the center of the damage and alternate bending in small increments on each side (about 20% adjustment per application), moving approximately 15mm to either side between adjustments. Multiple passes produce better results than attempting full correction at once.
Heat Application Techniques
Heat plays a critical role in successful rim straightening by relaxing the aluminum structure. Professional wheel repair specialists heat rims to approximately 400 degrees Fahrenheit before applying corrective force—indicated when rim paint begins to smoke slightly. At this temperature, aluminum becomes significantly more workable without compromising structural integrity.
For home mechanics without temperature measurement tools, visual cues indicate proper heating: the rim surface changes from glossy to dull, with small wisps of smoke appearing. Heating should take 40-50 seconds depending on conditions, with aluminum distributing heat quickly around the rim. Lower temperatures (250-300 degrees) may suffice for minor corrections, but professional experience suggests temperatures below 400 degrees may not provide sufficient pliability for challenging repairs on your bent dirt bike rim.
Professional Repair Options
Finding Wheel Specialists
Professional wheel repair services offer expertise and specialized equipment that typically produces better results than DIY attempts. Some well-known shops straighten motorcycle rims for approximately $70, significantly less than new rim costs. Their experience allows accurate damage assessment and determination of whether repair is feasible for your specific bent dirt bike rim.
Certain specialists have earned exceptional reputations, with customers reporting severely damaged wheels returning with runout specifications of approximately 0.03 inches or less. For riders who prefer to source parts themselves, some shops offer wheel service programs allowing selection of rim color, nipple style, and hub finishing options—providing customization while avoiding the complexity of lacing wheels from scratch.
Cost Comparison and Value
Professional rim straightening typically costs between $70 and $150 per wheel, with more complex damage commanding higher prices. These costs must be weighed against new rim prices, which vary significantly by brand and model.
Replacement rim costs range from approximately $130 for budget options to premium offerings from established manufacturers. Complete wheel kits from budget suppliers cost approximately $250, while higher-end options command substantially higher prices. When considering replacement for your bent dirt bike rim, factor in the cost of relacing if keeping the existing hub, or the complete wheel kit cost for full replacement. Often, professional straightening provides the best value for moderately damaged rims.
Tubliss System Compatibility
Understanding Tubliss Requirements
The Tubliss tire system uses a high-pressure inner tube that provides puncture protection and allows lower tire pressures without pinch-flatting concerns. Its sealing mechanism operates between the tire and the high-pressure tube, not between the tire and rim, making Tubliss theoretically less sensitive to minor rim imperfections than traditional tire setups.
However, significant rim damage can still affect Tubliss performance on your bent dirt bike rim. Lip damage that prevents proper tire bead seating can cause the system to leak pressure or fail to maintain the seal. Riders planning Tubliss installation on a damaged rim should carefully inspect the lip area for damage that could compromise system performance.
Installation Recommendations
Given the investment required for Tubliss systems, many experienced riders recommend addressing rim damage before installation. For minor dents that don’t significantly affect the lip area, Tubliss installation may proceed without issues. For more significant damage, particularly to the lip, rim replacement provides the most reliable foundation.
Riders should not invest in Tubliss and install it on a significantly bent rim, recognizing that the combination of rim damage and the system’s requirements creates potential for problems. This perspective suggests that riders who have invested in Tubliss should ensure their wheels are in good condition to maximize the system’s benefits.
Step-by-Step Repair Process
Tools and Preparation Steps
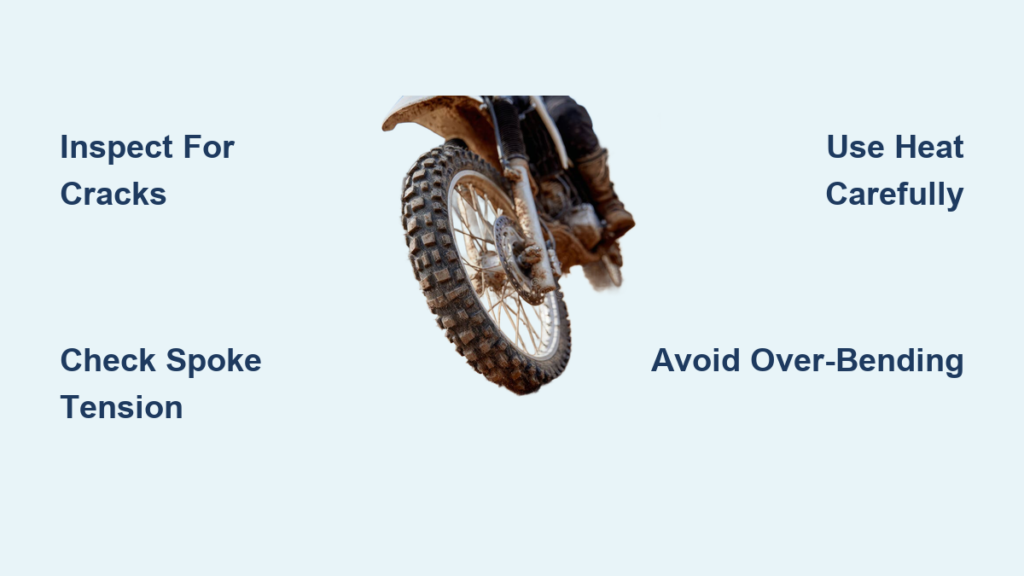
Successful rim repair requires proper tools: rim straightening tool or truing stand, tire levers, air pump, bike stand, rubber mallet, measuring tape, and safety glasses. Before beginning, completely remove the wheel and deflate the tire with tube removed. Work slowly during tire removal to prevent additional damage, then thoroughly inspect the damaged area for cracks and check spoke tension.
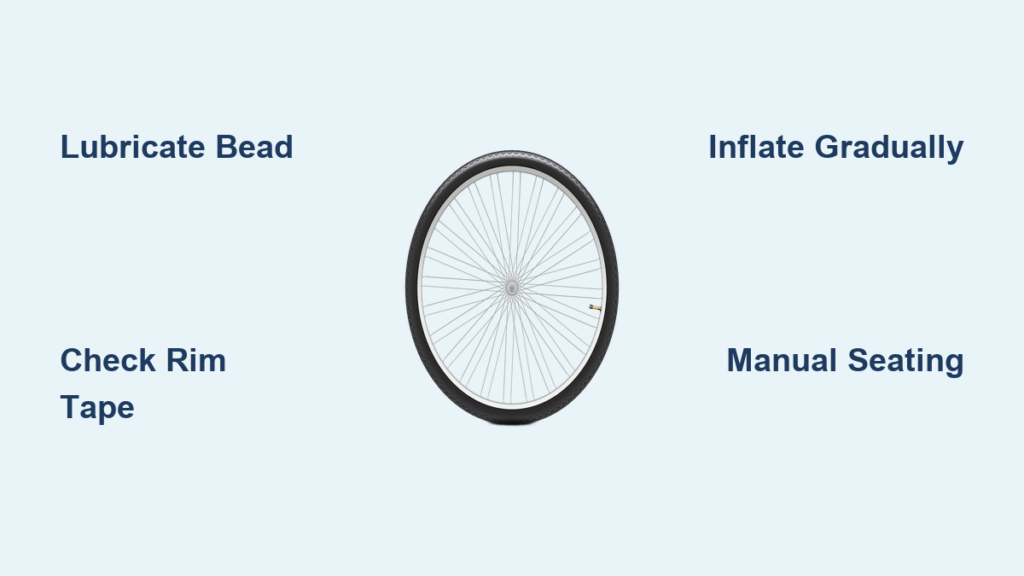
Execution and Reassembly
With the tire removed, position the rim on a flat surface or truing stand. Apply gentle pressure to the dented area in small increments, frequently checking progress. After initial straightening, check wheel alignment by spinning slowly and observing for wobble. Professional wheel builders aim for approximately 0.020 inches of runout—attempting greater precision can overwork the aluminum.
Reinstall the tire with the inner tube carefully positioned, using soapy water on the bead to ease installation. Inflate gradually to recommended pressure, ensuring even seating of both tire beads. Reinstall the wheel with axle nuts tightened securely.
Common Mistakes to Avoid
Over-Tightening and Metal Fatigue
Excessive force during straightening causes cracks that may not be immediately visible but compromise long-term integrity. Make small, incremental corrections rather than attempting full correction at once. Continuing to work metal beyond acceptable trueness creates microfissures that may lead to eventual failure.
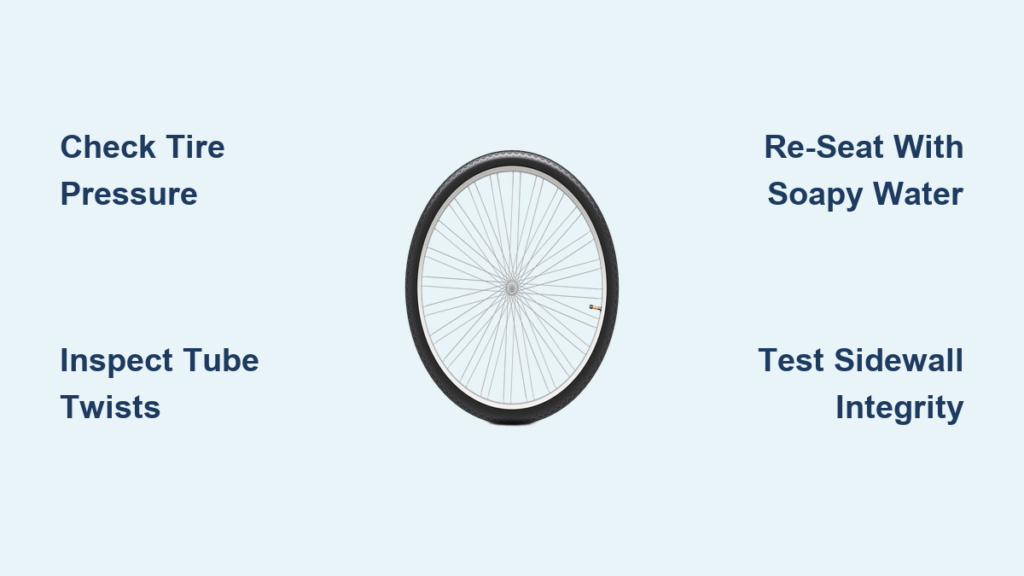
Skipping Critical Inspections
Failing to check spoke tension during repair results in wheels that appear straight but have inherent instability. Even spoke tension distributes loads properly and prevents progressive loosening. Ignoring cracks or deep damage during initial inspection leads to wasted effort and potential safety hazards—any visible cracks indicate replacement is necessary.
Preventing Future Rim Damage
Riding Technique Improvements
Riders who experience rim damage often adjust techniques to reduce repeat incidents. Avoid aggressive impacts with rocks and roots at speed, and select smoother terrain lines over technical obstacles to reduce wheel stress. For serious off-road enthusiasts frequently encountering challenging terrain, equipment upgrades to stronger rims provide peace of mind.
Regular Maintenance Tips
After repairing or replacing a bent dirt bike rim, ongoing monitoring ensures continued safe operation. Regular inspection for developing cracks, changes in spoke tension, or progression of remaining damage provides early warning. Riders who successfully use repaired wheels typically perform more frequent inspections than those with new wheels.
Spoke tension maintenance proves particularly important for wheels that have sustained damage, as stress concentrations from the original impact can lead to gradual loosening. Periodic checks maintain wheel integrity and allow early detection of developing issues.
A bent dirt bike rim doesn’t automatically mean expensive replacement. Minor damage can often be addressed with patience and proper techniques, while severe damage warrants replacement for safety. By understanding your options, accurately assessing damage, and following proper repair procedures, you can make informed decisions that balance performance, safety, and budget for your specific riding needs. Remember that when in doubt about structural integrity, especially for front wheels or high-speed applications, replacement is always the safer choice.