You’re tearing through your favorite trail when you suddenly feel an unusual wobble in the front end. As you slow down, the vibration intensifies, and you realize something’s seriously wrong with your dirt bike’s wheel. What you might not know is that a small hairline crack in your dirt bike rim could escalate from a minor issue to a complete wheel failure in just a few more miles of riding. Cracked dirt bike rims represent one of the most dangerous yet commonly overlooked problems in off-road motorcycles, with mechanics reporting that nearly 30% of wheel-related breakdowns originate from undetected rim damage. This guide will show you exactly how to spot the early warning signs of rim damage, understand why certain riding conditions accelerate crack formation, and make the critical decision between repair attempts and immediate replacement—potentially saving you from a dangerous situation or costly secondary damage to your entire wheel assembly.
Why Dirt Bike Rims Crack During Normal Riding Conditions
Dirt bike rims endure extreme stress that street motorcycle wheels never experience. The combination of hard landings, rock impacts, and constant vibration creates perfect conditions for metal fatigue that eventually leads to cracks. Aluminum rims, while lighter for better handling, develop cracks more readily than steel counterparts but offer the advantage of visible warning signs before complete failure. The most vulnerable areas include the spoke holes where stress concentrates, the bead seat where the tire seals against the rim, and the valve stem hole where structural integrity is naturally compromised. Many riders mistakenly believe cracks only happen after major crashes, but the reality is that thousands of minor impacts during regular trail riding gradually weaken the metal until it reaches its breaking point.
How Riding Style Accelerates Rim Damage
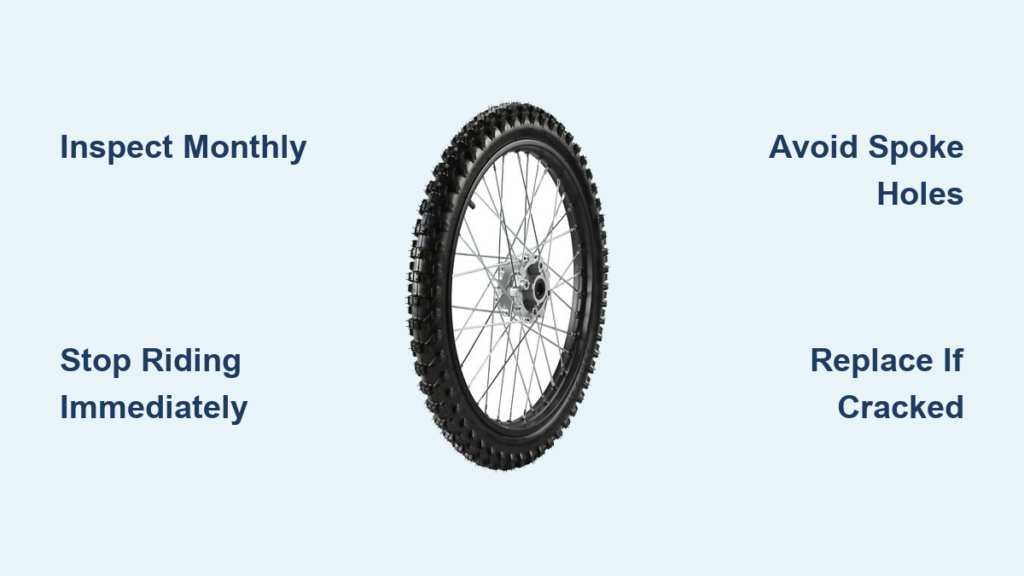
Your specific riding habits significantly impact how quickly rim cracks develop. Riders who frequently bottom out their suspension absorb more impact directly through the wheels, dramatically increasing stress on rim structure. Technical trail riders who regularly scrape rocks and roots against their wheels create localized stress points that become crack initiation sites. Even proper tire pressure plays a role—running tires significantly over or under recommended pressure transfers improper forces to the rim during impacts. Aggressive riders who consistently jump and land hard should inspect their rims monthly, while casual trail riders might only need quarterly inspections, but all dirt bike owners should understand that rim damage is inevitable with enough seat time.
The Critical Difference Between Rim Materials
Aluminum rims dominate modern dirt bikes for their weight advantage but require more vigilant inspection. These rims typically show visible hairline cracks before catastrophic failure, giving riders a warning window. Steel rims, while heavier, tend to deform before cracking and often provide less obvious warning signs. Magnesium rims, found on some high-end race bikes, offer the best strength-to-weight ratio but are extremely vulnerable to corrosion that can hide beneath surface oxidation. Each material requires different inspection techniques—aluminum benefits from bright lighting to spot fine cracks, steel needs close examination for subtle bends that precede cracking, and magnesium requires checking for pitting that compromises structural integrity. Understanding your specific rim material helps you implement the most effective inspection routine.
Immediate Steps When You Discover a Cracked Dirt Bike Rim
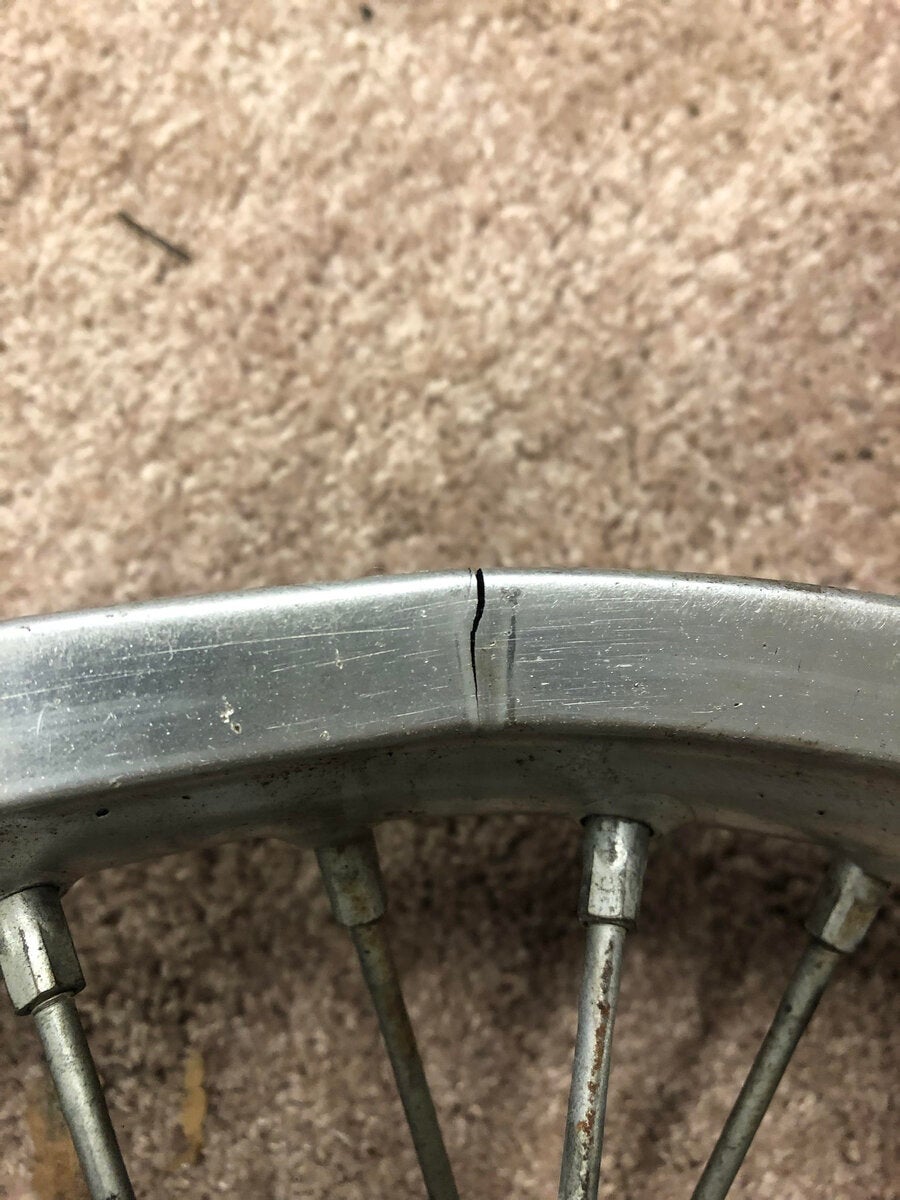
Finding a crack in your dirt bike rim requires immediate action regardless of the crack’s apparent size. Many riders make the critical mistake of thinking “I can just finish this ride” or “It’s small enough to last until I get home,” not realizing that what looks like a minor hairline fracture can propagate through the entire rim structure in seconds under load. The first and most crucial step is to stop riding immediately—continuing puts you at serious risk of complete wheel collapse at speed. Document the crack’s location and size with your phone camera before moving the wheel, as this visual record helps mechanics assess whether repair might be possible or if replacement is absolutely necessary.
Temporary Field Fixes for Getting Home Safely
In remote trail situations where you’re stranded with a cracked rim, certain emergency measures can get you back to civilization safely. For small cracks not near the valve stem or spoke holes, carefully applying high-temperature epoxy to the crack can temporarily prevent further propagation. Wrap electrical tape tightly around the affected area in multiple layers to provide additional reinforcement. Most importantly, significantly reduce your tire pressure (by 30-50%) to decrease the force against the damaged rim section. Proceed at walking speed, avoiding all jumps and rough terrain, and stop every quarter mile to recheck the repair’s integrity. Remember that these are strictly emergency measures—your cracked rim requires professional attention as soon as possible, and continuing to ride without proper repair risks complete wheel failure.
When to Call for Help Instead of Attempting Self-Recovery
Certain crack locations and sizes demand immediate professional assistance rather than attempting trailside repairs. Cracks that extend through the bead seat area compromise the tire’s ability to maintain proper seal and pressure, creating an immediate blowout hazard. Any crack intersecting a spoke hole indicates structural failure at a critical stress point and makes the rim unsafe to ride under any circumstances. Cracks longer than 1 inch generally cannot be safely repaired in the field and require complete wheel replacement. If you’re unsure about the severity, err on the side of caution—wheel failure at speed can cause loss of control that results in serious injury. It’s far better to arrange recovery and face the inconvenience than risk a crash from catastrophic wheel failure.
Repair Versus Replacement: Making the Critical Decision
Not all cracked dirt bike rims require complete replacement—some can be professionally repaired depending on specific factors. The location of the crack determines repair viability more than its size. Cracks in the rim’s outer wall away from critical structural points like spoke holes or the bead seat often qualify for TIG welding by a specialist. However, cracks that compromise the bead seat area or intersect spoke holes almost always necessitate replacement due to the extreme forces these areas must withstand. Aluminum rims generally respond better to welding repairs than magnesium, which often develops hidden corrosion damage around the crack that compromises the entire structure.
Cost Analysis of Rim Repair Options

Professional rim repair typically costs between $75-$150, while a new OEM rim runs $200-$400 depending on the bike model. At first glance, repair seems cost-effective, but consider these hidden factors: repaired rims require professional truing that adds $50-$75, and most shops won’t warranty repairs on heavily cracked rims. The time investment matters too—a repair might take 3-5 business days, while replacement could be immediate if the part is in stock. For competitive riders, the weight difference matters—repaired aluminum rims often gain 5-10% more weight from welding material, potentially affecting handling. Recreational riders should calculate cost per ride: if you ride 50 days a year, a $125 repair costs $2.50 per ride, while a $300 rim costs $6 per ride—making repair economically sensible for occasional riders but replacement more practical for daily riders.
Preventing Future Rim Cracks Through Proper Maintenance
Proactive maintenance represents your best defense against unexpected rim failures. Monthly rim inspections should include running your fingers along both inner and outer surfaces to feel for hairline cracks that might be invisible to the eye. Pay special attention to areas around spoke nipples where stress concentrates. Check rim runout with a dial indicator—more than 2mm of lateral or radial runout indicates developing structural issues. Maintain proper tire pressure for your riding conditions: too low increases rim pinch flats and impact damage, while too high transfers excessive force to the rim during impacts. Keep spoke tension properly balanced, as uneven tension creates localized stress points that accelerate crack formation.
Riding Techniques That Minimize Rim Stress
Your riding technique directly impacts rim longevity. Learning proper jumping and landing techniques significantly reduces impact forces transferred to your wheels. Approach obstacles at appropriate speeds rather than braking abruptly right before impact. Stand on your pegs through rough sections to let your legs absorb shock instead of transferring it directly to the wheels. When landing jumps, preload your suspension slightly before touchdown to help it absorb the initial impact. Avoid riding with flat tires—even temporary low pressure dramatically increases the risk of rim damage from obstacles. These techniques not only extend rim life but improve overall bike control and reduce fatigue during long rides.
Final Assessment: When to Keep Riding and When to Replace
A cracked dirt bike rim demands immediate attention, but the appropriate response varies based on specific factors. Small cracks in non-critical areas might allow limited, cautious riding to a repair facility, while major cracks near structural points require immediate wheel replacement. Professional assessment remains crucial—what looks minor might indicate widespread metal fatigue. For regular riders, maintaining a monthly inspection routine catches problems early when they’re still manageable. Remember that rim integrity affects more than just wheel function—it directly impacts your braking performance, suspension effectiveness, and ultimately your safety on the trail. When in doubt about a rim crack’s severity, always choose replacement over repair for critical structural components where failure could result in loss of control. Your long-term riding enjoyment depends on recognizing that wheel maintenance isn’t just about keeping your bike rolling—it’s about maintaining the critical connection between you and the trail that keeps you safe mile after mile.