
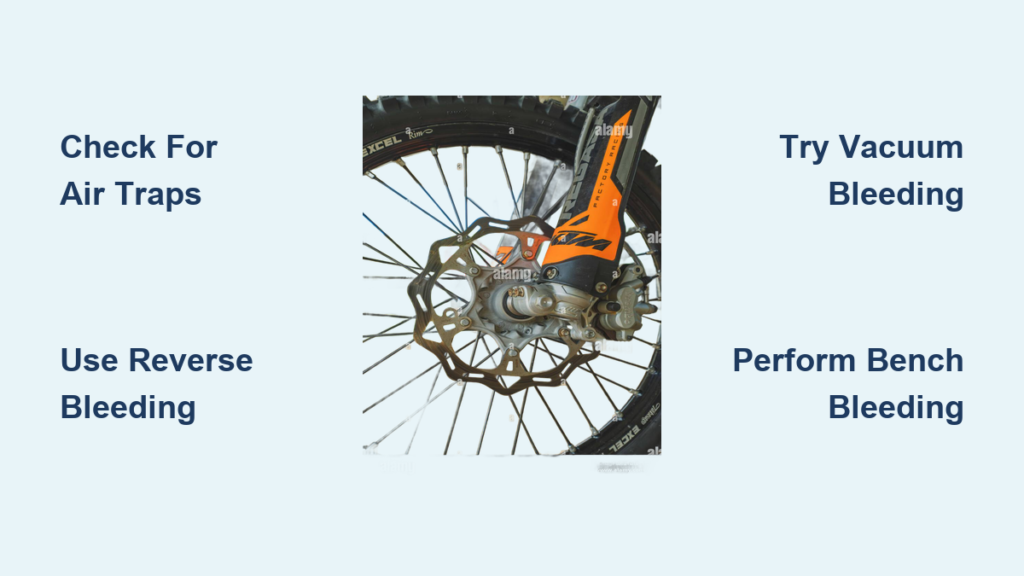
Few things frustrate dirt bike owners more than a brake lever that pulls to the bar without generating any stopping power. When your dirt bike brakes won’t bleed properly, you’re dealing with air trapped somewhere in the hydraulic system—and air is remarkably good at hiding in the small passages, seals, and crevices that make up your brake system. Unlike brake fluid, which is designed to be incompressible, air compresses easily, turning your solid-feeling brake lever into a sponge that does nothing when you need it most.
The challenge multiplies when the system has been completely drained, when seals have been disturbed during maintenance, or when contaminated fluid has been sitting in the lines for months or years. Many riders find that once a brake system goes completely dry, getting all the air out becomes exponentially harder than during routine fluid changes. Air bubbles can lodge in microscopic crevices, hide behind seals, and accumulate in the small passages within your master cylinder and caliper assemblies.
This guide walks you through every proven technique for getting air out of your dirt bike brake system, from simple forward bleeding to complete bench bleeding procedures. You’ll learn why certain methods work better than others, how to diagnose the root cause of your bleeding failure, and what to do when standard techniques just won’t solve the problem.
Diagnose Your Brake Bleeding Failure Stage
Identifying exactly what you’re dealing with helps you choose the right solution from the start. When dirt bike brakes won’t bleed, symptoms typically progress through recognizable stages that indicate both the severity of the problem and where the air might be trapped.
Early-stage problems usually present as a spongy lever feel. You press the lever and it travels further than before, with a noticeable lack of resistance. The brake might still work, but you need to pull the lever farther to generate the same stopping power. This stage often indicates a small amount of air in the system, typically from a recent fluid change or minor leak.
Moderate-stage bleeding failure shows up as excessive lever travel. The lever pulls almost to the handlebar before you feel any resistance at all. You might be able to pull it all the way in and still not lock the wheel. This amount of air usually means fluid has been low for some time, allowing significant air accumulation throughout the system.
Severe bleeding failure produces a completely non-functional brake. The lever travels through its entire range without generating any pressure whatsoever. You can squeeze until your fingers ache and the wheel keeps spinning freely. This level of failure often indicates either a completely drained system or a failed component like a master cylinder or caliper seal.
Visual inspection of your brake fluid provides additional diagnostic clues. Brake fluid that appears brown or burnt has degraded significantly and may be saturated with contamination that prevents proper bleeding. Fluid that looks cloudy or milky, with a thickness resembling heavy gear oil, has likely absorbed moisture or suffered chemical breakdown. Either condition requires complete fluid replacement along with your bleeding efforts.
Execute Proper Reverse Bleeding Technique

Reverse bleeding injects fluid upward from the caliper toward the master cylinder, using air’s natural buoyancy to carry it out through the reservoir. This technique excels at clearing air trapped in caliper passages and high points that forward bleeding can’t reach effectively.
The process requires a syringe or pressure bleeder connected to your caliper’s bleed nipple. You push fluid upward against the normal flow direction, essentially flushing the system backward. The air, being lighter than the fluid, rises naturally toward the master cylinder reservoir where it can escape.
However, reverse bleeding carries risks you should understand before starting. One documented case showed a rider attempting reverse bleeding on their dirt bike only to lose all pressure in the system afterward. This typically happens when brake lines contain loops or sections that rise above the master cylinder level. These high sections become air traps that reverse pressure can’t clear—in some cases, the process actually works air deeper into the system.
To perform reverse bleeding safely:
- Position your bike level with the master cylinder reservoir open
- Connect your syringe to the bleed nipple with a tight seal
- Push fluid slowly upward while watching the reservoir for bubbles
- Work in small increments, allowing the system to stabilize between pushes
- If pressure drops significantly, reposition the brake line to eliminate high points
Perfect the Forward Bleeding Method
Forward bleeding represents the standard approach where fluid flows from the master cylinder down through the lines to the caliper, pushing air out through the bleed nipple. This method works beautifully for routine fluid changes but struggles when significant air has accumulated throughout the system.
The fundamental challenge with forward bleeding is pushing air downward through the lines—a direction contrary to its natural tendency to rise. Rapid or forceful pumping creates turbulence that keeps air bubbles suspended in the fluid rather than allowing them to rise and escape. Patient, deliberate movements work far better than aggressive pumping.
The key to successful forward bleeding lies in slow, controlled strokes. Pump the lever or pedal slowly dozens of times, pausing between each stroke to let air migrate upward toward the reservoir. Keep the master cylinder reservoir completely full throughout the entire process—any introduction of new air means starting over from scratch. Some experienced riders pump the lever more than fifty times slowly, watching carefully for bubbles to rise through the fluid in the master cylinder.
Critical mistake to avoid: Never let the fluid level drop low enough to expose the master cylinder opening. This single error explains why many bleeding attempts fail despite seemingly correct technique. Use a funnel or have an assistant constantly monitoring the reservoir level.
Apply Vacuum Bleeding for Stubborn Systems
Vacuum bleeding uses suction to draw fluid and air upward through the brake lines, leveraging negative pressure to pull bubbles out through the bleed nipple. This method combines the directional advantage of reverse flow with the controlled, patient approach that forward bleeding requires.
The MityVac and similar hand-held vacuum tools have become favorites among DIY mechanics. One rider noted that their vacuum bleeder, purchased approximately fifteen years ago for around forty dollars, has made brake and clutch fluid changes quick and straightforward—typically completing the job in about ten minutes per system. The initial investment pays for itself quickly compared to professional service.
Achieving a proper seal at the bleed nipple often proves challenging with vacuum equipment. Several practical solutions exist for this common problem:
- Wrap a small zip tie around the bleed line and nipple, then cinch it tight
- Apply thick silicone grease to the threads of the bleed nipple to create a sufficient seal
- Use a dedicated adapter designed for your specific bleed nipple
During vacuum bleeding, the appearance of bubbles traveling up your connected tube can deceive you. Even when it seems like only air is being pulled through, the process may be working exactly as intended. The real indicators of success are fresh, bubble-free fluid appearing at the master cylinder reservoir combined with a firm lever feel once the system is reassembled.
Perform Complete Bench Bleeding for Severe Cases

When conventional methods fail, removing the entire brake system for bench bleeding often provides the solution. This approach gives you maximum control over the bleeding process by eliminating gravity’s variable effects and allowing you to position components for optimal air removal.
The bench bleeding procedure starts with complete disassembly of the brake system from the bike. Remove the caliper, brake hose, master cylinder, and lever assembly, keeping all components connected to each other as they were on the bike. Arrange everything on a workbench with the bleed nipple positioned at the lowest point while the master cylinder reservoir sits at the highest point.
Before beginning, press your brake pads outward as far as possible and lock them in position. A piece of aluminum flat stock, approximately three-sixteenths inch thick, works well to keep the caliper from closing during the process. This mechanical block ensures you can build pressure through the system without the caliper pistons simply retracting.
Mechanical vibration helps dislodge stubborn air bubbles that refuse to rise through the fluid on their own. Striking metal parts gently with a wrench—just hard enough to create vibration without causing damage—encourages micro-bubbles to combine and rise.
Pump fluid through the bench setup slowly and deliberately. After approximately two ounces of fluid have passed through, you should begin feeling the lever close the caliper, indicating pressure building in the system. Continue pumping another one and a half ounces before tightening the bleed valve.
Troubleshoot ABS-Equipped Brake Systems

Dirt bikes equipped with ABS add substantial complexity to the bleeding process. The ABS unit itself can trap air, and conventional bleeding techniques often fail to adequately clear the system. One rider with a 2008 KTM 990 Adventure with ABS documented that standard bleeding attempts failed completely—no fluid would get through the brake lines despite trying various techniques including slackening banjo bolts.
For ABS systems, the conventional approach of bleeding from the caliper upward may not work because the ABS unit creates its own set of passages and chambers that can harbor air. Pumping fluid from the caliper toward the ABS unit and master cylinder, rather than focusing on the bleed nipple at the caliper, often proves more effective.
Pro tip: Accept that fluid will dribble out the bleed nipple while you pump—that’s the air-clearing process working, not a failure of technique. Professional-grade pressure bleeding equipment handles ABS systems far more effectively than home methods.
Prevent Future Bleeding Problems
Prevention beats repair every time. Follow these specific steps to avoid future brake bleeding issues:
Prime your master cylinder properly: When rebuilding or reinstalling master cylinders, pre-fill the cylinder with brake fluid before mounting it on the bike. A dry master cylinder acts as an air trap, requiring many more pump cycles to draw fluid through and expel all air.
Verify brake adjustment: The adjustment rod from your pedal into the master cylinder must not be at full adjustment. The correct procedure involves:
1. Loosening the locking nut on the plunger
2. Tightening the adjusting rod until the rear brake pads bind on the disc
3. Backing off just enough to allow the caliper piston to be pushed back in
Monitor fluid condition: Check your brake fluid every 3 months. Fluid that has darkened significantly or shows contamination should be flushed immediately. Even if the brake feels functional, degraded fluid leads to seal damage and reduced boiling point.
Schedule regular fluid changes: Replace brake fluid every one to two years, with more frequent intervals for aggressive riding or extreme conditions. This simple maintenance prevents the contamination that makes your dirt bike brakes won’t bleed properly.
When All Else Fails: Professional Help
If you’ve tried multiple techniques without success, particularly bench bleeding, the problem likely involves a failed component rather than procedure. Local bike mechanics with pressure bleeding equipment often resolve difficult cases quickly—the right equipment makes the process straightforward unless an actual component failure exists.
The trade-off between time invested and professional service cost depends on your individual circumstances. For a rider who has spent hours attempting various bleeding techniques without success, an hour of professional service often provides better value than additional hours of frustration.
Document your previous attempts when bringing your bike to a professional. Knowing what you’ve tried helps the mechanic skip techniques that won’t work for your specific situation and focus immediately on solutions that have a chance of success.


