
You’re preparing for a weekend ride when you notice a puddle forming under your dirt bike’s fuel tank. That distinctive smell of gasoline confirms your suspicion – your petcock is leaking. This frustrating issue can turn an exciting trail adventure into a safety hazard before you even leave your garage. A leaking petcock isn’t just messy; it creates potentially dangerous fuel accumulation that could lead to fire hazards or unexpected stalling during rides. Thousands of dirt bike riders face this common mechanical issue each year, often at the worst possible moments. In this guide, you’ll learn how to diagnose the specific cause of your dirt bike petcock leaking problem, implement immediate temporary fixes when you’re stranded, and complete proper permanent repairs that will keep you safely on the trails.
Understanding Petcock Function and Failure Points
Your dirt bike’s petcock serves as the critical fuel control valve between the gas tank and carburetor. When functioning properly, it regulates fuel flow based on your riding position – whether you’re upright, tilted, or stopped. Most modern dirt bikes use vacuum-operated petcocks that automatically adjust fuel delivery according to engine demand. When leaks develop, they typically originate from specific failure points that require different repair approaches.
Why Petcocks Develop Leaks: Common Culprits
Several mechanical issues commonly cause dirt bike petcock leaking problems. The most frequent culprit is deteriorated internal rubber components that lose elasticity over time. Fuel exposure gradually breaks down these seals, creating pathways for gasoline to escape. Another common issue involves loose or damaged mounting hardware where the petcock attaches to the fuel tank. Vibration from regular riding can gradually work these connections loose, compromising the seal.
How Fuel Quality Impacts Petcock Longevity
Modern ethanol-blended fuels accelerate petcock deterioration more than many riders realize. Ethanol’s chemical properties break down rubber components faster than traditional gasoline, particularly in older dirt bike models not designed for these fuel blends. Riders who store their bikes with fuel in the tank during off-seasons often discover significant petcock degradation when they restart their engines months later. This chemical breakdown process creates microscopic cracks in seals that eventually lead to noticeable leaks.
Immediate Action Steps When Discovering a Leak
When you spot fuel dripping from your petcock, immediate action prevents further damage and potential hazards. Your first priority should be safely containing the leak to protect yourself and your riding environment.
Essential Safety Measures Before Repair Attempts
Never attempt petcock repairs while fuel is actively leaking near potential ignition sources. Move your dirt bike to a well-ventilated area away from sparks, flames, or electrical equipment. Have appropriate fire extinguishing equipment readily available before beginning any work. Wear chemical-resistant gloves to protect your skin from fuel exposure, which can cause irritation or more serious health issues with prolonged contact.
Temporary Field Fixes for Trailside Emergencies
If you discover a leak during a ride, several temporary solutions can get you back to base. Tightly wrapping the leaking area with electrical tape creates a short-term barrier against fuel escape. For more substantial leaks, applying a high-temperature epoxy putty around the seam can provide several hours of service. Always reduce your riding intensity after applying temporary fixes, as increased vibration and heat will compromise these emergency repairs faster.
Diagnosing Your Specific Petcock Leak Type
Accurate diagnosis determines whether your dirt bike petcock leaking issue requires simple maintenance or complete replacement. Different leak patterns indicate specific underlying problems that demand tailored solutions.
Identifying Vacuum Line vs. Fuel Line Leaks
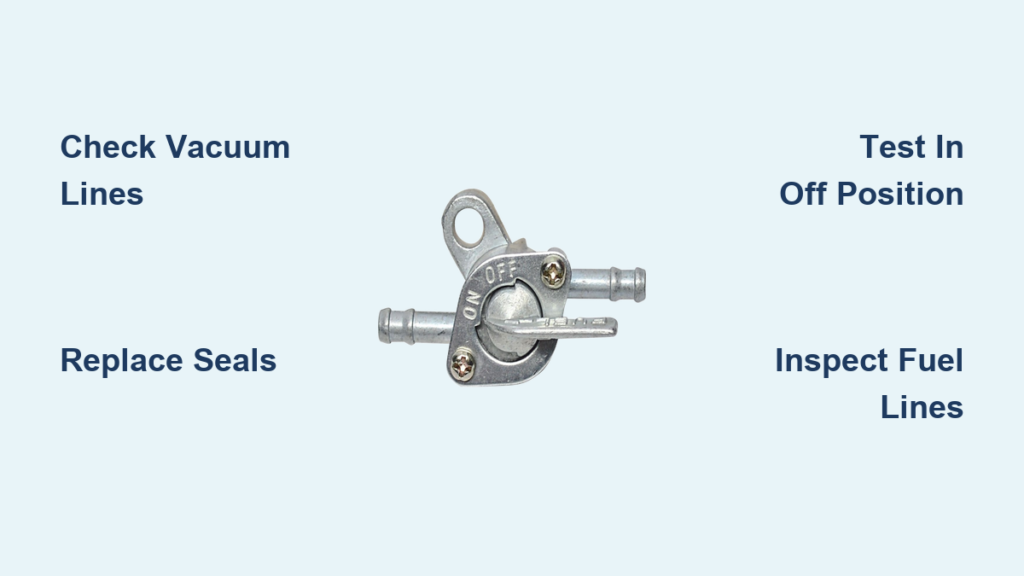
Distinguishing between vacuum-operated and fuel line leaks saves valuable repair time. Vacuum line leaks typically produce smaller fuel drips that worsen when the engine runs, while fuel line leaks create continuous dripping regardless of engine status. Trace each connected hose with a clean rag to pinpoint the exact leak source – vacuum lines are usually smaller diameter and connect to the engine side of the petcock.
How to Test Petcock Function Without Disassembly
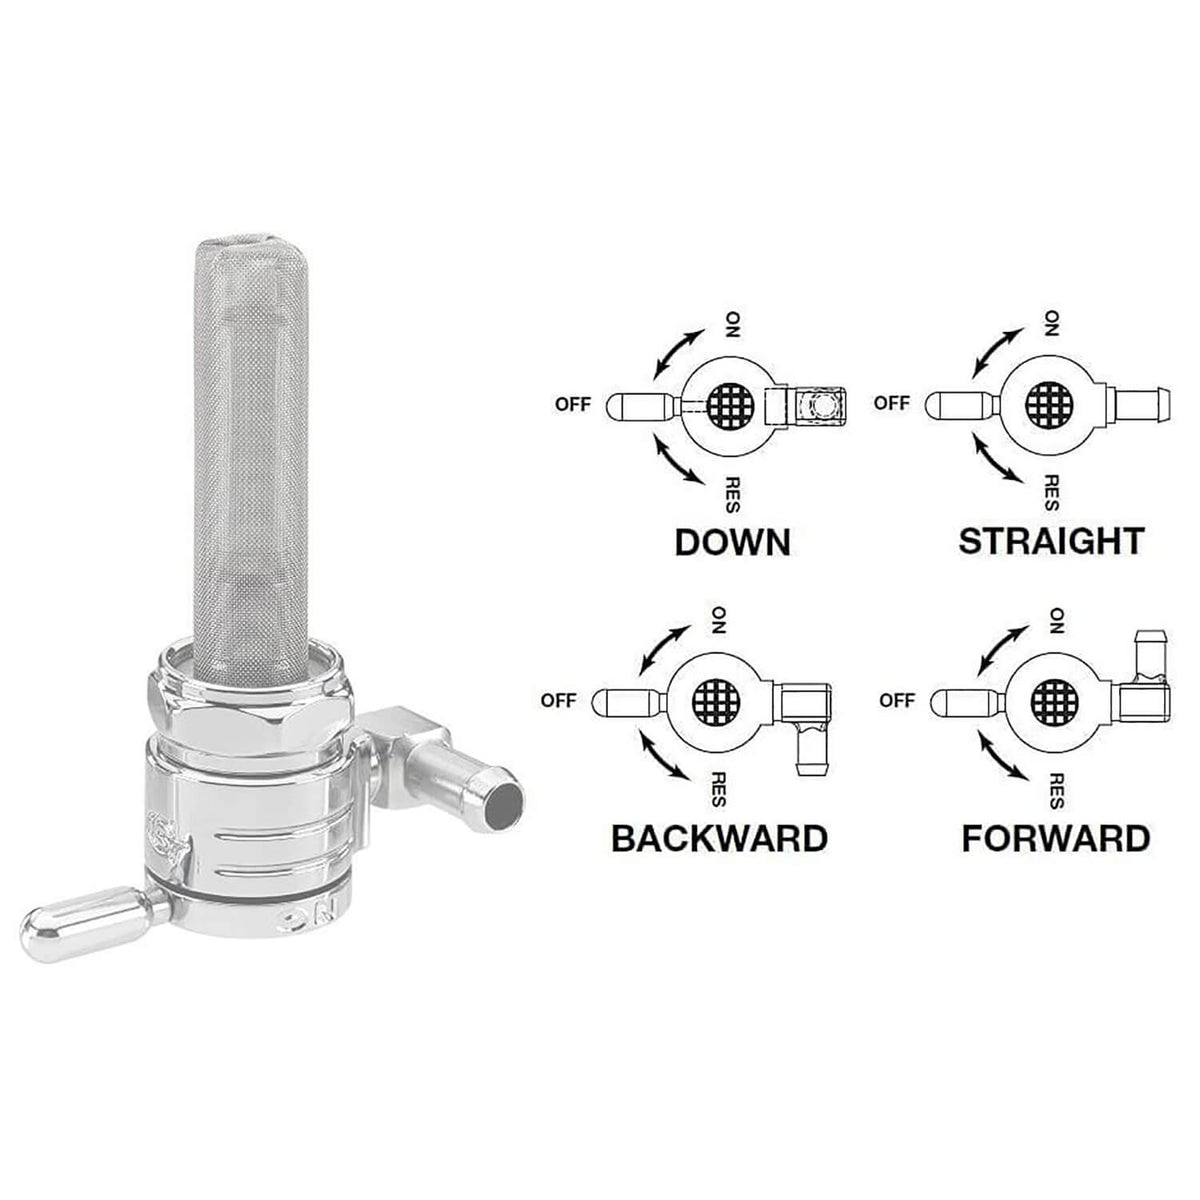
Perform this simple diagnostic test before removing your petcock: With the fuel tank partially filled, turn the petcock to “ON” position and observe fuel flow. Then switch to “RESERVE” – you should notice increased flow rate. Finally, turn to “OFF” – all fuel movement should stop completely. If fuel continues dripping in the “OFF” position, your internal seals have failed and require replacement.
Step-by-Step Petcock Repair Procedures
Most petcock leaks can be resolved through systematic repair rather than complete replacement, saving both time and money. These procedures assume basic mechanical skills and proper safety precautions.
Required Tools for Petcock Maintenance
- 8mm and 10mm socket set
- Needle-nose pliers
- Small flathead screwdriver
- Clean rags
- Replacement petcock rebuild kit
- Fuel-safe sealant
- Safety glasses
Complete Petcock Rebuild Process
- Drain remaining fuel from the tank into an approved container
- Disconnect all vacuum and fuel lines using needle-nose pliers
- Remove mounting bolts securing the petcock to the tank
- Carefully twist and pull the petcock from the tank opening
- Disassemble components according to manufacturer specifications
- Clean all parts thoroughly with carburetor cleaner
- Replace all rubber seals and gaskets from your rebuild kit
- Reassemble components in reverse order
- Apply light coat of fuel-safe sealant to mounting surface
- Reinstall petcock and reconnect all lines
Model-Specific Petcock Considerations
Different dirt bike manufacturers implement petcock designs with unique characteristics that affect repair approaches. Understanding your specific model’s configuration prevents unnecessary complications during repair.
Four-Stroke vs. Two-Stroke Petcock Differences
Four-stroke dirt bikes typically use vacuum-operated petcocks that automatically regulate fuel flow based on engine demand. Two-stroke models often feature simpler gravity-feed systems with manual on/off/reserve positions. The repair process differs significantly between these systems – vacuum-operated units require careful diaphragm replacement, while gravity-feed models need precise seal alignment.
Brand-Specific Petcock Design Features
Yamaha and Suzuki models frequently incorporate petcocks with integrated fuel filters that require special attention during disassembly. Honda and Kawasaki designs often feature more complex vacuum chamber configurations that demand precise reassembly. KTM and Husqvarna modern models increasingly use electronic fuel valves that behave differently than traditional mechanical petcocks when developing leaks.
Preventing Future Petcock Leaks
Proactive maintenance significantly extends petcock lifespan and prevents unexpected trail failures. Implement these preventative measures to avoid recurring dirt bike petcock leaking issues.
Seasonal Storage Best Practices
Before storing your dirt bike for extended periods, completely drain the fuel system or use a quality fuel stabilizer. Ethanol-free racing fuel provides the best long-term storage solution for petcock preservation. Store your bike with the petcock in the “OFF” position and consider removing the petcock entirely for models prone to storage-related leaks.
Regular Maintenance Checklist
- Inspect petcock connections monthly for signs of seepage
- Replace rubber seals every 2 years regardless of visible wear
- Clean petcock strainers during routine maintenance intervals
- Check mounting bolt torque after major rides
- Flush fuel system with fresh gasoline before long storage periods
When Replacement Becomes Necessary
Sometimes repair isn’t sufficient, and complete petcock replacement becomes the safest option. Recognizing these critical failure points prevents dangerous situations on the trail.
Critical Damage Indicators Requiring Replacement
Cracks in the petcock body, stripped mounting threads, or irreparable damage to the vacuum diaphragm housing all necessitate full replacement. Aluminum-bodied petcocks with corrosion damage cannot be safely repaired and must be replaced immediately. If your rebuild attempts fail to stop the leak after two complete seal replacements, the petcock likely has structural issues requiring new unit installation.
Selecting the Right Replacement Petcock
When choosing a replacement, match the original equipment specifications exactly. Pay particular attention to:
– Vacuum vs. gravity feed system compatibility
– Correct hose connection sizes
– Proper mounting bolt pattern
– Reserve fuel position functionality
– Fuel flow rate specifications
Aftermarket petcocks offer improved materials but require careful verification of compatibility with your specific dirt bike model.
Final Leak Testing and Post-Repair Validation
Never assume your repair succeeded without thorough validation testing. Proper leak testing prevents dangerous fuel accumulation during actual riding conditions.
Comprehensive Post-Repair Testing Protocol
- Fill tank to halfway point with fresh fuel
- Position bike on center stand in well-ventilated area
- Turn petcock through all positions (ON, RESERVE, OFF)
- Observe for 15 minutes at each position
- Start engine and monitor for leaks under operating conditions
- Take short test ride over varied terrain
- Perform final inspection after riding
Pro Tip: Place a clean white rag beneath the petcock during testing – even small leaks become clearly visible against the contrasting background.
Addressing your dirt bike petcock leaking issue promptly with the right approach keeps you safely on the trails. Remember that consistent maintenance prevents most petcock failures before they start. When leaks do occur, systematic diagnosis followed by proper repair techniques solves the problem permanently rather than creating temporary fixes that fail at the worst possible moment. Keep your repair toolkit stocked with quality replacement seals and always verify your work through comprehensive testing before heading out on your next adventure.


