
You’re cruising down the highway with your bike rack loaded, enjoying the open road, when flashing lights appear in your mirror. The officer approaches: “Your license plate is completely blocked by your bike rack.” This scenario plays out thousands of times annually across America, with fines ranging from $50 to $200 depending on your state. The frustrating reality? Most cyclists don’t realize that standard bike racks automatically obstruct license plates, creating legal liability in all 50 states.
Learning how to display license plate with bike rack properly takes less than an hour but prevents costly tickets that often exceed the price of a proper mounting solution. Whether you’re a weekend warrior or cross-country cyclist, this guide walks you through every compliant method—from quick magnetic fixes to permanent LED-illuminated installations—based on actual state laws and tested products you can buy today.
Stop Getting Ticketed: Why Your Current Setup Violates State Laws
California Officers Target Bike Rack Plate Obstruction First
California Vehicle Code 5201 requires license plates to be clearly visible from 50 feet away, making bike rack obstruction an automatic violation. The state leads in strict enforcement with fines starting at $196—more than the cost of most relocation brackets. New York gives you 30 days to comply after receiving a warning, while Texas requires relocation only if your original plate becomes obstructed by the rack.
Florida lacks specific bike rack provisions, creating subjective enforcement where some officers ticket while others don’t. Colorado offers the most cyclist-friendly policy, allowing temporary plate relocation when using bike racks as long as your plate remains illuminated and visible. Always check your state’s current requirements before hitting the road.
Federal Guidelines Create Enforcement Confusion
No federal regulations specifically address bike rack license plate display, with NHTSA deferring to individual states. This creates inconsistent enforcement—what’s ignored in Montana triggers immediate tickets in California. Federal Motor Vehicle Safety Standards only apply if you install auxiliary lighting, adding another layer of complexity to proper plate display.
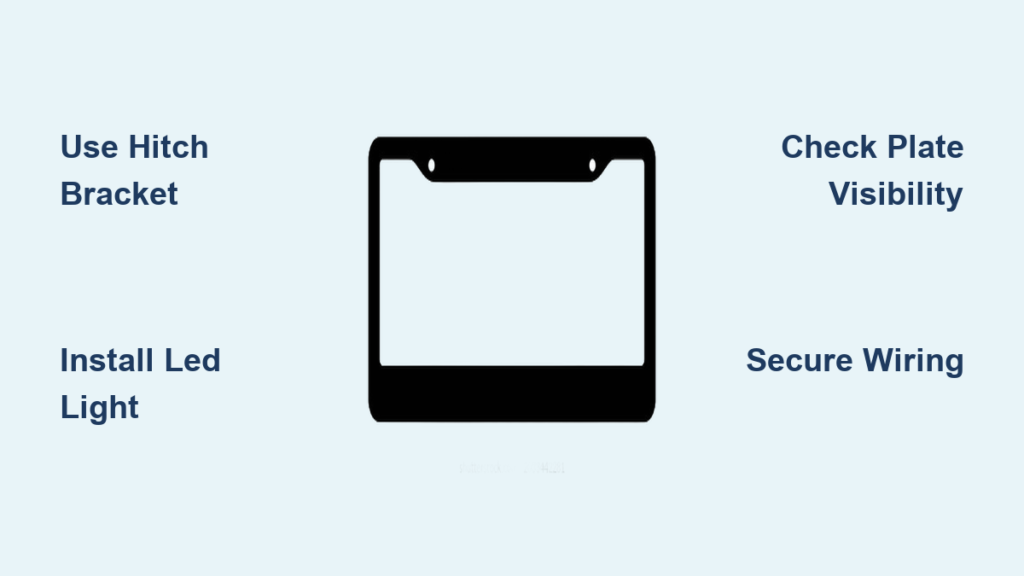
Install a Hitch-Mounted Bracket in 20 Minutes or Less
Curt 31003 Universal Bracket: The $35 Fix That Works Every Time
The Curt 31003 bracket solves your license plate visibility problem for under $35. This universal solution fits any 2-inch receiver hitch and includes an LED light strip that automatically illuminates when your taillights activate. The powder-coated steel construction resists rust while adjustable positioning ensures your plate clears most bike racks.
Quick installation steps:
1. Insert the bracket into your hitch receiver using the included pin
2. Mount your license plate facing directly rearward
3. Connect the wiring harness to your vehicle’s taillight circuit
4. Test visibility from 50 feet in daylight and darkness
This bracket’s genius lies in its simplicity—no drilling required for most vehicles, and the included wiring harness connects directly to your existing taillight assembly without splicing.
Thule 976 Kit: Perfect Integration for T2 Pro XT Owners
If you own a Thule T2 Pro XT rack, the Thule 976 Quick-Release License Plate Holder provides seamless integration. This $89.99 solution uses existing mounting points for drill-free installation and includes an integrated cable lock to prevent theft during pit stops. The quick-release mechanism allows you to remove your bikes without affecting plate positioning.
Critical installation tip: Position the bracket so your plate clears all bike wheel positions—many cyclists forget to test with fully loaded racks, leading to partial obstruction that still triggers tickets.
DIY License Plate Relocation Without Breaking the Bank
Gather These 5 Essential Materials Before Starting
Before attempting a DIY license plate relocation, collect these specific components that outlast cheap kits: stainless steel mounting hardware (prevents rust), 12″x6″ aluminum bracket, 14-gauge wire, LED light strip, and wire connectors. Budget $40-60 for quality parts that will survive multiple seasons of use.
Must-have tools:
– Drill with 1/4″ bit
– Wire strippers
– Crimping tool
– Split-loom tubing for wire protection
– Marine-grade heat shrink
Complete Electrical Connection Without Professional Help

Your license plate light must produce minimum 300 lumens of white light to comply with state laws. Locate your reverse light wire in the taillight assembly—typically a white or yellow wire—and use T-tap connectors for clean splices. Route wires through the hitch receiver using protective grommets to prevent chafing against sharp edges.
Pro tip: Apply dielectric grease to all electrical connections before securing them. This prevents corrosion that kills 80% of DIY installations within the first year. Ground connections must attach to clean, bare metal on your vehicle frame—paint and rust prevent proper electrical flow.
Avoid These 3 Common Installation Mistakes
Plate Angle and Height Violations That Trigger Tickets
Your license plate must sit at exactly 90 degrees to the ground—tilted plates reflect light poorly and attract enforcement attention. Center height should measure between 12-60 inches from the ground (check your specific state requirements). Many cyclists mount plates too high for easy access, only to discover during traffic stops that visibility fails at the required 50-foot distance.
Quick verification method: Park your vehicle on level ground with bikes mounted, then walk backward until you reach 50 feet. If you can’t read your plate clearly, you’re risking a ticket.
Lighting Failures That Happen Overnight
When your license plate light fails, check ground connections first—90% of electrical problems trace to poor grounding. Use 16-gauge extension wire if factory wires prove too short, and apply rubber isolators between the bracket and hitch receiver to eliminate vibration-related failures.
Weekly maintenance: Verify mounting hardware tightness—vibration loosens connections surprisingly fast during normal driving. Monthly inspections should examine wires for corrosion, especially in salt-exposed regions.
State-Specific Compliance Cheat Sheet
Immediate Compliance States (Don’t Wait for a Ticket)
California demands immediate compliance with no grace period—you must relocate your plate before driving with a bike rack installed. New York gives you 30 days after receiving a warning, while Texas requires relocation only if your original plate becomes obstructed. Washington and Oregon enforce visibility requirements but with county-level variations in strictness.
Lax Enforcement Regions (Still Not Risk-Free)
Montana, North Dakota, and South Dakota rarely enforce bike rack obstructions, focusing instead on front plate display requirements. Wyoming generally ignores bike rack issues entirely, though this policy shifts annually. Never assume lax enforcement means no enforcement—officers can still ticket you for obstructed plates in any state.
Top 3 Relocation Kits Tested and Ranked

Curt 31003: Best Overall Value for Most Cyclists
The Curt 31003 earns 4.5/5 stars for universal compatibility and included lighting. Its sturdy steel construction survives years of weather exposure, though some applications require minor drilling. It’s the go-to choice for first-time installers with any vehicle and bike rack combination.
B&W TS10050B: Premium Choice for B&W Hitch Owners
Scoring 4.7/5 stars, the B&W TS10050B integrates directly with B&W Tow & Stow hitches. The seamless design eliminates additional hardware but only works with B&W systems. If you own compatible equipment, this $120 solution provides the cleanest installation.
Reese 74378: Budget Option With Trade-offs
The Reese 74378 offers basic functionality at $15-25 but uses plastic construction that degrades faster in harsh climates. It works for occasional cyclists but expect replacement within 2-3 years. Save this option only if you transport bikes fewer than 10 times annually.
Your bike rack shouldn’t cost you hundreds in avoidable fines. Whether you choose a $30 universal bracket or invest in a specialized solution, proper license plate display keeps you legal and eliminates traffic stops. Install your relocation kit this weekend—you’ll thank yourself on your next road trip when those flashing lights appear behind you, but the officer simply waves you through with a nod toward your perfectly displayed plate. Remember: prevention costs less than a single ticket, and peace of mind while cycling is priceless.


