That familiar wobble or hiss of escaping air can turn a perfect ride into frustration in seconds. A leaky bike tire isn’t just inconvenient—it can strand you miles from home if you don’t know how to fix it properly. Fortunately, with the right tools and knowledge, you can handle any flat in about fifteen minutes and get back to riding. This guide shows you exactly how to fix a leaky bike tire step-by-step, from wheel removal to preventing future flats.
Every cyclist will face a puncture eventually, whether commuting to work or exploring backcountry trails. Knowing how to fix a leaky bike tire transforms you from a stranded rider into a self-sufficient cyclist who can handle roadside emergencies with confidence. Beyond just the repair mechanics, you’ll learn how to diagnose the cause, choose the best repair method for your situation, and implement strategies that dramatically reduce future flats.
Gather Essential Repair Tools
Before you can fix a leaky bike tire, you need the right equipment within reach. Carrying a basic repair kit separates self-sufficient riders from those who need roadside assistance. Your essential toolkit must include tire levers, a bike pump or CO₂ inflator, and either a patch kit or spare inner tube.
Choose sturdy plastic tire levers that won’t scratch your rims—two is the minimum, though three makes certain steps easier. Your pump must match your valve type (Presta or Schrader) and ideally include a pressure gauge for accurate inflation. CO₂ inflators provide faster roadside repairs but require disposable cartridges, making them better for emergencies than home maintenance.
Patch kits contain everything for tube repair: patches, vulcanizing solution for chemical bonding with rubber, and sandpaper for surface preparation. When selecting replacement tubes, match both diameter and width specifications printed on your tire sidewall—a 700×25 tube won’t work in a 26-inch tire regardless of width. Store your repair kit in a compact bag under your seat where it stays accessible without affecting your ride.
Remove Your Wheel Quickly
Wheel removal is the first mechanical step in fixing a leaky bike tire, and the process differs between front and rear wheels. Knowing your specific wheel system before you’re stranded roadside saves frustration and gets you back riding faster.
Front Wheel Removal
Front wheel removal works best when you release rim brakes first—flip the quick-release lever on the brake caliper or unscrew the barrel adjuster to open the brake arms. For quick-release wheels, swing the lever open until it clicks, then loosen the opposing nut counterclockwise until the wheel slides free. Thru-axle systems require unscrewing the axle completely before pulling the wheel straight out of the dropouts. Remember which side the axle was oriented during removal—it simplifies reinstallation later.
Rear Wheel Removal
Rear wheel removal adds complexity due to the chain and cassette. Shift your chain onto the smallest rear cog first for maximum clearance. Release brakes using the same method as the front wheel. For quick-release systems, open the lever and loosen the opposing nut, then carefully pull the wheel backward while guiding the chain off the cassette. Avoid letting the chain fall completely off the surrounding chainrings—recovery makes reinstallation more difficult. Thru-axle rear wheels require straight-back removal once the axle is unscrewed, with the chain naturally disengaging from the cassette.
Take Out the Flat Inner Tube

With the wheel removed, access the punctured tube by completely deflating the tire and using proper tire lever technique. Start by removing the valve cap and pressing the center pin to release all air—Presta valves require unscrewing the small locking nut first. Press around the tire to expel remaining air since residual pressure makes tire removal significantly harder.
Work opposite the valve stem to begin. Wedge one tire lever between the rim and tire bead, then pry the bead up and over the rim edge. Hook this lever onto a nearby spoke. Insert your second lever a few spokes down, pry again, and hook it in place. Slide the second lever around the wheel’s circumference, “unzipping” the tire bead from the rim. Only one side of the bead needs removal to extract the tube.
Pull the valve stem out through the valve hole first, then carefully remove the rest of the tube. Use this opportunity to inspect both the tube and tire interior—the cause of your flat often becomes obvious during extraction.
Find What Caused the Leak
Identifying why your tire went flat prevents repeat punctures. Rushing past this step means reinstalling a new tube only to find it flat again minutes later. Thorough inspection of both the tire and tube reveals the culprit.
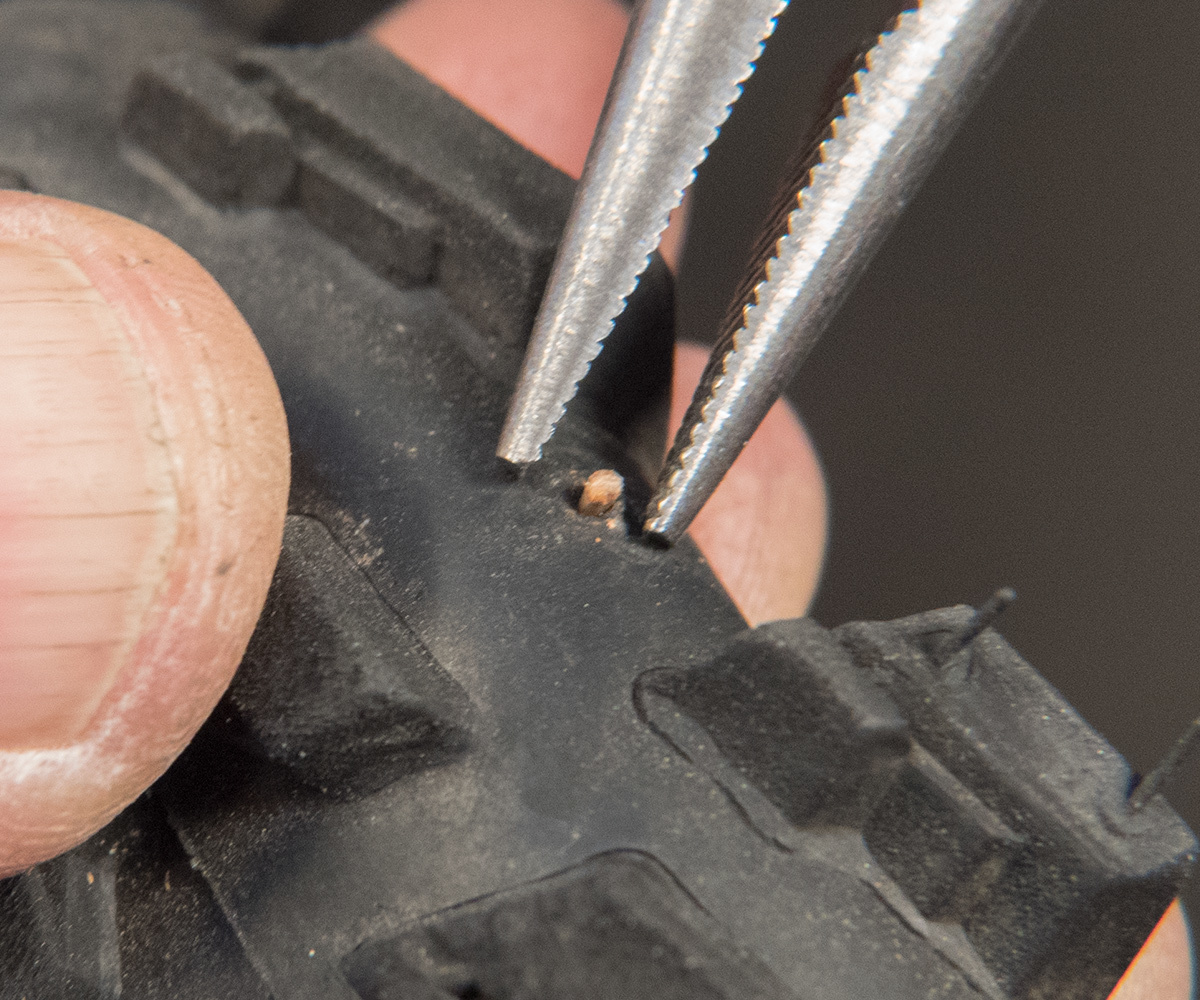
Run your fingers slowly along the outside of the tire tread, feeling for embedded objects like glass shards, thorns, or nails. If you find an object, note its location and check whether the tube has a corresponding puncture. Inspect the tire interior equally carefully, running fingers along the inside casing. Pay extra attention around the valve stem area and along the bead where the tire seats against the rim.
If the puncture isn’t visible, submerge sections of the inflated tube in water—bubbles reveal escaping air. Mark the hole with a pen directly over the puncture. Common causes include sharp object penetration, pinch flats from hitting obstacles at low pressure, spoke punctures from worn rim tape, valve stem leaks, and snakebite punctures where the tube compresses between rim and road.
Patch or Replace the Tube
With the cause identified, choose between patching your existing tube or installing a replacement based on your situation, supplies, and time constraints.
Patching with a Kit
Patching works well for small punctures when you have time. Roughen the area around the hole using the sandpaper from your patch kit, extending beyond the patch edges. Apply one thin, even layer of vulcanizing solution over the roughened area, spreading slightly larger than your patch. Let it dry completely (at least five minutes)—the glossy appearance indicates readiness.
Peel the foil backing from the patch and press firmly over the hole for about one minute, ensuring complete adhesion. Center the patch precisely over the puncture; misalignment requires starting over. Dust chalk or talc around the patch edges to prevent sticking to the tire interior.
Using a Replacement Tube
For roadside repairs, replacing the entire tube gets you back riding faster. Partially inflate the new tube—just enough to give it shape without making it difficult to handle. This confirms the new tube holds air before installation and prevents bunching during the process.
Emergency Repair Without Supplies
When stranded without supplies, emergency repairs using patch kit materials can get you home. Apply vulcanizing solution as usual, then cover with puncture tape or aluminum foil. Eliminate all air bubbles under the material—any gap causes immediate failure. This temporary fix requires proper tube replacement later.
Reinstall Tube and Tire
Proper installation ensures your repair holds and prevents repeat flats from pinched tubes or improperly seated beads.
Insert the valve stem straight through the valve hole first, confirming it sits perpendicular to the rim. Push the rest of the tube inside the tire, working around the wheel’s circumference. The partially inflated tube should fill the space without compression or bunching.
Begin seating the tire bead opposite the valve stem, pushing it inside the rim channel. Work in both directions around the wheel, squeezing tire sides together to make final sections easier. The last portion typically requires the most force—you may need tire levers again but avoid levering near the valve.
Inflate slowly to recommended pressure, stopping periodically to check bead seating and tube positioning. Feel along both sides for bulges indicating a pinched tube. Confirm the valve stem remains aligned. Once properly inflated, reinstall the wheel by reversing your removal procedure.
Prevent Future Punctures
The best flat is the one you never get. Taking proactive measures dramatically reduces puncture risk.
Maintain proper tire pressure—a tire at 80 psi has half the rubber contact with the road compared to a tire at 40 psi, making it less likely to pick up debris. Check pressure regularly using a track pump with a gauge: skinny road tires need checking every few days, medium tires weekly, fat tires every couple of weeks.
Avoid road hazards by staying toward the lane center—glass and sharp objects get swept to the gutter by traffic. Learn which routes accumulate debris and either avoid them or ride cautiously through these sections. Watch for seasonal hazards like thorns on rural roads during certain times of year.
Select puncture-resistant tires with protective layers under the tread. Options like Schwalbe Marathon Plus or Continental Touring Plus use synthetic fibers like Kevlar or denser rubber compounds. While heavier and potentially increasing rolling resistance slightly, they’re worthwhile for commuters prioritizing reliability.
Use sealant products like Slime for automatic puncture protection. Pre-sealed tubes come factory-filled with sealant, eliminating messy DIY installation. Sealant works only on small holes from thorns—not cuts or large punctures. Monitor sealant-filled tires periodically as compounds dry out over time.
Fast Fix Summary
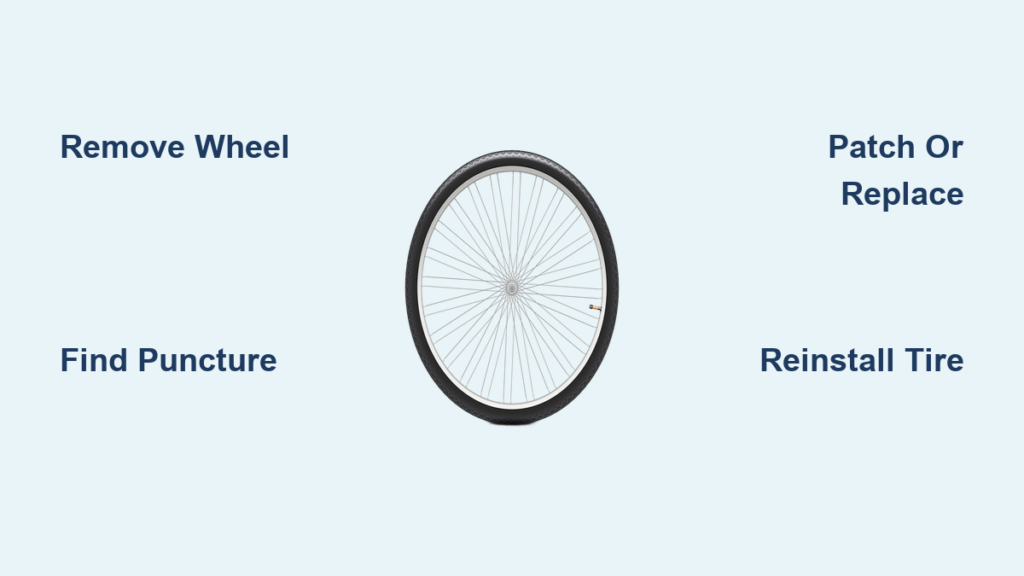
Fixing a leaky bike tire follows a consistent five-step pattern. First, remove your wheel using the appropriate method for your wheel type. Second, take out the inner tube by fully deflating, unseating one bead with tire levers, and extracting the tube. Third, identify the cause by thoroughly inspecting both tire and tube.
Fourth, repair or replace the tube—patching works when you have time, while replacement gets you back riding quickly. Fifth, reinstall by seating the tube properly, inflating to recommended pressure, and securing the wheel.
With practice, the entire process takes between five and fifteen minutes. Carrying the right tools, understanding your bike’s wheel removal system, and following these systematic steps ensures a leaky tire never keeps you off your bike for long. The confidence from handling your own repairs transforms every ride, knowing no flat can truly stop you.