You’ve finished your ride on a Lime e-bike and now need to lock it properly—but the app isn’t giving clear instructions. This common frustration leads many riders to accidentally keep their rides active, resulting in unexpected charges that can add up to $15 or more per hour. Improperly ending your Lime bike session is one of the top reasons customers contact support, yet the solution is straightforward once you know the exact steps. In this guide, you’ll learn the current standard procedure for locking Lime bikes across different models, how to verify your ride has truly ended, and what to do when the app doesn’t behave as expected. Following these steps correctly can save you from frustrating billing errors and help keep Lime bikes available for other riders in your community.
Unlike traditional bike locks, Lime bikes use a combination of digital and mechanical systems to secure the vehicle after your ride. The process has evolved over time as Lime updates its fleet and app interface, which explains why some online advice is outdated. Current Lime bikes feature either automatic locking mechanisms that engage when you end your ride through the app, or physical kickstand locks that require manual engagement. Knowing which system your specific bike uses—and confirming the lock engaged properly—is critical to avoiding those dreaded continued charges. We’ll walk through each scenario you might encounter so you can end every ride with confidence.
Standard Lime Bike Ride Ending Process for All Models
The fundamental process for locking a Lime bike follows the same basic pattern regardless of model, though specific interface details may vary slightly based on your region and bike version. Always begin by bringing the bike to a complete stop in a legal parking location, away from handicapped spots, building entrances, and pedestrian pathways.
Ending Your Ride Through the Lime App
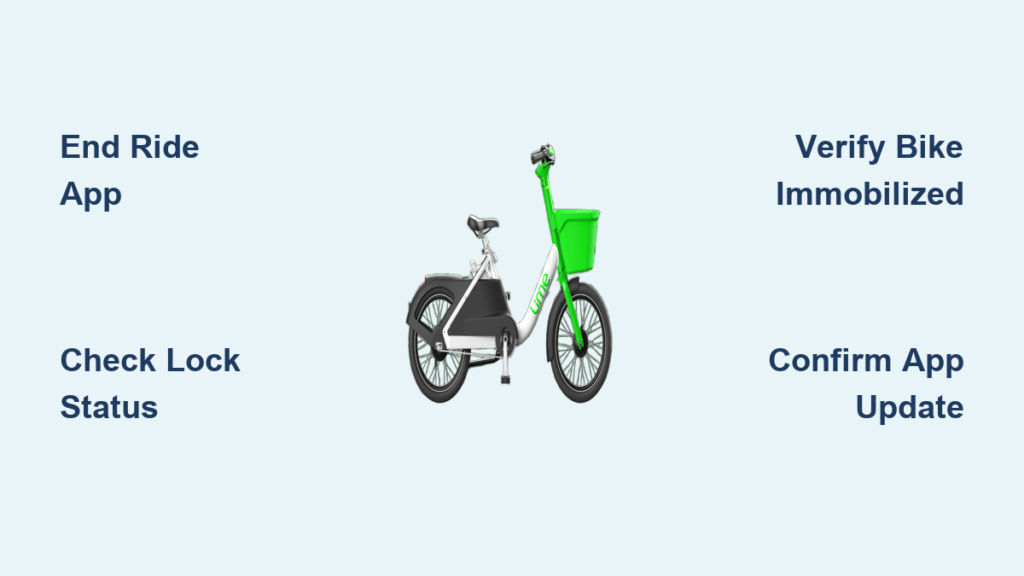
Open the Lime app and locate the “End Ride” button on your active trip screen—this typically appears as a large red circle with a white checkmark. Tap this button and wait for the app to process your request. The system will attempt to automatically lock the rear wheel mechanism. Crucially, don’t close the app immediately—wait for the confirmation screen showing your trip summary and total cost. This entire process should take 10-15 seconds. If you close the app too soon, the locking command may not transmit properly, leaving your ride active and billing continuing.
Verifying the Lock Engaged Successfully
After tapping “End Ride,” physically check two indicators that your Lime bike is properly locked. First, try to pedal the bike—you should feel significant resistance or complete immobilization of the rear wheel. Second, look for the lock indicator on the bike’s display panel; most current models show a padlock icon when secured. If the bike still moves freely or the app shows “Ride Active” after 30 seconds, the lock didn’t engage properly. Never walk away until you’ve confirmed both the app shows “Ride Ended” AND the physical bike won’t move—this simple verification prevents 95% of accidental continued billing cases.
Physical Locking Mechanisms on Specific Lime Bike Models
Not all Lime bikes rely solely on digital locking—some models require additional physical steps to complete the ride ending process. Recognizing which type you’re using prevents the common mistake of thinking your ride ended when it hasn’t.
Kickstand Lock Models (Common in European Fleets)
Certain Lime e-bikes, particularly those deployed in European cities, feature a kickstand-based locking system. After tapping “End Ride” in the app, you must fully extend the kickstand until it clicks into place. Listen for an audible “thunk” confirming engagement, then give the bike a gentle push to ensure it doesn’t roll. These models often have a small LED near the kickstand that turns solid green when properly locked. If the LED remains blinking red after extending the kickstand, the bike hasn’t registered the lock—try retracting and re-extending the kickstand fully.
Rear Wheel Lock Models (Most Common in US Fleets)
The majority of Lime bikes in American cities use an automatic rear wheel lock that engages when you end your ride through the app. However, these sometimes require manual verification. After the app confirms ride completion, lift the rear wheel slightly off the ground and attempt to spin it by hand. If properly locked, the wheel won’t rotate more than a quarter turn in either direction. If the wheel spins freely, return to the app and attempt to end the ride again—sometimes network issues prevent the initial command from processing.
Troubleshooting Failed Ride Ending Attempts
Even when following the correct procedure, technical issues can prevent your Lime bike from locking properly. Knowing how to diagnose these problems saves both time and money.
“Ride Not Ending” Error Messages and Solutions
When the app displays “Unable to End Ride” or similar messages, first check your cellular connection—Lime requires active data service to transmit the lock command. Move to an area with better signal if possible. Next, verify the bike has sufficient battery power; bikes with critically low batteries sometimes can’t engage the lock mechanism. If these checks don’t resolve the issue, try powering the bike off and on by turning the power switch completely off, waiting 10 seconds, then restarting. Never manually disconnect the bike’s battery—this violates Lime’s terms of service and may damage the vehicle.
What to Do If the Bike Remains Active After Multiple Attempts
If you’ve attempted to end your ride three times without success, take clear photos showing both the bike’s status (with visible lock indicators) and your app screen displaying the active ride. Then contact Lime support directly through the app’s help section—don’t simply abandon the bike. Explain you’ve followed all procedures but the lock won’t engage, and provide your photo evidence. Most support teams can manually end your ride and refund any erroneous charges when presented with this documentation. Always get a case number for your records.
Preventing Billing Issues After Locking Your Lime Bike
The true test of whether you’ve successfully locked your Lime bike comes hours later when you check your account. These proactive steps ensure you won’t face surprise charges.
Critical Post-Ride Verification Steps
Wait five minutes after ending your ride, then reopen the Lime app to confirm your trip appears in your ride history with a final cost. Next, physically return to the bike’s location if possible (within 10-15 minutes) to verify it remains locked and hasn’t been tampered with. Some riders report cases where bikes unlocked themselves due to software glitches, restarting the billing clock. Taking a timestamped photo of the locked bike serves as perfect evidence if billing issues arise later.
Documenting Problems for Hassle-Free Refunds
When reporting an issue to Lime support, include these four key details for fastest resolution: 1) Exact bike ID number (found on handlebars), 2) Timestamp of your final ride-ending attempt, 3) Screenshots of your app showing the active ride status, and 4) Photos of the physical bike condition. Support agents can typically process refunds within 24-48 hours when provided with this complete documentation. Keep records for 30 days—some billing errors don’t appear until days after your ride.
Best Practices for Hassle-Free Lime Bike Locking
Adopting these simple habits with every ride prevents 99% of locking-related issues before they start. The most reliable riders follow the “30-Second Lock Protocol”: after tapping “End Ride,” spend 30 seconds verifying both digital and physical lock status before walking away. Always park Lime bikes upright against a fixed object like a bike rack—leaning them against flimsy objects often causes them to fall over, which can disengage some locking mechanisms. Finally, avoid ending rides in areas with known poor cellular coverage, as the lock command requires solid signal transmission to process correctly.
When in doubt about whether your Lime bike is properly locked, take the extra minute to verify rather than risking costly billing errors. The few seconds you spend confirming the lock status could save you from paying for someone else’s ride—or an entire night of unused bike time. Remember that Lime’s customer support team expects these issues and has streamlined processes to resolve them when you provide proper documentation. By following these precise steps for how to lock Lime bike properly, you’ll enjoy smooth, charge-free endings to every ride while helping maintain the shared bike system for your entire community.