
Your dirt bike’s exhaust isn’t just about noise—it’s a critical component affecting power delivery, heat management, and overall engine performance. When the packing material inside your muffler breaks down, you’ll notice louder exhaust notes, reduced low-end torque, and potential heat damage to surrounding components. Learning how to repack dirt bike exhaust properly means keeping your machine running at peak efficiency without expensive shop visits. Most riders wait until problems become obvious before addressing their exhaust system, but proactive maintenance prevents costly damage and maintains optimal performance. This guide gives you the exact steps to identify when repacking is needed, select the right materials, and complete the job in your garage with basic tools.
Recognize Exhaust Repacking Warning Signs

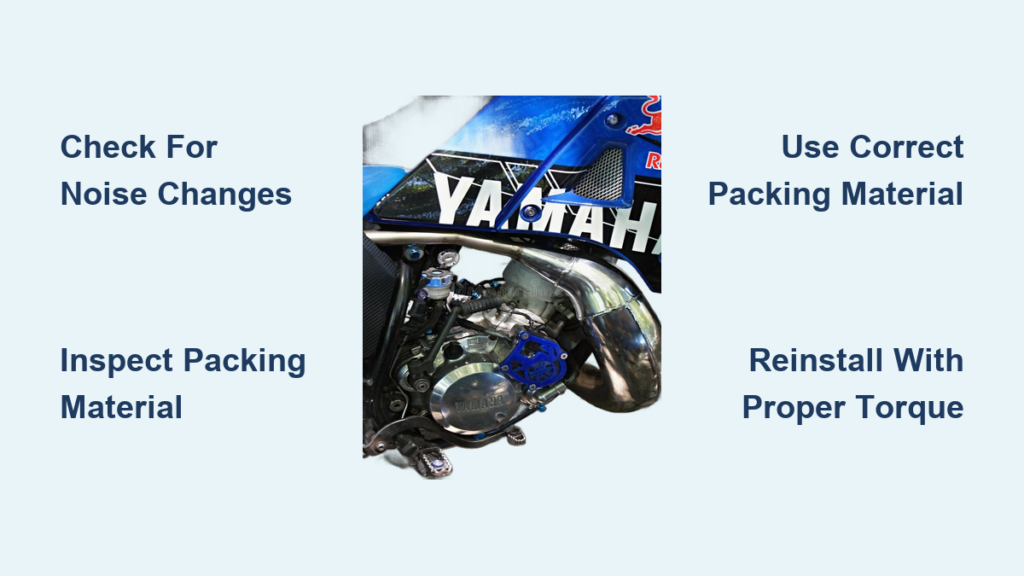
Your dirt bike communicates when exhaust packing has deteriorated—you just need to know what cues to listen for. The most obvious signal is increased exhaust noise, particularly a hollow or raspy sound that wasn’t present before. This isn’t merely annoying; many riding areas enforce strict noise regulations, and an excessively loud bike could get you banned from trails or races. Pay attention to subtle changes in your bike’s exhaust note after riding sessions—gradual deterioration often goes unnoticed until it becomes severe.
Performance changes provide equally important indicators. Worn packing material disrupts exhaust backpressure, typically causing reduced low-end torque and sluggish throttle response. If your bike feels less responsive when accelerating from low speeds or climbing hills, compromised exhaust packing could be the culprit. This happens because degraded material allows exhaust gases to flow inefficiently, disrupting the scavenging effect that helps clear combustion chambers.
Visual inspection reveals additional red flags. Check exhaust openings for packing material protruding from the silencer—this means pressure is forcing deteriorated material out. Look for heat discoloration extending further down the pipe than normal, which indicates inadequate heat insulation. If nearby components like plastic shrouds, graphics, or the seat show heat damage, your exhaust packing isn’t doing its job of containing heat within the system.
Gather Required Tools and Materials

Skip this step and you’ll waste time mid-procedure or risk damaging expensive components. You’ll need socket wrenches or hex/Allen keys sized for your bike’s mounting bolts—typically metric 8mm, 10mm, or 12mm fasteners. An exhaust hanger removal tool prevents stress on rubber-mounted systems, though a flat-blade screwdriver can work carefully as a pry tool if you don’t have the specialty item.
Essential specialty tools include needle-nose pliers for extracting old material and handling new packing without over-compressing it, plus a wire hook or bent coat hanger for pulling packed material from deep inside the silencer. A torque wrench ensures mounting bolts reach manufacturer specifications—critical since over-tightening strips threads while under-tightening causes exhaust leaks. Don’t forget gloves to protect against sharp edges and packing material irritation.
Select Proper Packing Material for Your Riding Style
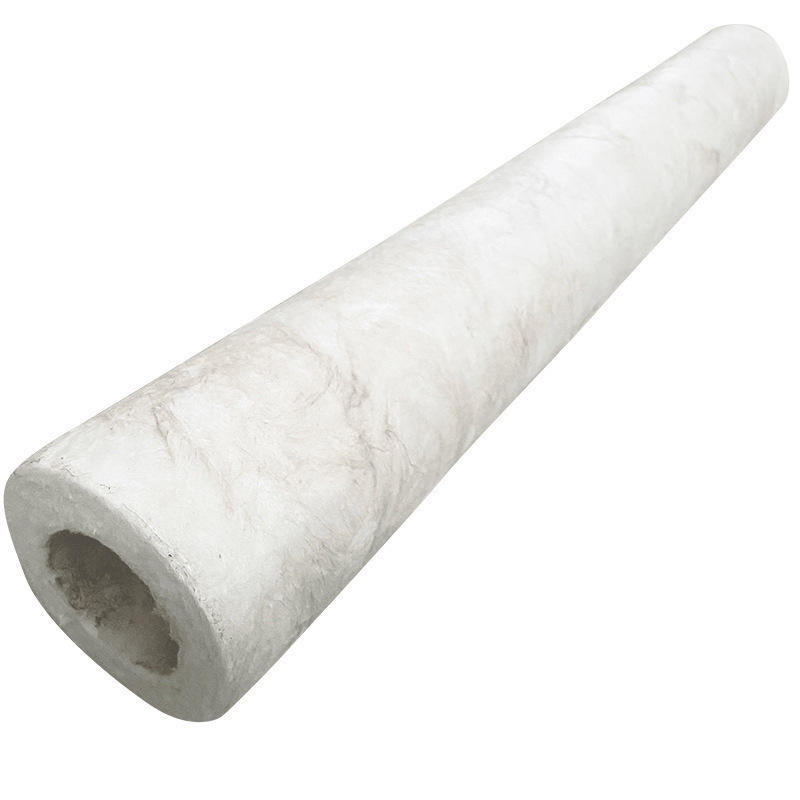
Your choice here directly impacts performance, durability, and maintenance intervals. Fiberglass packing offers the most budget-friendly solution at $15-25 per roll, ideal for recreational trail riders who put in 30-50 hours between services. This white or yellow material effectively dampens sound but degrades faster under aggressive riding conditions. If you’re a weekend trail rider, fiberglass provides the best balance of cost and functionality.
Stainless steel wool packing costs $25-40 but lasts two to three times longer than fiberglass, making it worth the investment for serious riders. The fine steel fibers resist oil contamination and carbon buildup better, maintaining consistent performance through temperature extremes. While heavier than fiberglass, steel wool’s durability pays off for riders who frequently tackle technical terrain or put in long days on the trail.
For competition riders or those pushing their bikes to the limit, ceramic fiber packing ($35-60) delivers superior heat resistance beyond 2000°F. Originally developed for industrial applications, this premium material offers the longest service life and best sound damping, though the higher cost makes it less practical for casual riders. Consider your riding frequency and intensity when selecting material—matching the packing to your usage prevents unnecessary expense while ensuring optimal performance.
Remove and Clean Exhaust Components Safely
Never work on a hot exhaust system—wait at least two hours after your last ride to prevent severe burns. Park your bike securely on a stand with the engine elevated for better access, then remove obstructing body panels. Take photos of the exhaust system from multiple angles before disassembly; these visual references prove invaluable during reassembly.
Begin loosening all mounting bolts starting from the engine connection outward, supporting the exhaust with one hand as you remove the final bolt. Carefully separate the header from silencer, noting the condition of any gaskets—replace cracked or deteriorated ones immediately. For systems with removable end caps, gently tap the cap loose with a rubber mallet, working evenly to avoid warping.
Use your wire hook to extract old packing material in small sections, being careful not to damage the inner perforated tube. Inspect this tube thoroughly for holes, blockages, or carbon buildup that restricts flow—clean it with compressed air and a wire brush if needed. Remove every trace of old material and debris before proceeding, as leftover fragments can damage new packing and restrict exhaust flow.
Install New Packing Material Correctly
This is where most riders fail—over-compression ruins packing effectiveness and accelerates deterioration. The ideal density allows slight hand compression without shifting during operation. Measure your silencer’s interior to determine needed material volume, aiming for 85-90% of uncompressed volume in most applications.
Wear gloves when handling new material to prevent skin irritation. Feed packing into the silencer in small pieces, distributing it evenly rather than creating clumps. Avoid compressing against the inner tube with tools—your hands should provide sufficient positioning pressure. Some riders find rolling the material slightly before installation helps maintain shape and distribution.
If your exhaust uses multiple packing densities in different zones for performance tuning, follow manufacturer specifications precisely. Performance applications often require specific density configurations to optimize exhaust flow characteristics across the RPM range. Take your time with this critical step—proper installation prevents premature failure and ensures optimal sound damping.
Reinstall and Test Your Exhaust System
Reassembly requires methodical attention to detail. Reinstall end caps or outer shells with all seals properly positioned, tightening bolts gradually and evenly to prevent warping. When remounting the exhaust to your bike, start with the engine-side connection and work outward for proper alignment.
Always apply anti-seize compound to header bolts—this simple step prevents galling and makes future removal possible without broken bolts or damaged headers. Torque all mounting bolts to manufacturer specifications (typically 15-25 ft-lbs), as over-tightening strips threads while under-tightening causes leaks.
Start your engine and listen carefully for exhaust leaks at all connections. Place your hand near (but not touching) joints to feel for escaping gases—any detected leaks require immediate correction. Take a gentle test ride, then re-check all mounting bolts after cooling; heat cycling often causes slight loosening that needs addressing.
Extend Packing Lifespan with Smart Maintenance
Maximize your repacking investment with simple habits. Allow your engine to idle for one minute before shutdown—this gradual cooling reduces thermal shock that accelerates packing deterioration. Avoid excessive idling, which promotes carbon buildup that contaminates packing material.
Maintain proper air-fuel mixture through regular air filter cleaning and correct jetting—running too rich causes oil contamination while running too lean generates excessive heat. Some riders wrap silencers with heat-resistant tape to reduce heat cycling stress, particularly beneficial for technical terrain requiring extended low-RPM operation.
Inspect your exhaust system every 10-15 riding hours for protruding material, unusual noise changes, or heat damage indicators. Trail riders should plan full repacking every 30-50 hours, while aggressive riders need service every 15-20 hours. Establishing this routine prevents unexpected failures and maintains consistent performance.
When to Seek Professional Help
While most riders can handle basic repacking, certain situations warrant professional assistance. If your exhaust requires drilling rivets or specialized disassembly you’re uncomfortable performing, a shop can complete the work more efficiently. Professional repacking typically costs $50-120, including labor for disassembly, replacement, and reassembly.
Competitive riders benefit from professional tuning of packing density and material selection to extract maximum performance. Shops experienced with your specific riding discipline can recommend tailored solutions that improve power delivery beyond general recommendations. However, the knowledge gained from DIY repacking provides long-term value that extends to other maintenance tasks.
Consider the cost-benefit analysis: if you ride infrequently, professional service makes sense. But for regular riders, the initial tool investment pays for itself after just two or three professional services. Either way, understanding the repacking process helps you communicate effectively with mechanics and verify quality work.
Final Note: Proper how to repack dirt bike exhaust technique maintains performance, controls noise, and protects surrounding components from heat damage. By recognizing early warning signs, selecting appropriate materials, and following correct procedures, you’ll keep your machine running optimally while saving significant money over professional services. The skills you develop through this maintenance task deepen your understanding of your bike’s operation and make you a more capable rider. With practice, you’ll complete future repacking jobs in under an hour, ensuring your dirt bike delivers peak performance ride after ride.


