
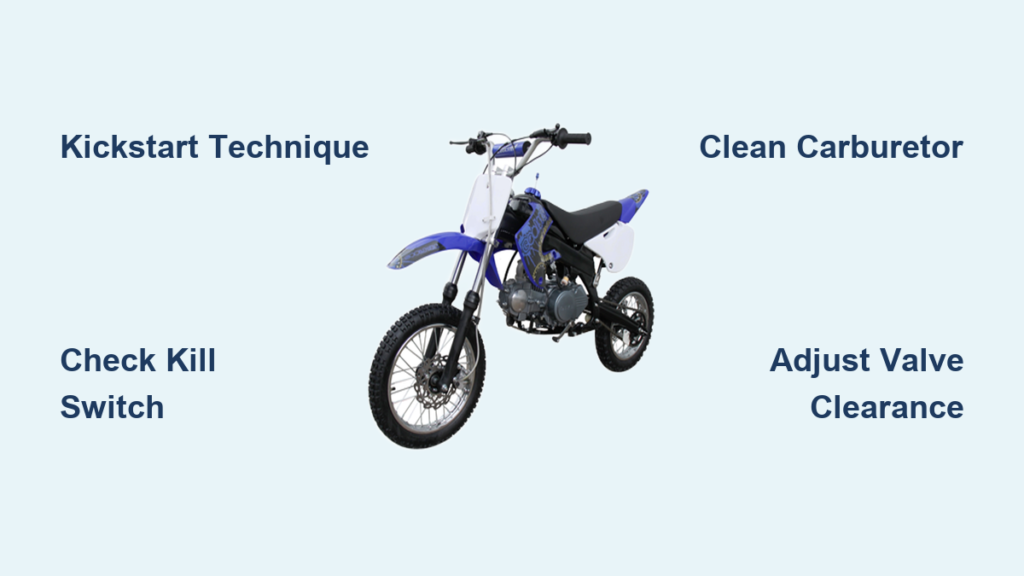
That frustrating moment when you’re ready to ride but your Coolster dirt bike won’t fire up is all too common for new owners. Most starting failures stem from predictable causes—fuel delivery problems, improper kickstarting technique, or simple oversights that take minutes to fix once you know what to look for. This guide walks you through every aspect of getting your Coolster running reliably, from mastering the kickstart motion to diagnosing persistent no-start conditions and performing the maintenance that prevents future problems.
Whether your Coolster 125 sits unresponsive in the garage or runs briefly before dying, the solution typically falls into one of a few categories. Understanding how these small-displacement four-stroke engines work and what they need to fire consistently gives you the knowledge to diagnose issues quickly and get back on the trail. Below you’ll find step-by-step procedures, common mistakes to avoid, and the preventive maintenance that keeps starting problems from recurring.
Master the Kickstarting Technique for Immediate Success
Your Coolster dirt bike demands a specific kickstarting approach that differs from what many new riders expect. When you push down on the kickstarter, you’re rotating the engine through the transmission system, which means holding the clutch lever in accomplishes nothing during kickstarting. The clutch does not disconnect the engine from the kickstarter mechanism—this critical misunderstanding leads many riders to waste energy pulling the clutch while kicking.
Execute each kick with the transmission in neutral for best results. If neutral proves difficult to find, shift into first gear, pull the clutch, and rock the bike slightly until you feel the transmission click into neutral. Then position yourself with your foot fully on the kickstarter peg and deliver a complete, decisive stroke from top to bottom. These small engines require consistent compression strokes to build adequate pressure for combustion, so half-hearted attempts rarely succeed.
Why Partial Kicks Fail on Coolster Dirt Bikes
Many new riders make the mistake of gently “feathering” the kickstarter, which cannot build adequate compression. Instead, commit to full strokes with authority but control—a smooth, complete motion generates the best results. If the engine doesn’t start after three or four good attempts, stop kicking and move to diagnosing why combustion isn’t occurring. Continuing to kick fruitlessly drains your energy and risks damaging the kickstarter mechanism.
Neutral Position Verification Method
Before kicking, verify neutral by checking if the bike rolls freely with the engine off. If it doesn’t, shift through the gears while rolling the bike slightly until you find the neutral position. Some Coolster models have indicator lights, but many do not—relying on physical feedback is more reliable than visual indicators on these entry-level bikes.
Diagnose Why Your Coolster Won’t Start in Under 10 Minutes

When your Coolster refuses to start or starts and immediately dies, systematic diagnosis saves time and prevents unnecessary parts replacements. The engine requires three fundamentals to run: spark, fuel, and compression. Starting fluid serves as an excellent diagnostic tool—if the engine fires and runs momentarily on starting fluid but dies when the additive burns off, you’ve confirmed that fuel delivery is the problem.
Quick-Check Diagnostic Sequence
- Verify kill switch position: Ensure the handlebar kill switch sits fully in “ON” (many bikes get bumped during transport)
- Check spark plug: Remove, ground against cylinder, and kick through compression stroke to confirm blue spark
- Test fuel delivery: Disconnect fuel line from carburetor to confirm flow when fuel cock is open
- Inspect air filter: Remove and examine for excessive dirt or oil saturation restricting airflow
Starting Fluid Test Procedure
Spray a small amount of starting fluid into the air intake, then attempt to start the engine. If it fires but immediately dies, your fuel system needs attention. If it doesn’t start with starting fluid, check your spark plug and ignition system first. This simple test eliminates guesswork and directs your troubleshooting efforts efficiently.
Clean the Carburetor Properly to Fix Most Starting Issues
Carburetor problems cause more starting failures than any other single issue on Coolster dirt bikes. Even when the float bowl appears to contain fuel, internal passageways and jets frequently become obstructed with debris, varnish from old fuel, or residue that accumulates during storage.
Complete Carburetor Disassembly Steps
- Remove the carburetor from the bike using appropriate screwdrivers
- Take apart every component: pilot jet, main jet, mixture screw, slide assembly, float bowl, and float needle
- Spray contact cleaner through every passageway, working systematically to ensure penetration
- Blow out all passages with compressed air to clear dislodged debris
- Pay special attention to the pilot circuit—the tiny passages feeding fuel at idle frequently clog
Common Carburetor Mistakes to Avoid
Never assume jets are clean just because they look clear from the outside. The small passageways connecting the float bowl to the jet bores often harbor obstructions that external cleaning cannot address. Many riders clean only the visible jet openings while missing the critical channels that actually deliver fuel to those jets. Reassemble with new gaskets if available, and adjust the mixture screw to center position as your starting point.
Adjust Valve Clearance: The Hidden Starting Killer

New Coolster 125 pit bikes frequently arrive from the factory with valves set too tight, and this adjustment should be performed immediately upon purchase regardless of whether starting problems exist. Tight valves restrict airflow into and out of the cylinder, preventing proper combustion even when fuel delivery and ignition systems function perfectly.
Valve Adjustment Procedure
- Remove valve cover bolts and lift off the cover
- Rotate engine through compression stroke until both valves are fully closed
- Insert feeler gauge (typically 0.003-0.005 inches) between valve stem and rocker arm
- Adjust lock nut and screw until gauge slides with slight drag
- Repeat for both valves, recheck, and reinstall valve cover with new gasket
This simple adjustment costs nothing but a small investment of time and eliminates one of the most common causes of starting frustration. Properly adjusted valves improve starting dramatically and contribute to smoother operation throughout the bike’s service life.
Prevent Future Starting Problems with Proper Maintenance
Once your Coolster starts reliably, implementing these simple maintenance routines prevents most starting problems from returning. Keep fresh fuel in the tank and consider fuel stabilizer if the bike will sit unused for more than a few weeks. Old fuel degrades and leaves varnish deposits that clog carburetor passageways over time.
Essential Monthly Maintenance Checklist
- Clean carburetor periodically, even when bike runs well
- Inspect vent lines during any maintenance that requires removing covers
- Check valve clearance regularly, especially during first few months of ownership
- Store bike with full tank and fuel stabilizer for extended storage periods
- Run engine briefly after adding stabilizer to circulate treated fuel
Critical Vent Line Inspection Tip
When removing the stator cover for any reason, always check that vent lines aren’t pinched between the cover and engine case. Several owners have discovered these thin lines compressed in this location, creating vacuum issues that mimic carburetor problems. Routing them away from pinch points takes moments but prevents future headaches.
Troubleshoot Electrical System Issues That Block Starting

The kill switch on Coolster pit bikes serves a simple but critical function—completing or interrupting the ignition circuit. Before troubleshooting elaborate electrical issues, simply confirm the kill switch sits fully in the “ON” position. These switches sometimes don’t fully engage when bumped during transportation.
Spark Plug Diagnostic Steps
- Remove spark plug and inspect electrode condition
- Connect to plug wire and ground against engine cylinder
- Kick through compression stroke while watching for spark
- Look for crisp blue spark (weak yellow spark indicates problems)
A black, wet-fouled plug suggests fuel delivery problems, while wet, black, and oily fouling indicates internal engine issues. Clean or replace plugs as needed, ensuring proper gap before reinstalling.
Bypass Starting Fluid: Verify Fuel Delivery Without Additives
When diagnosing fuel issues, you can verify if the engine is drawing fuel without resorting to starting fluid. Remove the air filter cover and element, then cover the intake tract with your palm and kick the engine through one compression stroke. Your hand should be pulled inward slightly as the engine draws a vacuum, confirming the intake tract is not obstructed and the engine is attempting to draw in air.
Starting your Coolster dirt bike reliably comes down to understanding what the engine needs and keeping those systems in good working order. The kickstarting mechanism requires full, confident strokes with the transmission in neutral, while the fuel system demands clean passages, fresh fuel, and proper mixture settings. Valve clearance, kill switch position, and spark quality round out the fundamentals that determine whether your bike fires immediately or leaves you kicking in frustration.
When problems arise, follow the diagnostic sequence: check kill switch position, verify spark, confirm fuel delivery, inspect air filter, clean carburetor thoroughly, and adjust valve clearance. Implement the preventive maintenance routine outlined here to keep starting issues from recurring. With proper care, your Coolster will start readily and deliver the reliable performance that makes these pit bikes such popular choices for new riders learning the fundamentals of dirt bike ownership. Remember that most starting problems have simple solutions—systematic diagnosis and proper technique will get you back on the trail faster than replacing parts randomly.


