
Struggling to access your battery or perform maintenance under the seat? Knowing how to take the seat off a Yamaha dirt bike correctly saves you time and prevents damage to your motorcycle’s retention system. Most Yamaha dirt bikes use a key-operated latch mechanism that requires specific movements to release properly, but rushing the process often leads to stripped bolts, bent hooks, or a seat that wiggles after reinstallation. This guide reveals the exact sequence to remove your seat without damaging components, including model-specific variations and common pitfalls that frustrate riders.
The seat removal procedure typically takes fewer than five minutes once you understand the sequence of release points. Whether you need to access the battery, check electrical connections, or replace your seat entirely, following the correct procedure ensures the job gets done right the first time. Avoid the common mistake of forcing the seat off without properly releasing all retention points—this causes unnecessary wear on mounting hardware and leads to future seat stability issues.
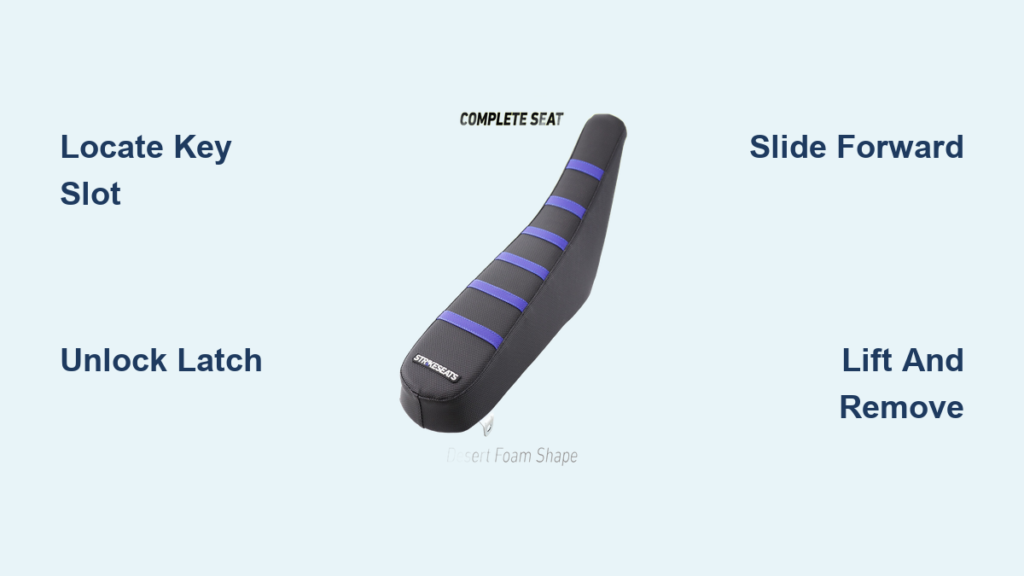
Locate the Key Slot on Your Yamaha Dirt Bike
Your first critical step involves finding the key-operated lock mechanism that secures the seat to your Yamaha dirt bike frame. This slot sits on the left side of the motorcycle, positioned underneath the edge of the seat where it meets the body panel. Yamaha designed this positioning to protect the lock from mud, dirt, and debris while keeping it accessible whenever seat removal becomes necessary.
When locating the key slot, look for a small opening tucked beneath the seat’s edge, usually aligned with where your knee rests when seated. The slot may be partially hidden by the seat’s overhang, so you might need to run your fingers along the underside edge to find it. If you’re having trouble locating it, crouch down to eye level with the left side of your bike for better visibility.
Confirm You’re Using the Correct Key
Before inserting your key, verify you’re using the correct ignition key from your bike’s key set. The seat lock uses the same key as your motorcycle’s ignition, so your standard ignition key should work without modification. If you’re using a spare or replacement key, ensure it’s cut correctly for your bike’s ignition lock cylinder—ill-fitting keys can damage the mechanism over time.
If the key doesn’t insert smoothly, don’t force it. Clean both the key and key slot with a soft cloth to remove any debris that might be blocking proper insertion. A small amount of graphite lubricant applied sparingly to the key can help it slide into stubborn locks without attracting dirt like oil-based products would.
Unlock the Central Latch Mechanism Properly

With the key properly inserted, turn it to release the central latch mechanism that forms the primary retention point for your Yamaha dirt bike seat. This turning action disengages the main lock but doesn’t fully remove the seat from the motorcycle. The latch release simply allows the seat to move within its mounting points so you can disengage the remaining hooks.
Handle Sticky Lock Mechanisms Correctly
If the key doesn’t turn easily, avoid forcing it. A sticky lock mechanism often responds well to graphite lubricant applied sparingly to the key slot. Work the key in and out several times to distribute the lubricant through the lock cylinder. Oil-based lubricants attract dirt and debris that can eventually clog the mechanism, so stick with graphite-based products for lock maintenance.
Never leave your key in the seat lock while reinstalling the seat—this common mistake locks your keys under the seat, leaving you stranded. Always remove the key immediately after turning it to release the latch, and keep a spare ignition key in your gear bag as a backup.
Release the Front Hook Without Damaging Components
After unlocking the central latch, grasp the front of the seat and apply slight upward pressure to take pressure off the forward retention hook. This front hook engages with a corresponding mount on the motorcycle frame, and releasing it requires a specific sliding motion combined with your upward pressure.
Execute the Correct Forward Motion
With maintained upward pressure on the seat’s front section, slide the entire seat forward approximately one to two inches. This forward motion disengages the front hook from its mounting point on the frame. You’ll know the front hook has released when you feel the seat move more freely at the front, though the rear of the seat should still feel secured by its own retention point.
If you encounter resistance during this step, double-check that you’ve fully turned the key in the latch mechanism before applying additional force. Forcing the seat can bend the hook or damage the mounting point, leading to future seat instability. The amount of forward sliding motion varies slightly between different Yamaha dirt bike models—some require only a small adjustment, while others need more pronounced sliding.
Disengage the Rear Hook for Complete Seat Removal
Once the front hook releases, you need to address the rear retention point that secures the passenger section of the seat. While maintaining your upward pressure on the front of the seat, simultaneously lift slightly and slide the seat backward to release the rear hook located at the rear passenger section.
Complete the Removal Sequence
The rear hook on Yamaha dirt bikes typically releases through a backward sliding motion that disengages it from a U-bolt clip or mounting bracket on the rear fender area. As with the front hook release, you’ll feel a distinct moment when the rear hook disengages, after which the seat should lift completely free from the motorcycle frame.
The complete removal sequence can be summarized as: turn the key to unlock the latch, lift the front slightly, slide forward to release the front hook, then lift and slide backward to release the rear hook. This multi-directional motion ensures all retention points disengage properly without forcing or damaging the components. After all hooks release, lift the seat straight up and away from the motorcycle, setting it aside in a safe location where it won’t get scratched.
TTR 250 Bolted Seat Design: Special Removal Procedure

The Yamaha TTR 250 departs from the key-operated latch system found on most other Yamaha dirt bikes, employing instead a direct bolted connection between the seat and frame. This design provides a more permanent installation that resists vibration during aggressive off-road riding, but it requires basic tools rather than just a key for seat removal.
Remove Mounting Bolts Carefully
To remove the seat from your TTR 250, locate the mounting bolts that secure the seat pan to the frame rails. These bolts typically position themselves at the front and rear mounting points where the seat meets the frame and usually require a socket or wrench of the appropriate size. Once all mounting bolts are fully loosened and removed, the seat lifts straight up and away from the motorcycle.
Unlike other Yamaha dirt bikes where the battery sits under the seat, the TTR 250 houses its battery beneath the right-hand side panel. This panel removes with a single screw and two pop clips, giving you access to the battery without touching the seat at all. Don’t waste time looking for a key slot under your TTR 250 seat, as none exists on this model.
Fix Loose Seat After Reinstallation: Common Solutions

A common frustration among Yamaha dirt bike owners involves the seat becoming loose or wiggling after removal and reinstallation. This looseness typically stems from improper hook engagement, deformed mounting clips, or slight reshaping of the seat pan under rider weight over time.
Diagnose and Correct Seat Movement
If your seat wiggles side to side after reinstallation, either the front or rear hooks haven’t fully seated in their corresponding mounts. Remove the seat and visually inspect both the hooks on the seat underside and the mounting points on the frame. Look for debris, damage, or deformation that might prevent full engagement. Clean both surfaces thoroughly and verify the hooks aren’t bent or damaged before attempting reinstallation.
When your seat exhibits up-and-down play, the problem often relates to the seat pan itself having deformed slightly or the mounting clips having bent from pressure or age. On models with plastic mounting clips, carefully bending them slightly tighter can sometimes restore a secure fit, but be cautious not to crack the material. Some owners have successfully added thin shims made from felt furniture pads with two-sided tape to fill gaps between the seat pan and frame mounts.
Maintain Your Seat Retention System for Longevity
Periodic inspection of your Yamaha dirt bike’s seat retention system prevents unexpected problems during removal or riding. Before each major maintenance session or after off-road riding that subjects the motorcycle to significant vibration and impact, visually inspect all seat mounting hardware for tightness, damage, or wear.
Lubricate and Clean Properly
Lubricate the key lock mechanism using graphite-based lubricants rather than oil-based products. Graphite provides effective lubrication without attracting the dirt and debris that oil-based products collect, which can eventually clog the lock mechanism. Apply lubricant sparingly and work the key in and out several times to distribute it evenly.
The seat hooks and their corresponding mounting points benefit from periodic cleaning to remove accumulated dirt, mud, and debris. Buildup in these areas can prevent full engagement of the retention hooks, leading to seat looseness. A soft brush and mild cleaner safely remove debris without damaging painted or plated surfaces on either the seat or frame.
Reinstall the Seat Correctly to Prevent Future Issues
Taking time during seat reinstallation prevents many common issues and extends the life of your retention system. Before reinstalling, clean all mounting points on both the seat and motorcycle frame. Inspect rubber grommets and isolation mounts for wear or deterioration, replacing them if necessary to ensure proper vibration isolation.
Test Seat Security Before Riding
Align all mounting points carefully before engaging any retention mechanisms. On key-latch models, start by positioning the rear hook in its mount, then lower the front of the seat while ensuring the forward hook aligns with its mounting point. Engage the forward hook first, then lower the rear section into position before closing the key latch.
Test the security of your installation by firmly pressing down on all areas of the seat surface before riding. The seat should not shift, rock, or make any clicking sounds when pressure is applied. Any movement indicates improper engagement of the retention points and should be corrected before operating the motorcycle. A properly installed seat stays securely in place through jumps, rough terrain, and aggressive riding without any adjustment or concern.


