
Your dirt bike was running strong just yesterday, but today it’s coughing, sputtering, and refusing to idle properly. You’re facing one of the most common headaches in off-road riding—a clogged carburetor. The traditional fix requires removing the entire carburetor assembly, which means disconnecting fuel lines, throttle cables, and risking misalignment of delicate internal components. But what if you could clear that stubborn clog without taking everything apart? You absolutely can, and this guide shows you exactly how to unclog a dirt bike carburetor without removing it—saving you hours of frustrating work.
Most riders waste precious trail time unnecessarily removing their carburetor when simple in-place cleaning techniques solve 80% of clogging issues. With just carburetor cleaner, basic tools, and 30-60 minutes of your time, you can often restore smooth operation while keeping the carburetor mounted securely on your bike. This method works especially well for ethanol-related varnish buildup and minor debris clogs that plague modern fuel systems. Let’s get your bike back to peak performance without the hassle of complete disassembly.
Identifying Carburetor Clogging Problems
Before grabbing your carb cleaner, confirm your bike actually has a clogged carburetor rather than another mechanical issue. Many problems mimic carburetor clogs but require different solutions.
Hard Starting or No Start Conditions: When your dirt bike cranks but won’t catch, or starts only to immediately die, check the pilot jet circuit first. This small passage controls fuel delivery at idle and low RPMs. If you find yourself pulling the choke repeatedly with no improvement, ethanol varnish has likely restricted fuel flow through this critical circuit. You’ll notice the engine seems hungry for fuel but can’t maintain combustion.
Mid-Range Acceleration Issues: That frustrating “flat spot” where your bike stumbles when you twist the throttle between 1/4 and 1/2 open points directly to a partially blocked main jet. Unlike complete clogs, these partial restrictions allow enough fuel for idling but starve the engine during acceleration. The bike might run fine at full throttle once you push through the flat spot, confirming the problem exists in the transitional circuit between pilot and main jets.
Erratic Idle Behavior: A properly tuned carburetor maintains a steady idle speed without constant adjustment. If your bike’s RPM fluctuates wildly at idle—revving up and down uncontrollably or dying when you release the throttle—you’re dealing with an inconsistent fuel supply. Remove the air filter and look into the carburetor throat while idling; if you don’t see a consistent fuel mist from the pilot circuit, clogging is almost certainly your culprit.
Critical Safety and Setup Procedures

Rushing into carburetor cleaning creates more problems than it solves. Proper preparation ensures both your safety and the effectiveness of your cleaning efforts.
Ventilation Is Non-Negotiable: Carburetor cleaner contains volatile solvents that produce dangerous fumes. Work exclusively outdoors or in a garage with doors wide open and a fan blowing exhaust fumes away from you. Never attempt this procedure in an enclosed space—inhaling concentrated carb cleaner vapors can cause dizziness, nausea, or even loss of consciousness.
Toolkit Checklist: Gather these essentials before starting: aerosol carburetor cleaner with precision straw attachment, clean rags, small container for fuel runoff, basic hand tools (typically 8-10mm sockets), and a bright flashlight. Many riders find a plastic syringe (without needle) invaluable for directing cleaner into specific passages. Keep everything organized within arm’s reach—interrupting the process to search for tools risks spills and mistakes.
Bike Positioning Matters: Secure your dirt bike on a level surface with the rear wheel elevated slightly if possible. Engage the rear brake or use a chock block to prevent rolling. Remove the airbox cover completely and set it aside on a clean surface. This gives you unobstructed access to the carburetor throat and surrounding components.
Quick Diagnostic Tests Before Cleaning
Confirm the clog location with these simple tests that take less than five minutes but prevent wasted effort.
Fuel Flow Verification: Disconnect the fuel line from the carburetor and direct it into a container. Turn the fuel petcock to “on” position and check for strong, continuous fuel flow. Weak or intermittent flow indicates problems upstream—likely a clogged fuel filter or tank screen—not the carburetor itself. If fuel flows properly here, your carburetor is almost certainly the issue.
Visual Jet Inspection: Shine your flashlight directly into the carburetor throat while slowly twisting the throttle. Look for the accelerator pump’s fuel squirt as you open the throttle—no visible spray means a blocked pilot circuit. You should also see light reflecting off clean metal surfaces; dark, varnished areas indicate where deposits have built up.
Effective In-Place Carburetor Cleaning Methods
Now that you’ve confirmed the problem, apply these proven techniques that work while the carburetor stays mounted.
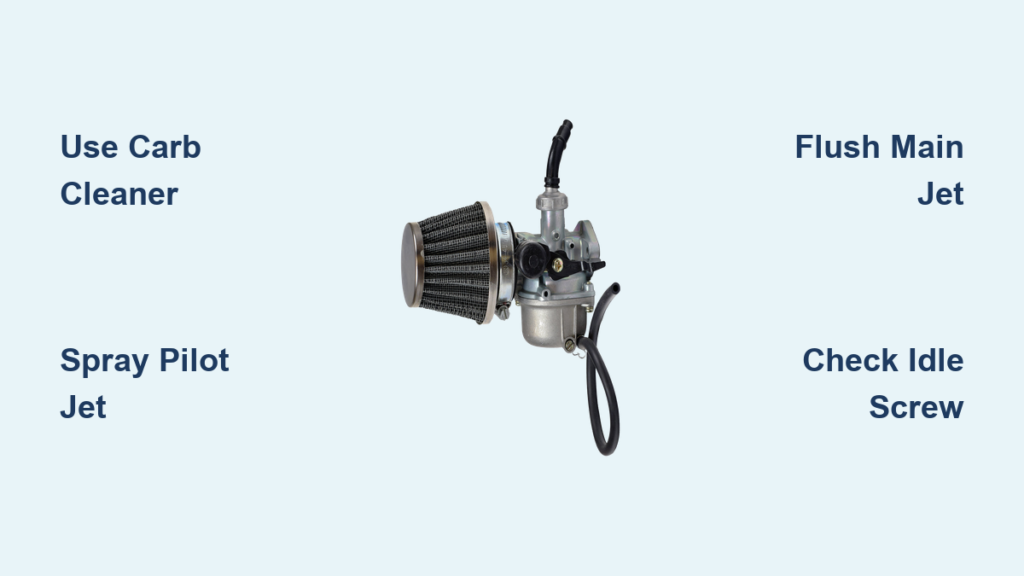
Targeted Carb Cleaner Application: With the air filter removed, insert the carb cleaner straw into the carburetor throat and spray directly toward the pilot jet opening (typically near the throttle slide). Press the throttle fully open and spray into the main jet area as well. Let the cleaner soak for 3-5 minutes to dissolve deposits, then kick the engine over several times without starting it. This flushes loosened debris through the system. Repeat this process 3-4 times, waiting 2 minutes between cycles.
Float Bowl Drain Technique: Locate the float bowl drain screw on the bottom of your carburetor. Place a container beneath it, then remove the screw completely. Spray carburetor cleaner directly into the drain hole while simultaneously blowing compressed air through the carburetor throat. This dual-action approach forces cleaner through the main jet and float bowl passages. Reinstall the drain screw when finished.
Throttle Slide Soaking Method: Remove the throttle slide (consult your service manual for specific steps), which often reveals the pilot jet directly beneath it. Spray cleaner into this opening and let it soak for 10 minutes. Use a plastic zip tie inserted through the jet to gently dislodge debris—never use metal tools that could damage the precision orifice. Reinstall the slide before testing.
Post-Cleaning Verification and Adjustment

Your work isn’t complete until you confirm the cleaning solved the problem.
Gradual Restart Procedure: After cleaning, kick the engine over 3-4 times without throttle to clear residual cleaner from the combustion chamber. Then start the bike and let it warm up completely—cold engines run rich and mask carburetor issues. Listen carefully for smooth transitions between idle and partial throttle.
Idle Mixture Screw Adjustment: With the engine fully warmed, locate the idle mixture screw (usually on the side of the carburetor). Turn it slowly clockwise in 1/8-turn increments while listening for the smoothest idle. Finding that “sweet spot” ensures proper fuel-air balance after cleaning. Consult your manual for baseline settings if you’re unsure.
Acceleration Pattern Test: Take your bike for a short test ride focusing on the problem areas. Accelerate through the RPM range in a controlled environment, paying special attention to the sections where you previously experienced hesitation. Smooth power delivery without stumbling confirms successful cleaning.
Preventing Repeat Clogs
Avoid future problems with these simple maintenance practices that take minimal time.
Fuel Management Protocol: Never leave fuel sitting in your carburetor for more than two weeks. Ethanol-blended fuels begin breaking down immediately, forming varnish that clogs jets. After each ride, run the engine until it stalls to clear residual fuel from the carburetor circuits. For extended storage, add fuel stabilizer to fresh fuel before filling the tank.
Air Filter Discipline: Check your air filter before every ride and clean it according to manufacturer specifications. A compromised filter allows dirt into the carburetor, accelerating clog formation. Replace foam filters when they lose their shape or oil retention capacity—typically every 10-15 rides depending on conditions.
Regular Cleaning Schedule: Perform a quick carburetor cleaning cycle every 5-10 rides as preventative maintenance, especially if you frequently ride in dusty conditions or use ethanol-blended fuels. This takes just 15 minutes and prevents minor deposits from hardening into stubborn clogs.
When to Seek Professional Help
While in-place cleaning solves most clogs, recognize these situations where professional assistance is necessary.
Persistent Running Issues: If your bike continues to run poorly after multiple cleaning attempts, internal damage or misadjustment may be present. Professional mechanics have specialized tools to measure jet flow rates and verify proper carburetor synchronization.
Visible Physical Damage: Cracks in the carburetor body, damaged throttle slides, or stripped adjustment screws require replacement parts and expertise beyond simple cleaning. Continuing to ride with these issues can cause engine damage from improper fuel mixture.
Complete Blockage Scenarios: If no fuel flows through the system after thorough cleaning, the clog may be deeper than accessible without disassembly. Mechanics can perform ultrasonic cleaning or replace affected components while maintaining factory specifications.
Final Note: A clogged carburetor doesn’t have to sideline your riding adventures. By mastering these in-place cleaning techniques, you’ll spend less time wrenching and more time on the trail. Remember that prevention beats correction—maintain fresh fuel, clean air filters, and regular light maintenance to keep your carburetor flowing freely. When you encounter that familiar hesitation or rough idle, you’ll now have the confidence to fix it quickly without removing the carburetor. Keep this guide handy in your toolbox, and you’ll transform what was once a daunting repair into a simple 30-minute maintenance task that gets you back to riding faster.


